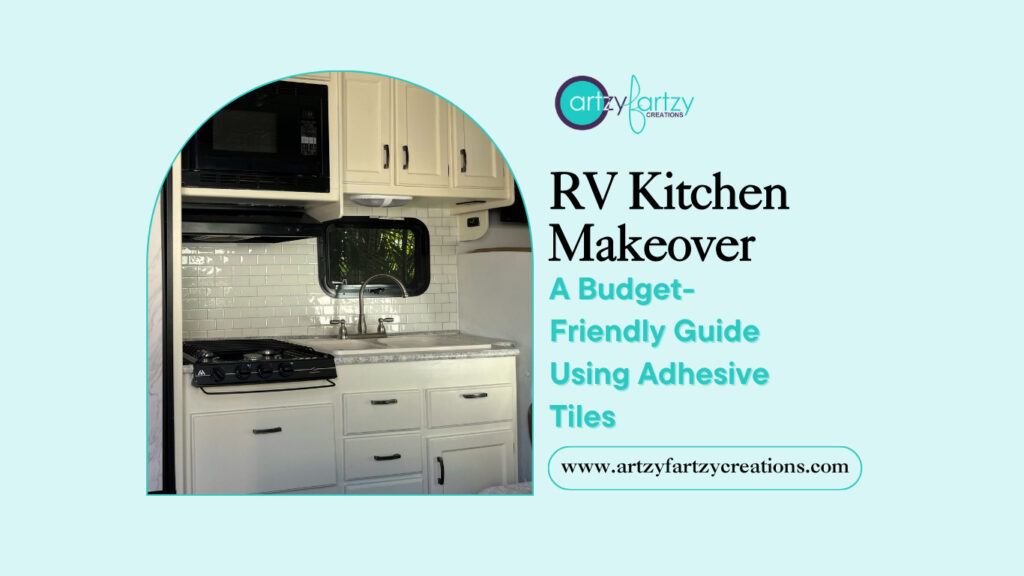
A friend of mine recently asked me to help her for an RV Kitchen Makeover.
That’s where the excitement begins. RV life is all about freedom and personalization, and what better way to make your tiny kitchen shine than with a DIY transformation that’s not only easy but also budget-friendly? Get ready for this RV Kitchen Makeover!
The Power of Adhesive Tiles in RV Kitchen Makeover
In this step-by-step guide, we’ll take you on a journey through the world of RV kitchen makeover, focusing on the magic of adhesive tiles. Whether you’re transforming your RV or your kitchen at home you’ll discover how a simple change can breathe new life into your kitchen space.
We’ll explore why adhesive tiles are the perfect choice and walk you through the installation process. With a dash of inspiration and a sprinkle of practical advice, you’re about to turn your kitchen backsplash into a captivating space that reflects your unique style.
So, grab your favorite coffee mug, and let’s dive into the wonderful kitchen makeovers with adhesive tiles.
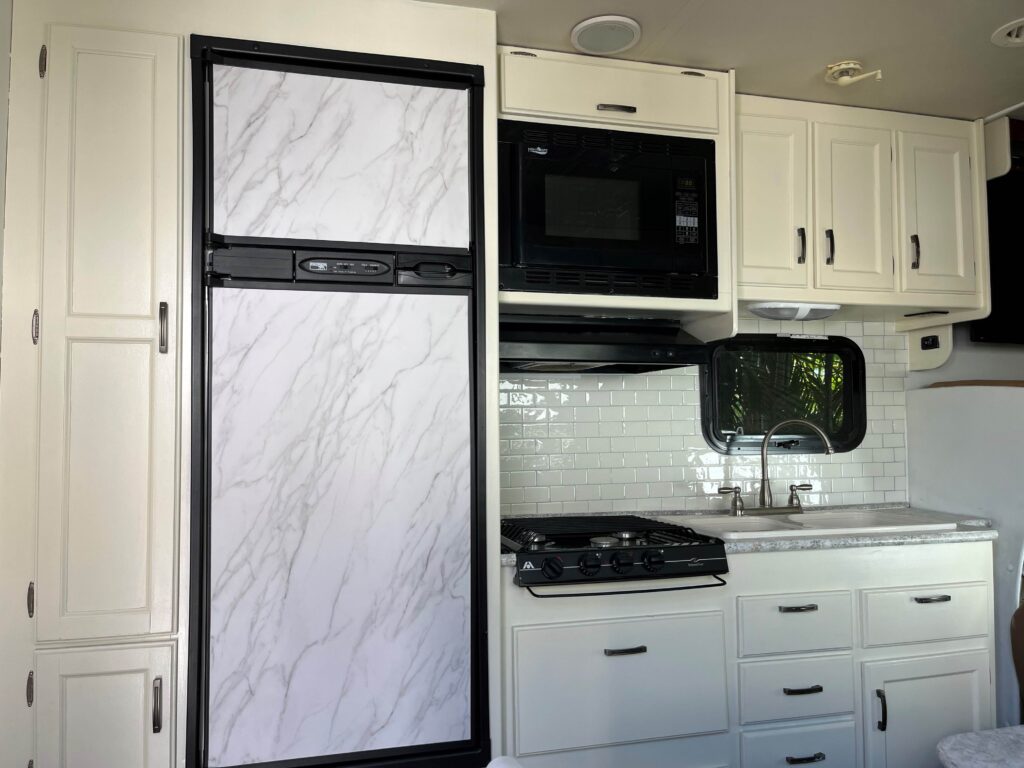
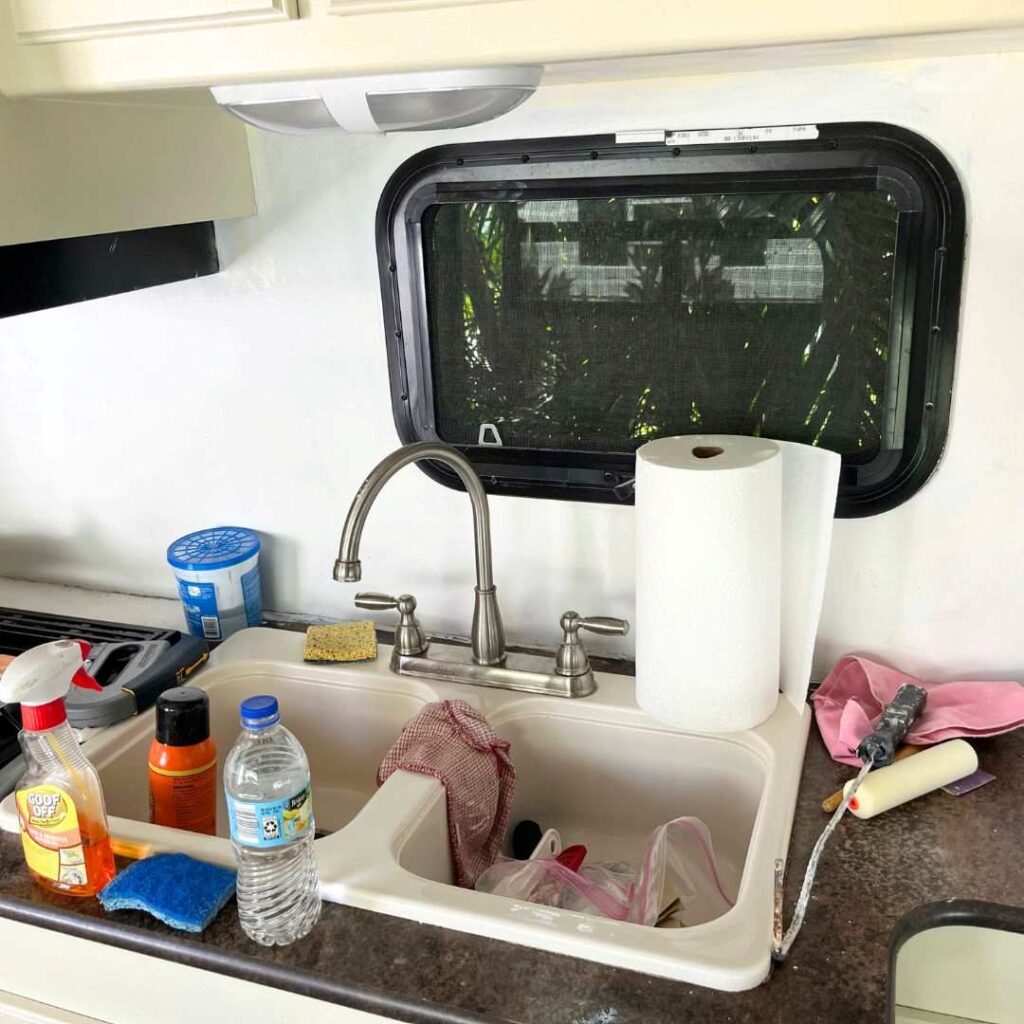
The Before and After: From Mess to Magic of a RV Kitchen Makeover
As you can see this little kitchen needed some TLC. Keep reading because this mess turned into a magical space.
Now, let’s get down to the nitty-gritty of why adhesive tiles are a game-changer when it comes to RV kitchen makeover.
The Game-Changing Nature of Adhesive Tiles in a RV Kitchen Makeover
Traditional tiles often require the expertise of a seasoned tiler, along with a laundry list of tools and materials. It can be a daunting task, especially for those of us who might not have a DIY background.
But with adhesive tiles, the name of the game is “Easy Does It.” You don’t need to be a DIY pro to handle them. In fact, you’ll find that these tiles are lightweight and incredibly user-friendly. Armed with a utility knife or sharp scissors and a measuring tape, you’re well on your way to a successful installation. No need to invest in heavy-duty tile cutters or mix batches of adhesive.
One of the greatest perks is the lack of mess. Traditional tile installations can leave your RV kitchen looking like a construction site for days if not weeks. Adhesive tiles, on the other hand, keep things clean and tidy. There’s no wet mortar, no grout to mix and apply, and certainly no need for extensive cleanup.
And did I mention the time factor? While traditional tiles may require you to wait patiently for the adhesive and grout to dry before you can use your kitchen again, adhesive tiles provide near-instant gratification. You can admire your revamped space almost immediately, making it perfect for those weekend projects.
So, in the realm of ease and convenience, adhesive tiles win hands down. They’re designed with the everyday DIY enthusiast in mind, and they truly shine when it comes to hassle-free transformations, which is especially important for busy RV enthusiasts like us!
Step-by-Step Installation Guide
STEP 1:
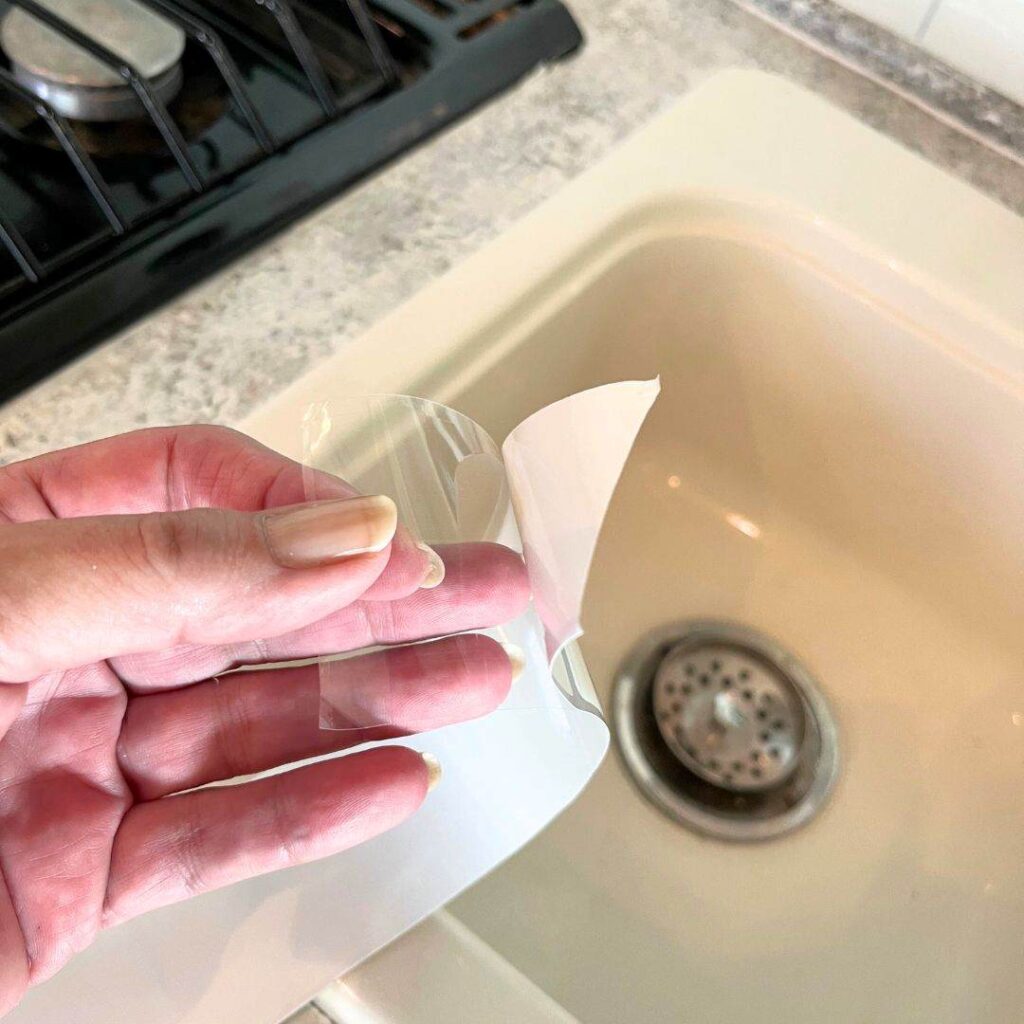
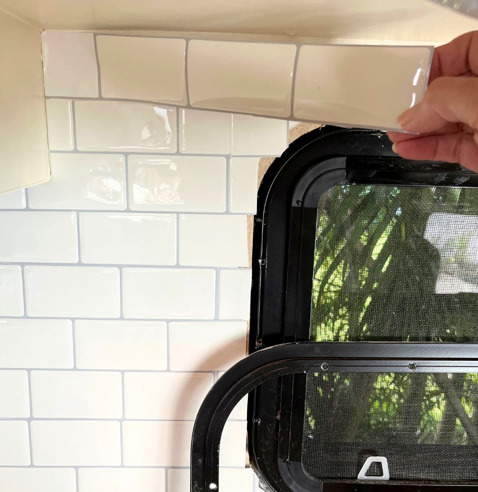
Start by removing the plastic backing and apply it to the bottom right or left corner (wherever you want to start) fitting them together like a puzzle.
Once you have filled in the entire area, start cutting the small pieces and fit them in where needed. Use your measuring tape for the tight areas. Notice I took the frame off the window before starting this project. I did this so could apply the tile under the frame so it would have a smooth and finished look.
Step 2:
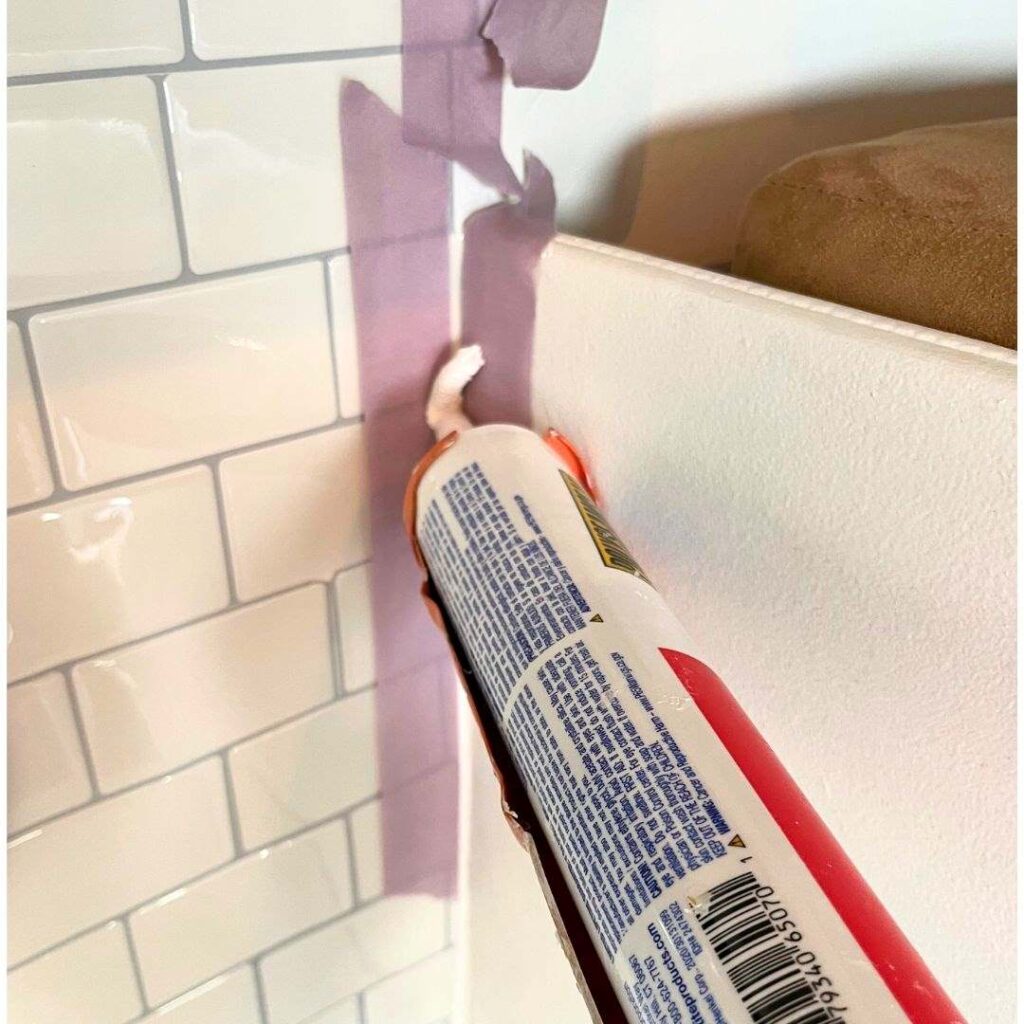
Once I was done applying the tile, I applied chalking along the edges.
Here’s a little PRO TIP: Add tape before applying the chalking this will give you a perfectly straight line and not smuggled edges. Use your finger to smooth it out if needed. Then Take a damp rag to give it a smooth finish.
Step 3:
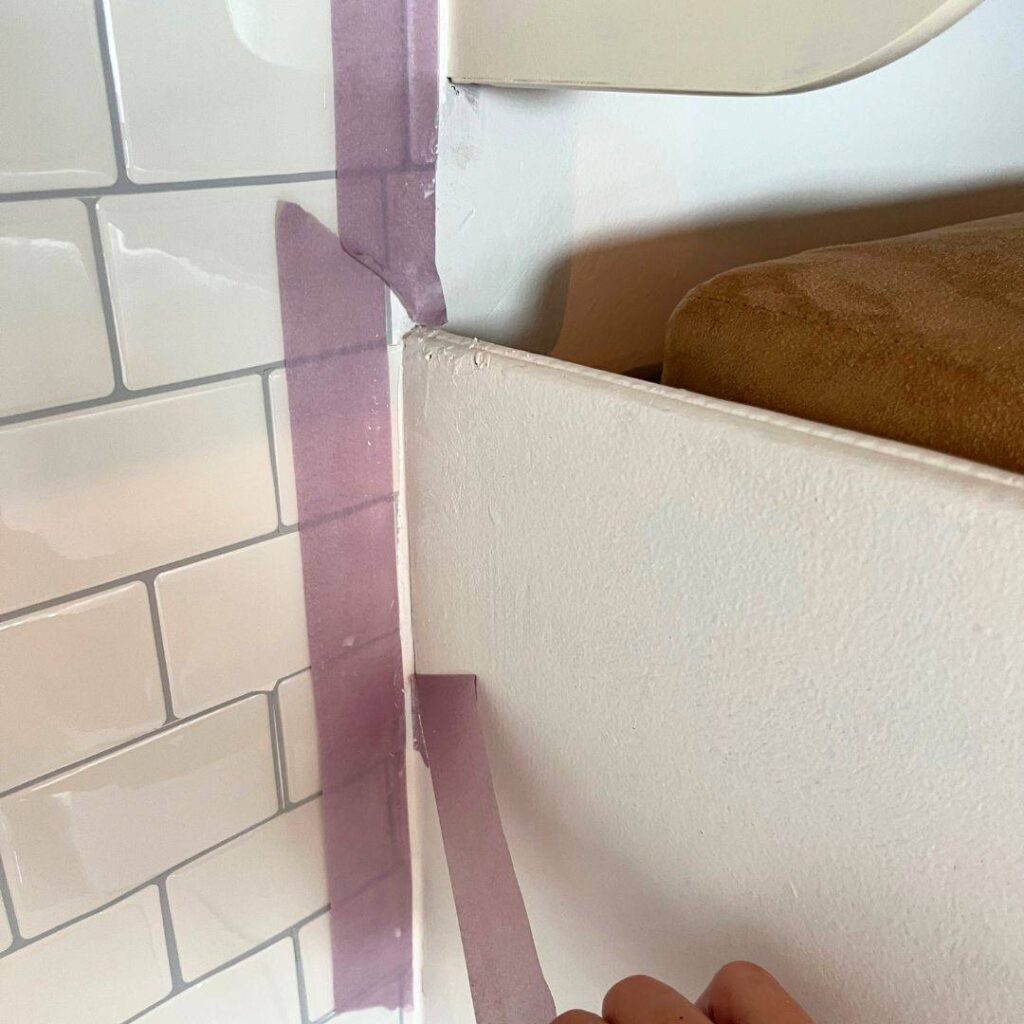
Remove the tape immediately. Now you have a perfect caulking line.
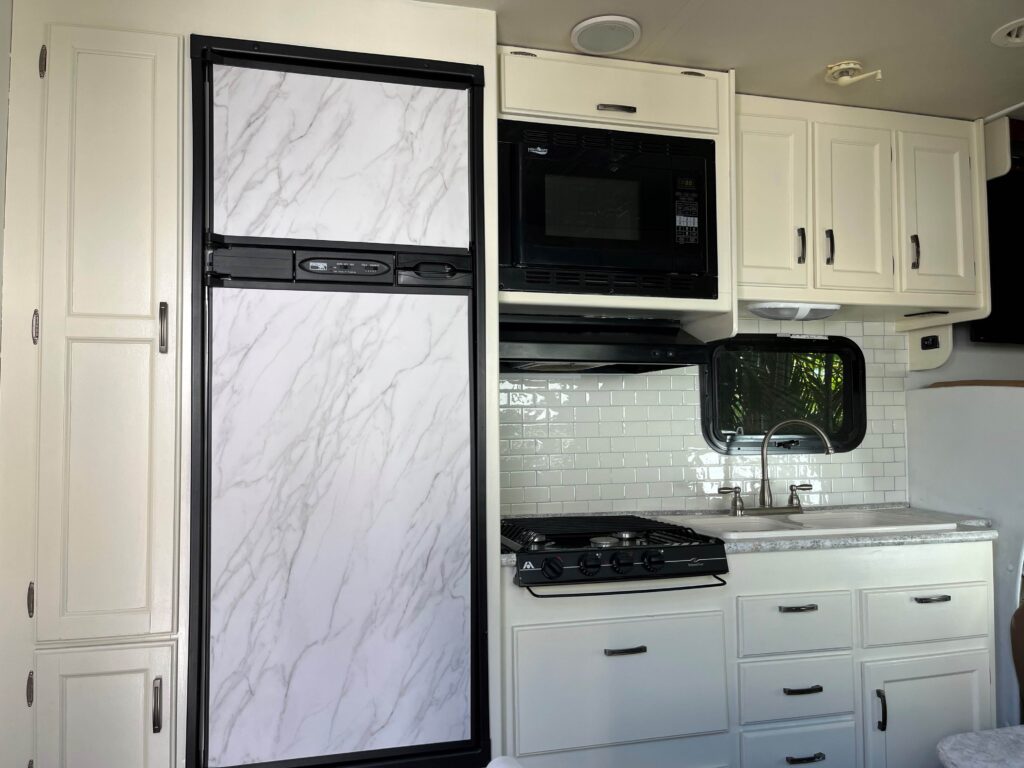
There you have it! A beautiful tile backsplash on a budget. OH, and in case you’re wondering, I also covered the refrigerator panels with an adhesive washable product.
P.S. Have you ever thought about turning your hobby into a business, but you need help with technology and social media? I can help. Join Empowering Women.
P.S.S. Get my blog jam-packed with home decorating and DIY tips:
Here’s your supply list:
- Sharp Scissors: https://amzn.to/45uX3w1
- Adhesive tile: https://amzn.to/493iBCX
- Chalking: https://amzn.to/405mFyM
- Chalking gun: https://amzn.to/46QPUYJ
- Tape: https://amzn.to/3Qovdxd
- Adhesive washable product for refrigerator: https://amzn.to/4052Ozm
XOXO
-Cheryl
Artzy Fartzy Creations. Oh Yes you can DIY!
How to Paint a Strie Wall Faux Finish
A strié wall faux finish is created by dragging a [...]
3 – Easy Kitchen Makeover Ideas
Are you looking for some kitchen makeover ideas? This kitchen [...]
How to clean dried up paint brushes
Learn how to get dried paint out of [...]
DIY Christmas Décor
Are you a DIYer who likes to make [...]
One Kitchen…. 3 Makeovers
A mother’s love is never-ending. This is my [...]
Is Faux Finishing Out Dated?
Not by a long shot, in fact it’s [...]
Contents
Recent Reads
Bold & Spectacular Gold Crocodile Walls Your Guests Won’t Stop Talking About
Crocodile Walls in a Few Easy Steps Your foyer is [...]
Weathered Wood Finish in 3 Easy Steps
I bought this cute little table for $25 at my [...]
What time-sucking habits are keeping you from success?
Do you ever feel like there is too much to [...]

