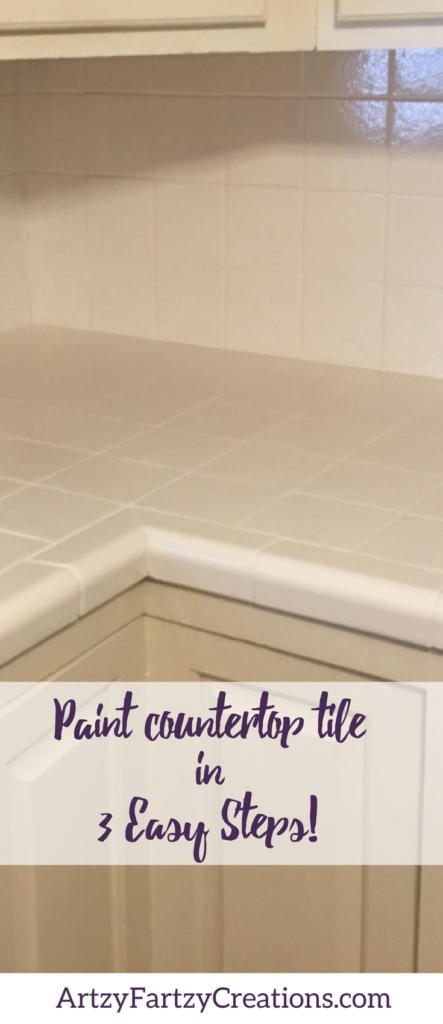
If you have outdated tile countertops and want to bring them back to life without demolishing your space, you’re going to be absolutely amazed at how easy it is to give your kitchen a fresh new look in just one day.
As you can see this kitchen has good bones and a lot of potential. Why rip out the tile and go through the demolition and mess when you can just paint tile countertops for as little as $30.00!
This post may contain affiliate links from Amazon. I will make a small commission if you purchase these items from my blog. You will not be charged extra! Thank you. Read my disclosure and privacy policy here
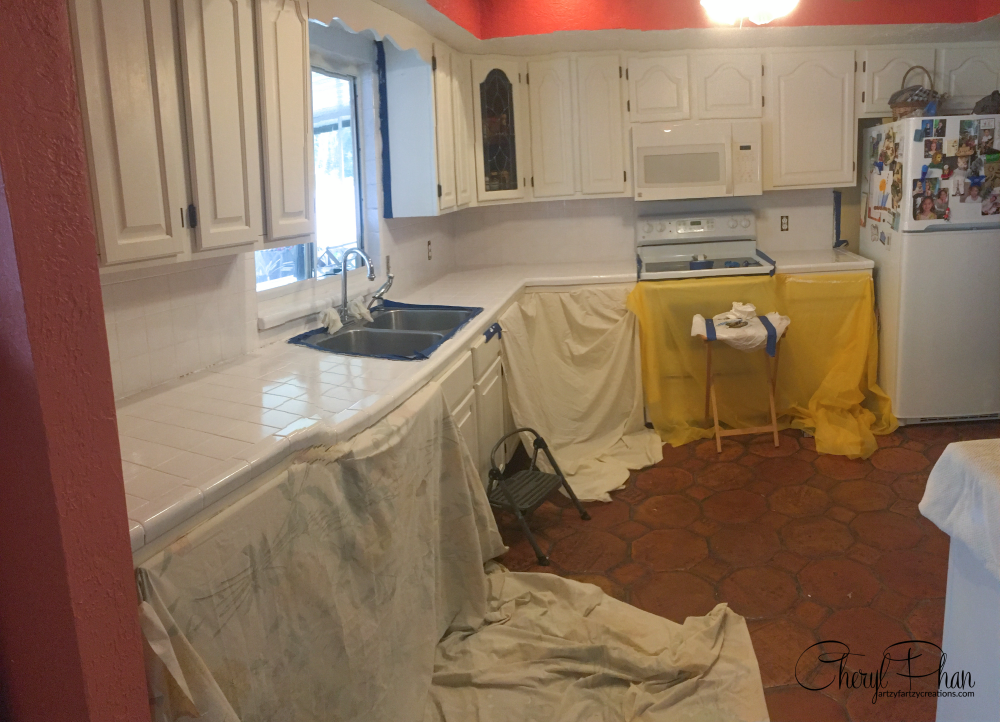
I would suggest covering the cabinets so you don’t get any paint on them. If you don’t have plastic, old sheets work well. I also used blue tape on the cabinets to avoid getting paint on them.
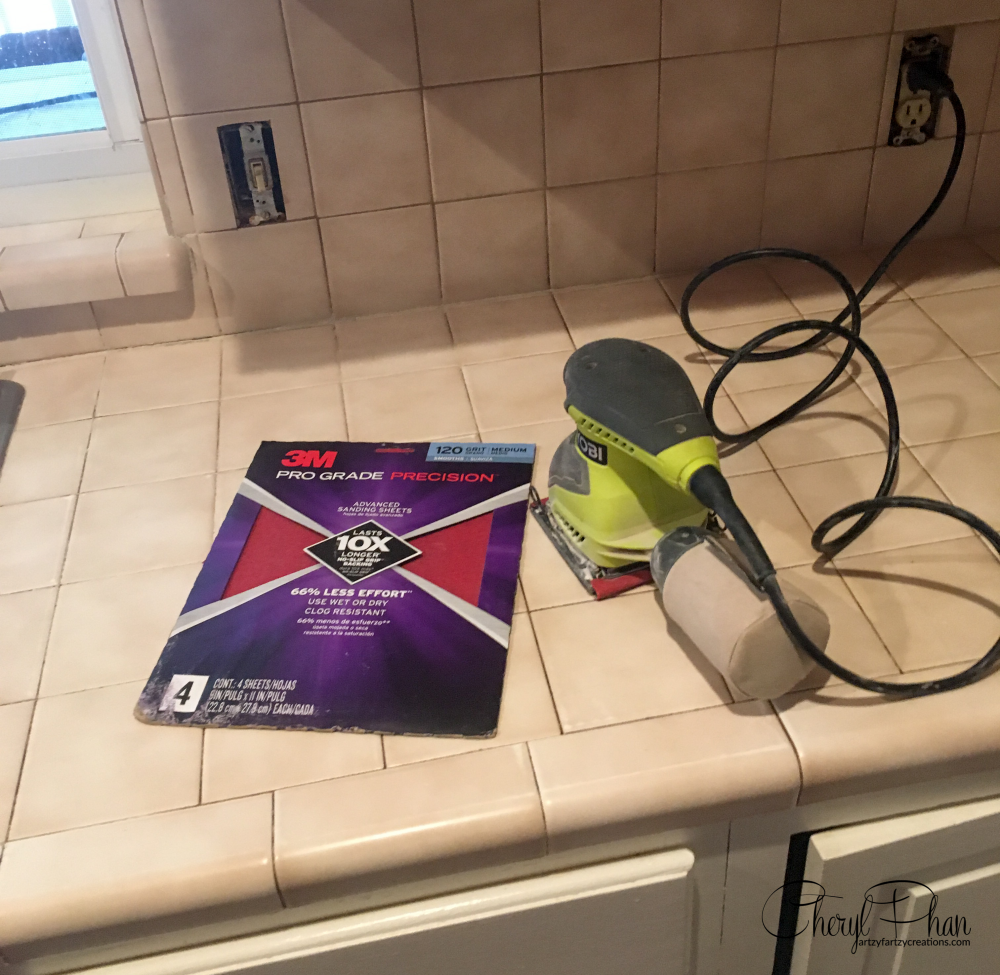
Step 1
The very first thing you want to do is sand the tile countertop. I used 120 grit sandpaper. I think the directions on the box said to use fine sandpaper. I have had a lot of experience painting cabinets, furniture and felt like it would be best to use the 120 grit sandpaper. You want to make sure that you knock down the sheen and create grit so the paint sticks. This, in my opinion, is the most important step. I also like using an electric sander rather than by hand. You will need to use small pieces in the corners.
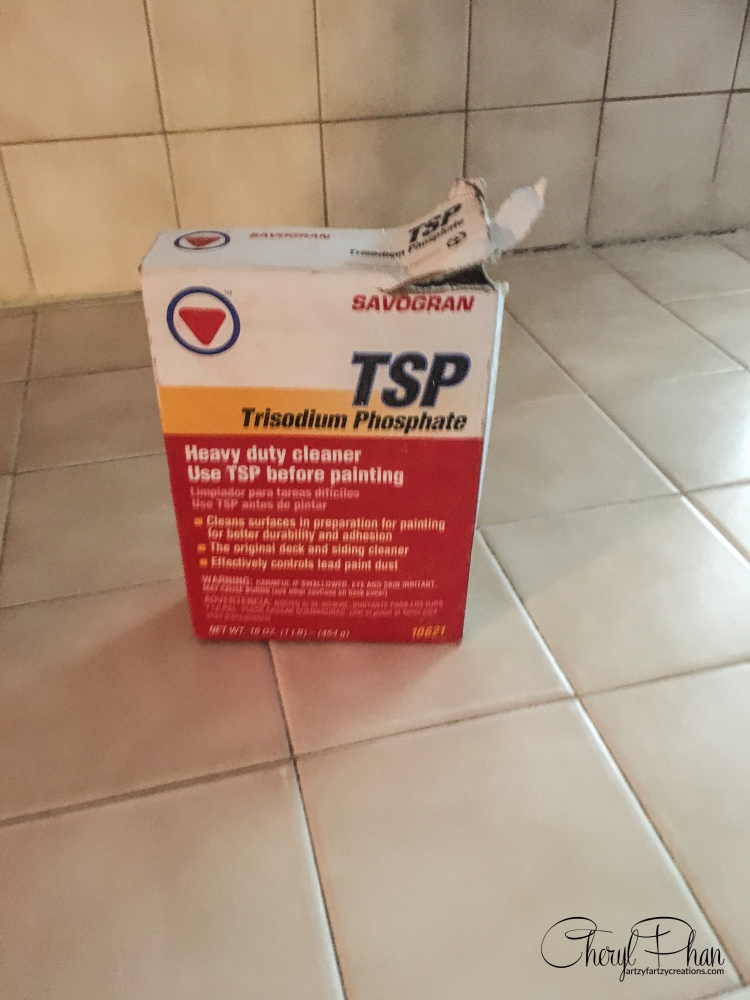
Step 2
I like using TSP to clean after I sand. It cleans grease and grime well. I use this for all my projects.

Step 3
I want to start out by telling you that this product works really well, BUT it has a strong smell. I highly suggest that you wear a Respirator mask and gloves plus open all the windows. I also took a fan and faced it toward the open door.
I also love this soft brush to cut in the corners so there are no brush marks.
IMPORTANT: you must apply two coats of paint for full coverage. The second coat must be applied before 6 hours. Read directions before applying the product. Follow directions.
Here are the supplies you will need
- Gloves: https://amzn.to/2ICag0s
- Mask: https://amzn.to/2s4u3uq
- Cut in brush: https://artzyfartzycreations.com/shop/
- Hot dog roller: https://amzn.to/2IJaRty
- Blue tape: https://amzn.to/2IDtwL9
Watch me go through all the steps in the videos below:
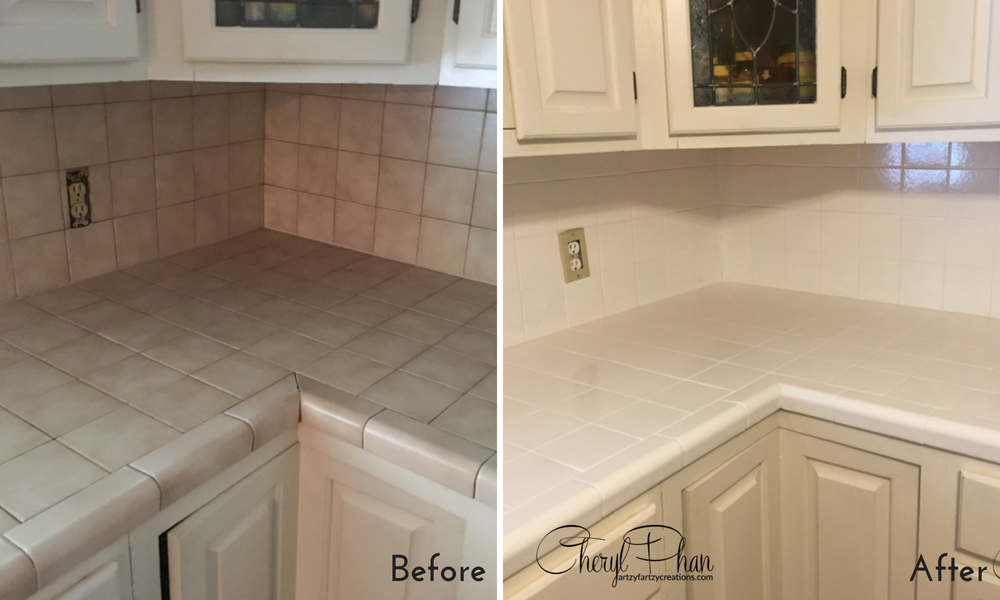
What a difference!!
If you want to learn how to start making money with your hobby get the details HERE
If you want to learn DIY Tricks and Tips get my weekly blog HERE

If you’re interested in learning to DIY unique faux finishes — check out my e-book – How to Faux Finish with Common Household Items. I’ll teach you six amazing painting techniques to create more stunning walls.
Artzy Fartzy Creations. Oh Yes you can DIY!

Bold & Spectacular Gold Crocodile Walls Your Guests Won’t Stop Talking About
Crocodile Walls in a Few Easy Steps Your foyer is [...]

Weathered Wood Finish in 3 Easy Steps
I bought this cute little table for $25 at my [...]

What time-sucking habits are keeping you from success?
Do you ever feel like there is too much to [...]

4 Creative DIY Techniques to Transform your Furniture
Don’t you just love garage sales? It’s one [...]

How to Create and Register Your Own #hashtags
So, what are hashtags, and should I register them? I [...]

Don’t Discard Your Old Picture Frames
Transform your old picture frames … I literally [...]
Contents
Recent Reads

Limewash Brick: 1-Easy-Step for a Beautiful Home
DIY Limewash Finish for Exterior Brick Ready to learn how [...]
Whitewashing Furniture Made Simple
Want to learn a simple 2-step process for whitewashing furniture? [...]

Spectacular Furniture Woodgrain Finish on a Budget
Want to learn my secret to creating [...]