How to apply the perfect caulk line
Inevitably, when you apply molding of any kind to a wall you will end up with gaps. This is because the wall isn’t completely flat. The best way to give it that finished look is to apply a caulk line. The problem is, when you add the caulking it may come out thick and when you use your finger to smooth it out it will smudge on the wall and make a mess.
But I have the perfect solution.
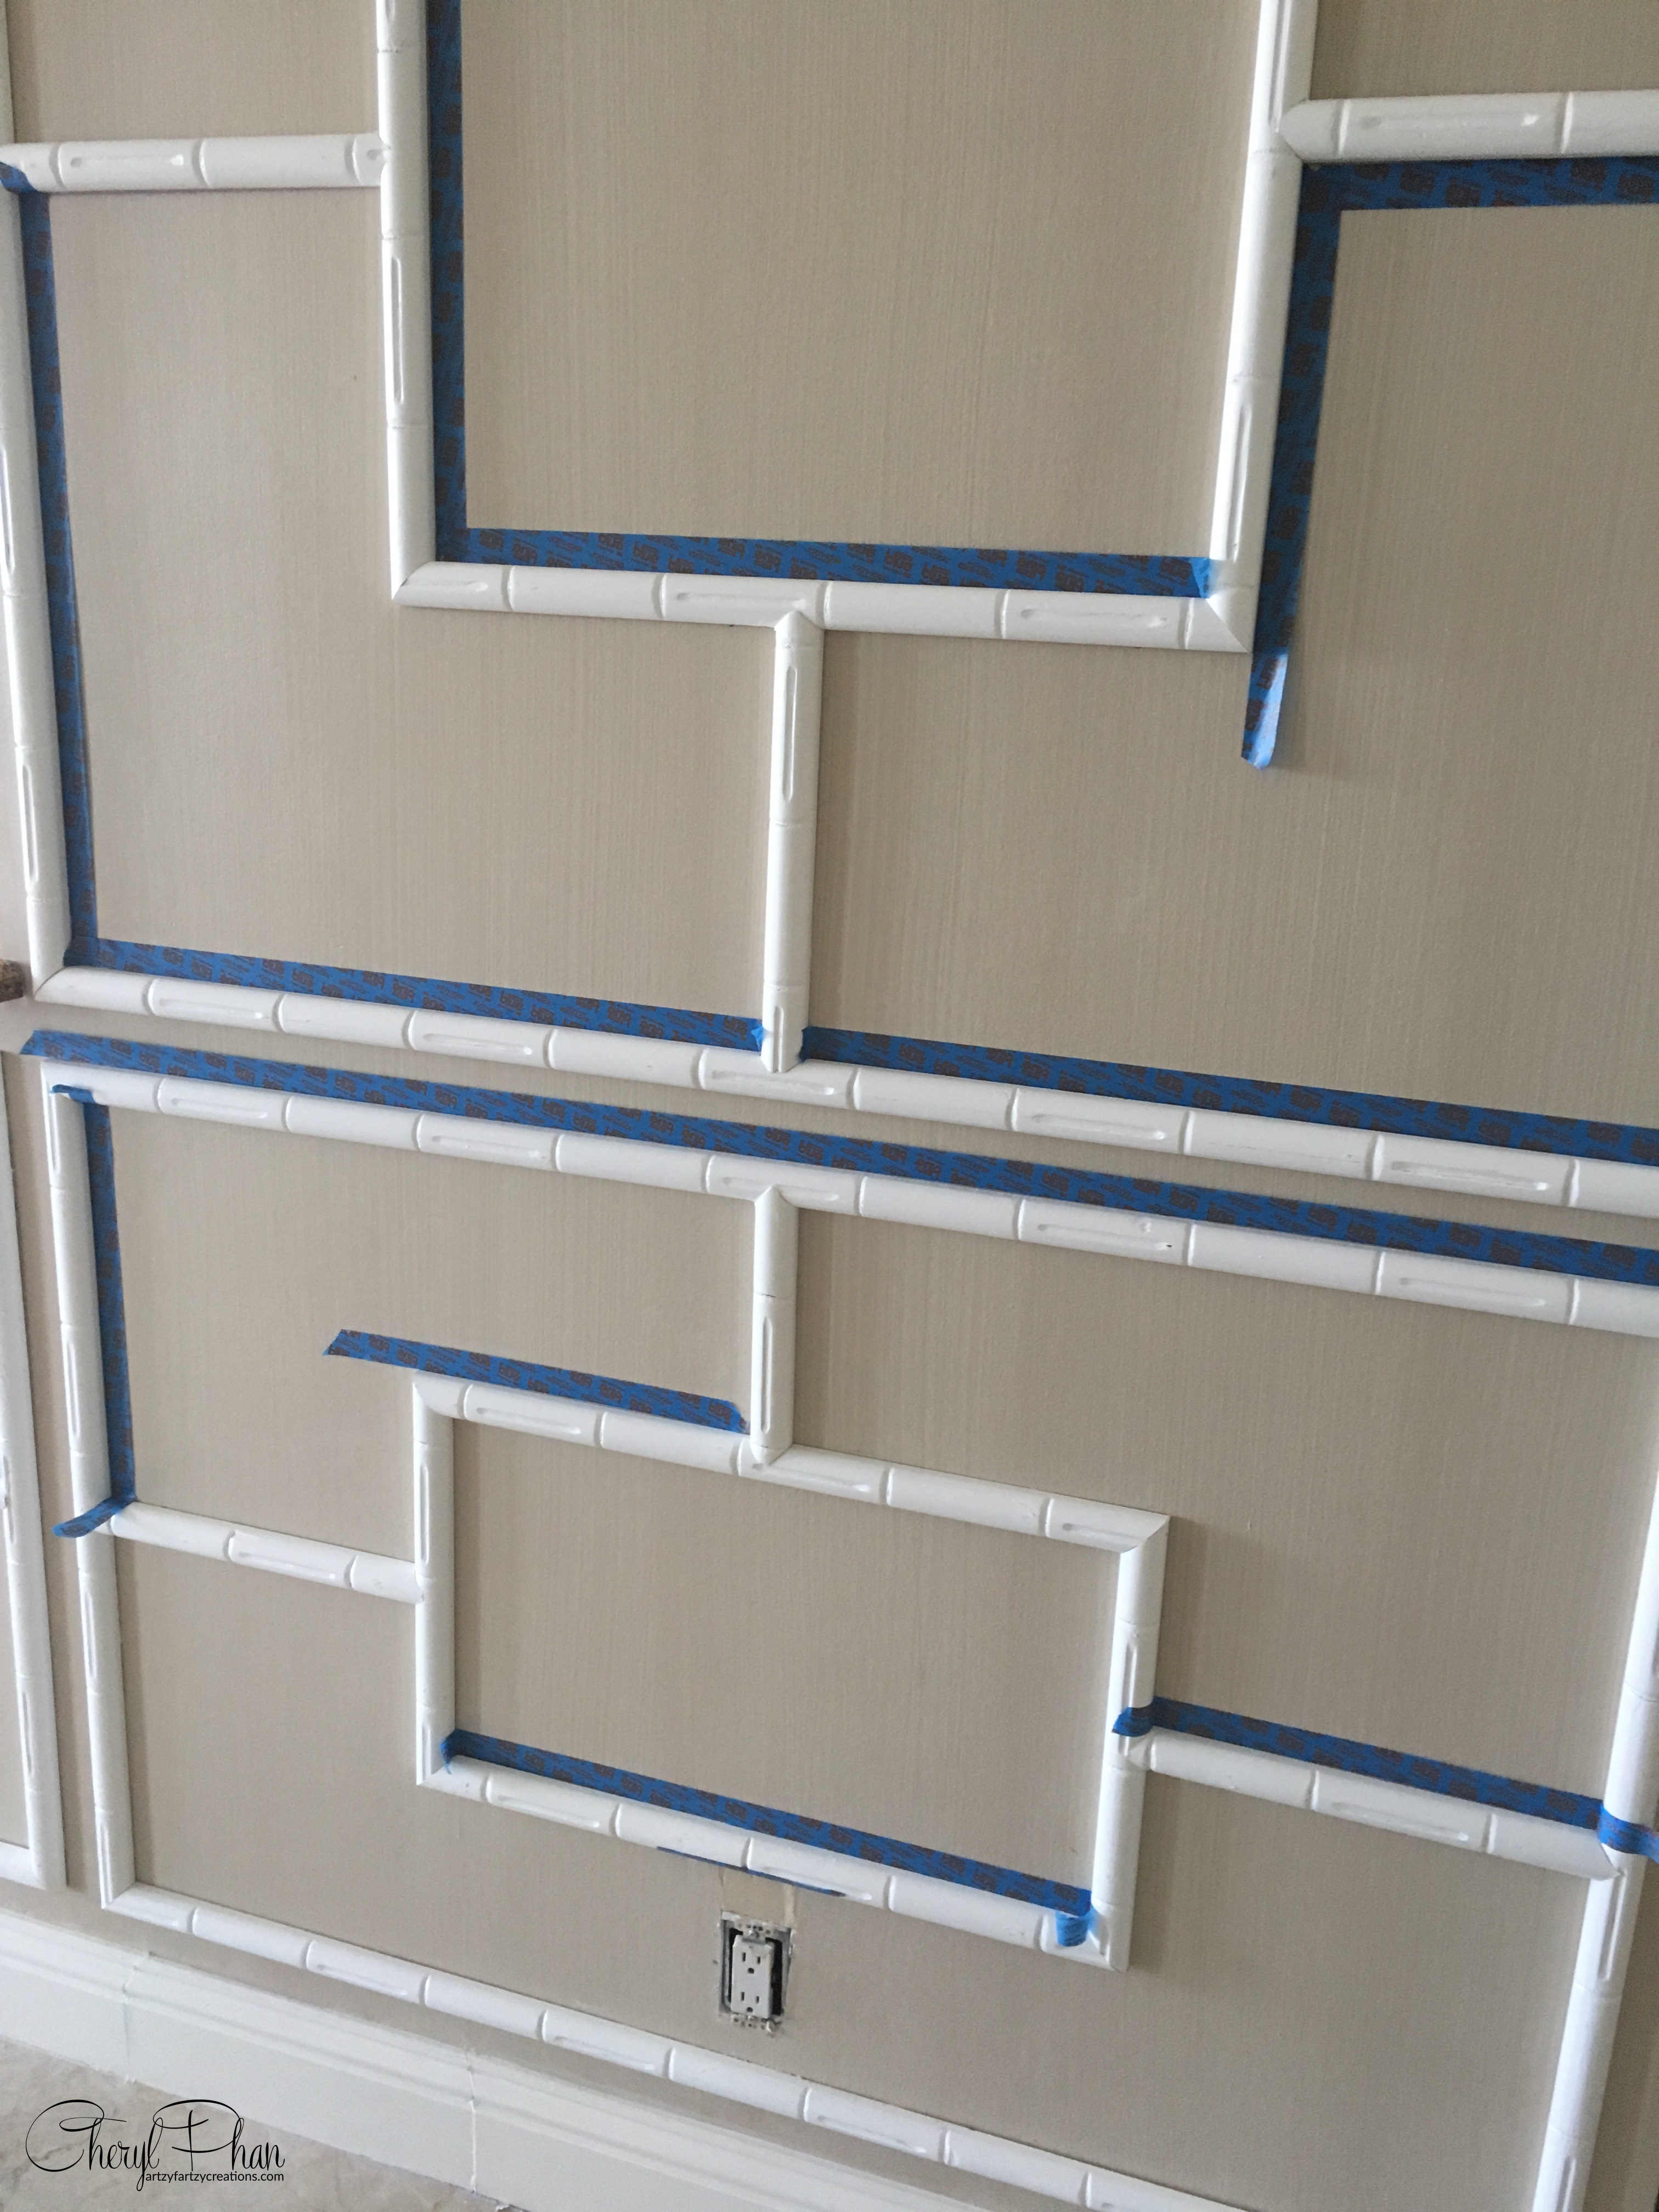
Here’s a great hack I learned a long time ago. Run a piece of tape along the edge of the molding. It may be an extra step, but it is well worth the extra time.
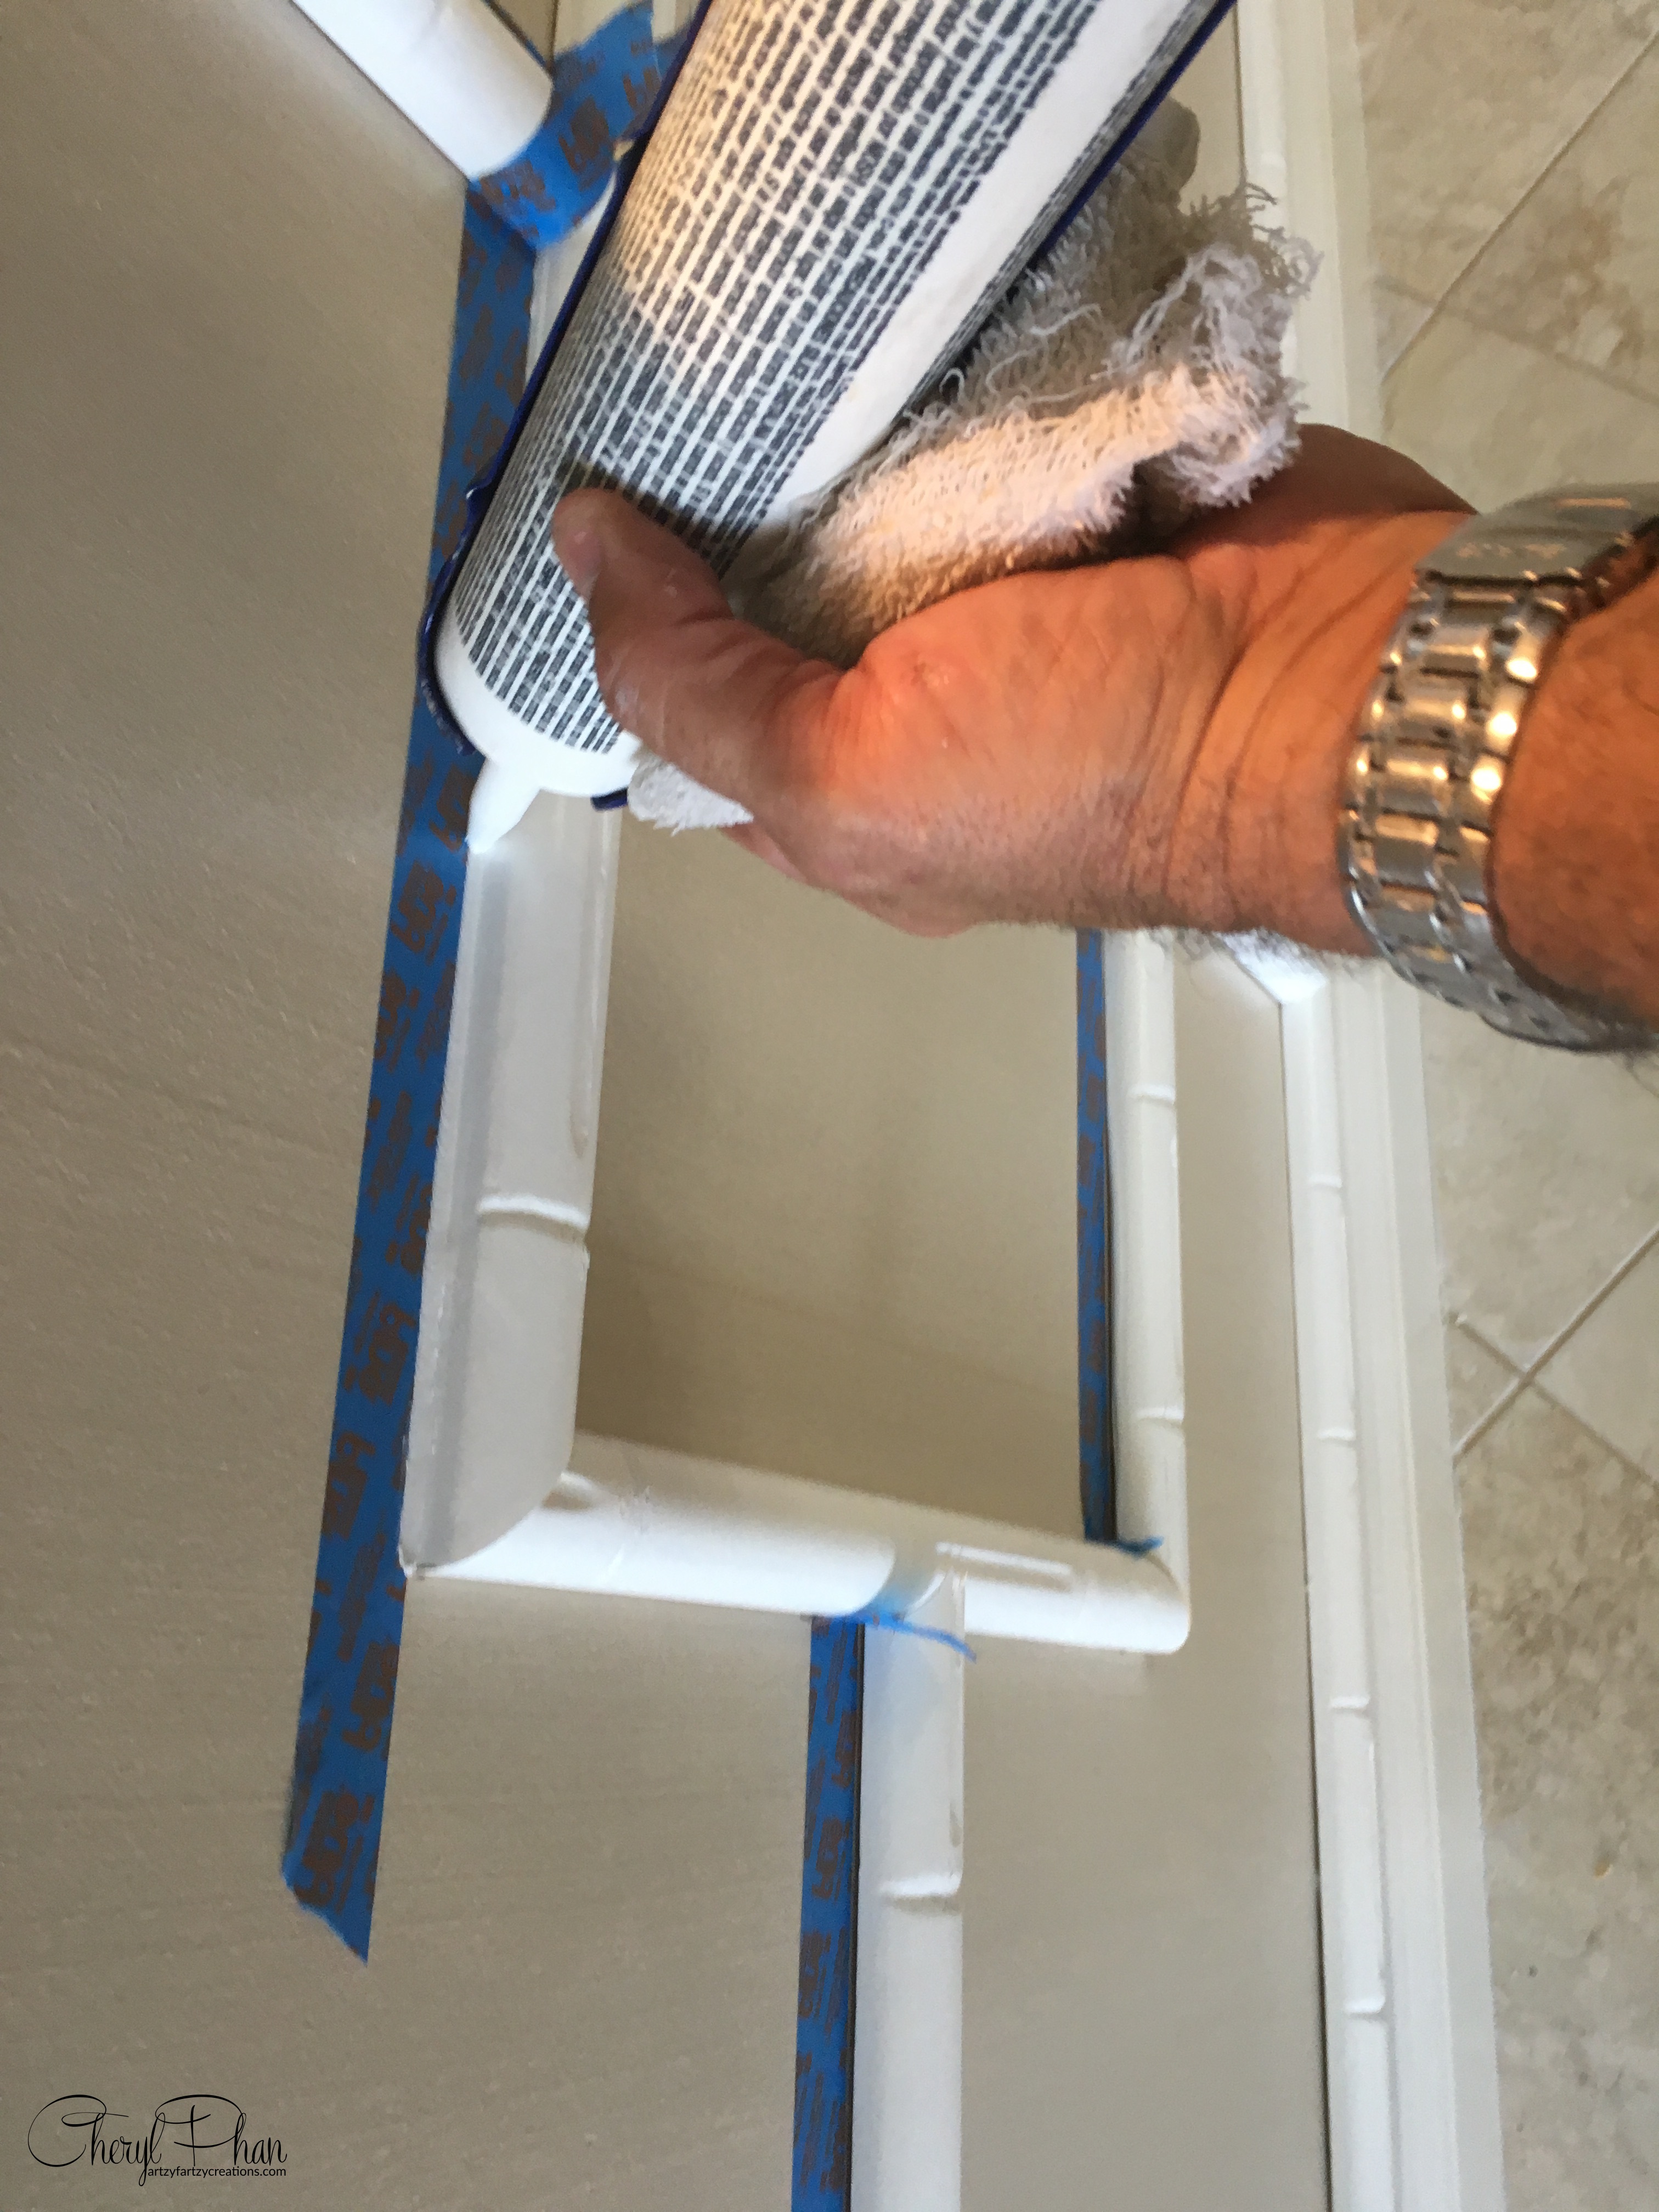
Then apply a small amount of caulking along the edge. Use a damp rag or your finger to smooth it out.
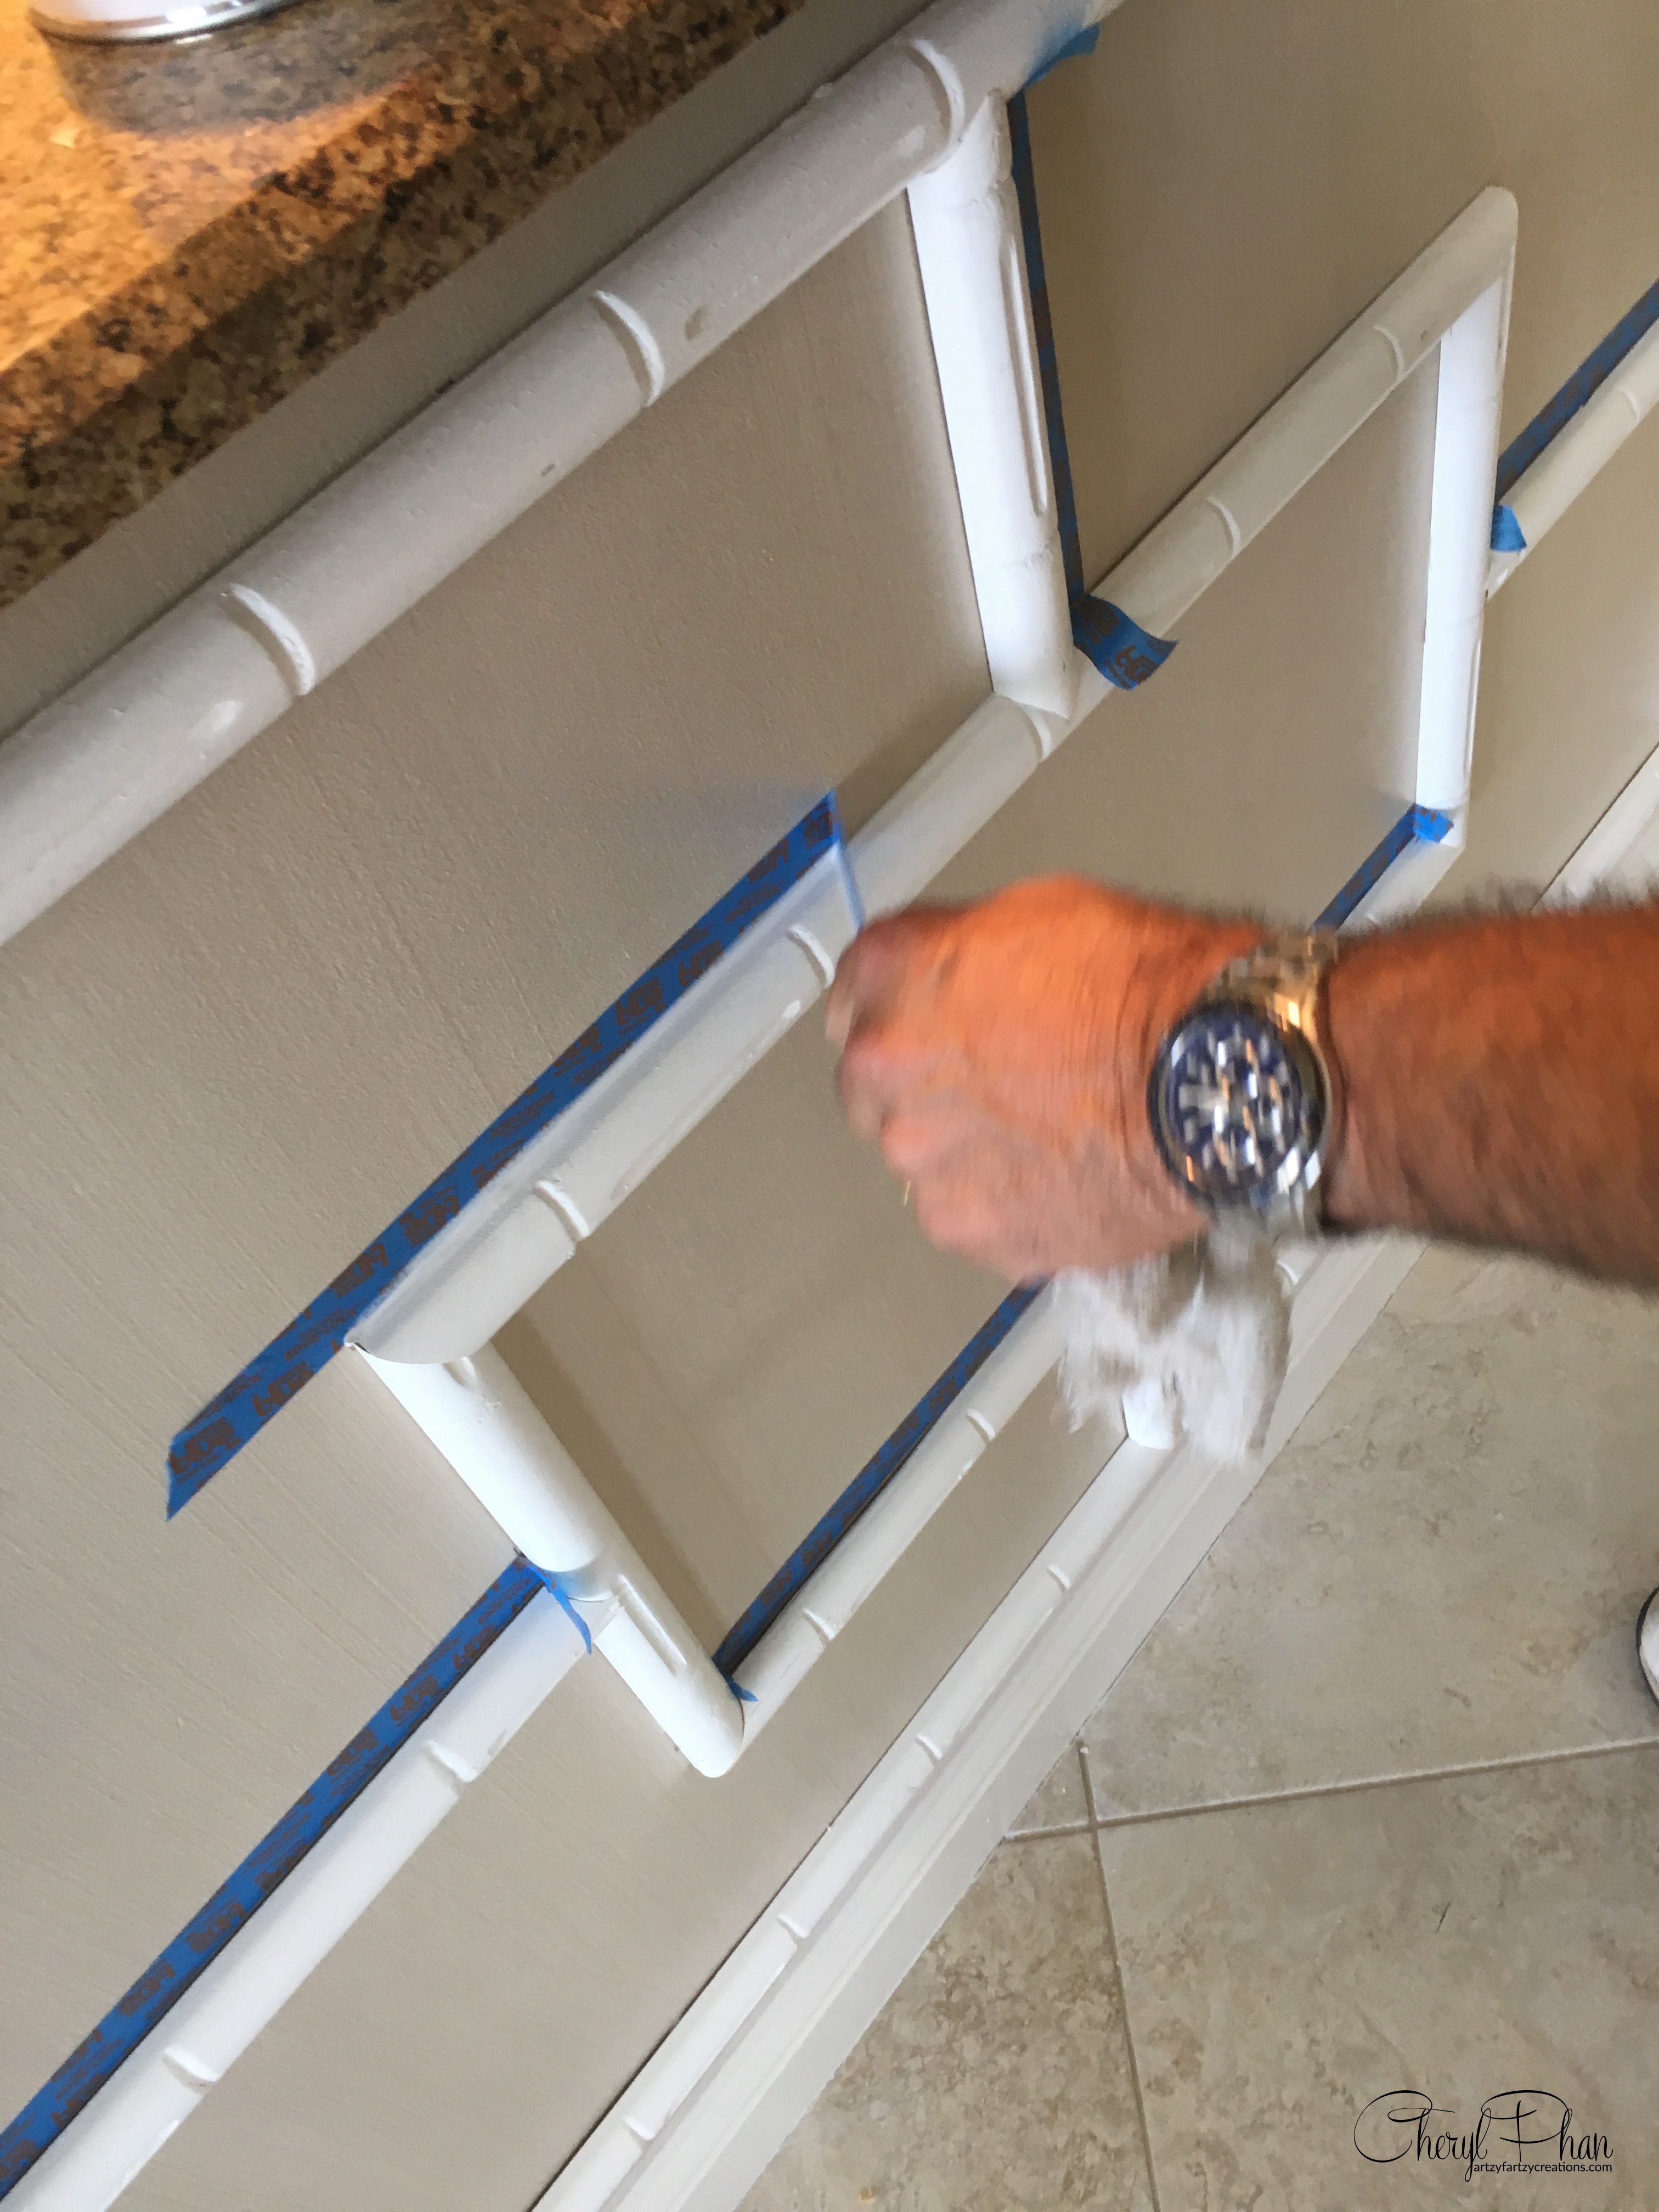
Remove the tape immediately.
There you have it, a perfect line without the smudgy mess. This works well on bathtubs and sinks as well.

Perfect caulk line. No smudging, no mess.
If you want to learn how to start making money with your hobby get the details HERE
If you want to learn DIY Tricks and Tips get my weekly blog HERE


Artzy Fartzy Creations. Oh Yes you can DIY!

How to Embellish with Gilt Cream
Look at all the things you can do [...]

How to Create Patina that looks Authentic
You don’t need any fancy products to create [...]

DIY Nautical TV Tray Makeover
Do you remember these TV trays? Maybe you [...]
How to Make Your Own Chalk Type Paint
Stop paying for overpriced chalk paint and MAKE [...]

Thrift Store Lamp Makeover Ideas
Why buy a new lamp when you can [...]
Contents
Recent Reads

Turn Your Passion Into A Paycheck
If you’ve been following me for any length of time, [...]

Learn How to Take Your Own Professional Pictures with These 4 Tools and Save Hundreds of Dollars
You don’t need to spend a ton of money on [...]

How to pick the PERFECT PAINT COLORS for Your Walls
Need help picking paint colors? I have the thing you’re [...]