How to apply the perfect caulk line
Inevitably, when you apply molding of any kind to a wall you will end up with gaps. This is because the wall isn’t completely flat. The best way to give it that finished look is to apply a caulk line. The problem is, when you add the caulking it may come out thick and when you use your finger to smooth it out it will smudge on the wall and make a mess.
But I have the perfect solution.
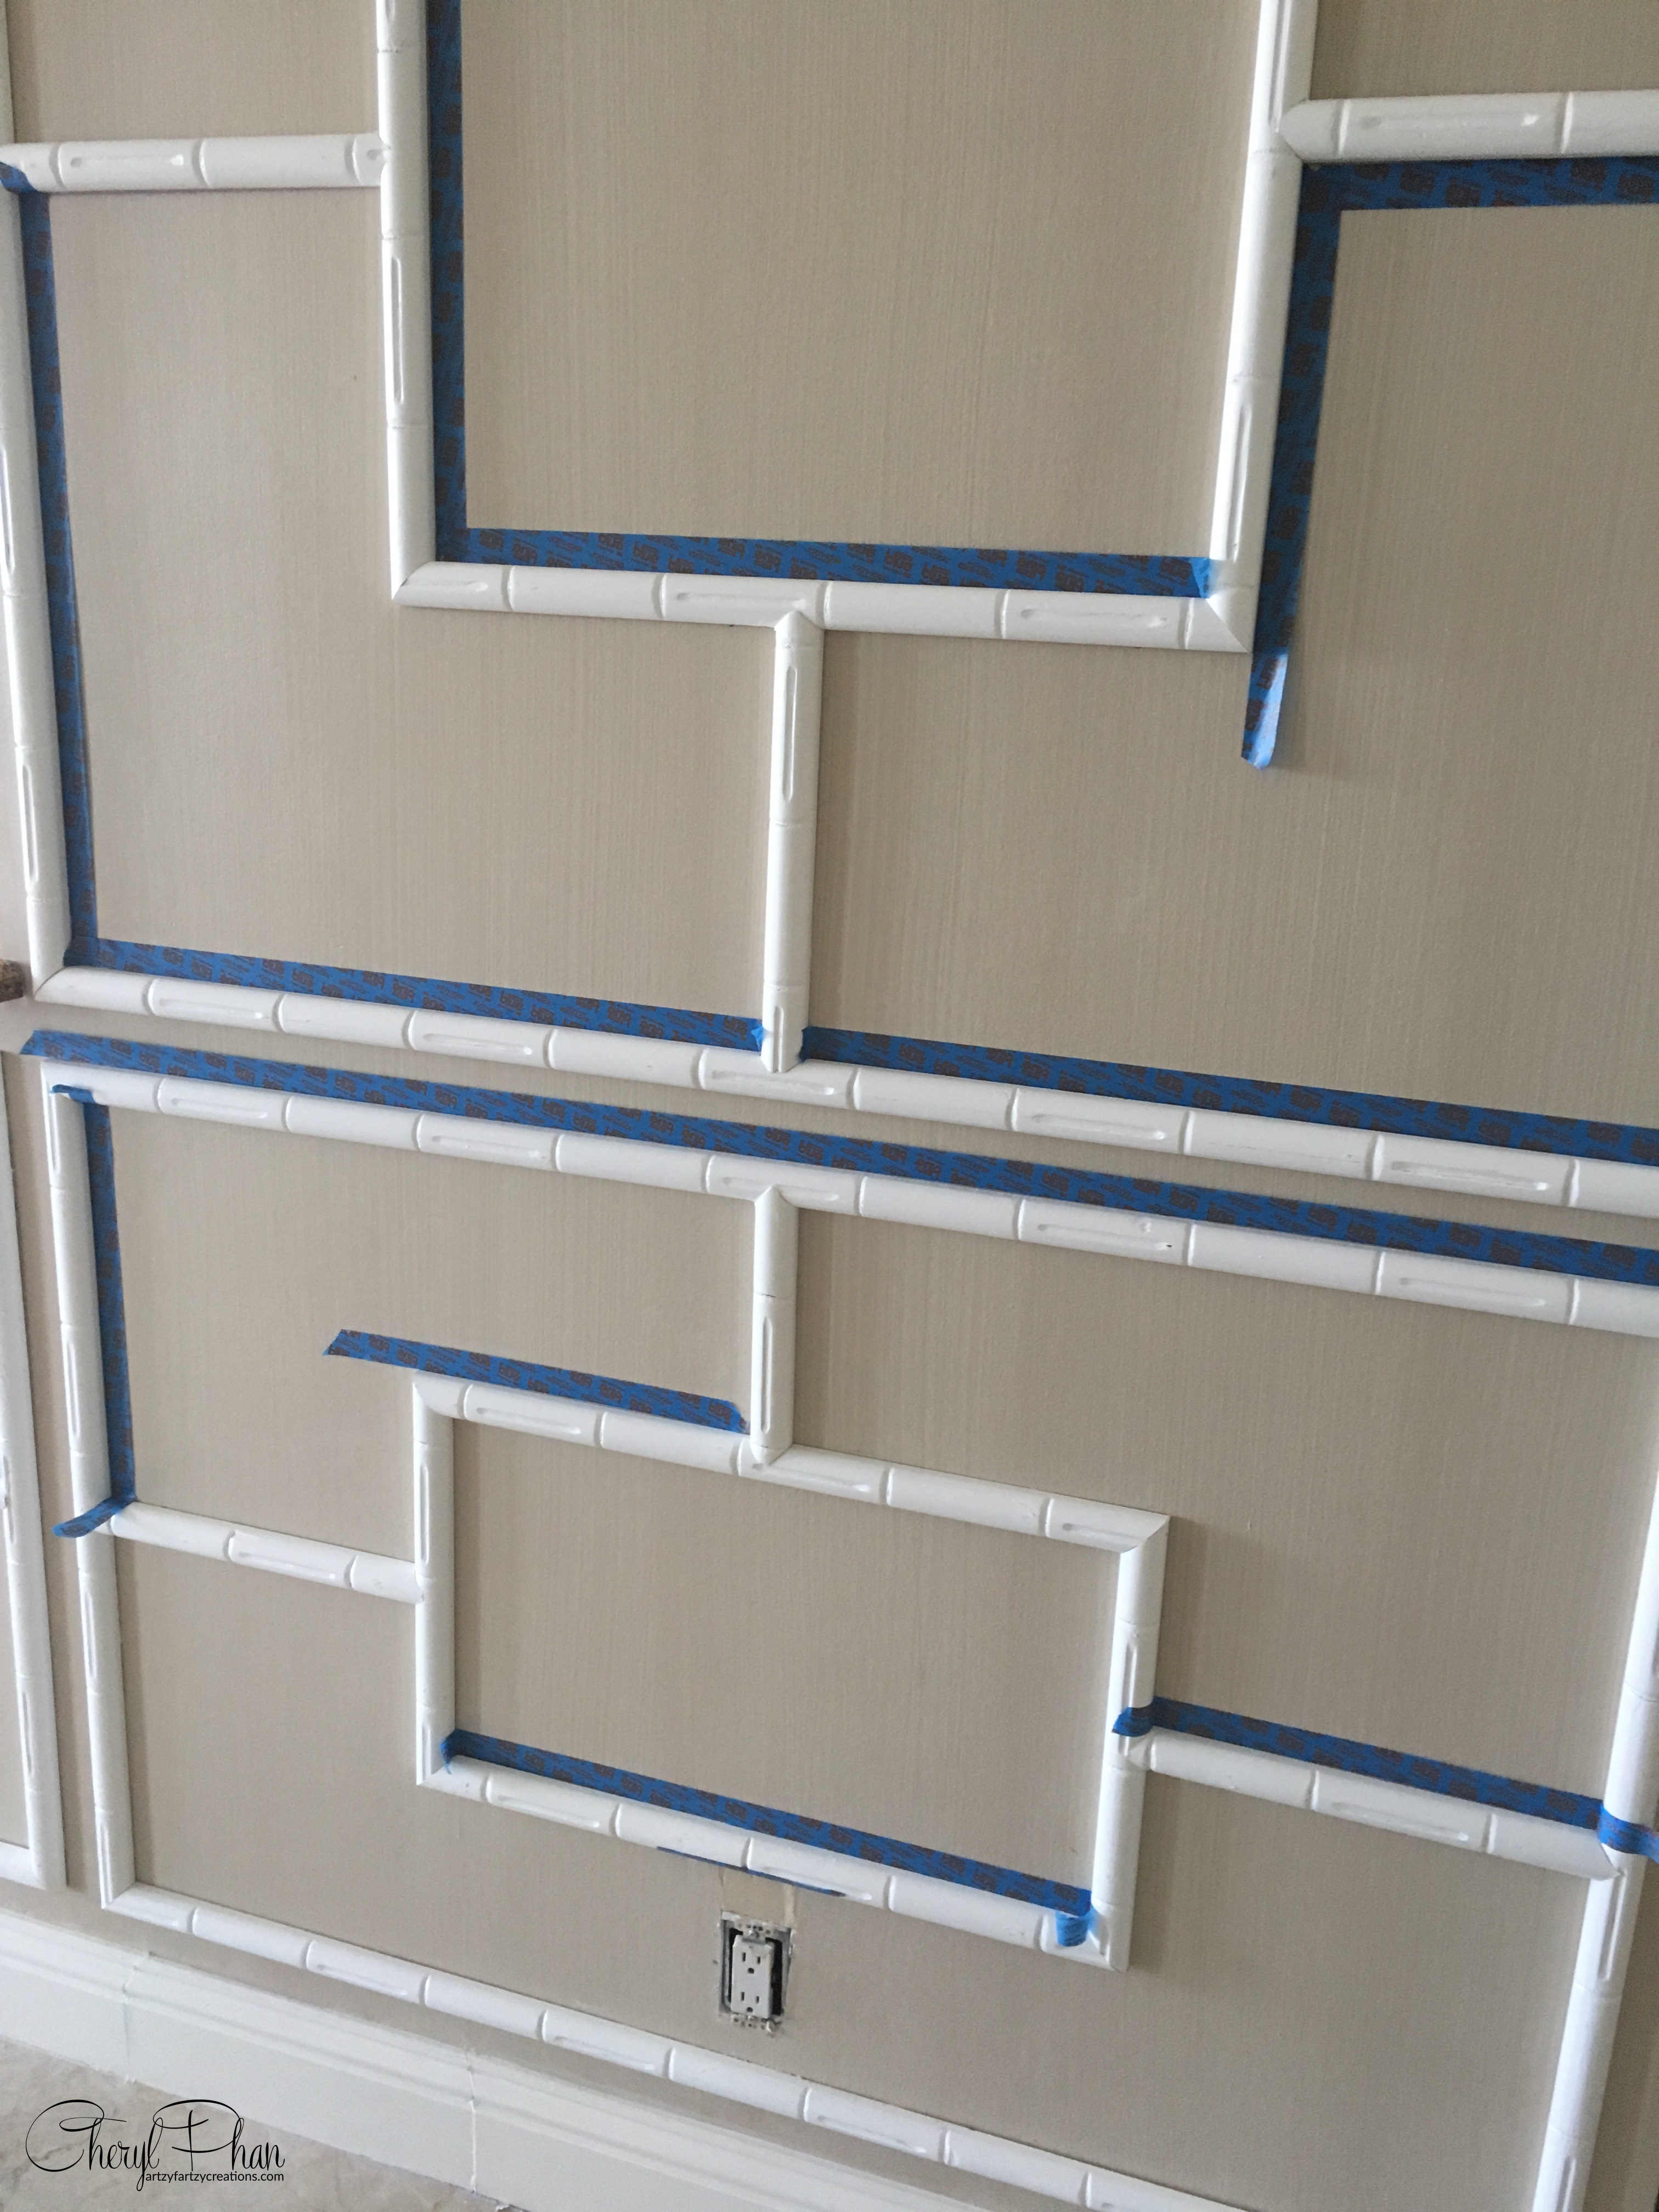
Here’s a great hack I learned a long time ago. Run a piece of tape along the edge of the molding. It may be an extra step, but it is well worth the extra time.
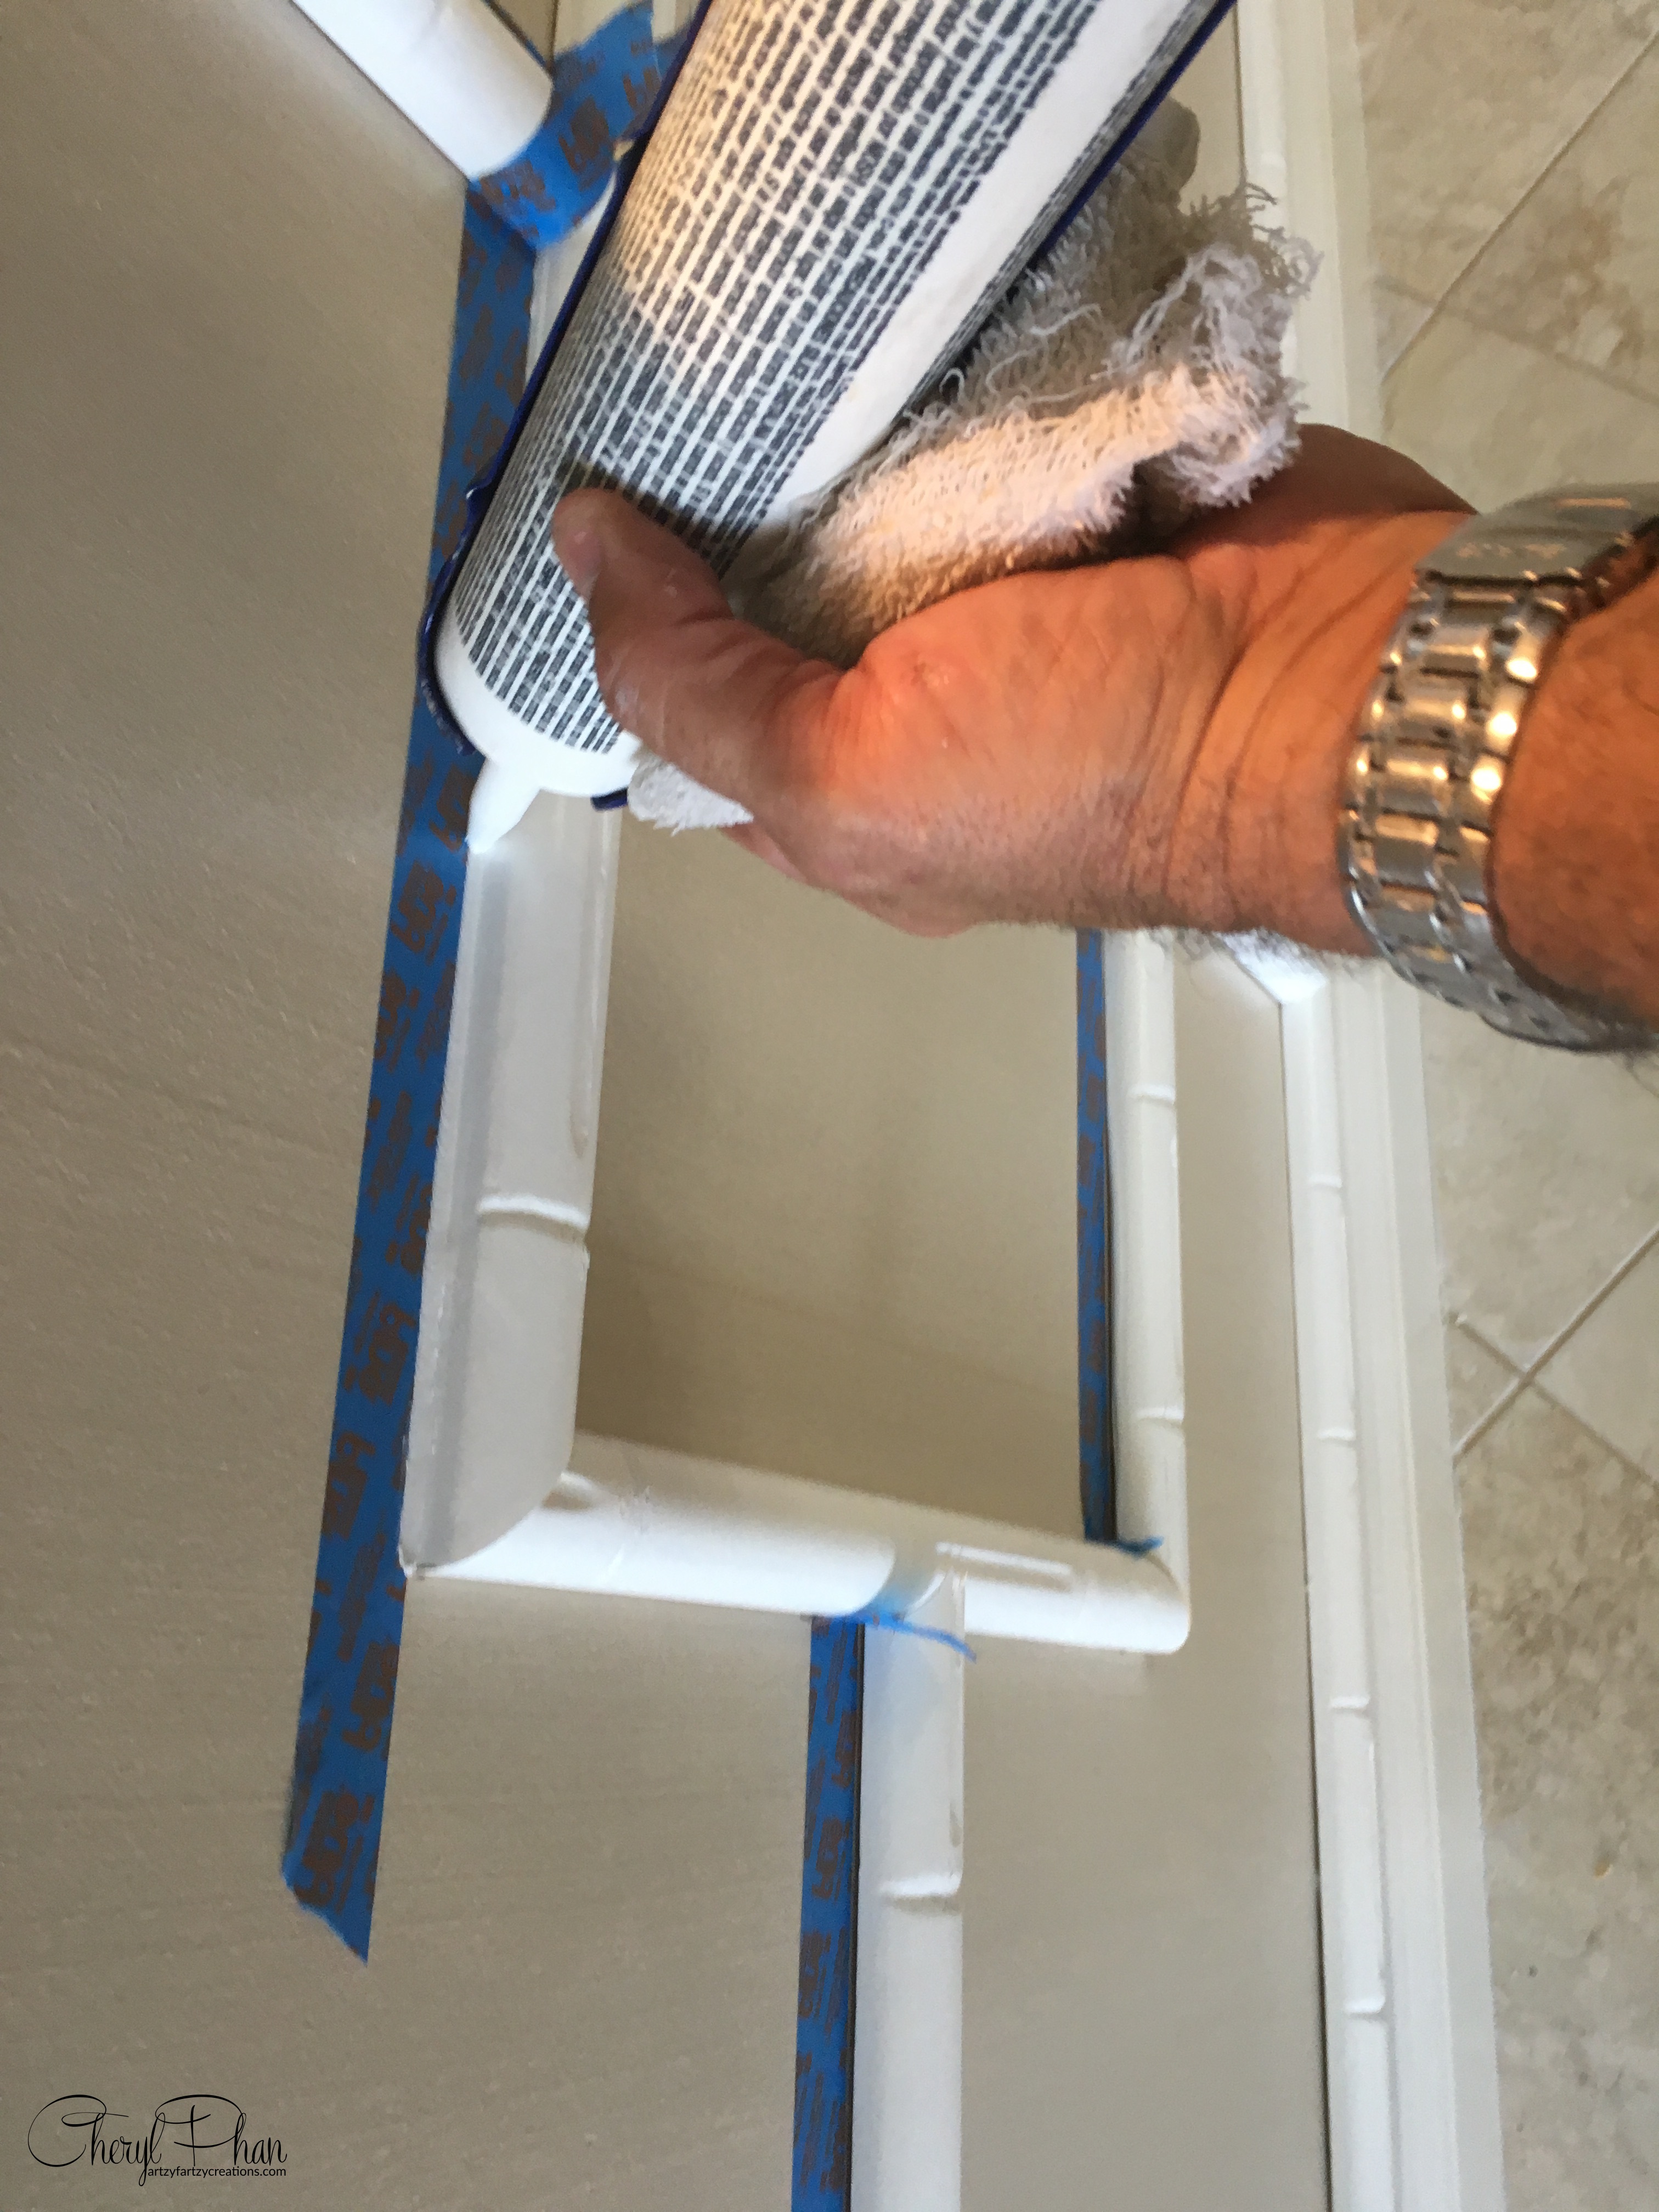
Then apply a small amount of caulking along the edge. Use a damp rag or your finger to smooth it out.
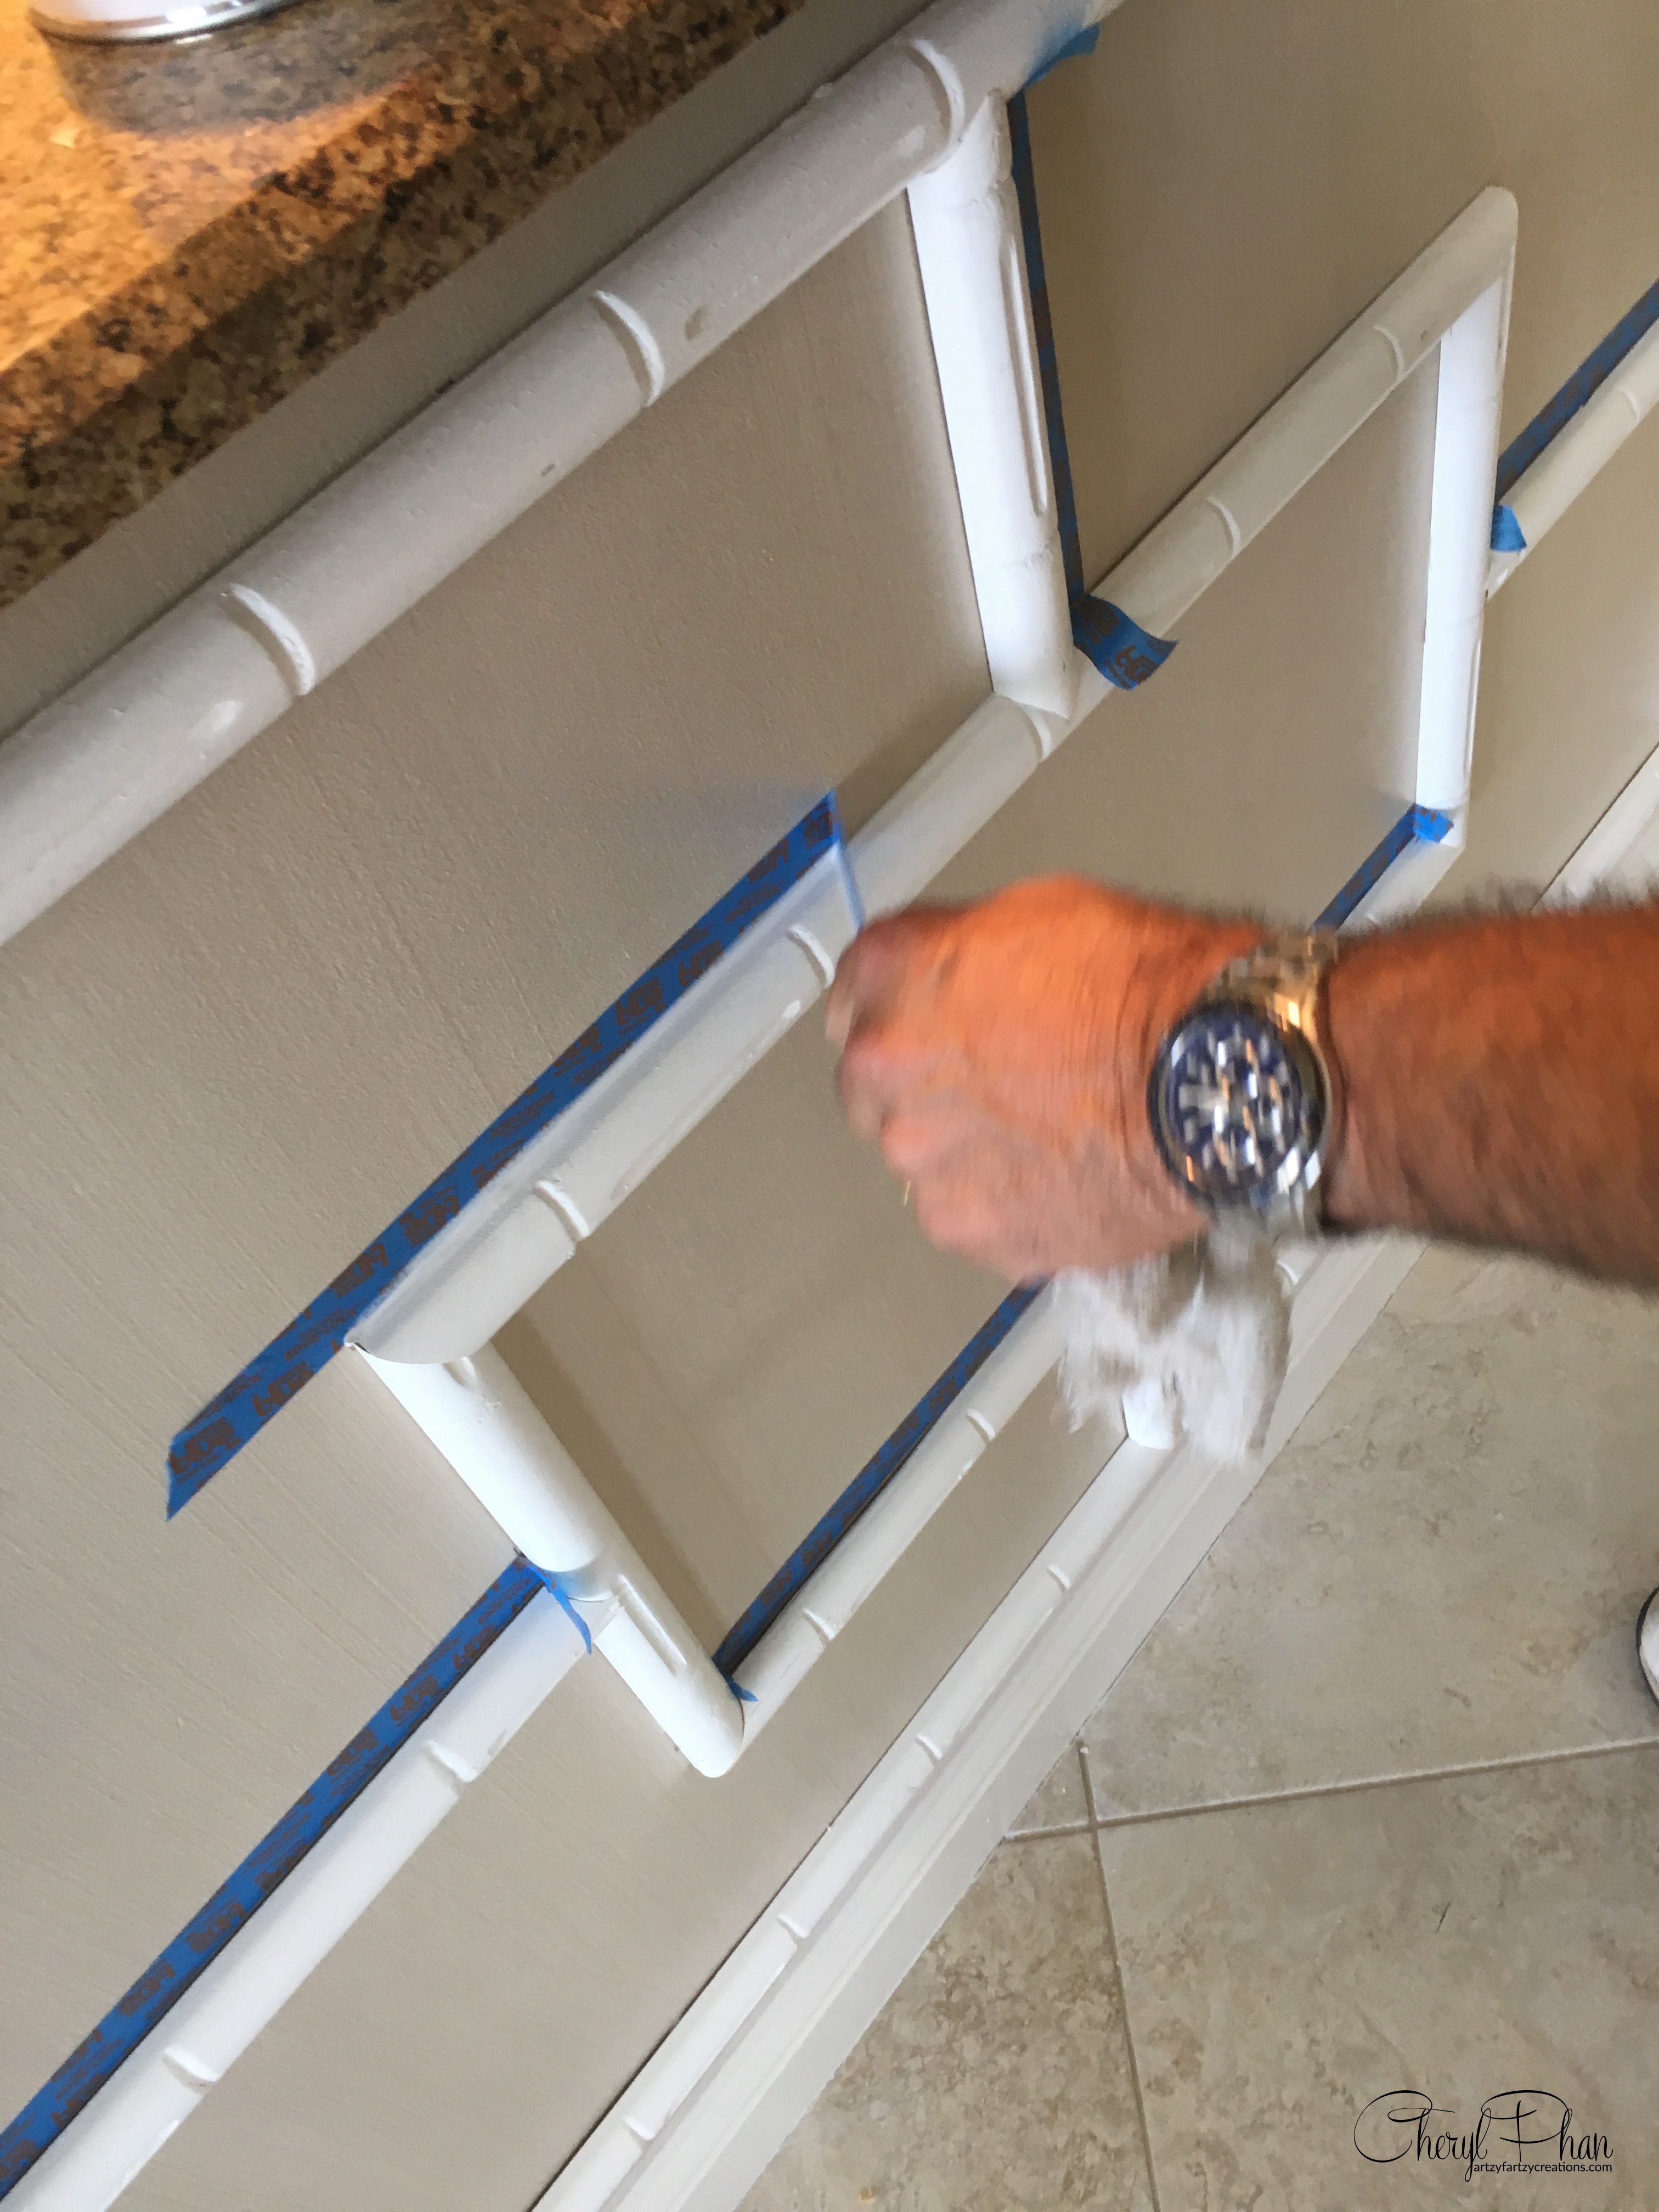
Remove the tape immediately.
There you have it, a perfect line without the smudgy mess. This works well on bathtubs and sinks as well.

Perfect caulk line. No smudging, no mess.
If you want to learn how to start making money with your hobby get the details HERE
If you want to learn DIY Tricks and Tips get my weekly blog HERE


Artzy Fartzy Creations. Oh Yes you can DIY!

6 Tips to Painting PERFECT STRIPES Every Time!
I’m going to share my 6 tips on how to [...]

Decorative Artisan of the Month
Decorative Artisan of the Month Chicago Institute of [...]
Distressed Table
“Paint du Coco” chalk paint I found this [...]

Classy Zebra Chair
Trash-To-Treasure Transformation This Old Chair Gets A Makeover You Won’t [...]

Curb Appeal That Matters!
Today, there are new ways to make a [...]

Make Chalkboard Paint In Any Color
Easy Peasy DIY Projects! Make your own chalk [...]
Contents
Recent Reads

What’s the Best Day and Time to Send Your Emails to Increase Your Open Rate?
Great question… The last thing you want to [...]

How to Create an Action Plan and Timeline for Your Online Business
Most businesses start with a dream and high [...]

How to Add a Bold Statement with Metallic Paint
It's no secret that bold metallic-painted walls are back in [...]