How to apply the perfect caulk line
Inevitably, when you apply molding of any kind to a wall you will end up with gaps. This is because the wall isn’t completely flat. The best way to give it that finished look is to apply a caulk line. The problem is, when you add the caulking it may come out thick and when you use your finger to smooth it out it will smudge on the wall and make a mess.
But I have the perfect solution.
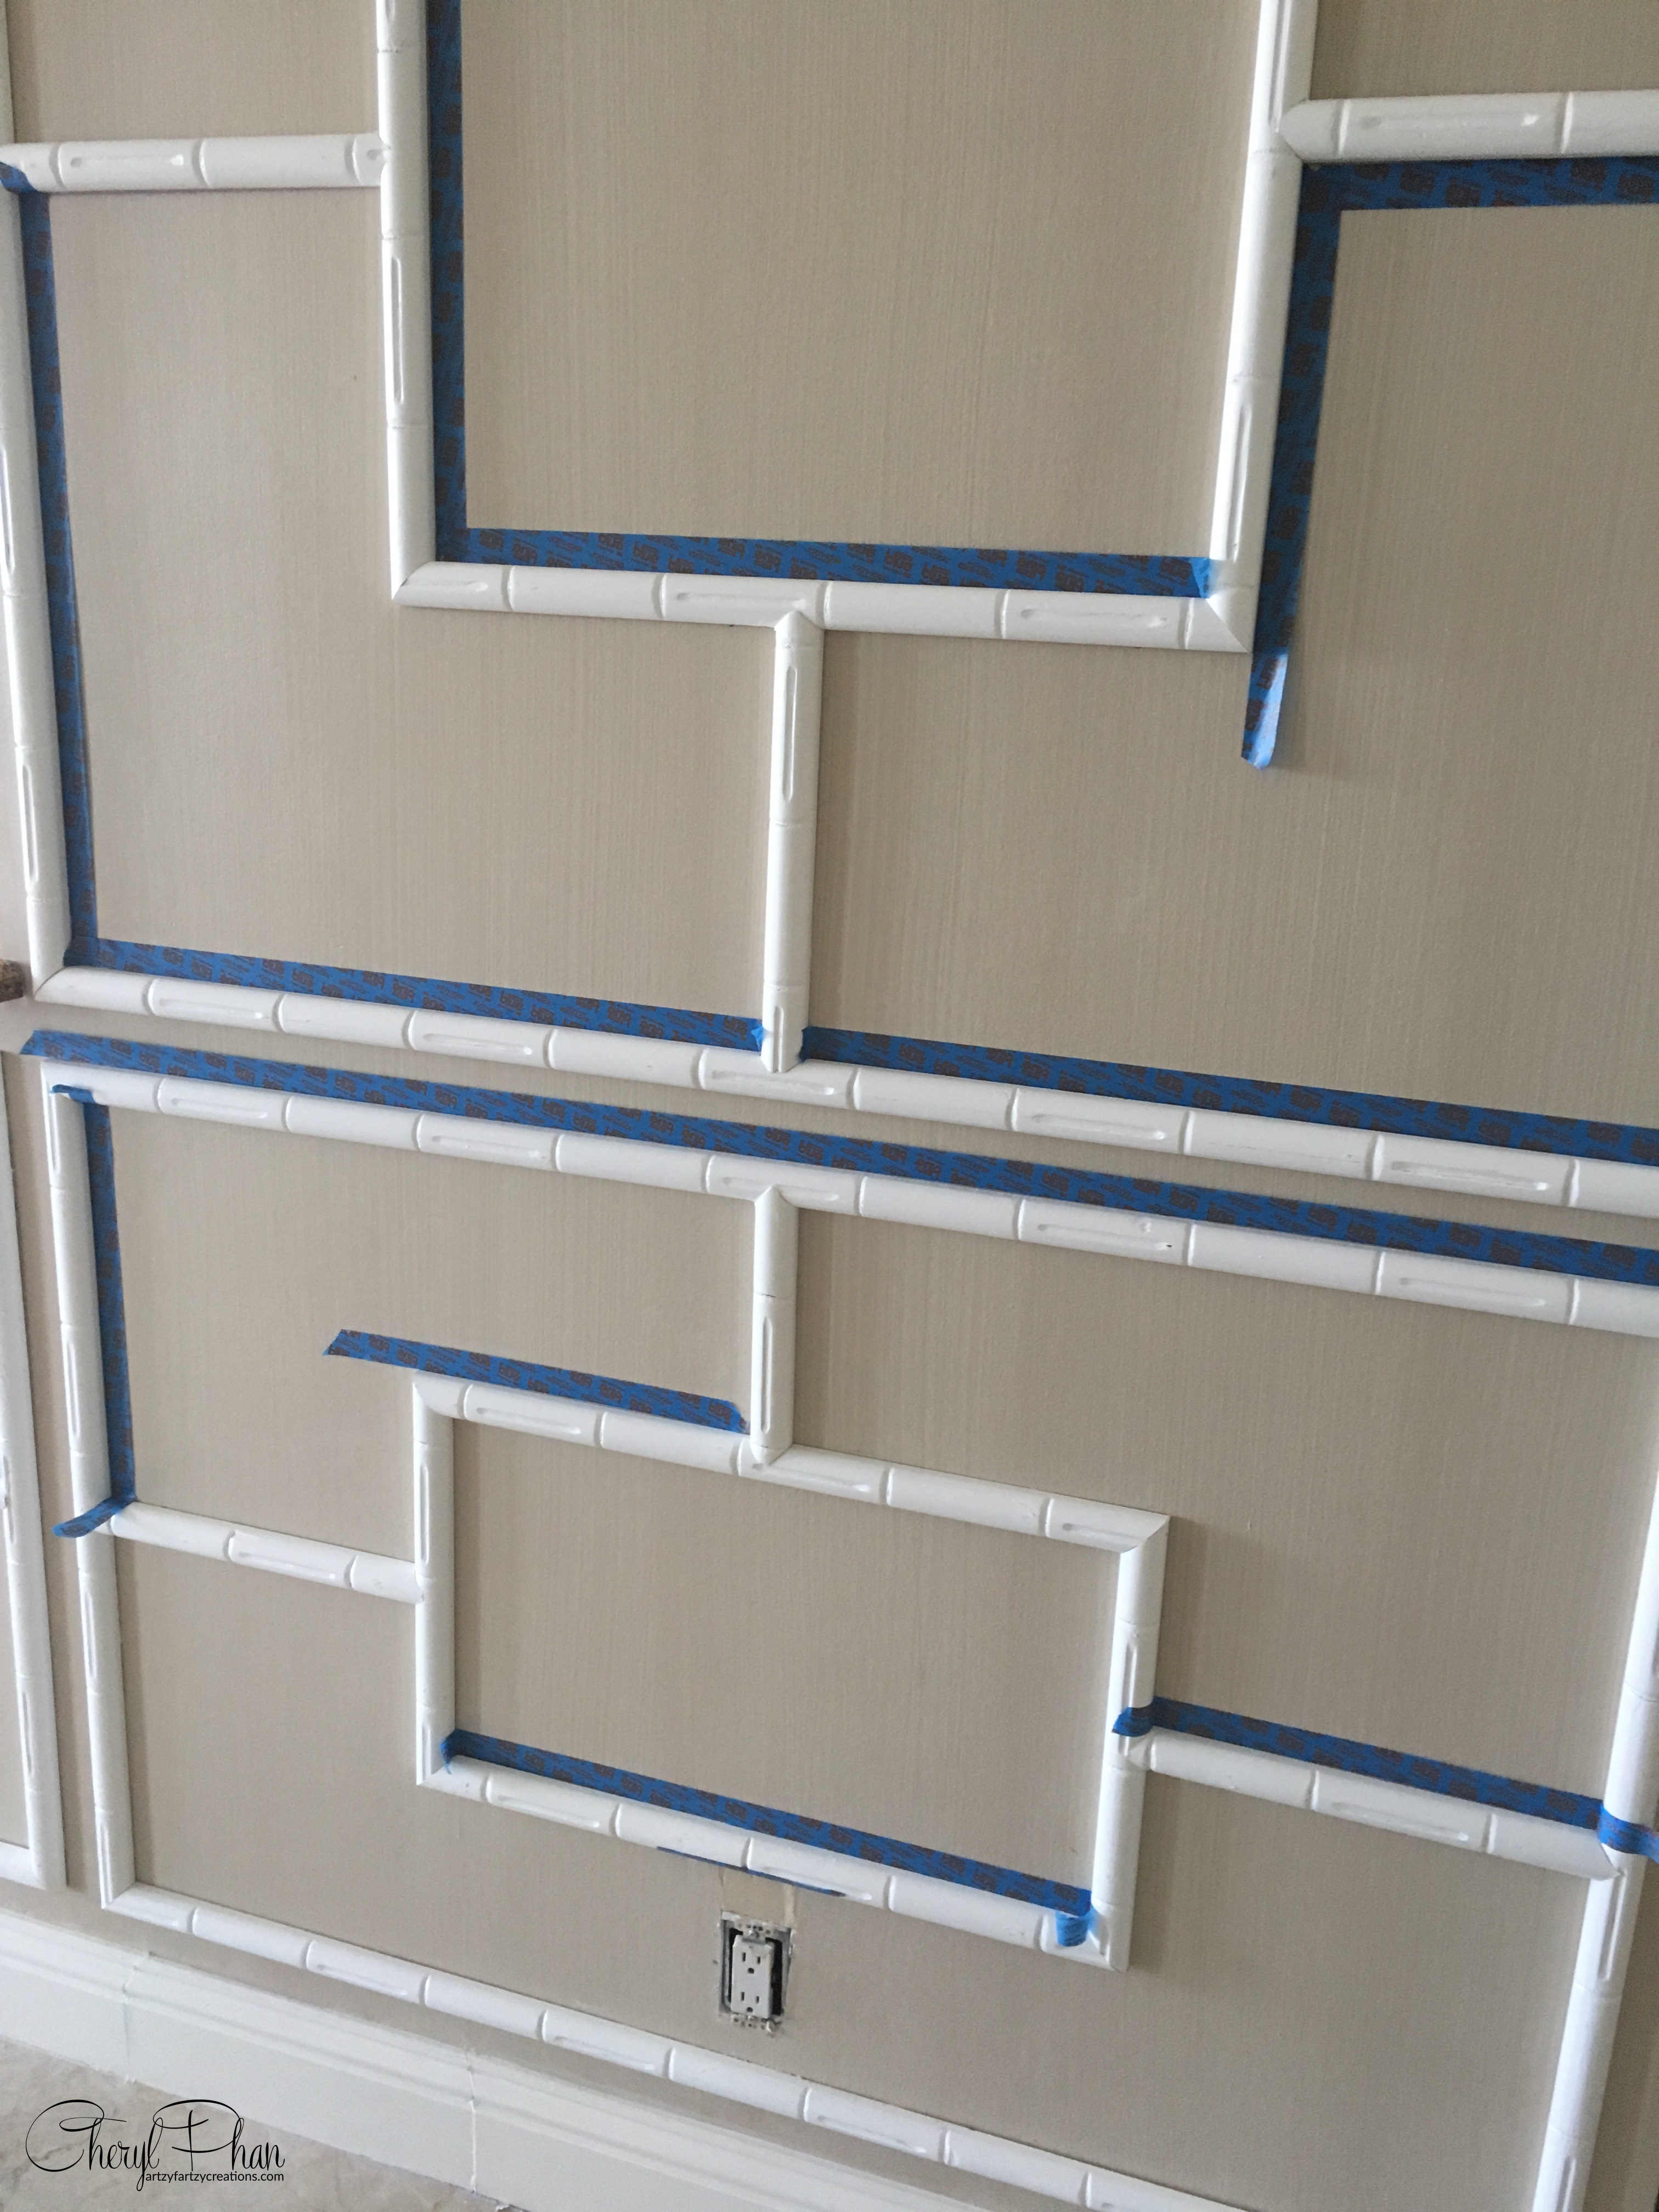
Here’s a great hack I learned a long time ago. Run a piece of tape along the edge of the molding. It may be an extra step, but it is well worth the extra time.
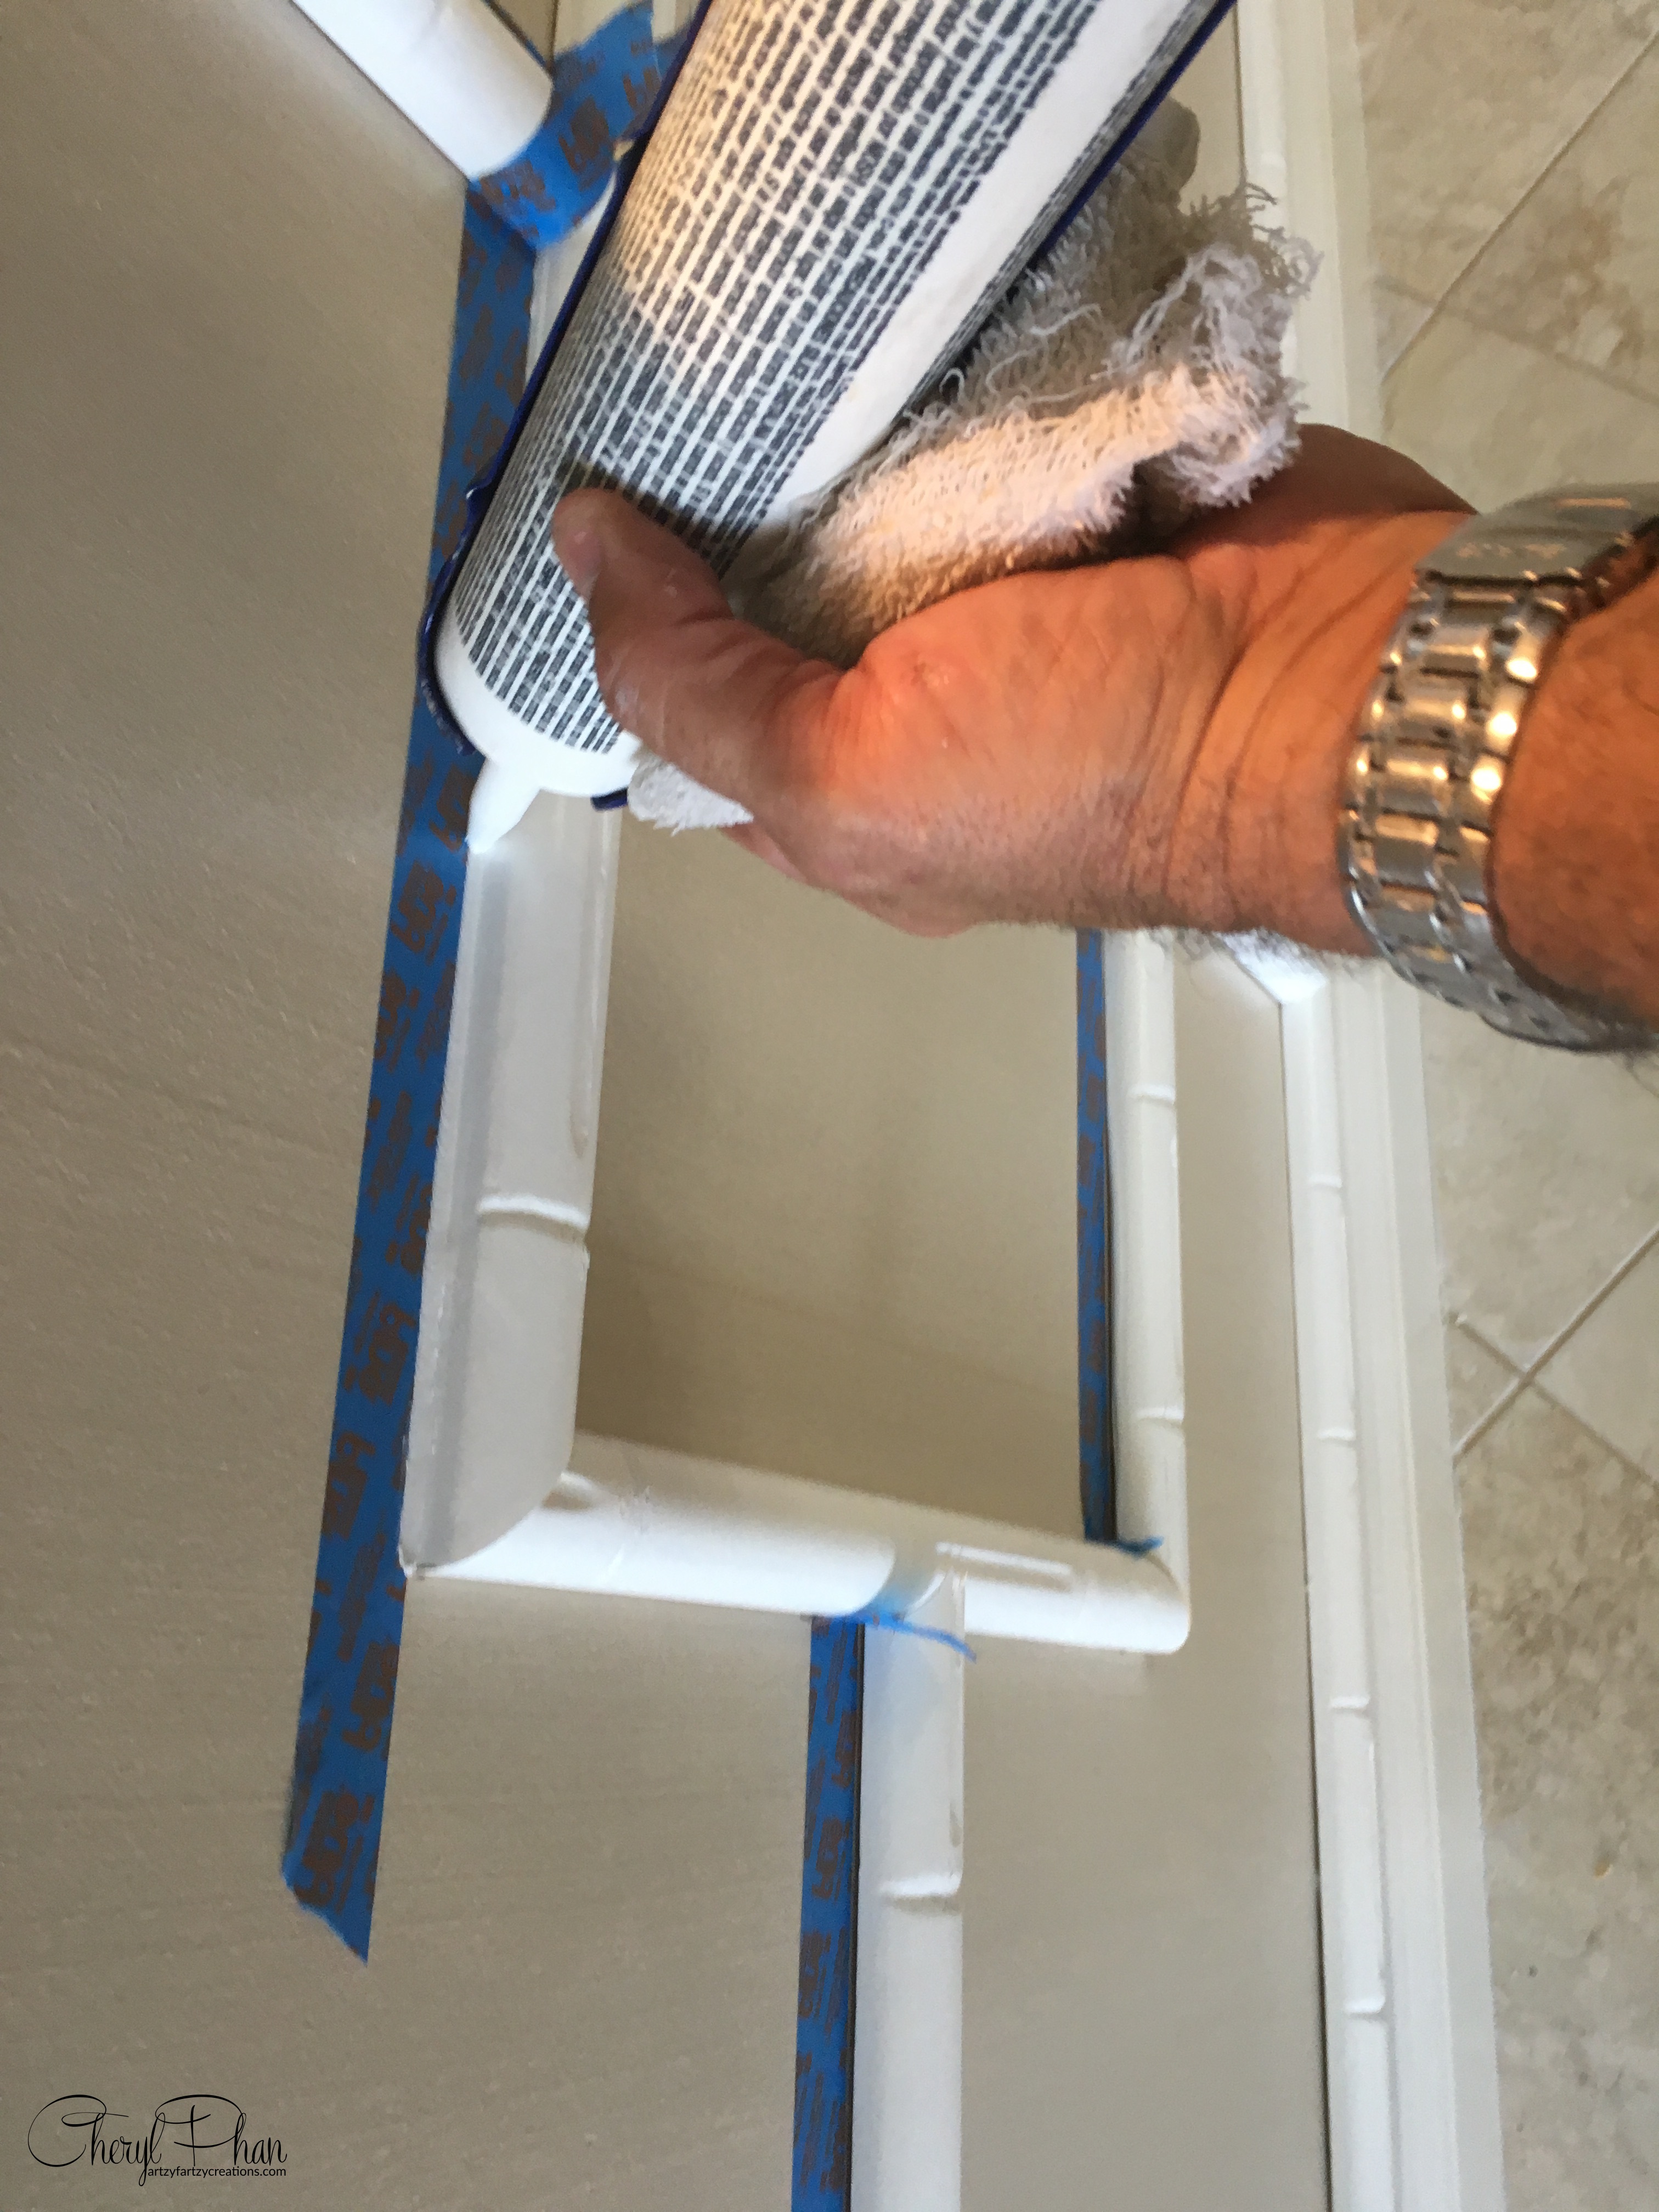
Then apply a small amount of caulking along the edge. Use a damp rag or your finger to smooth it out.
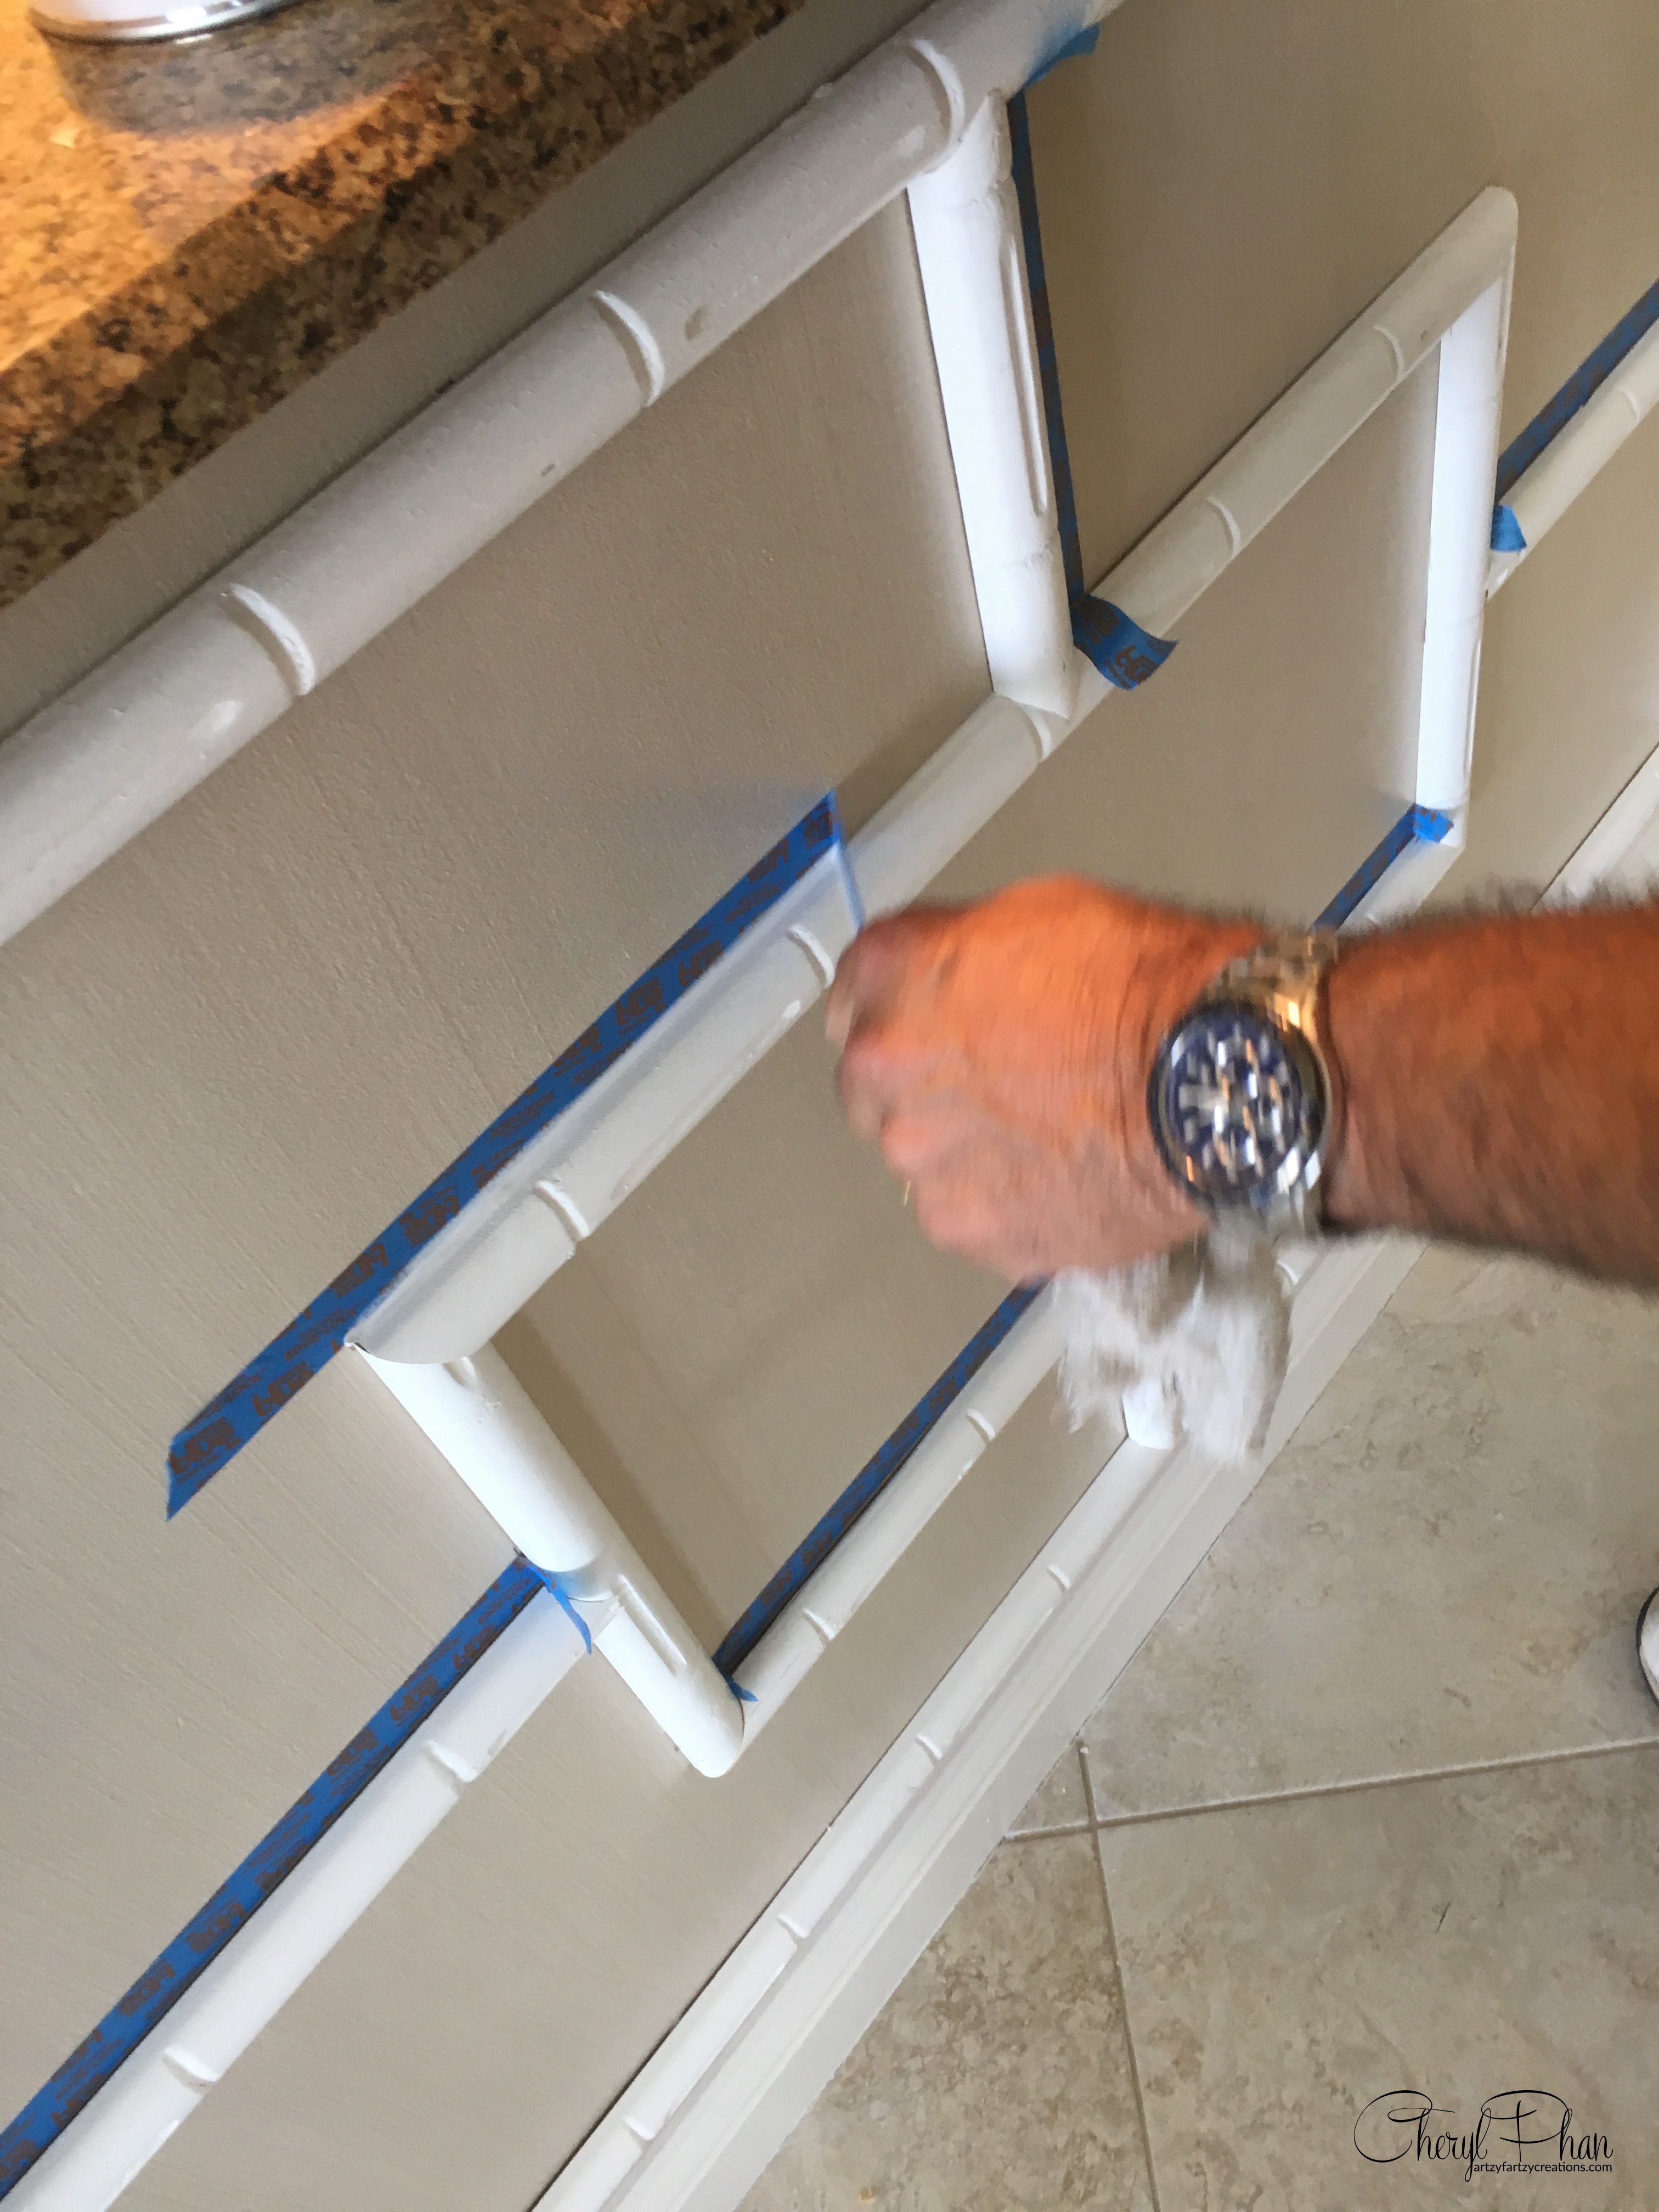
Remove the tape immediately.
There you have it, a perfect line without the smudgy mess. This works well on bathtubs and sinks as well.

Perfect caulk line. No smudging, no mess.
If you want to learn how to start making money with your hobby get the details HERE
If you want to learn DIY Tricks and Tips get my weekly blog HERE


Artzy Fartzy Creations. Oh Yes you can DIY!

Your cheatsheet on how to make a profit selling repurposed furniture
How to Price Furniture for Sale Effectively Understanding [...]

Simple and Fast Modern Wall Finish You Can Do In One day
If you’re looking for a really cool and [...]

Update your ceiling fan with style using contact paper from the Dollar Tree for just $1.00
A creative, inexpensive way to update your ceiling [...]

Steal This Stunning Decorative Finish for Your Empty Walls and Create a Designer Look Your Friends Will Envy
A one-of-a-kind decorative finish for your walls Even [...]

What’s the Best Day and Time to Send Your Emails to Increase Your Open Rate?
Great question… The last thing you want to [...]

How to Create an Action Plan and Timeline for Your Online Business
Most businesses start with a dream and high [...]
Contents
Recent Reads
RV Kitchen Makeover: A Budget-Friendly Guide Using Adhesive Tiles
A friend of mine recently asked me to help her [...]
Drawer Wallpaper Transformation: A Stylish DIY Home Decor Upgrade
Drawer Wallpaper Transformation: A Creative DIY Hack Are you a [...]

The #1 Secret to Success After Age 50
Have you ever wondered how some people are successful [...]