Have you ever driven by your neighbor’s trash and seen something they are throwing out and thought about throwing it in your trunk and taking it home?
I do it all the time. My kids make fun of me for doing it. That is until they see how I transformed it.
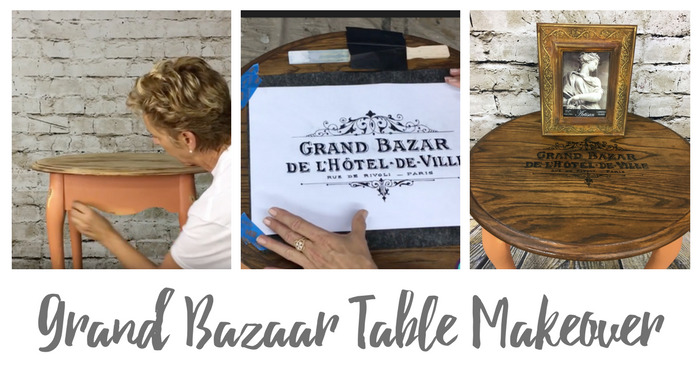
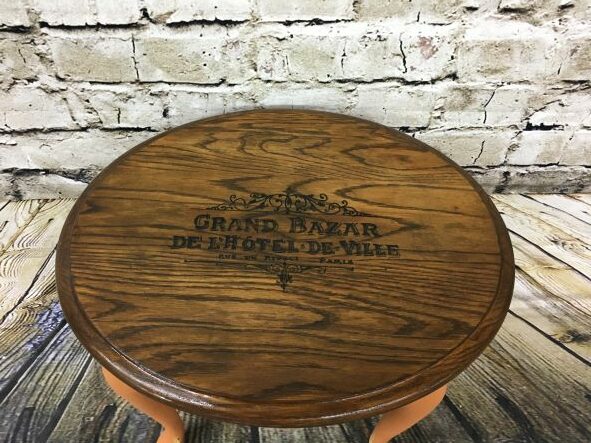
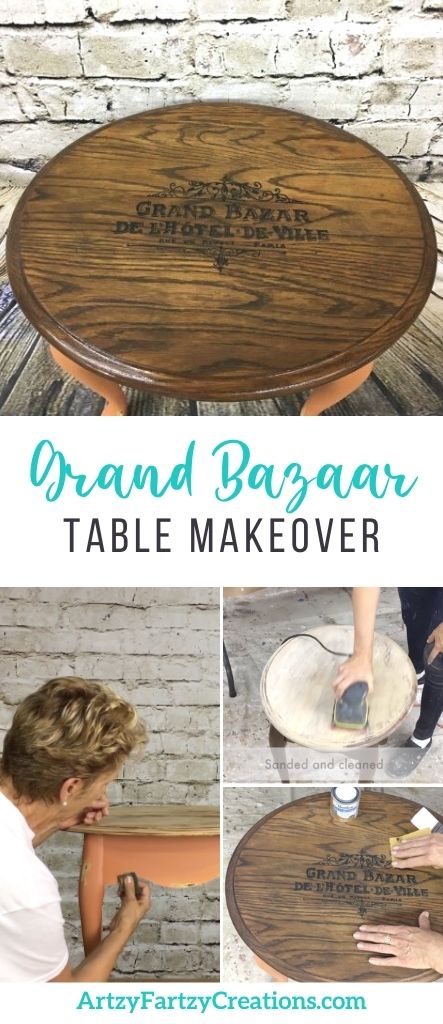
Take a look at what I did to this table …
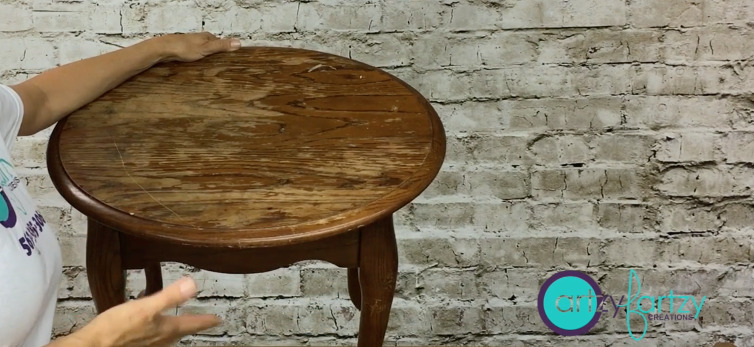
It didn’t look like much sitting on the edge of the driveway waiting for the garbage disposal but I saw potential in this little table.
I’m going to use three different techniques to turn this into a beautiful piece of furniture and give it a new home.
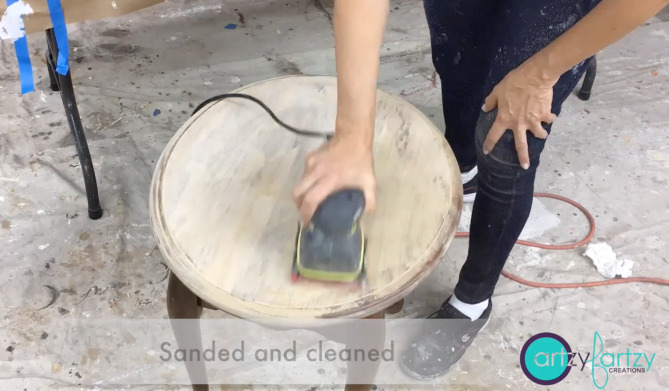
The first thing I had to do was sand it down in its natural state. You’re going to want to use a medium to fine sandpaper, depending on how many layers of paint you have to remove.
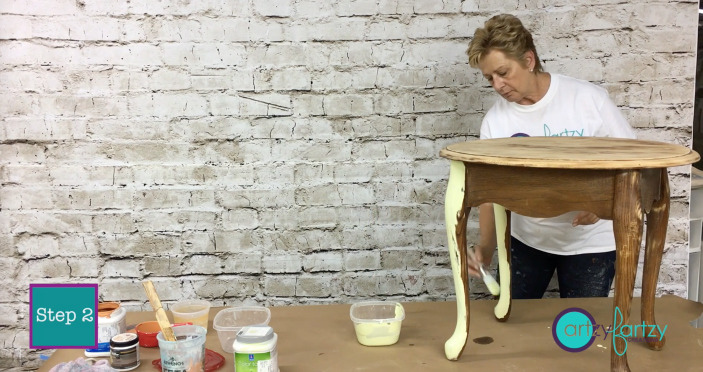
In the next step, I’ll be using two different colors of chalk paint on the bottom half. I painted the first layer a yellow color then when it was dry, I painted over the yellow with an orange color.
BTW: if you would like to learn how to save money and make your own chalk paint go HERE.
The reason I painted it in two colors is that I wanted to give it a distressed look and have some of the yellow coming through.
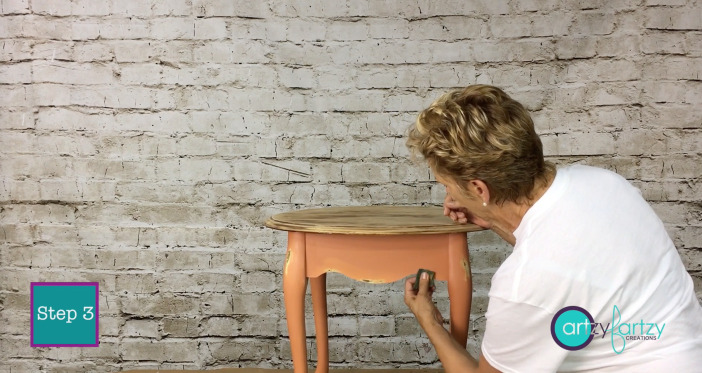
Once the orange paint dried, I used a small piece of sandpaper and lightly sanded the edges.
You’ll see what I mean when you watch the video (Below)
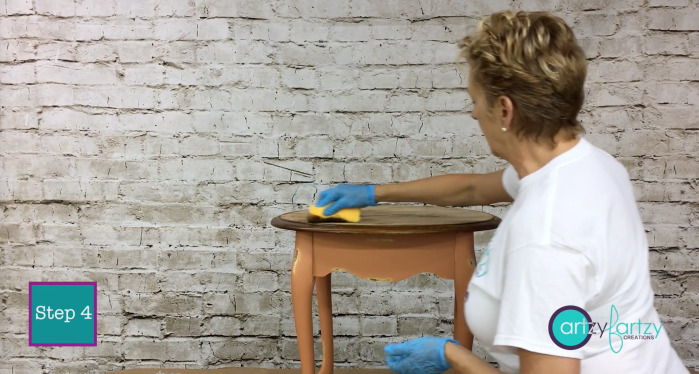
Here I used a sponge to apply the gel stain to bring the wood back to its natural beauty.
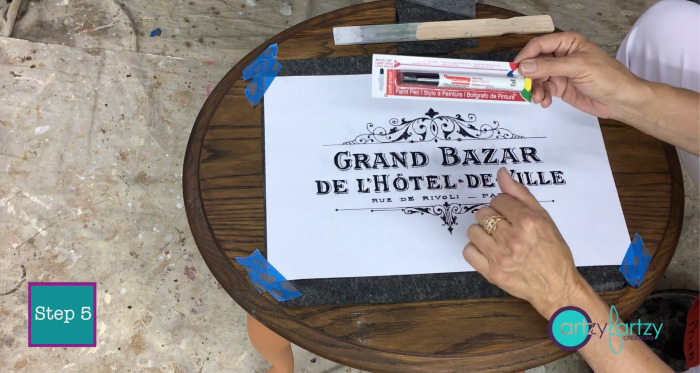
This was the fun part. I found a design that I liked on Graphic Fairy and simply printed it on my computer. Then laid it on the table over the graphite paper and taped the corners to hold it in place and traced the design on the table.
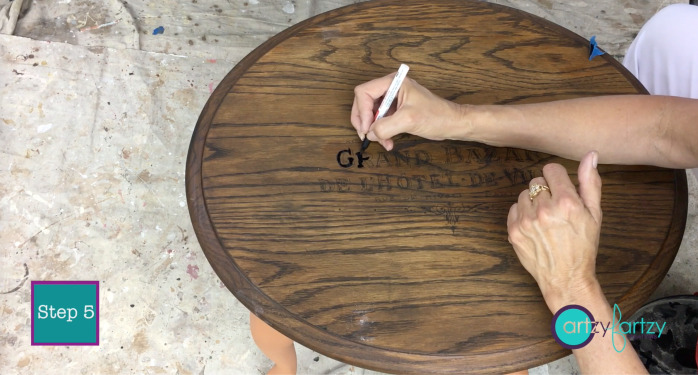
Then I used a paint pen and filled it in, so it was visible.
Use a fine piece of sandpaper to lightly distress the design to give it an aged look.
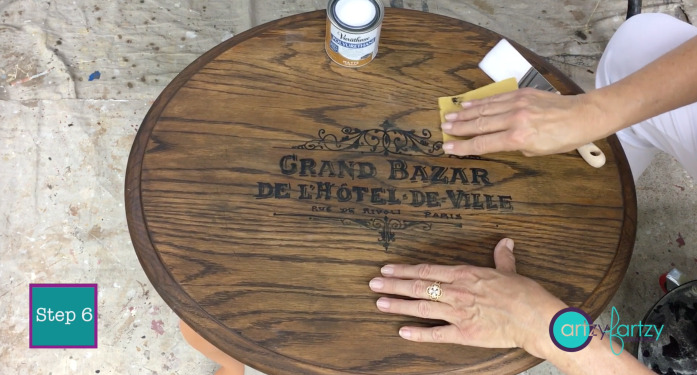
Last step: seal it with a matt polyurethane clear coat.
Watch video
To make your shopping experience easier, we provide affiliate links. Double-check size and colors before ordering.
Supply List
Magic Powder for chalk paint: https://artzyfartzycreations.com/shop/
Brush: https://amzn.to/32aj4p7
Sponge roller & Sleeve: https://amzn.to/3nqNfAk
Gel Stain: https://amzn.to/3ovxN5u
Graphite paper: https://amzn.to/3oBaMyb
Precise V5 pen extra fine: https://amzn.to/3noctQ5
Sandpaper fine: https://amzn.to/3cj3fhA
Clearcoat: Polyurethane: https://amzn.to/2YV9d5j
Scrubby pad: any store
Bowl for mixing
Paint pens: Craft store: https://amzn.to/3wTq70L
Sponge: https://amzn.to/3qJh01B
I hope you enjoyed learning how to create this one-of-a-kind table and found some inspiration.
If you want to learn more Tricks and Tips get my weekly blog HERE.
Blessings
Cheryl
Artzy Fartzy Creations. Oh Yes you can DIY!
How to Make Money Writing an eBook
Writing an eBook has a lot of benefits. It’s a [...]
How to Make Money Blogging
Did you know you can make money blogging? In fact, [...]
How to Make Money with Affiliate Marketing
This is probably one of the easiest ways to make [...]
How to Make Money With Videos
Did you know that 85% of people watch videos online? [...]
Turn Your Passion Into A Paycheck
If you’ve been following me for any length of time, [...]
Learn How to Take Your Own Professional Pictures with These 4 Tools and Save Hundreds of Dollars
You don’t need to spend a ton of money on [...]
Contents
Recent Reads
RV Kitchen Makeover: A Budget-Friendly Guide Using Adhesive Tiles
A friend of mine recently asked me to help her [...]
Drawer Wallpaper Transformation: A Stylish DIY Home Decor Upgrade
Drawer Wallpaper Transformation: A Creative DIY Hack Are you a [...]
The #1 Secret to Success After Age 50
Have you ever wondered how some people are successful [...]
