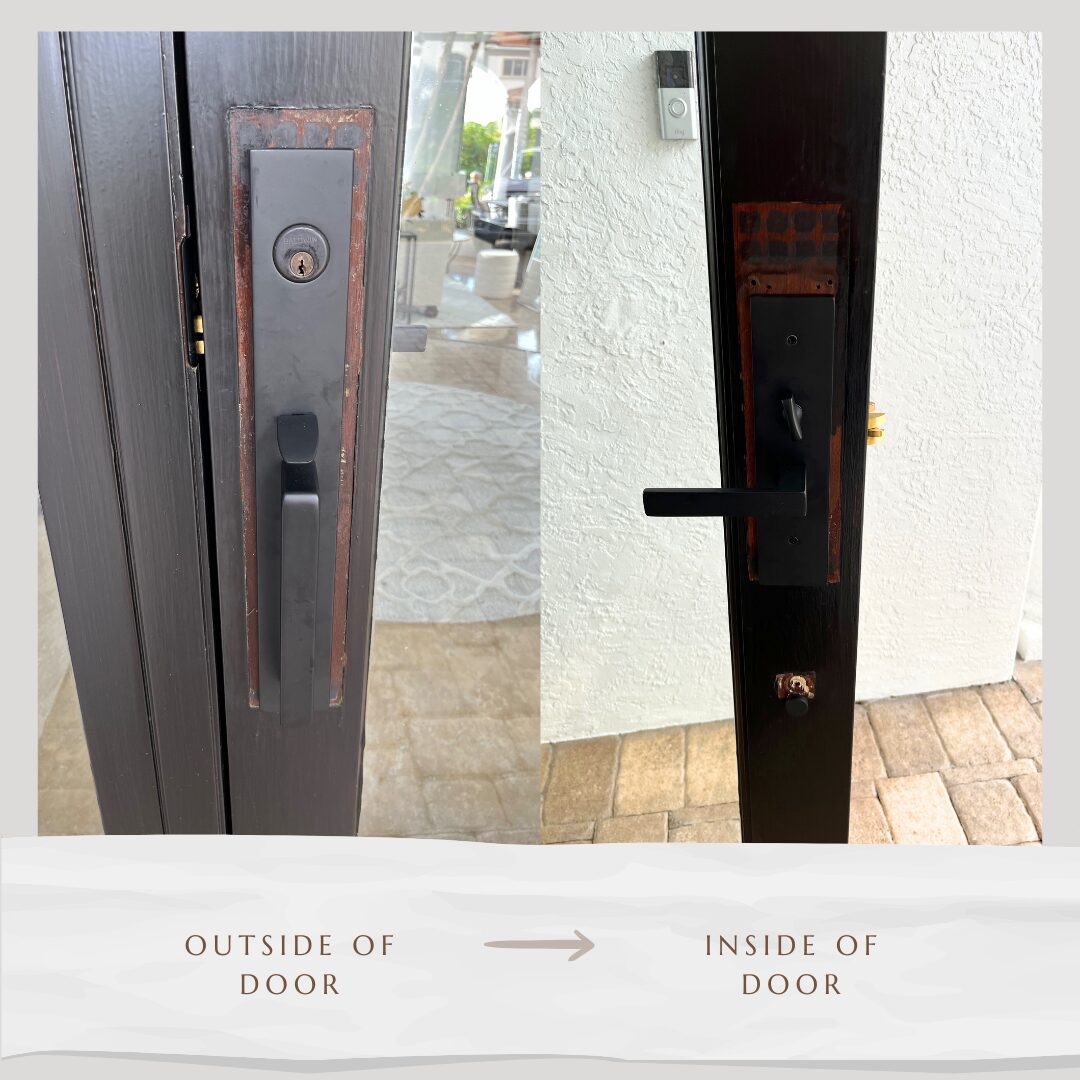
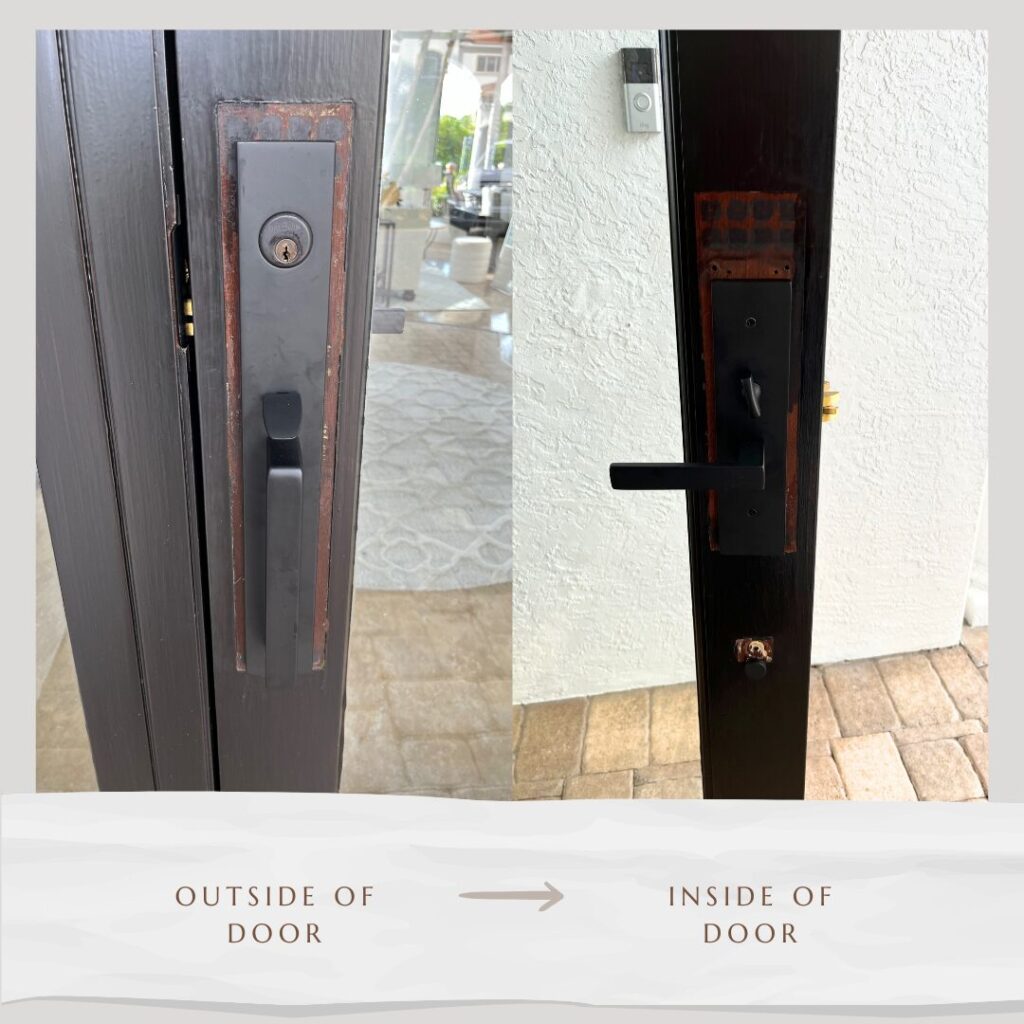
If you’ve recently updated the hardware on your door and noticed unsightly stains left behind, don’t worry—In this blog, we’ll go through the step-by-step process of how to repair door stains after changing hardware to its former glory.
Whether you’re dealing with minor discoloration or deeper damage, these tips will help you achieve a professional finish.
What You’ll Find in This Guide:
- A list of materials you’ll need
- Step-by-step instructions to fix the door stain
- Tips and tricks for a flawless finish
I see so many homeowners make this mistake when changing the hardware on their doors. I’ve lost track of how many times I’ve fixed doors for folks who bought the wrong size hardware. Just a heads-up: it’s always a good idea to get hardware that’s a bit bigger than what you have, so you don’t end up with unexpected repairs.
We all love the look of fresh, updated hardware, but what do you do if the hardware isn’t the same size, how do we repair the stain after changing the hardware?
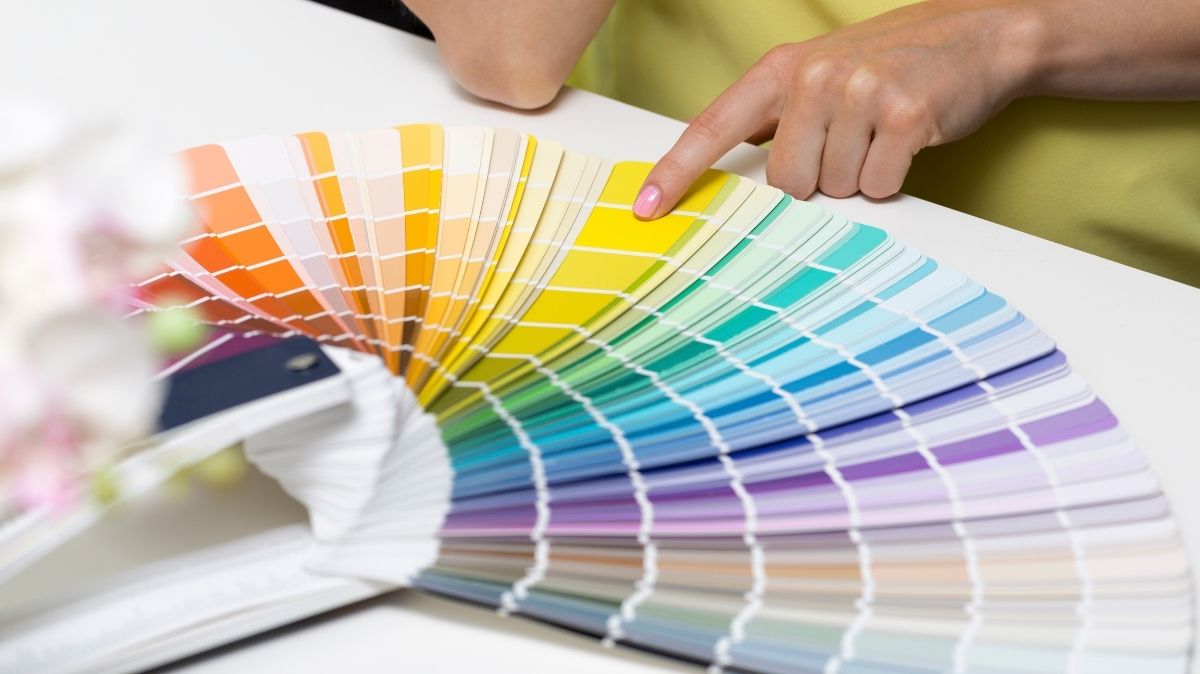
The first thing you need to do to repair the door stain is figure out what the original stain color is. I know it’s easier said than done, so here are some valuable tips to follow.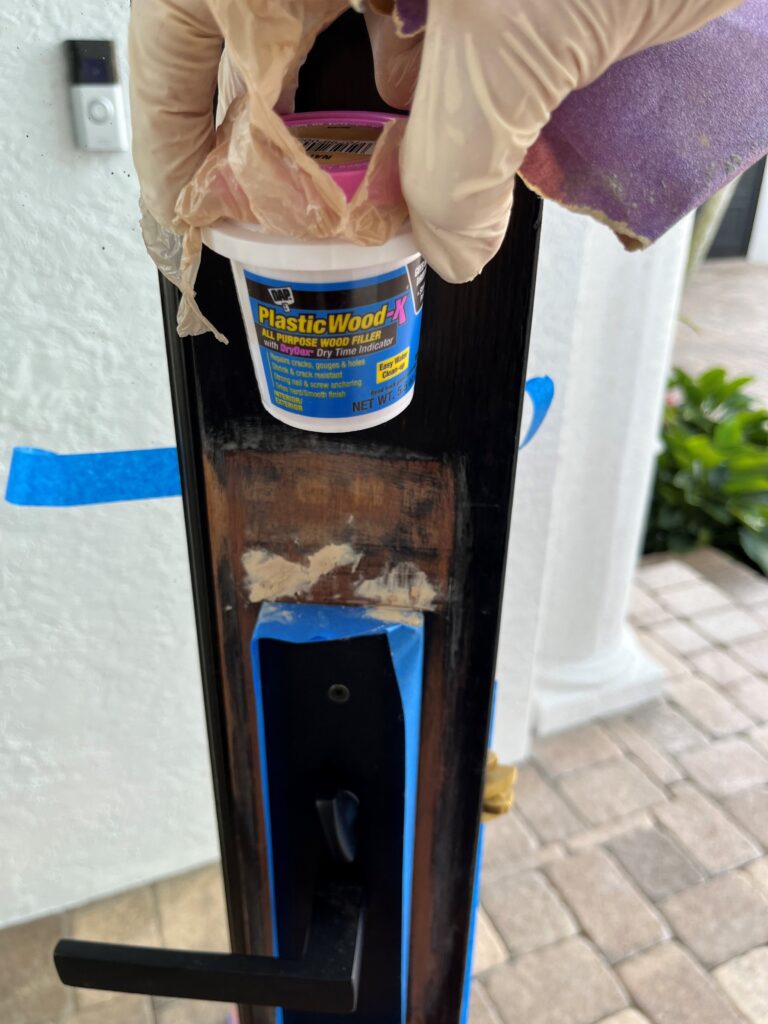
How to Identify the Stain Color on Your Door
- Inspect the Door: Start by looking closely at your door under natural light. Different areas may have slightly different tones, so find the most consistent spot to match.
- Take a Sample: If possible, remove a small piece of wood from an inconspicuous area (like the inside edge of the door or from a hidden corner). This can be very helpful when matching the stain at a store.
- Visit a Paint or Hardware Store: Take your door sample to a local paint or hardware store. Many stores have stain samples or color-matching tools. Ask an expert to help you find the closest match.
- Use Stain Testers: Purchase small samples of stains that seem to match your door. Apply these testers on an inconspicuous part of the door or on a piece of scrap wood. Allow them to dry fully to see the true color.
- Compare to Existing Stain Colors: If you have old cans of stain from previous projects, compare these to your door. Often, you can find a close match from your existing supplies.
OK, so now that you have matched your stain color, let’s move on.
Step-by-Step Instructions to Repair Door Stain
Step #1: If you have holes from the previous hardware, you’re going to need to fill them in with wood filler. I like using Plastic Wood X because it dries fast and it’s easy to sand.
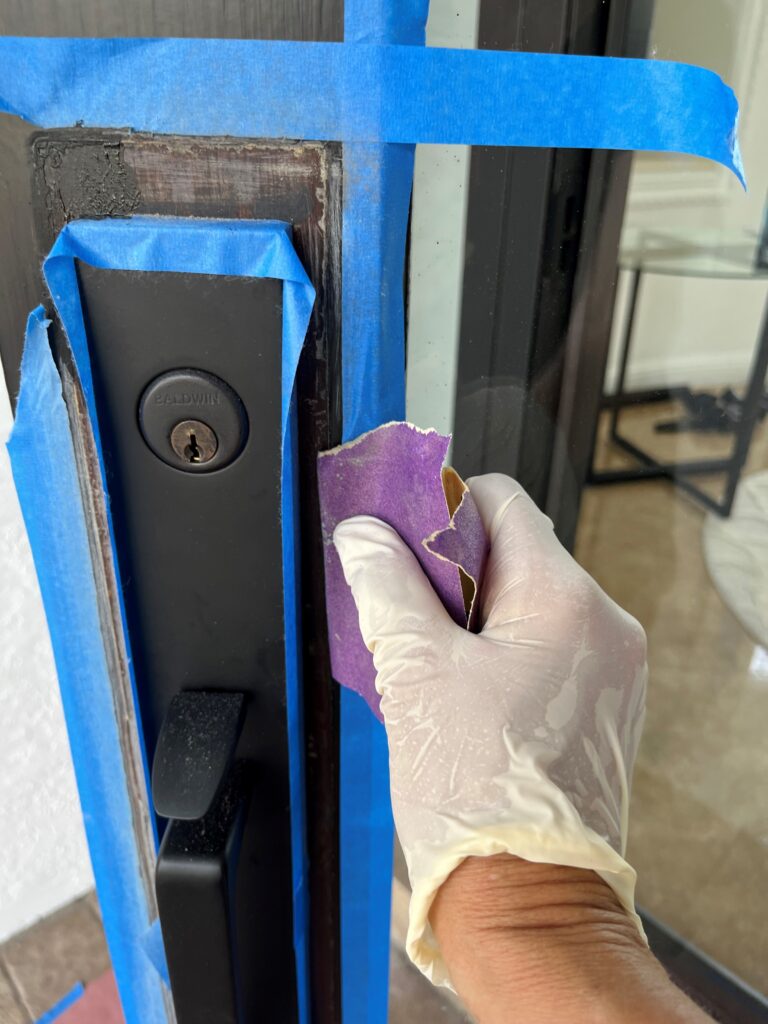
Step #2: If your hardware has already been installed, tape off around the hardware to protect it from getting scratched. Using a medium grit sandpaper gently stand out the stained edges until they are smooth. This is the most important step.
Step #3: Wipe down the area to get rid of the dust and debris.
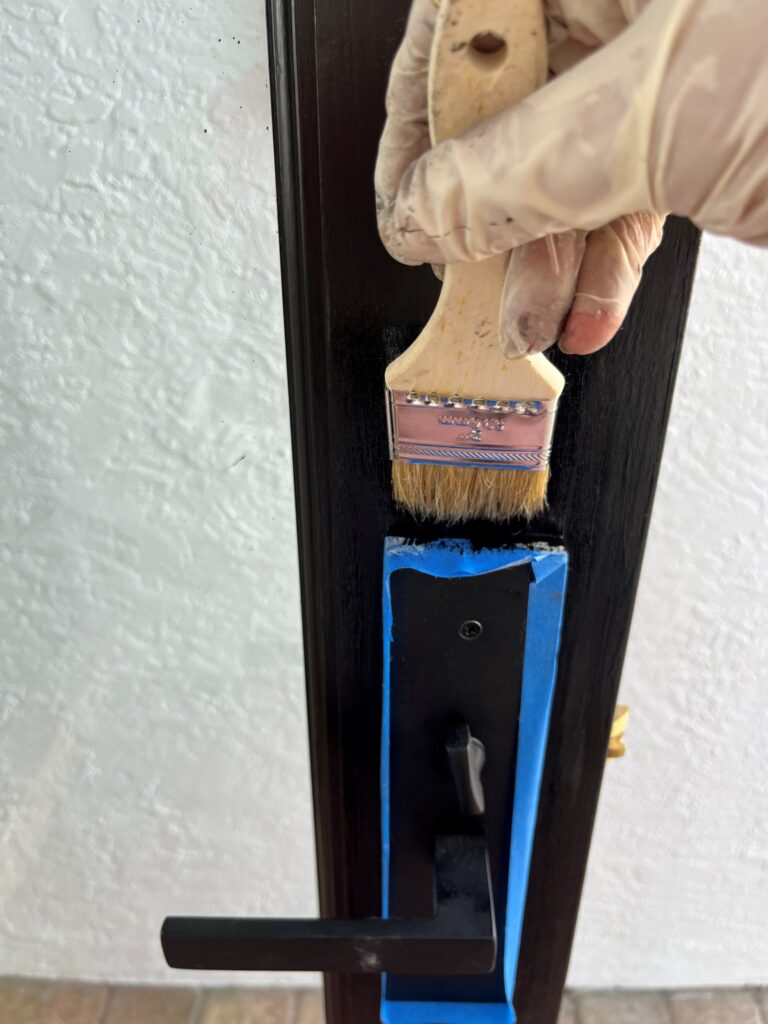
Step #4: Test a small, inconspicuous area to ensure the stain matches. Using a small paint brush apply the stain to blend in with the rest of the door. You may need more than one coat. Wipe off any excess stain for an even finish. The stain I used on this door was a Spanish Oak Gel Stain.
Also, I suggest you wear gloves so you don’t stain your hands and fingernails.
Patience is key! Let the stain dry completely before reinstalling the hardware.
As you can see, repairing door stains it’s easier than you think.
If you try this out, send me some before and after pics! I’d love to see your work. 😊
Do you have any questions or need more tips? Feel free to reply to this email—I’m always here to help!
P.S Want to learn how to create a wood grain finish , learn my secret step-by-step process and transform your front door for instant curb appeal.
P.S.S. Make sure you don’t miss out on signing up for my blog, filled to the brim with home decorating and DIY tips!
XOXO
Cheryl
Artzy Fartzy Creations. Oh Yes you can DIY!
How to Make Money Blogging
Did you know you can make money blogging? In fact, [...]
How to Make Money with Affiliate Marketing
This is probably one of the easiest ways to make [...]
How to Make Money With Videos
Did you know that 85% of people watch videos online? [...]
Turn Your Passion Into A Paycheck
If you’ve been following me for any length of time, [...]
Learn How to Take Your Own Professional Pictures with These 4 Tools and Save Hundreds of Dollars
You don’t need to spend a ton of money on [...]
How to pick the PERFECT PAINT COLORS for Your Walls
Need help picking paint colors? I have the thing you’re [...]
Contents
Recent Reads
Drawer Wallpaper Transformation: A Stylish DIY Home Decor Upgrade
Drawer Wallpaper Transformation: A Creative DIY Hack Are you a [...]
The #1 Secret to Success After Age 50
Have you ever wondered how some people are successful [...]
Mirror Makeover: Transforming Outdated Wall-Hanging Mirrors
From Outdated to Outstanding: Mirror Makeover You know how we're [...]

