Painting Faux Brick is an easy technique and very inexpensive to create. I will admit, it is a little time consuming, but worth the time and effort you put into it.
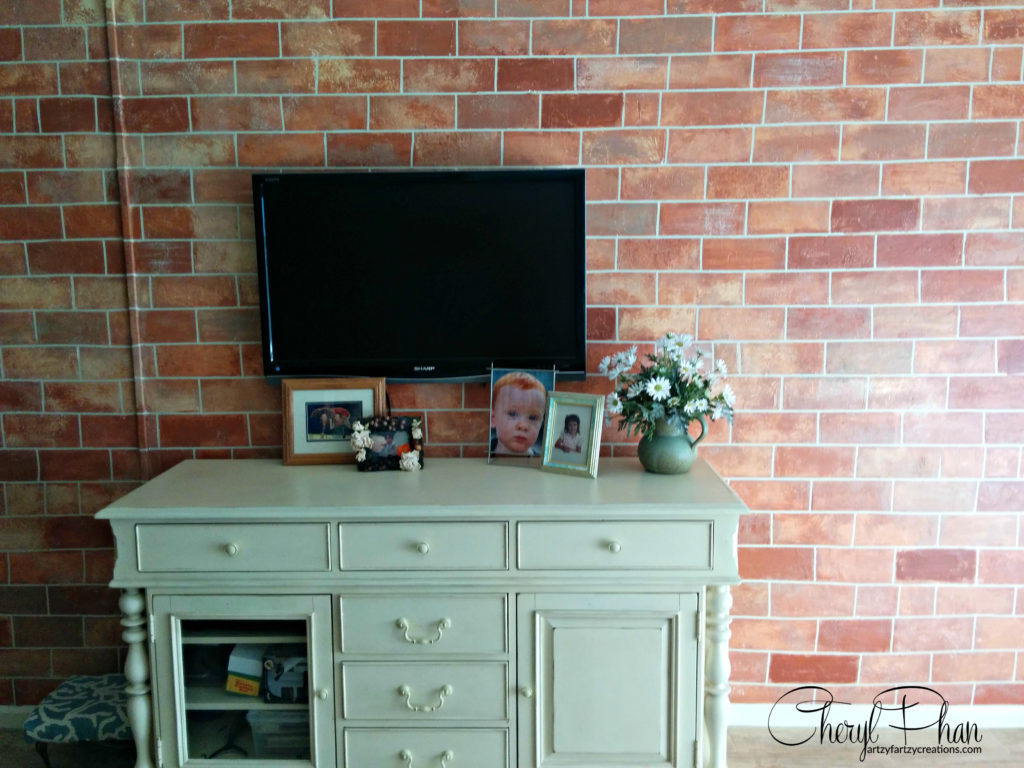
It looks so real, you will have to walk up to it and touch it and even then, you’ll stand there scratching your head.
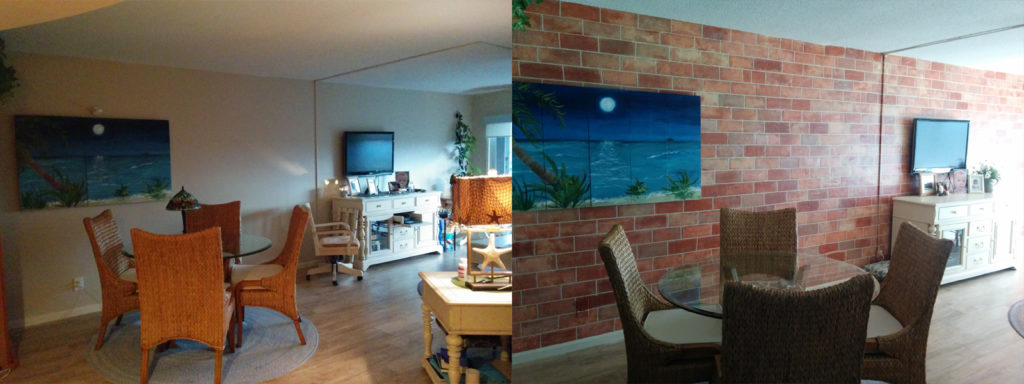
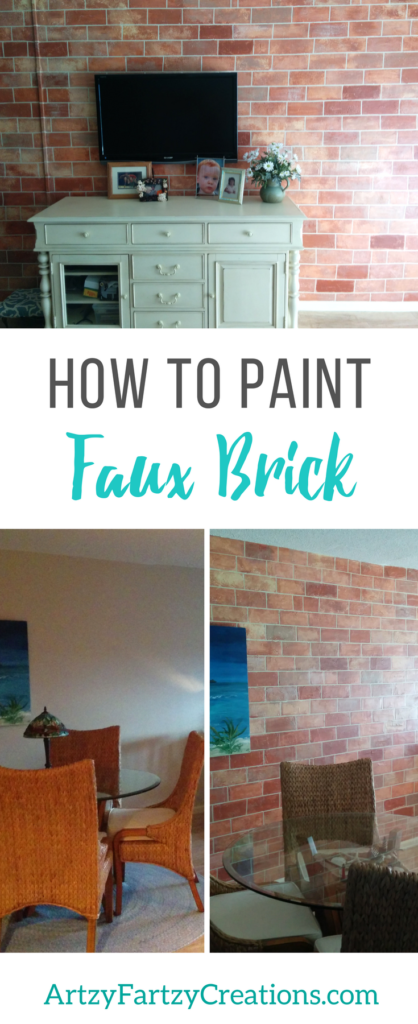
Here is the room before & after!
Faux Brick Supplies
I provided a few affiliate links for your shopping convenience.
- ¼ Tape or 12mm Tape for grout line (your choice)
- Tape measure
- Chalk (art Supply Store)
- Sea Sponge
- Assorted paint colors for brick (home Improvement Store)
- Primer tinted Gray
- Joint Compound (Drywall mud) (Home Improvement Store)
Step #1:
Paint the wall with tinted Primer. I use a primer instead of paint because I want the drywall mud to have a good adhesion.
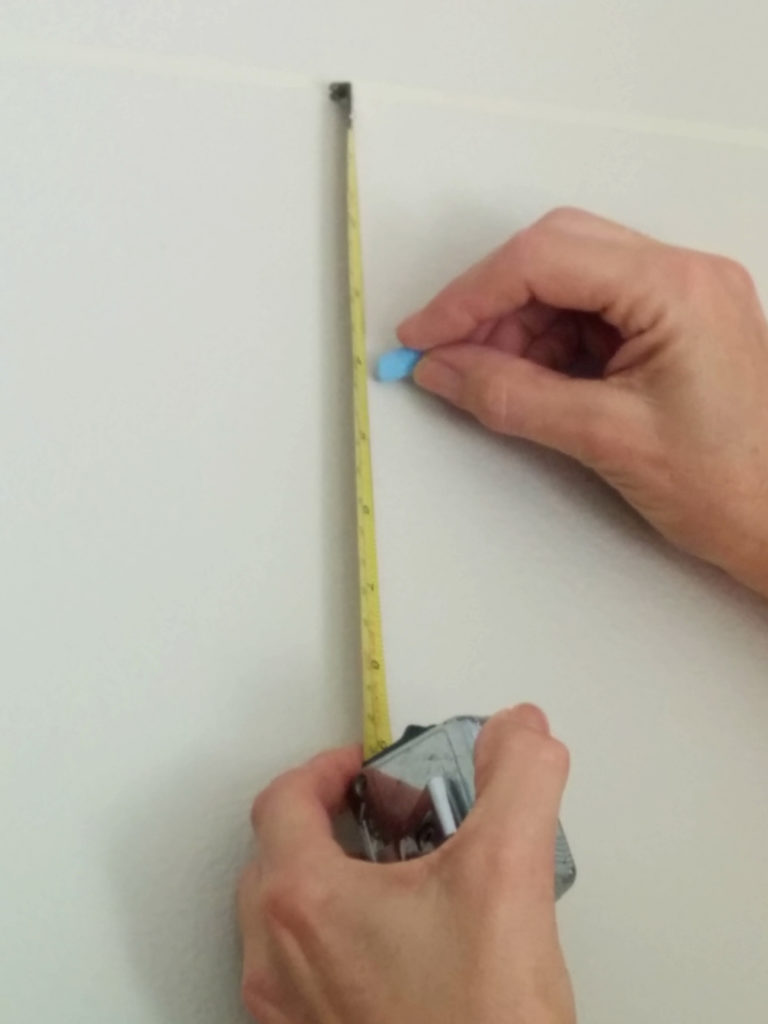
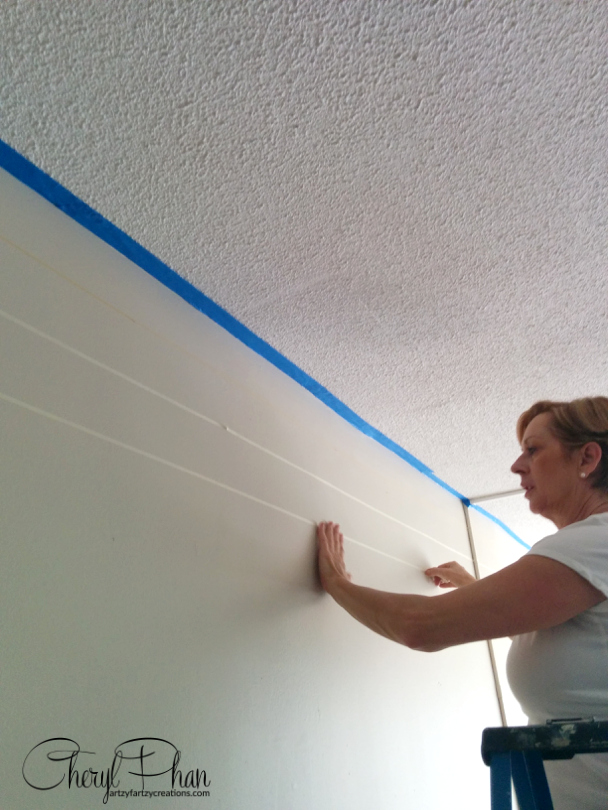
Measure the width of the brick from one end of the wall to the other.
Step #2:
Measure the width of the brick and add the tape to the wall from ceiling to floor.
Don’t worry about the lines being perfectly straight. It will look more authentic if they are a little off.
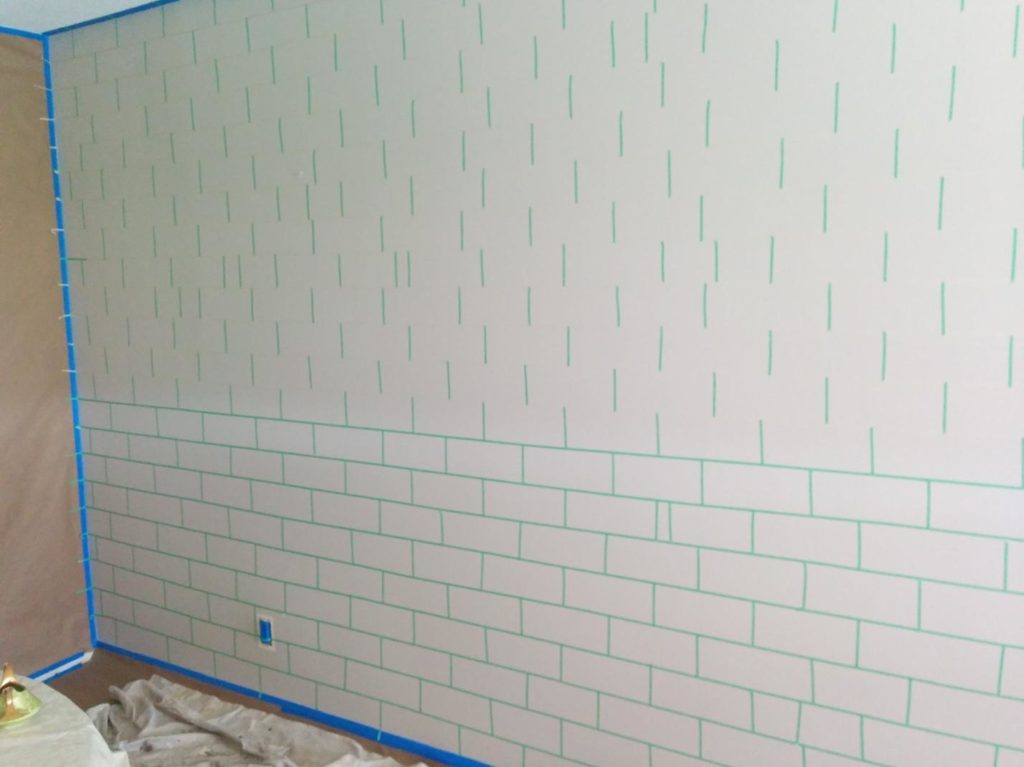
Apply small strips of tape to create each brick. Notice they are lined up in the middle of the brick on the bottom.
Step #3
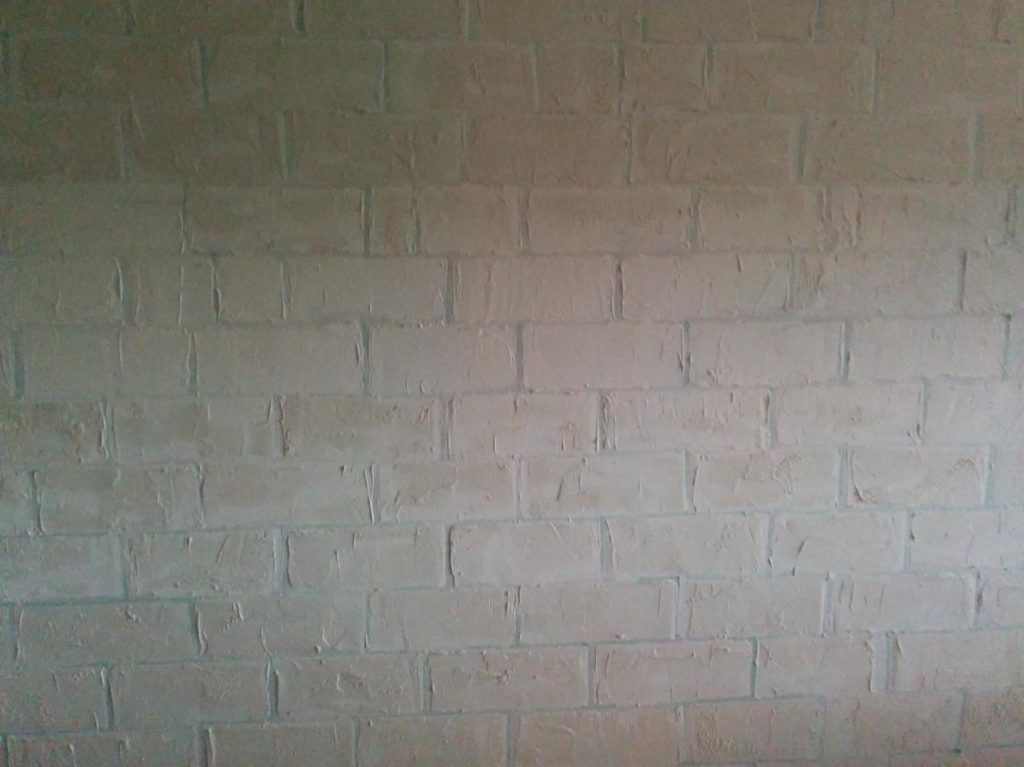
Apply the dry wall mud about 1/4“ thick with a spatula or trowel. Remove the drywall mud so you can see the tape. (This will be removed later). Let dry completely.
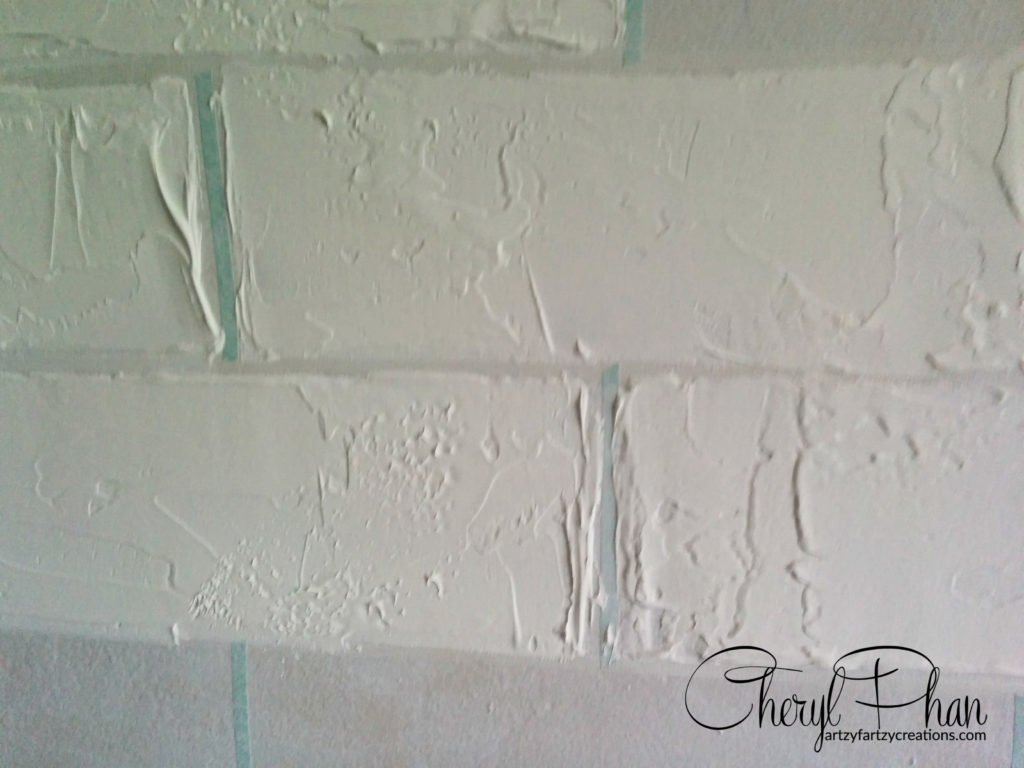
To create different textures while the plaster is still wet. Use the spatula and other tools such as, a textured roller, knife and anything else you find in your tool chest that might make interesting textures.
Step #4
If you don’t have leftover paint in your garage that you can use, buy sample paint or OOPS paint at your local hardware store. I used a combination of 6 different colors to create my brick wall. I would suggest going online and look up different brick walls to find the one that you like the best to help with color selections.
Make some bricks darker than others and just play with the colors. It’s a lot of fun and you will see your wall come to life right before your eyes.
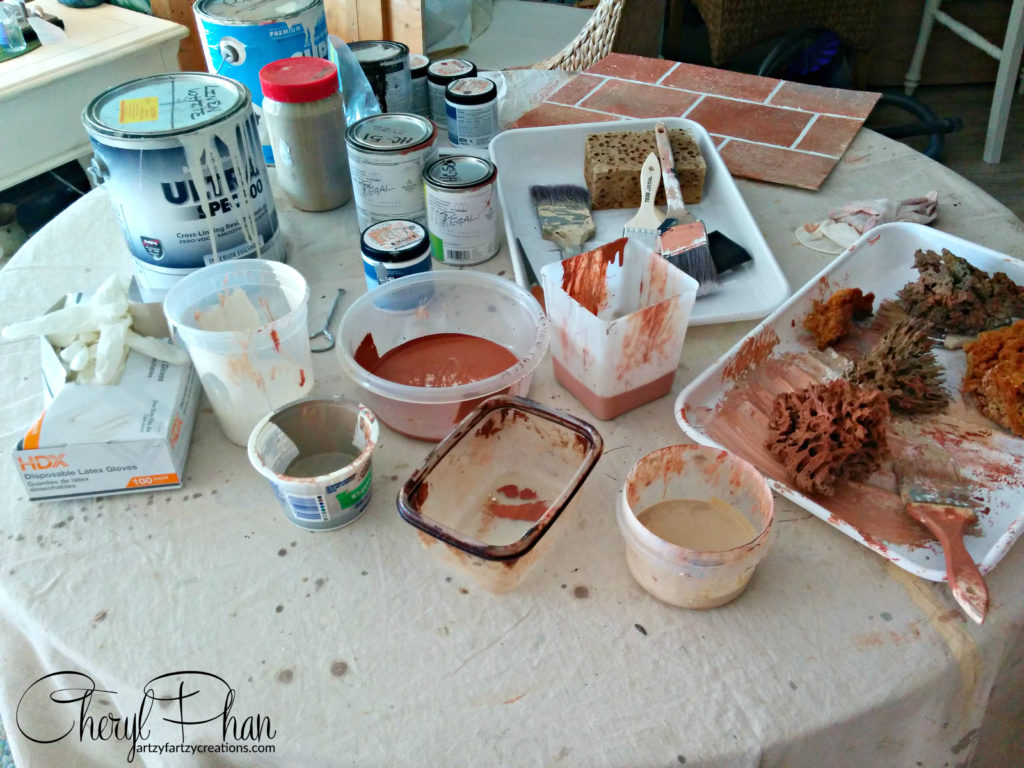
Step #5
Once you’re done painting the entire wall, remove the tape. You might need a pick to pull the tape away from the wall.
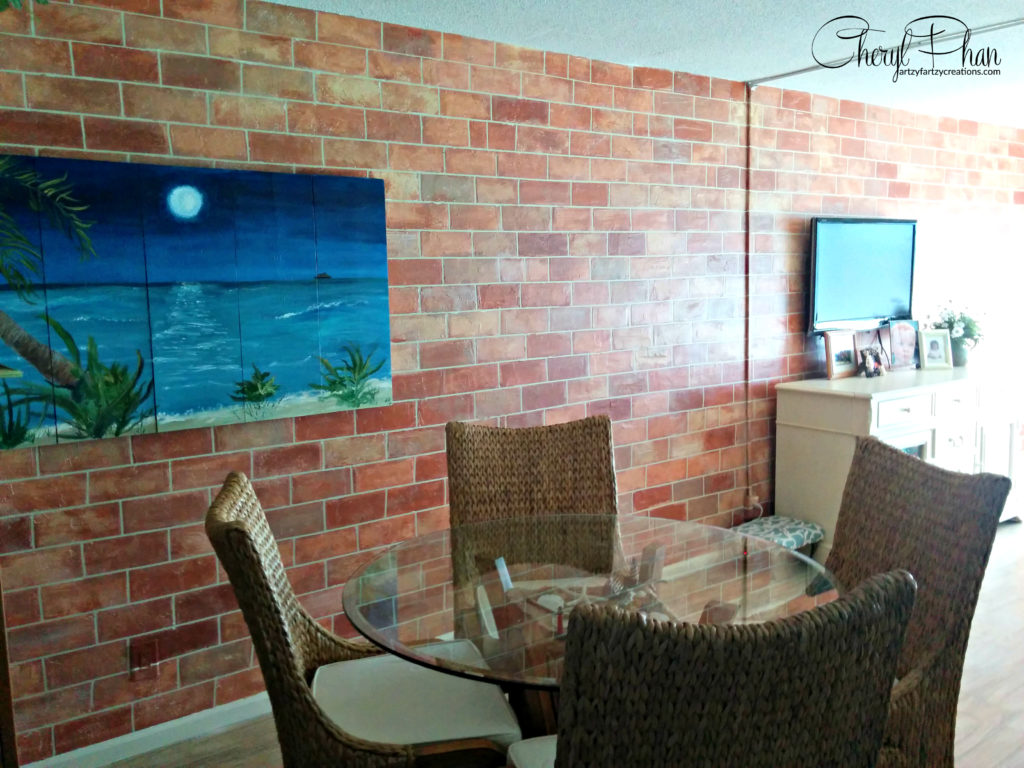
Then sit back and enjoy your beautiful wall.
If you want to learn how to start making money with your hobby get the details HERE
If you want to learn DIY Tricks and Tips get my weekly blog HERE
HAPPY PAINTING

Artzy Fartzy Creations. Oh Yes you can DIY!
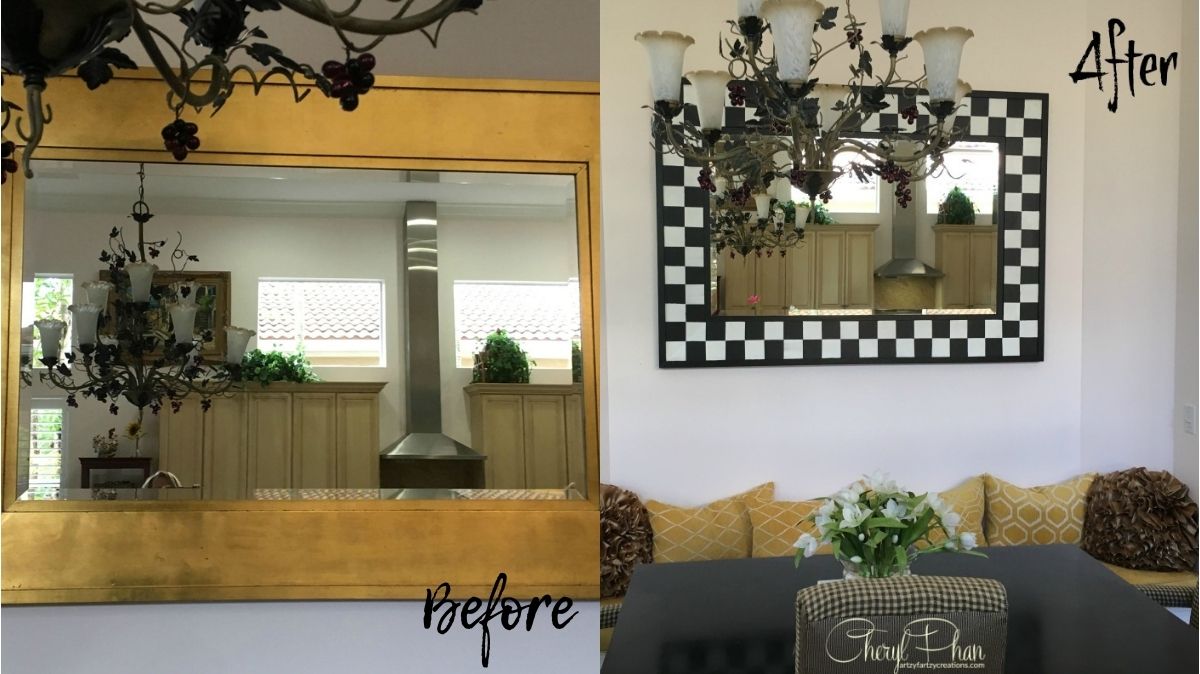
Mackenzie-Childs Mirror Makeover
Mackenzie-Childs is known for its collection of high-end tableware and [...]
Finding Inspiration
As creatives, we are always looking for inspiration for our [...]
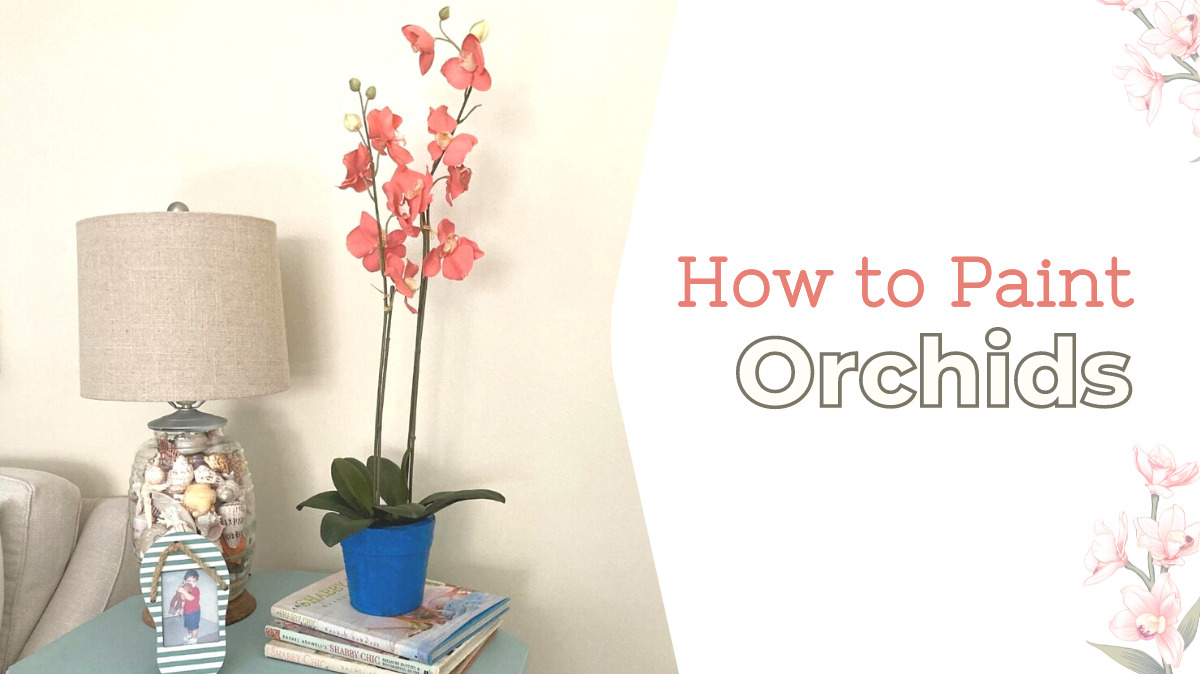
Painted orchids
I love Orchids, but I can never find the color [...]
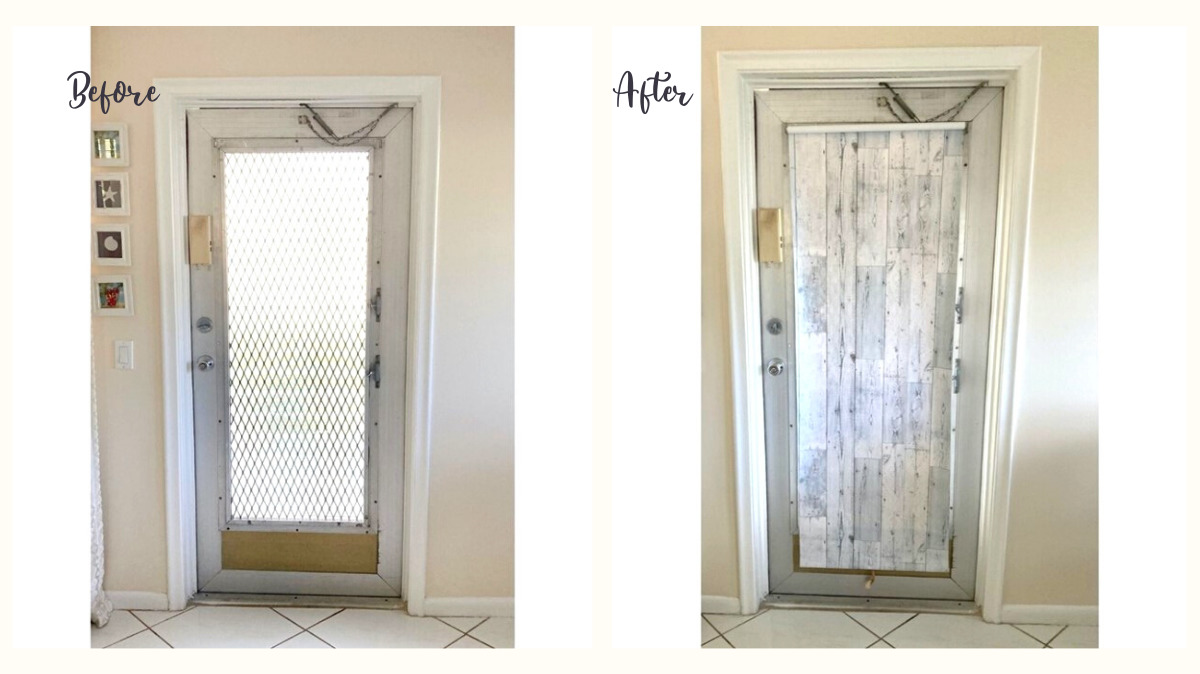
Create a Decorative Window Shade with Contact Paper
Have you priced out a decorative window shade lately? I [...]
How to Restore Damaged Cabinets
Do your kitchen cabinets look like this? You don’t have [...]
Restored Fire Pit
Weather elements and the sun can be quite damaging to [...]
Contents
Recent Reads
How to Apply Gold Leafing To Furniture
Looking to add a touch of luxury and sophistication to [...]
DIY Chalk Paint Ideas for Furniture: Unlock the Beauty of Antiques
This is your treasure trove of chalk paint ideas, bursting [...]
Faux Wood Grain Finish: A DIY Guide to Stunning Finishes
Unveiling the Beauty of Faux Wood Grain Finish Have you [...]

