Have you ever messed up a painting project and had to redo the entire thing? I hate when that happens.
Even though I’m known as an expert in my field, I will admit I’m not perfect.
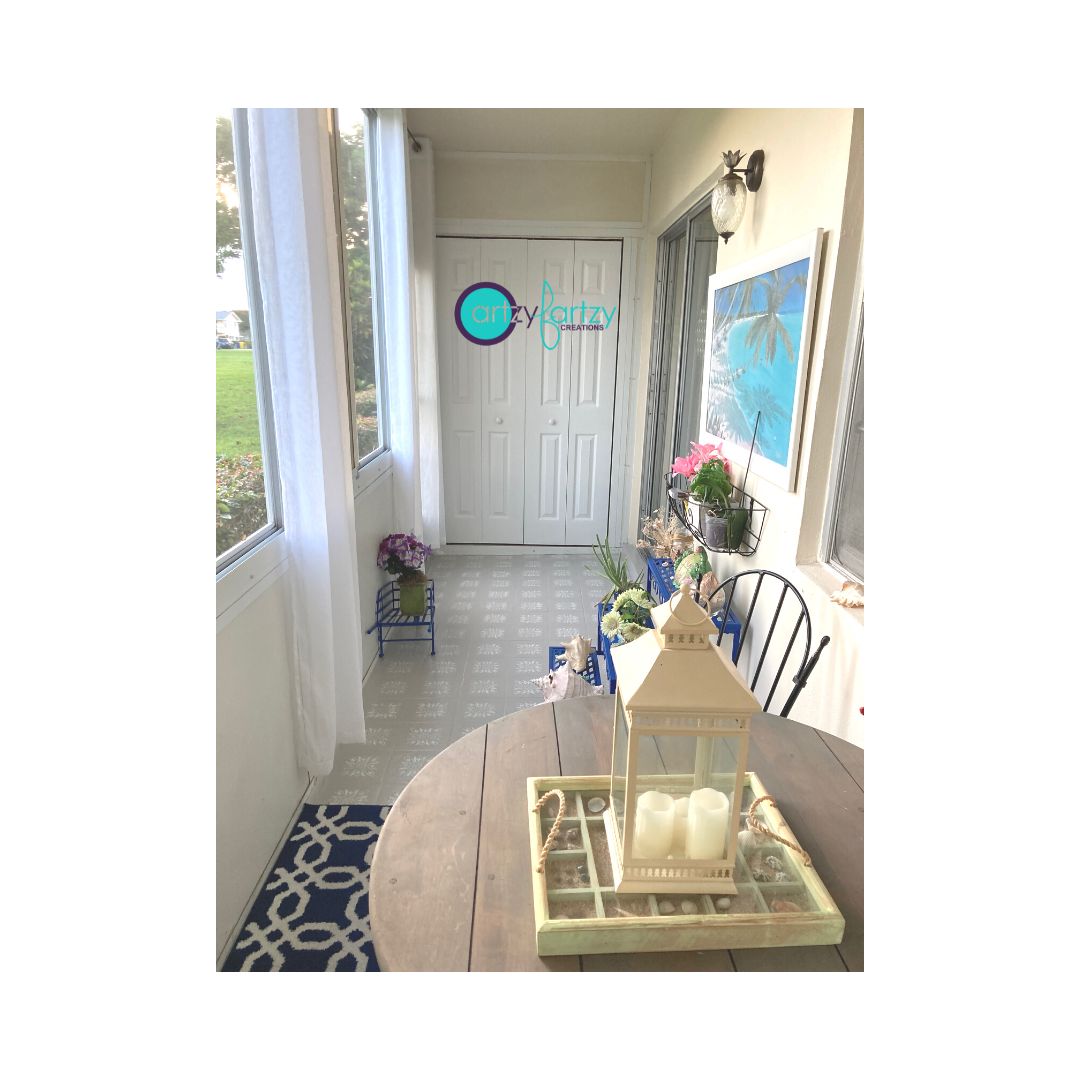
This is one of my most recent boo-boos. Thank goodness it was in my house and not a client.
The good news is because I’m an “Expert” I do know how to fix it.
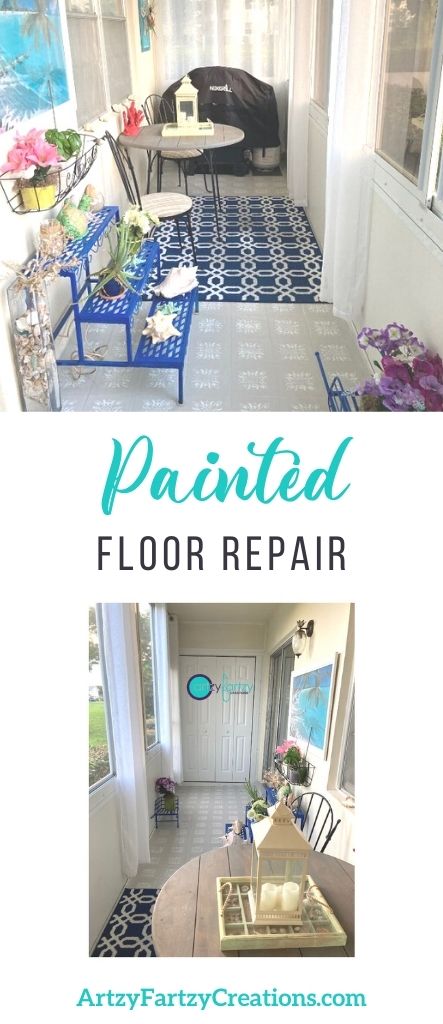
Let me show you what I did wrong and how I fixed it.
Ok, so let’s start with what I did wrong. There were actually two things I didn’t do that I should have.
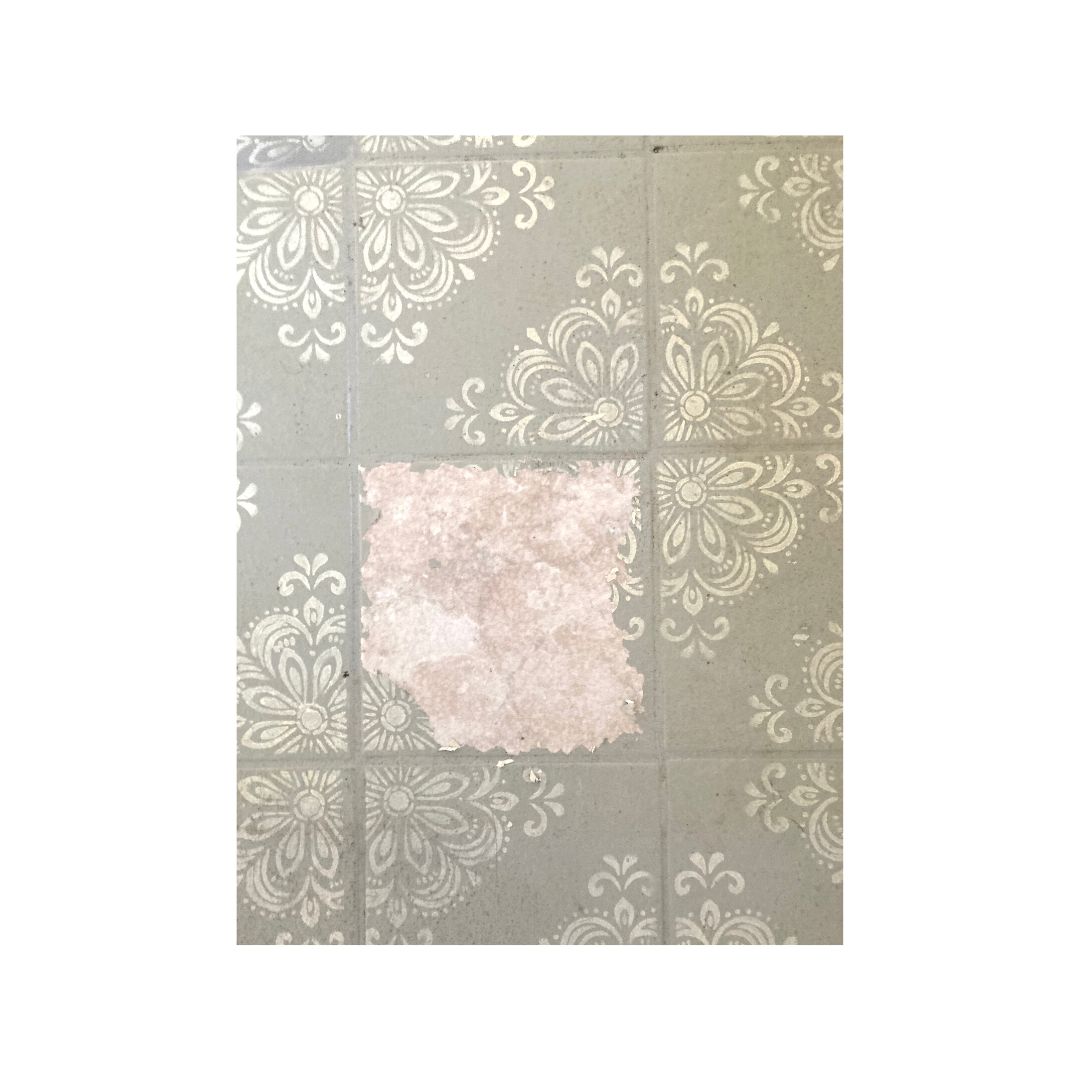
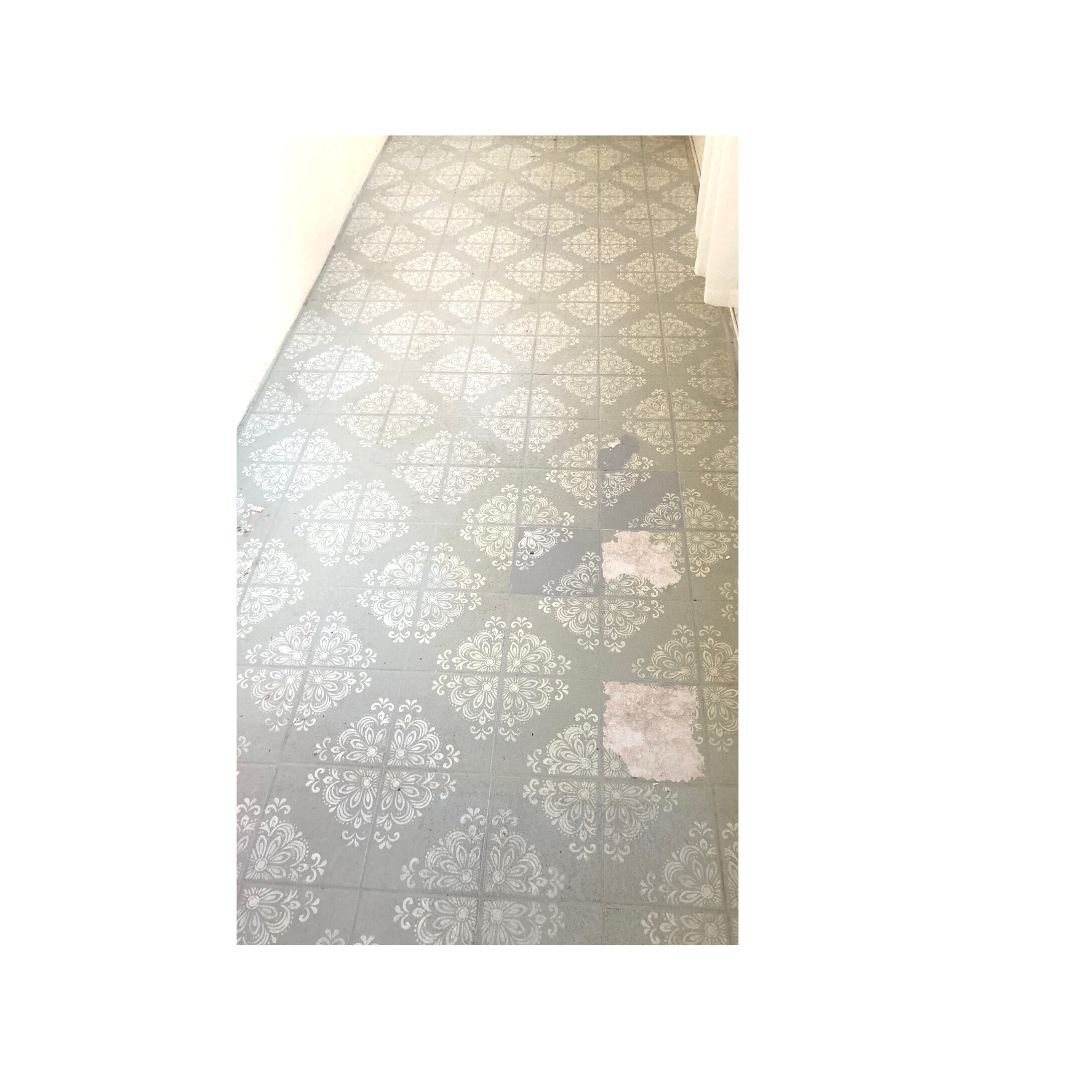
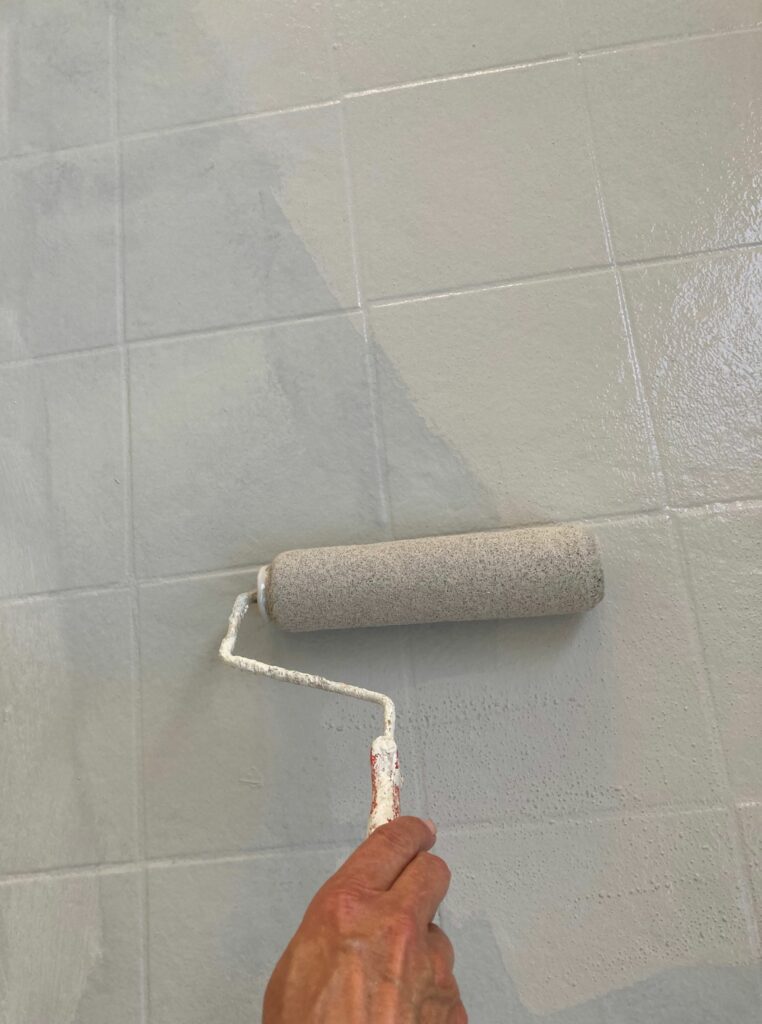
#1: See where the paint is coming up from the tile? This is because I most likely didn’t sand it well enough. When you’re prepping your tile make sure you sand the heck out of it. It needs what they call tooth so the primer will stick better. My bad…
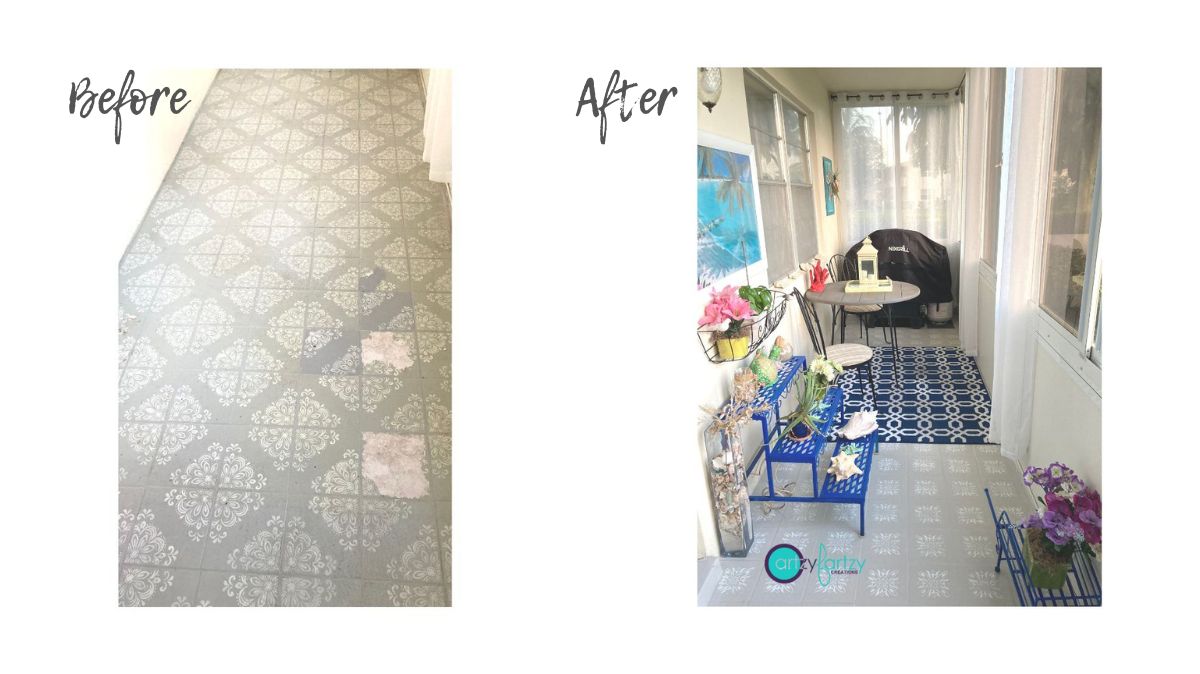
#2: See where the gray is a little darker in some spots. I didn’t save the base color, so it was very difficult to match up. So, I ended up having to re-do the entire porch. Lesson learned SAVE THE PAINT in case you have touchups.
Ok so let’s talk about how to repair the damage.
Step #1
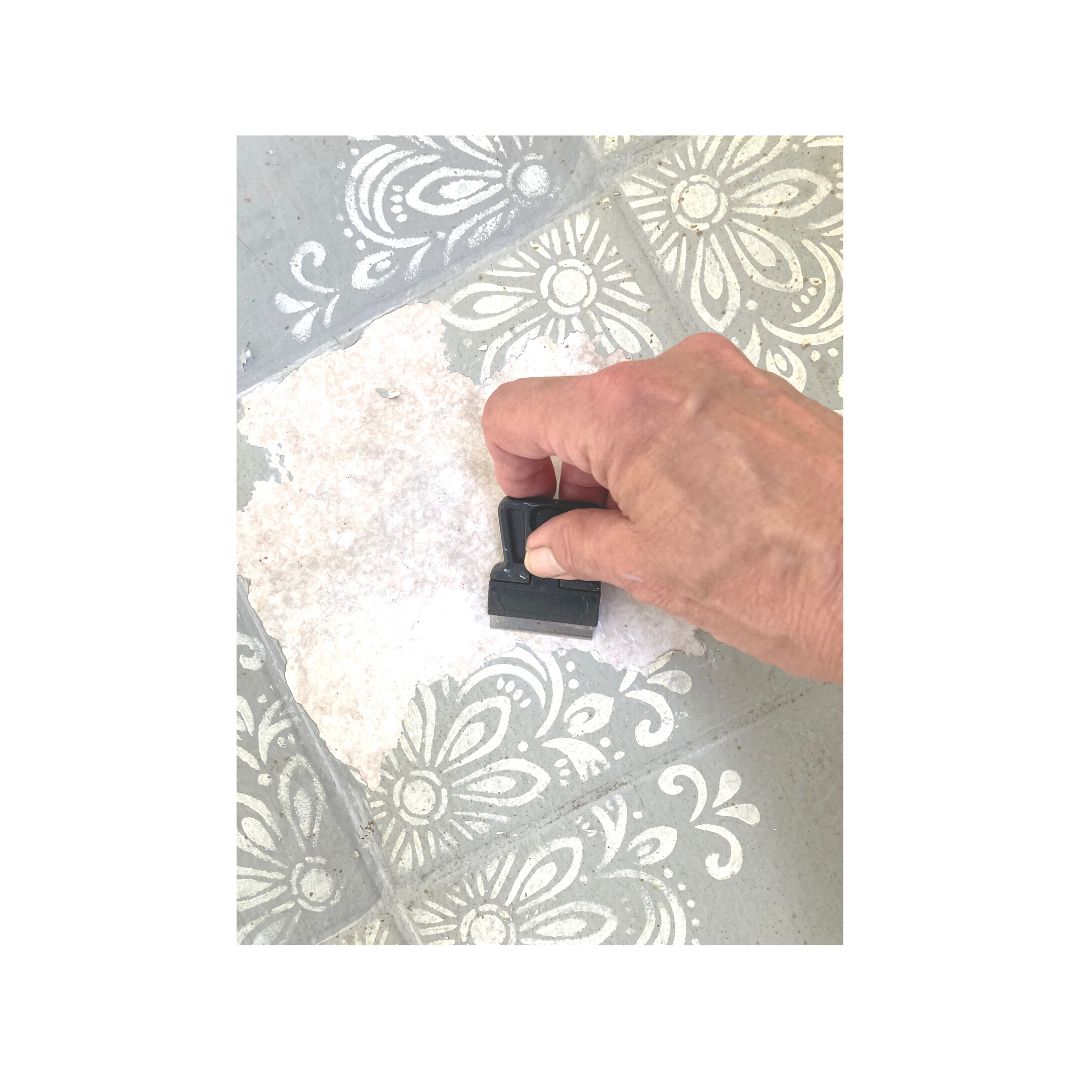
Using a razor blade, I removed all the loose paint first. Then I went over the exposed tile with heavy grit sandpaper to make sure it was sanded well.
Step #2
Then I cleaned the entire floor to remove any dirt with TSP.
Step #3
Next, I used a deglosser on the entire floor to make sure the primer would stick to the painted surface.
Step #4
I reprimed the floor with oil-based primer (2 coats)
Step #5
When the primer was dry, I painted it with regular house paint. It doesn’t matter what you use as the base. The primer and topcoat are the most important steps.
Step #6
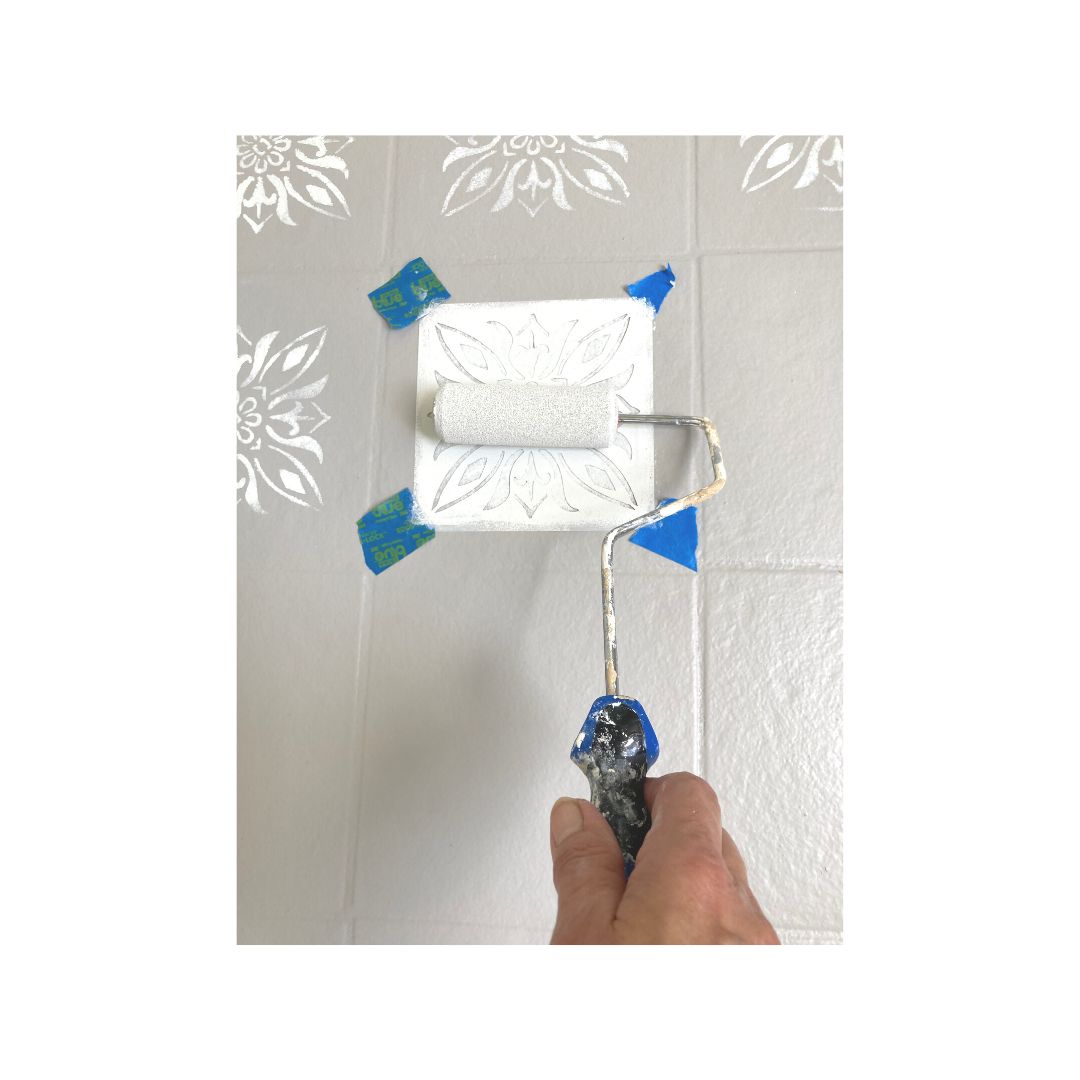
Apply the stencil design with a sponge roller or a stencil brush.
Here are the tile stencils I use. Measure your tile before ordering.
Tip: make sure you offload the paint on a paper towel before applying, so you don’t get any bleeding.
Step #7
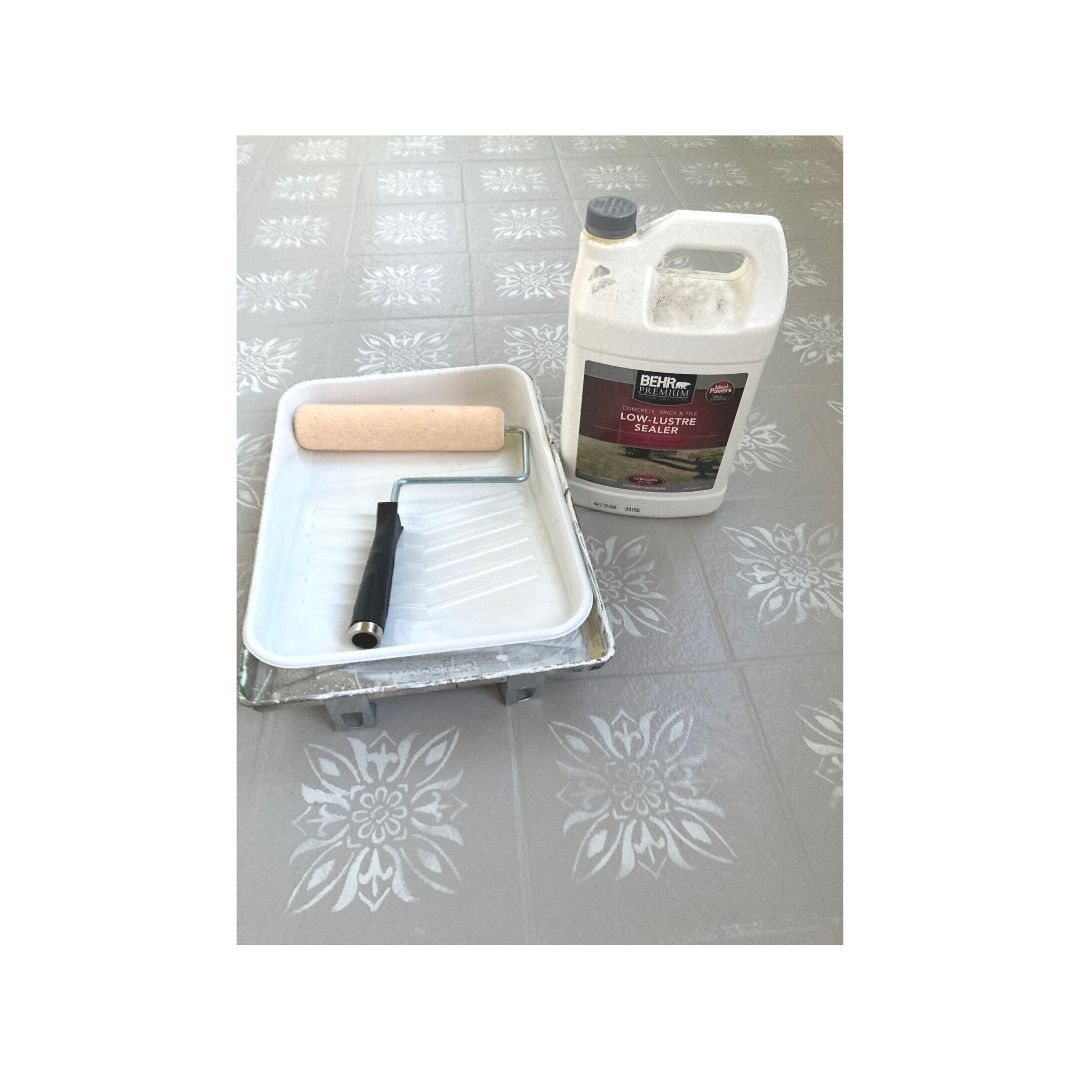
Last step. Apply 3-4 coats of sealer and let it dry overnight before putting your furniture on it.
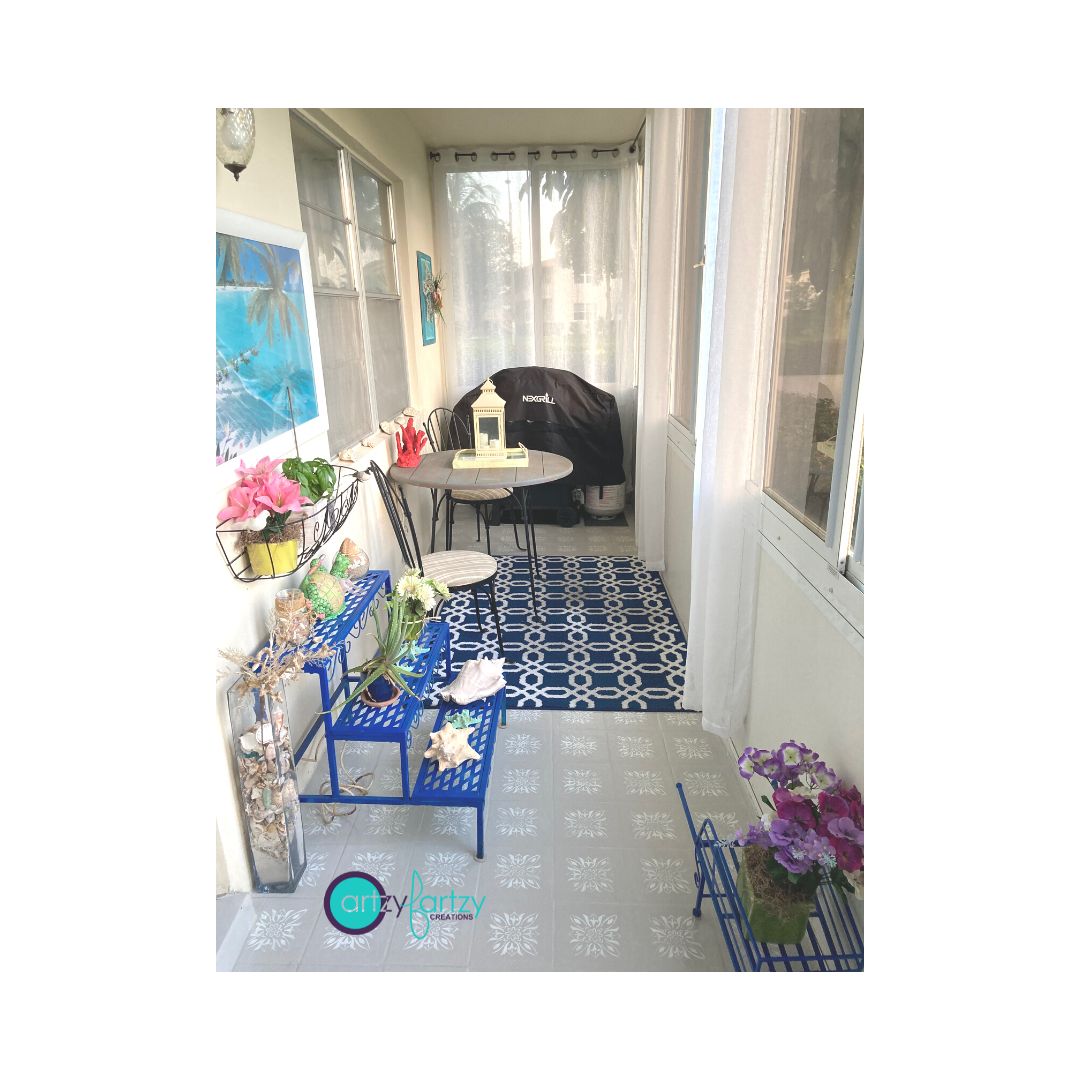
Here’s the original blog I did for this porch with the steps and supply list. The painted floor design is a little different.
Learn from my mistakes…..If I would have saved the base coat and the stencil color, I could have just repaired a few tiles rather than redo the entire floor.
P.S. Have you ever thought about turning your hobby into a business? Get the details HERE
P.S.S. Get my free blog jam-packed with home decorating and DIY tips:
XOXO
Cheryl
nbsp;
Artzy Fartzy Creations. Oh Yes you can DIY!
Subject Lines That Get Your Emails Opened
The Subject Line … Have you ever received [...]
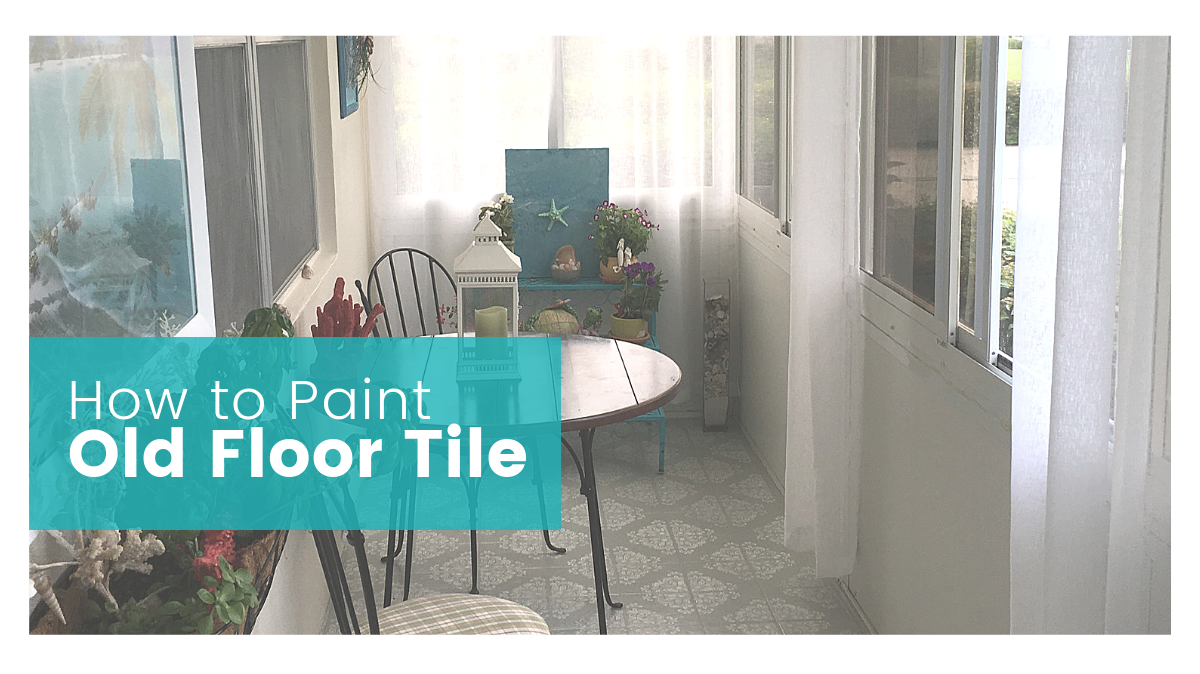
How to Paint Old Outdated Tile to Look Fresh and New
YES! This is paint…. Can you believe it? If [...]
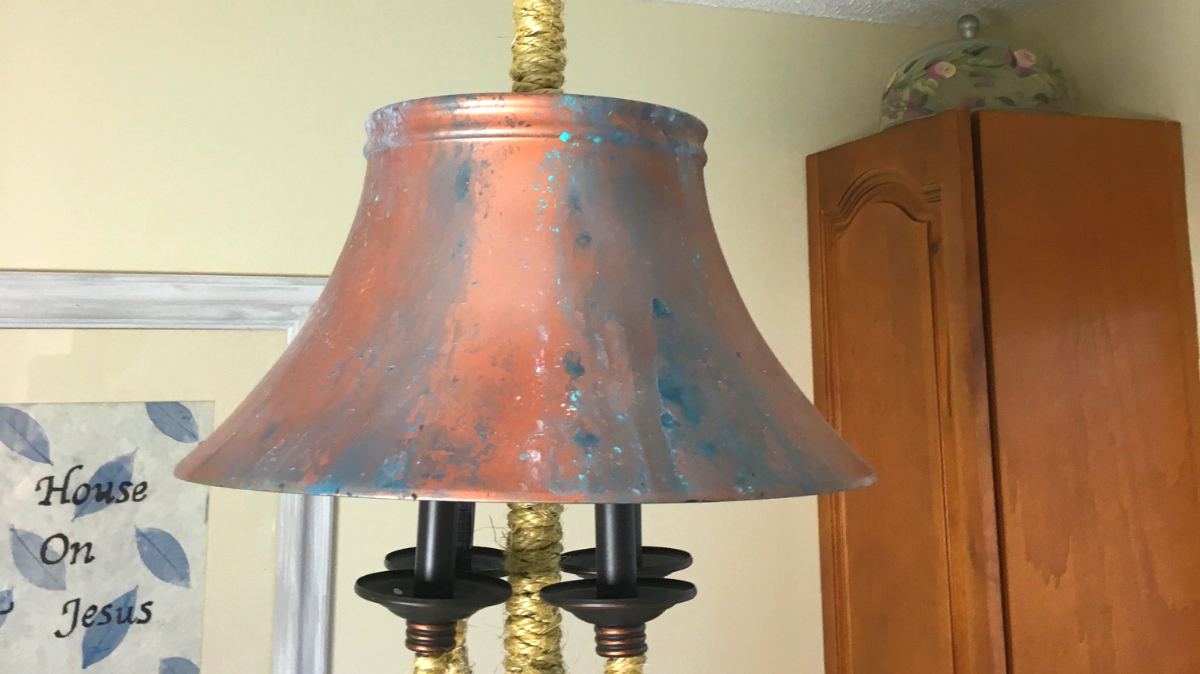
Thrift Store Chandelier Makeover for $15
How to get this thrift store chandelier makeover for $15 [...]
Open Your Own Virtual Store in less than 30 Minutes Selling Your Crafts
and Make Money While You Sleep Do you [...]
Whose Dream Are You Building?
I want to give a few words of [...]
Social Media Image Size Cheat Sheet
Struggling to get your social media images just, [...]
Contents
Recent Reads
How to Restore Damaged Cabinets
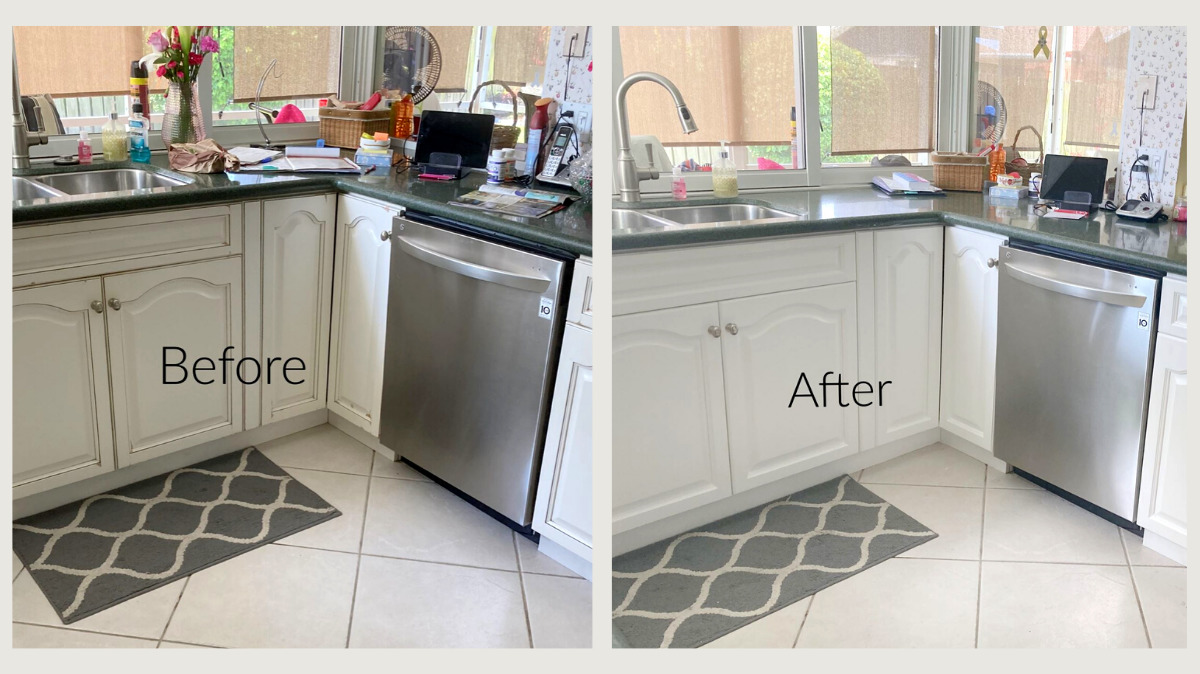
Do your kitchen cabinets look like this? You don’t have [...]
Restored Fire Pit
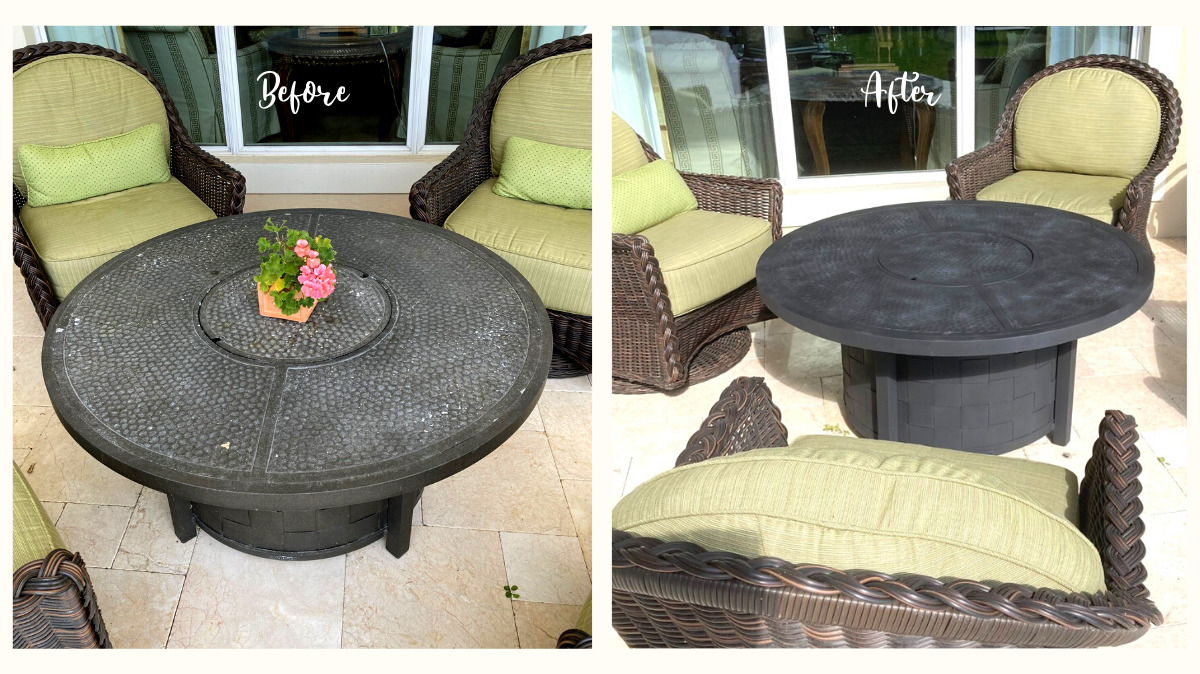
Weather elements and the sun can be quite damaging to [...]
No Need for an Electrician to Remove Your Chandelier
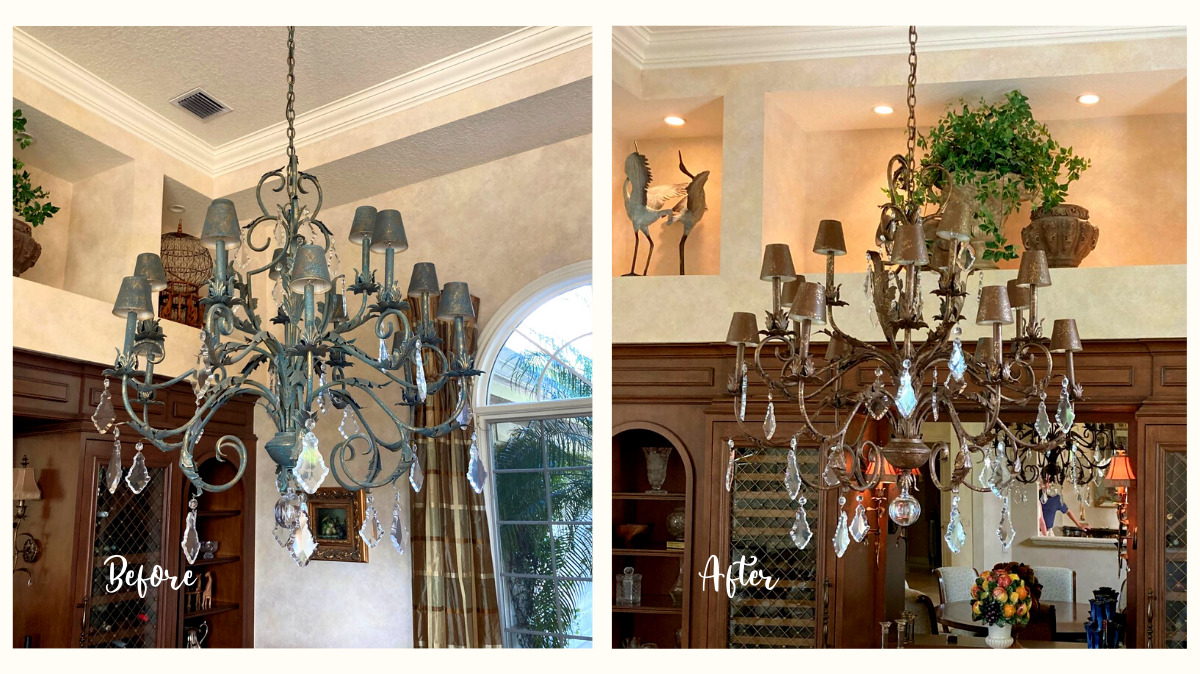
Do you have a large chandelier hanging from your ceiling [...]

