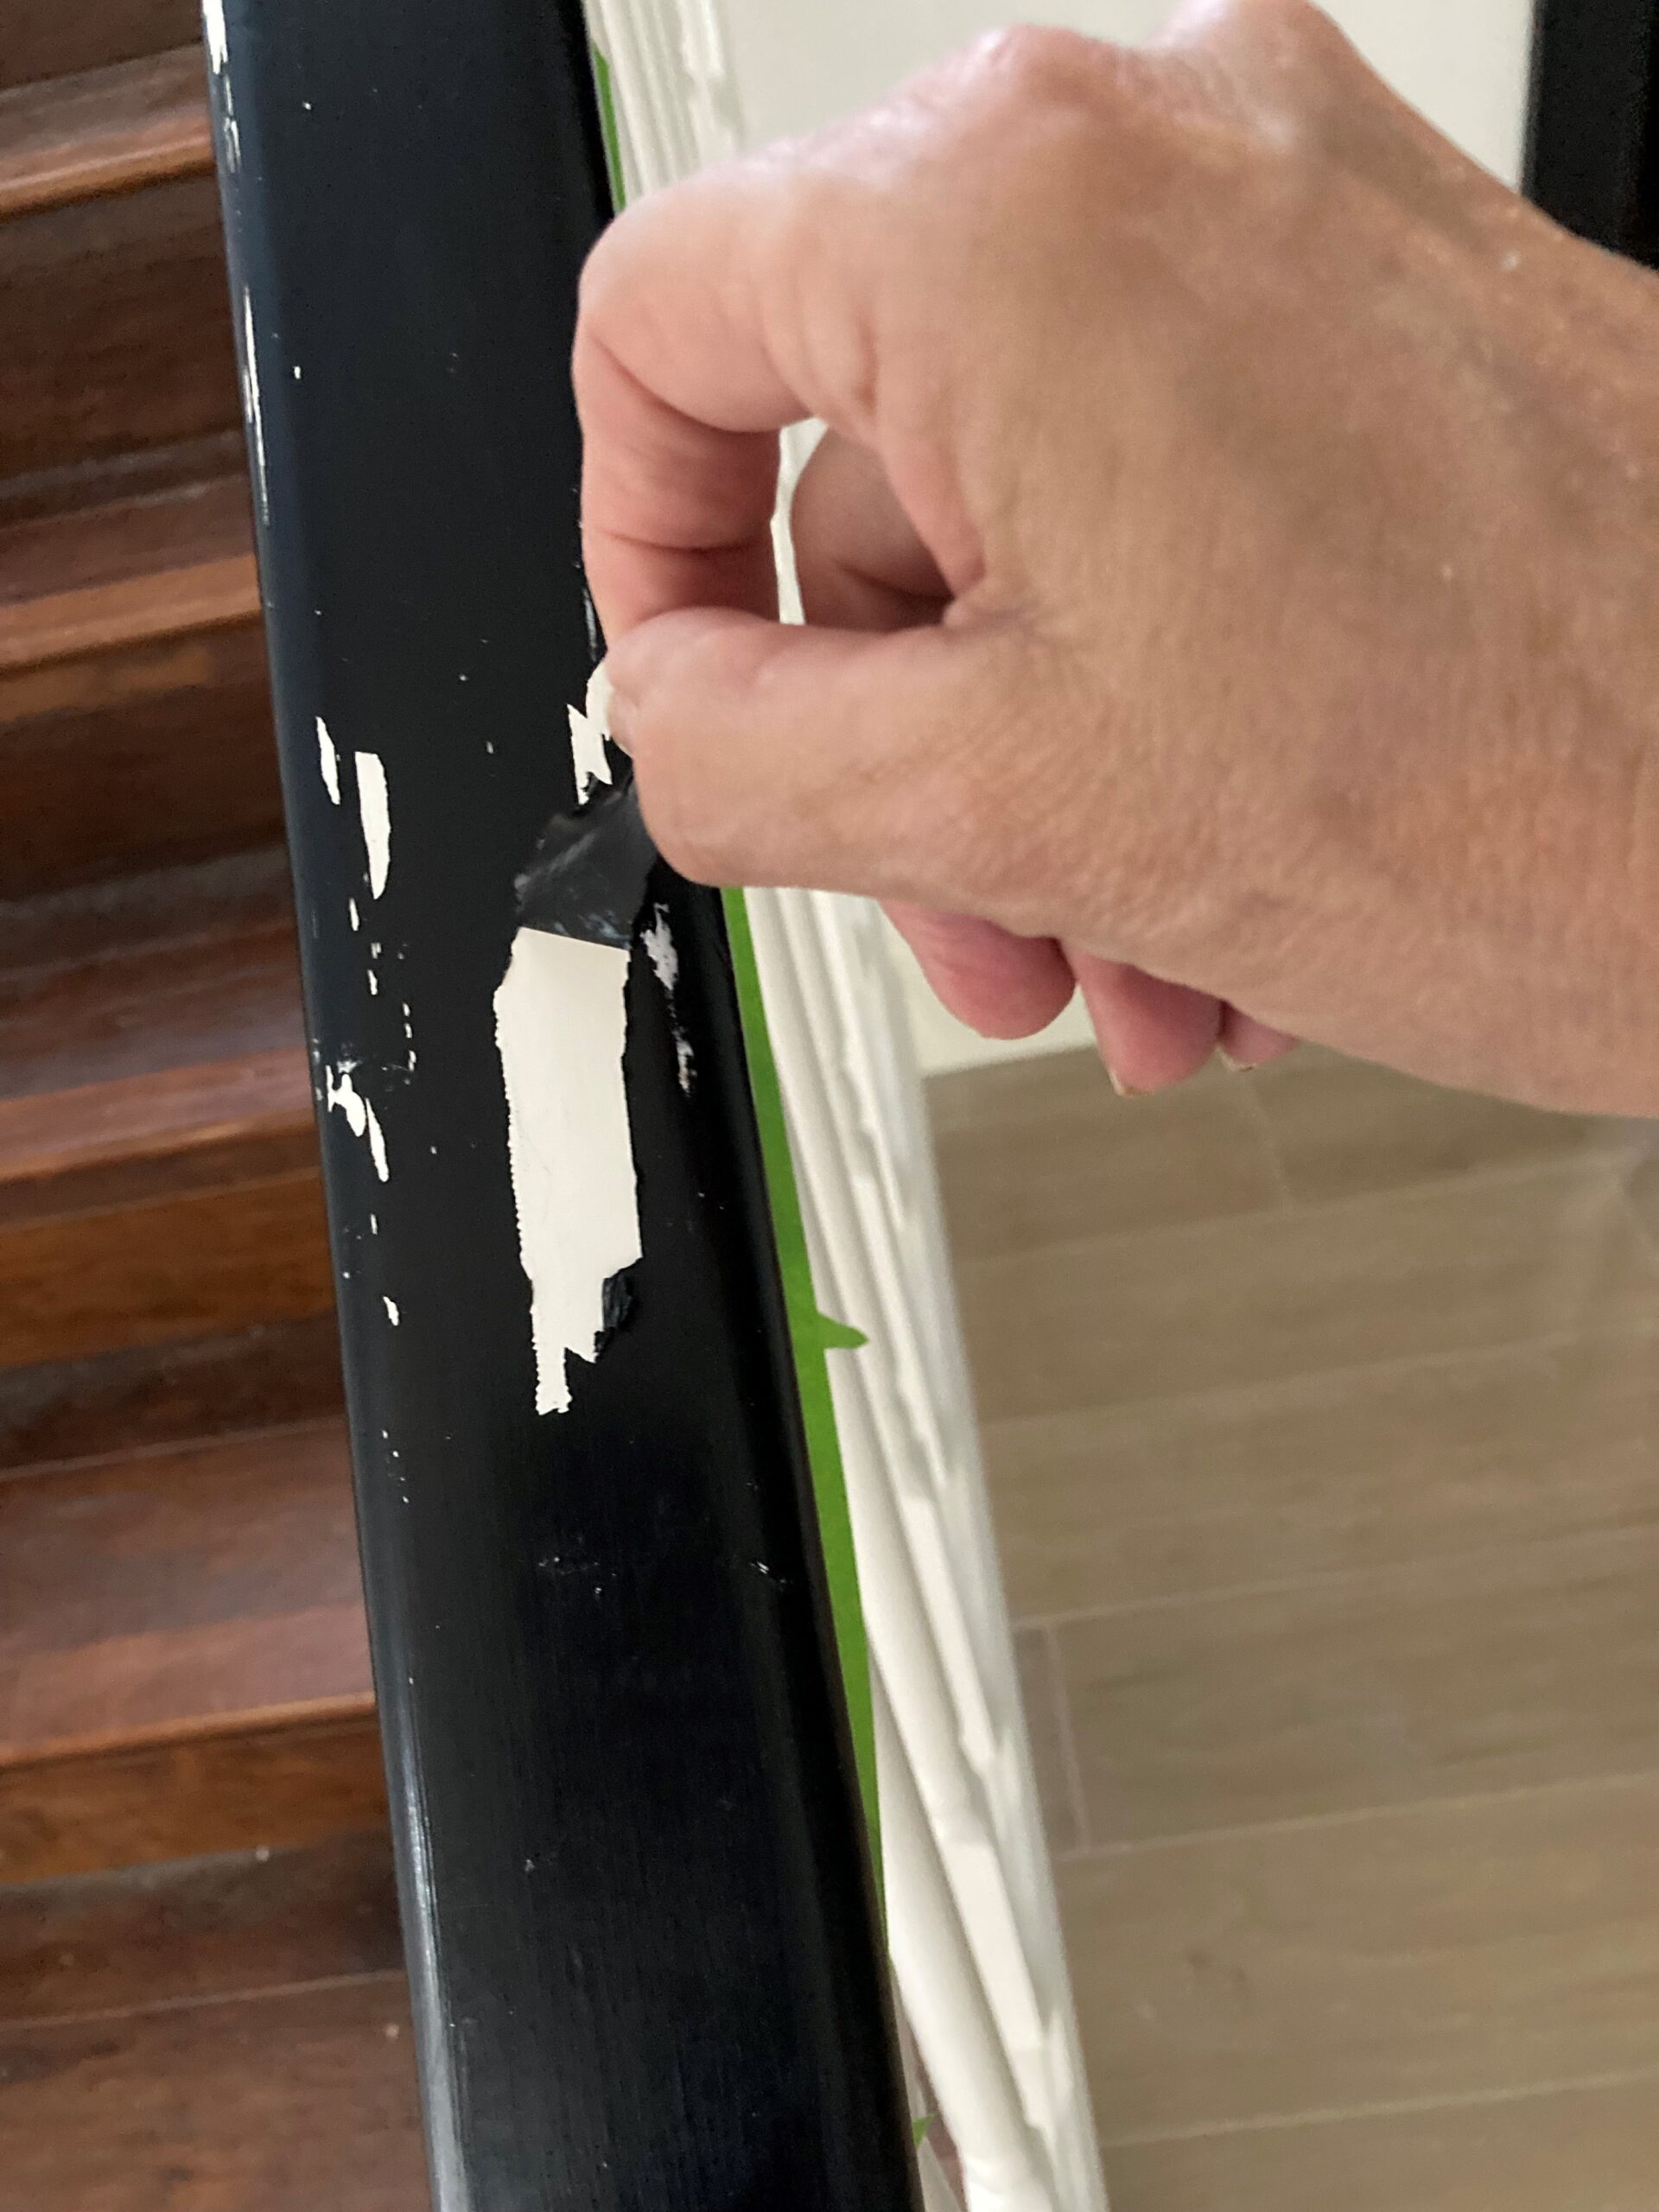
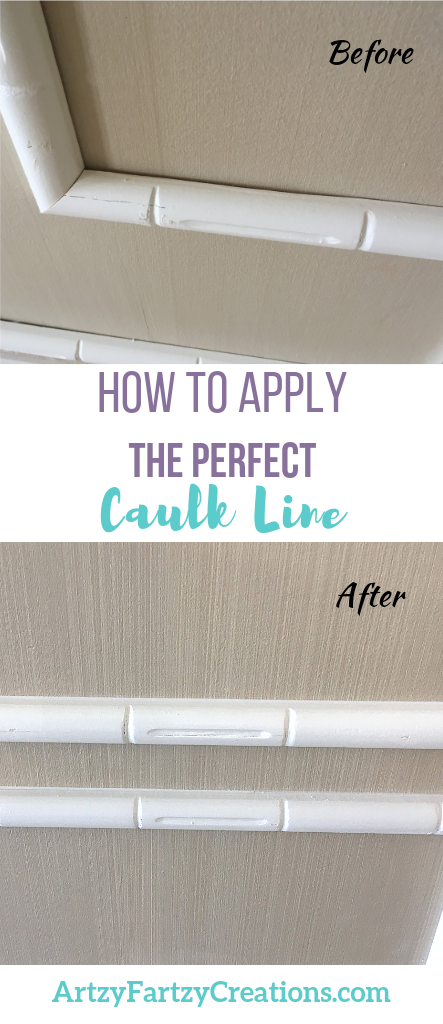
How to apply the perfect caulk line
Inevitably, when you apply molding of any kind to a wall you will end up with gaps. This is because the wall isn’t completely flat. The best way to give it that finished look is to apply a caulk line. The problem is, when you add the caulking it may come out thick and when you use your finger to smooth it out it will smudge on the wall and make a mess.
But I have the perfect solution.
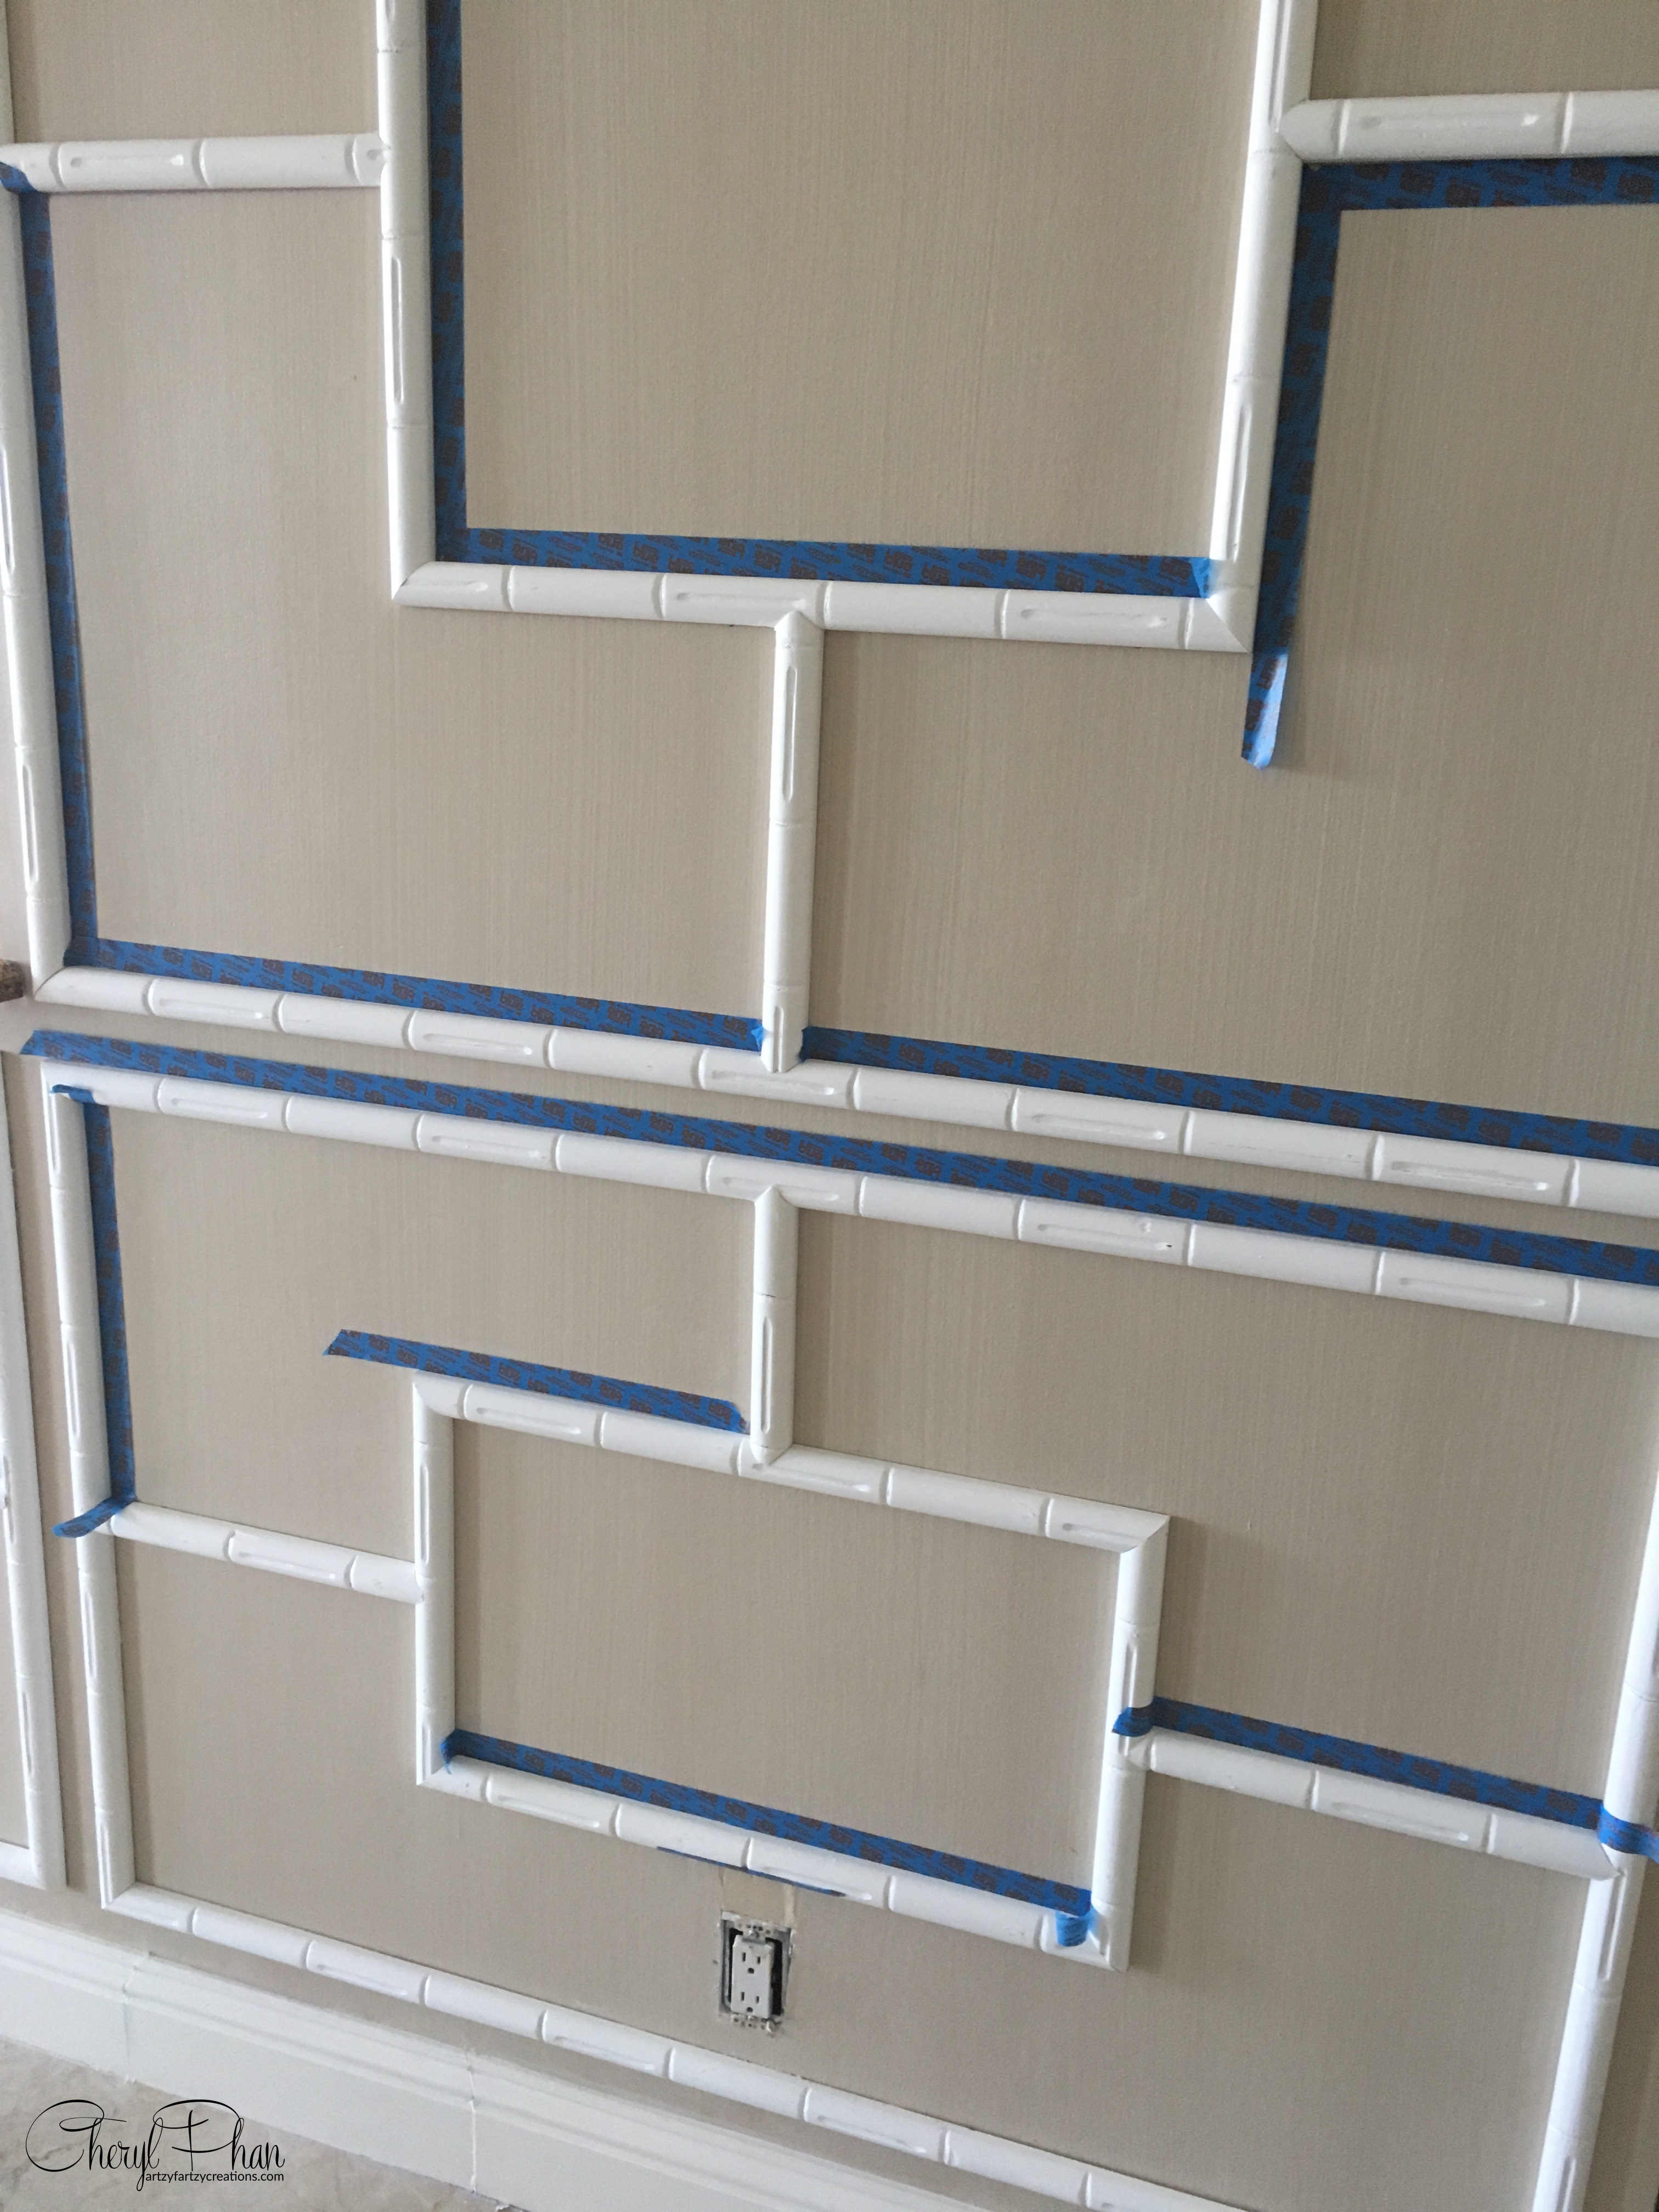
Here’s a great hack I learned a long time ago. Run a piece of tape along the edge of the molding. It may be an extra step, but it is well worth the extra time.
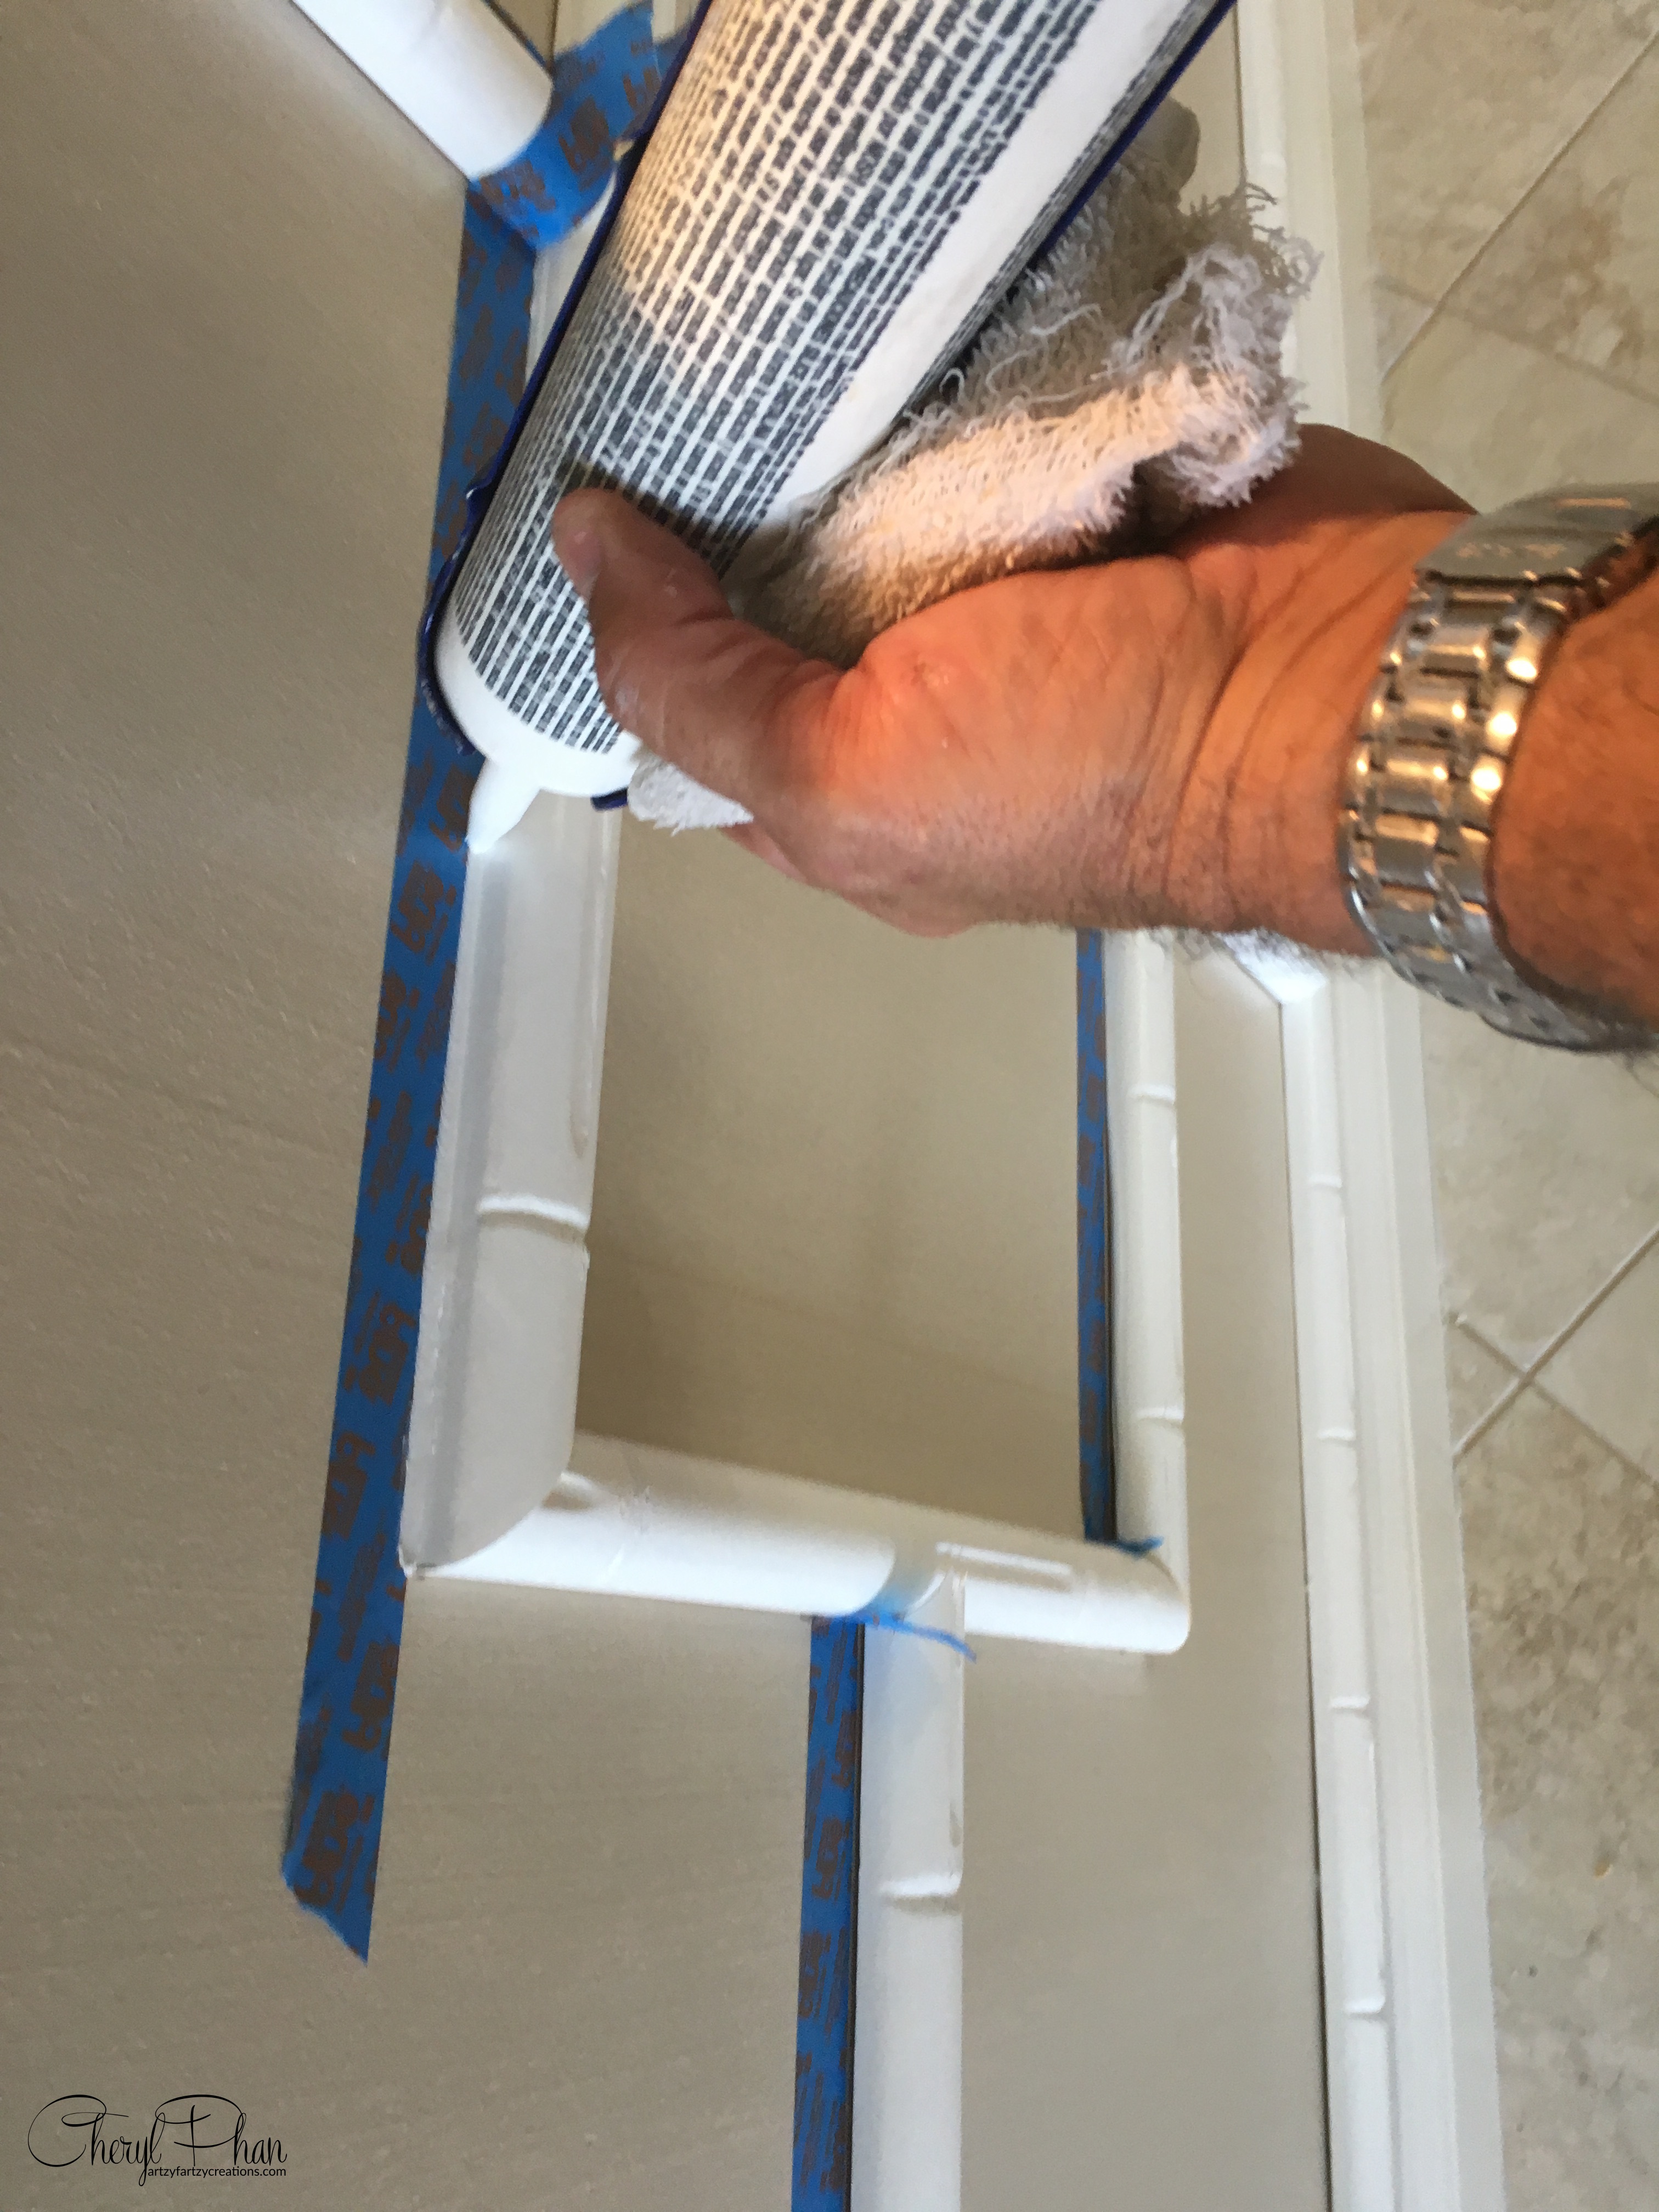
Then apply a small amount of caulking along the edge. Use a damp rag or your finger to smooth it out.
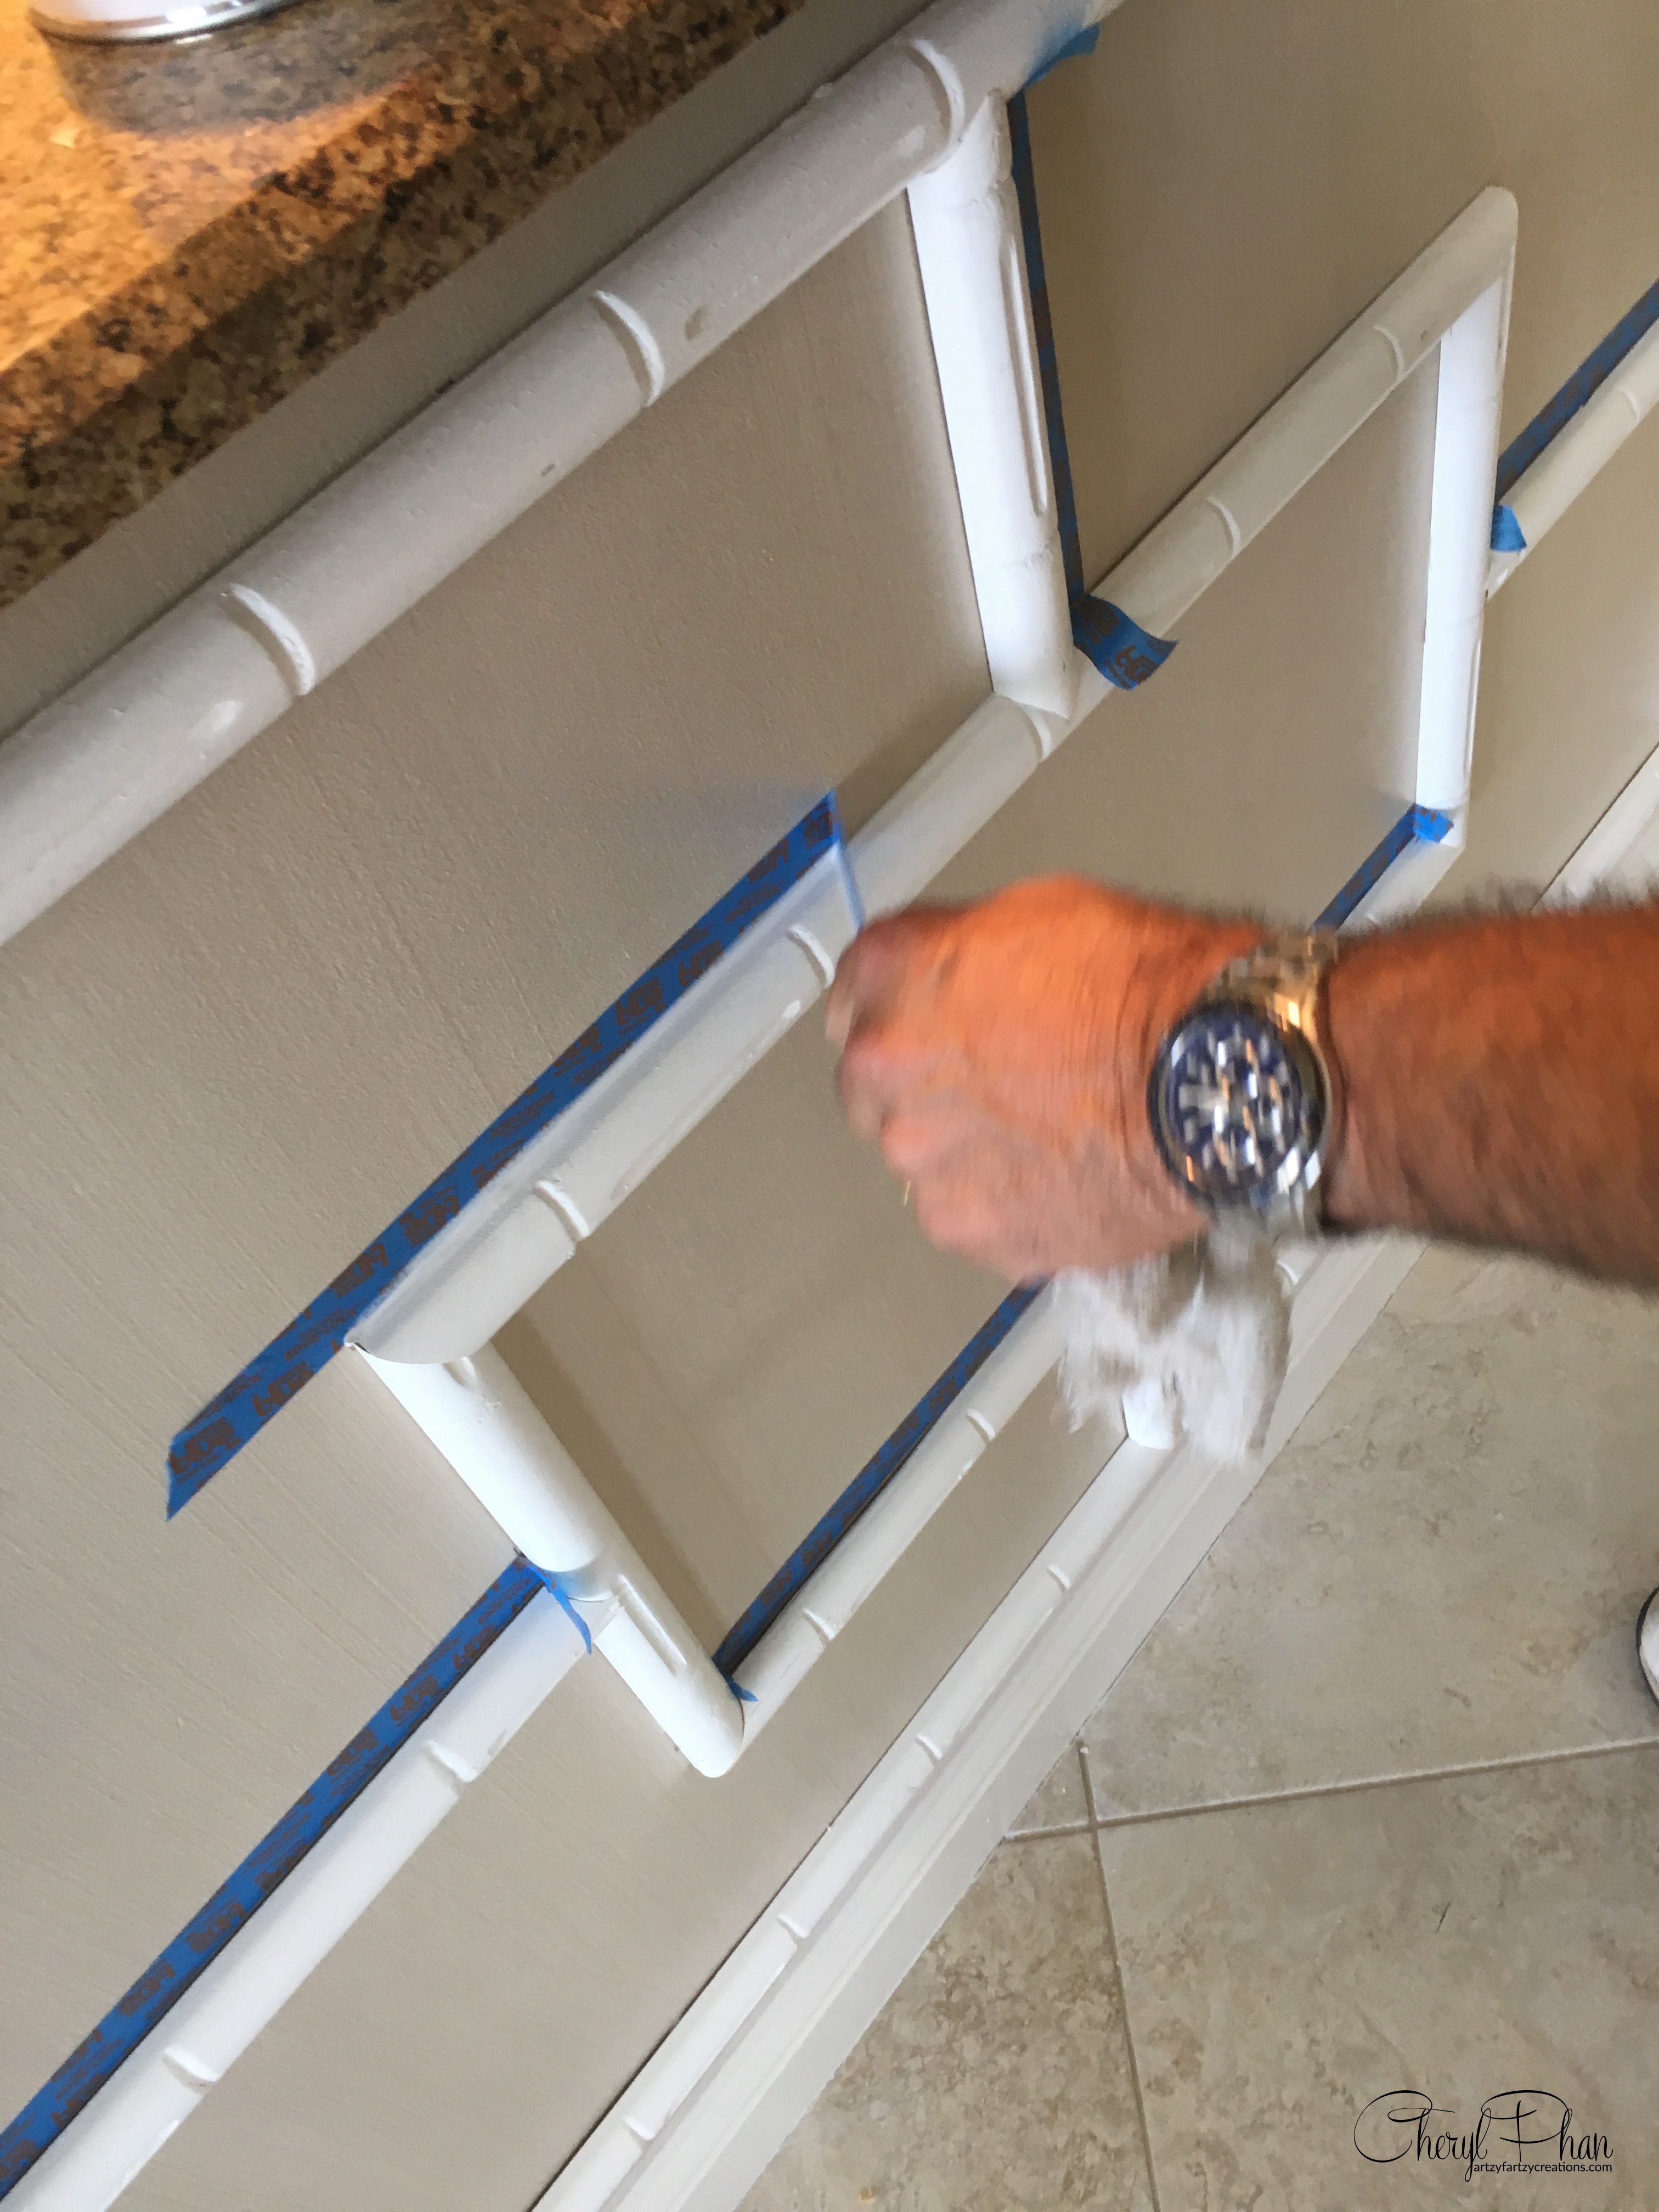
Remove the tape immediately.
There you have it, a perfect line without the smudgy mess. This works well on bathtubs and sinks as well.
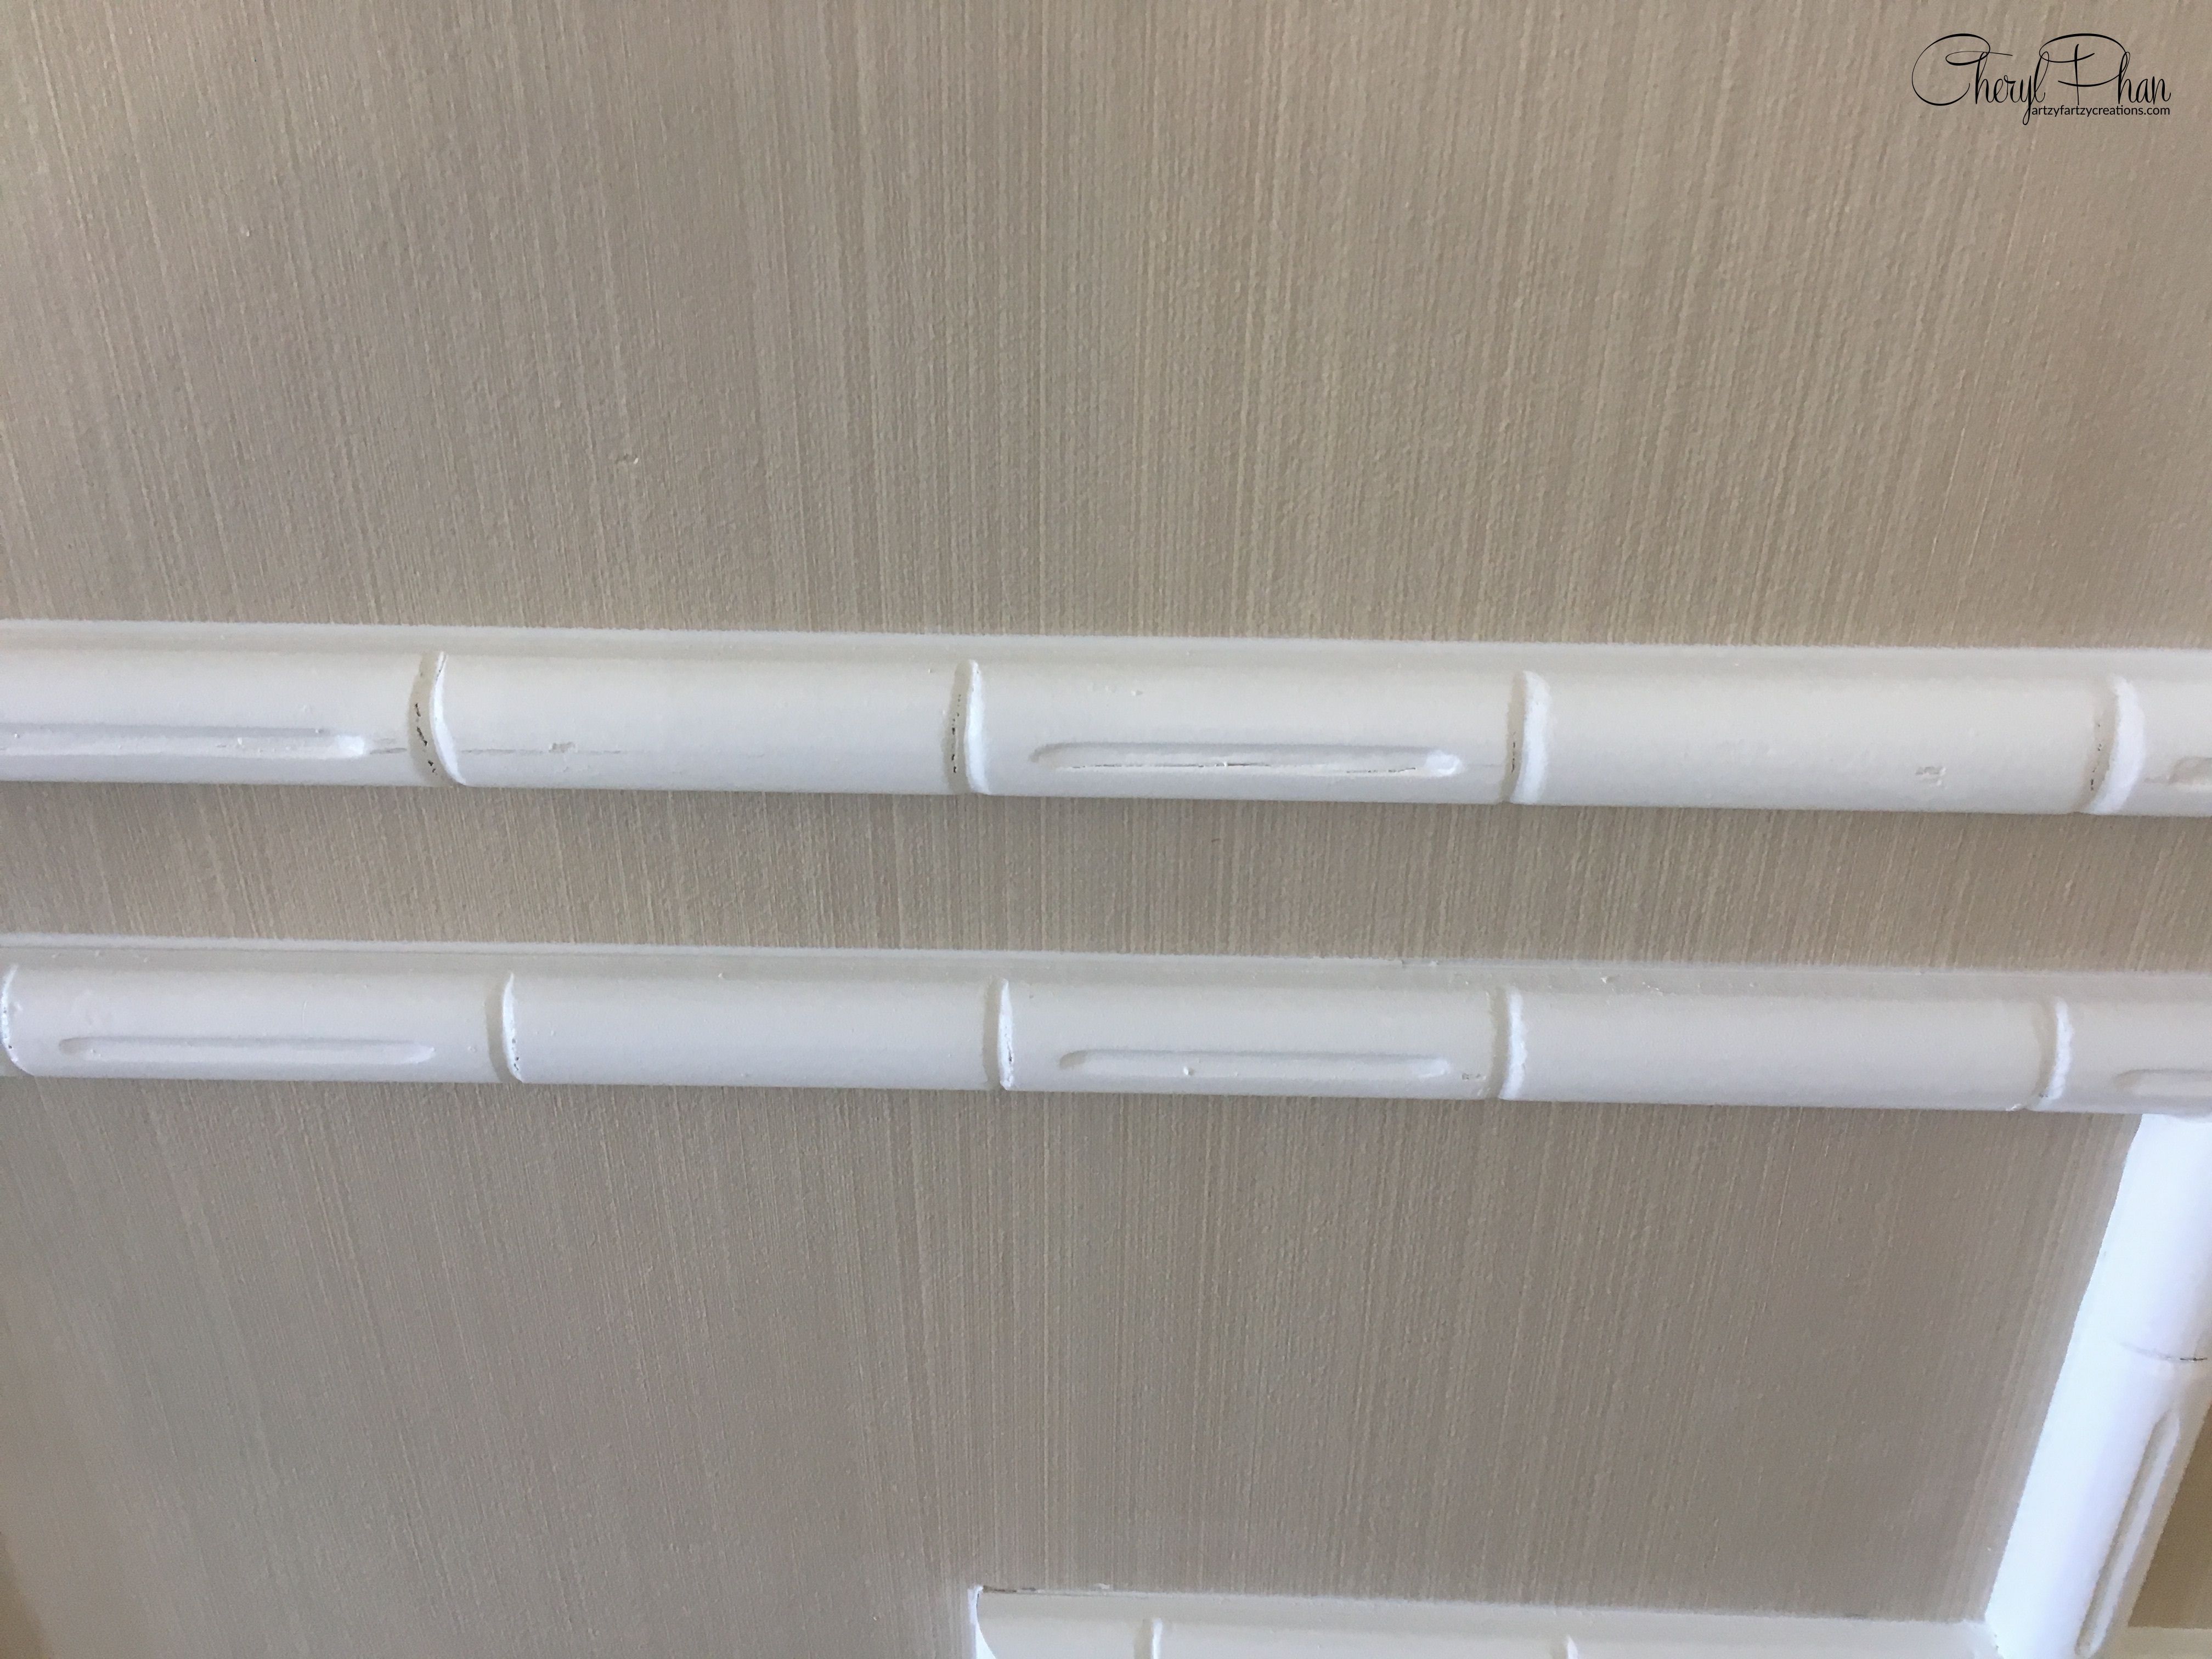
Perfect caulk line. No smudging, no mess.
If you want to learn how to start making money with your hobby get the details HERE
If you want to learn DIY Tricks and Tips get my weekly blog HERE
Artzy Fartzy Creations. Oh Yes you can DIY!
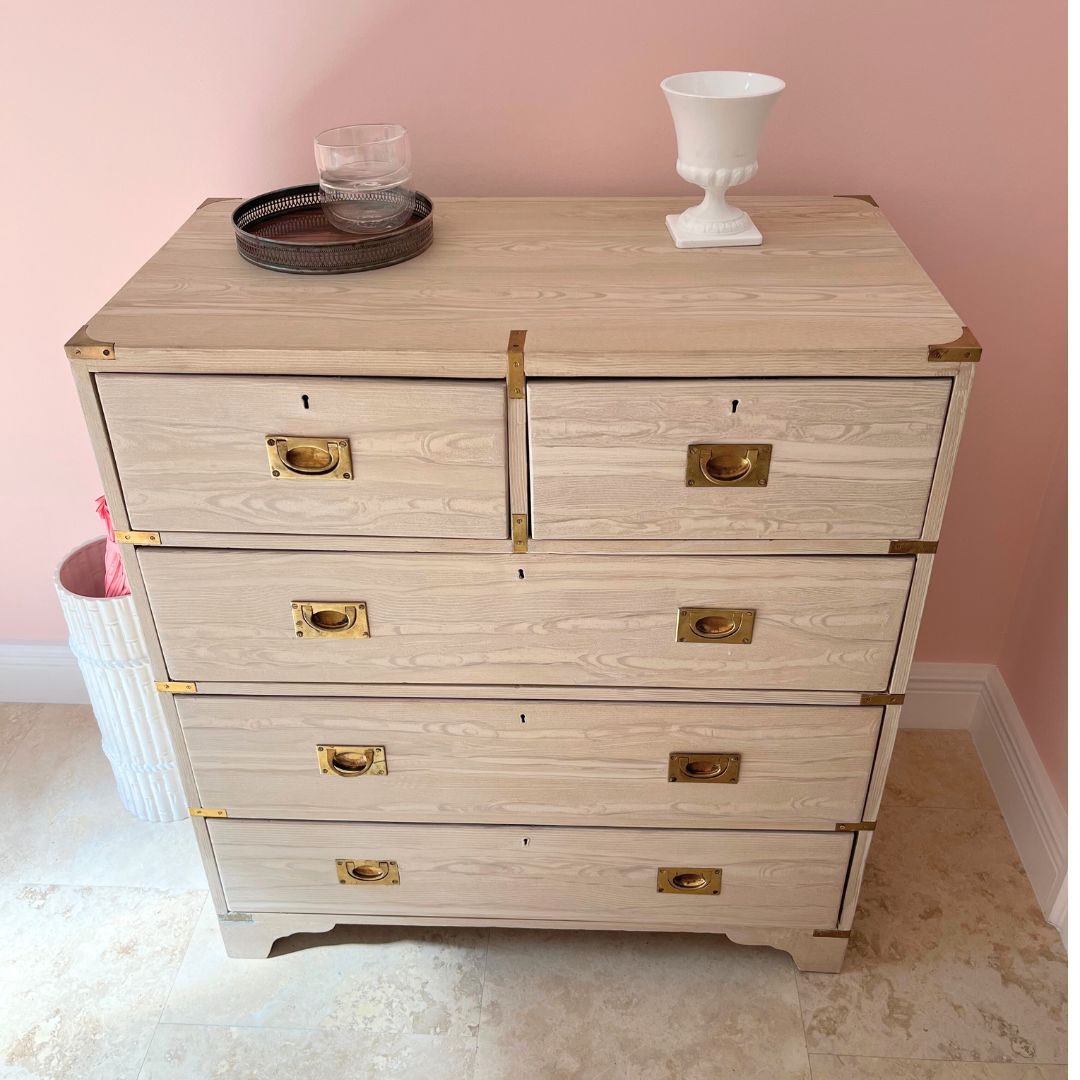
Spectacular Furniture Woodgrain Finish on a Budget
Want to learn my secret to creating [...]
Hand Painted Furniture Legs
If you’ve known me for half a minute, [...]
How to Create a Linen Faux Finish
One of the things I love about the linen look [...]
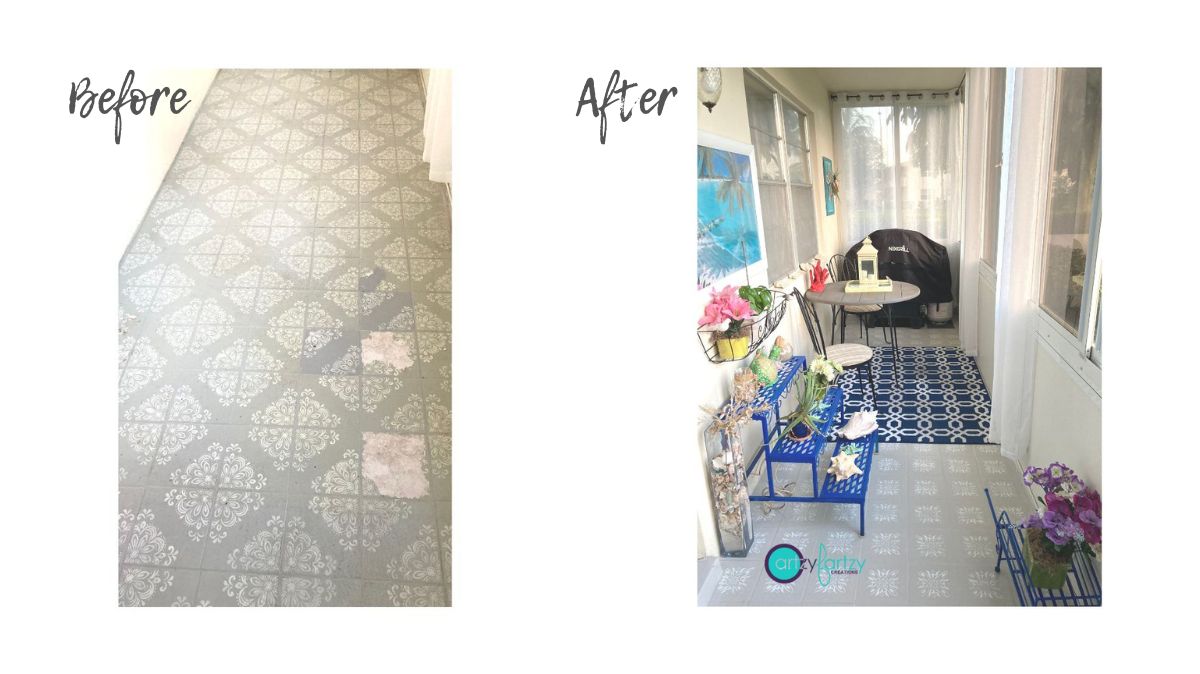
Oops, I messed up my painted floor
Have you ever messed up a painting project and had [...]
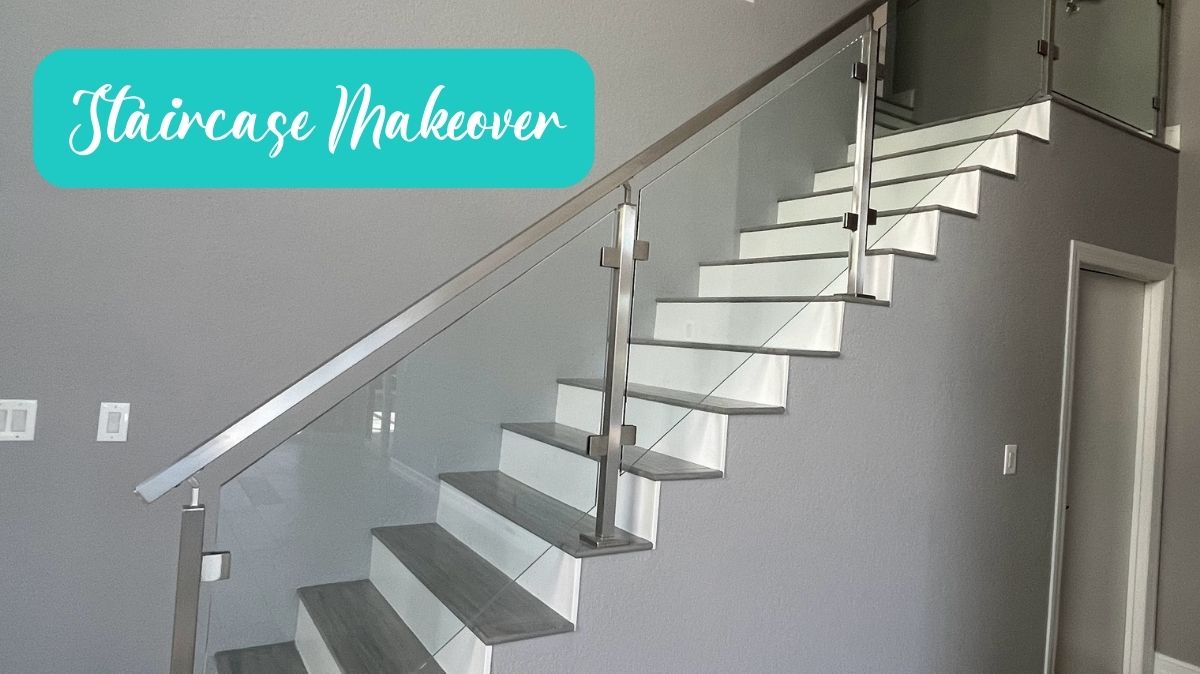
Weathered Staircase
Do you have a staircase that is stuck in the [...]
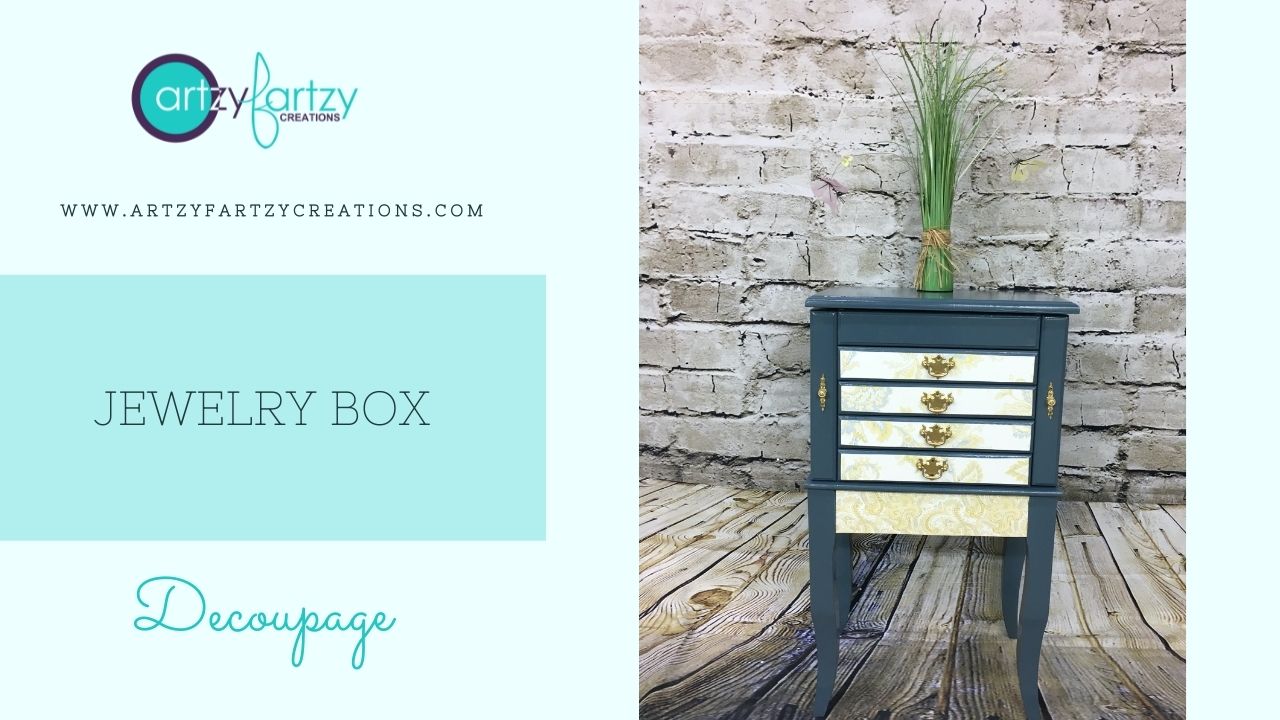
Decoupage Jewelry Box
You know the old saying. “One man’s trash is another [...]
Contents
Recent Reads
Budget-Friendly Way to Lime Wash Pecky Cypress
Ready to transform your ceiling using our budget-friendly [...]
Latex Paint Not Sticking Over Oil-Based Paint: How To Fix It
Is the latex paint not sticking to your [...]
Transform your space with 3D Wall Panels for an elegant look
Picture this: You step into a room and [...]


