Imagine, NO demolition and NO mess! Most people are totally surprised when I tell them that I can paint over tile. But there are a few things you should know before you get started.
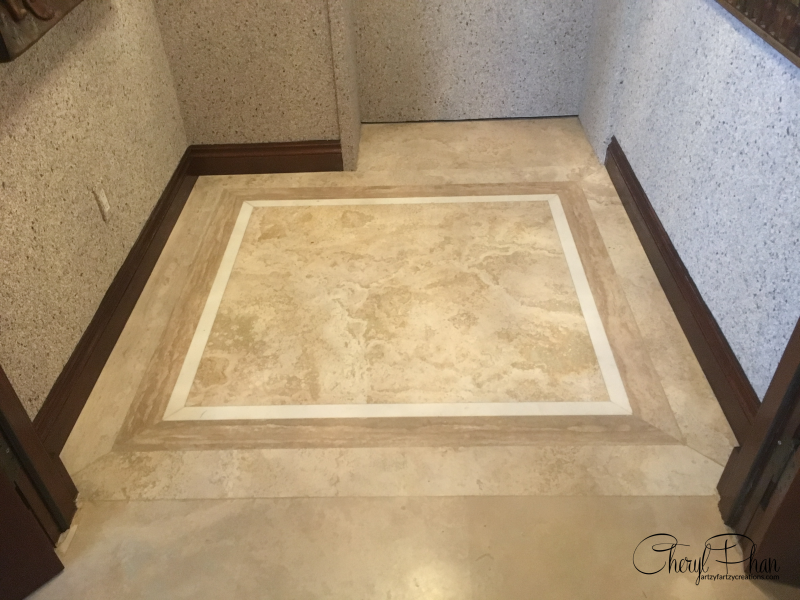
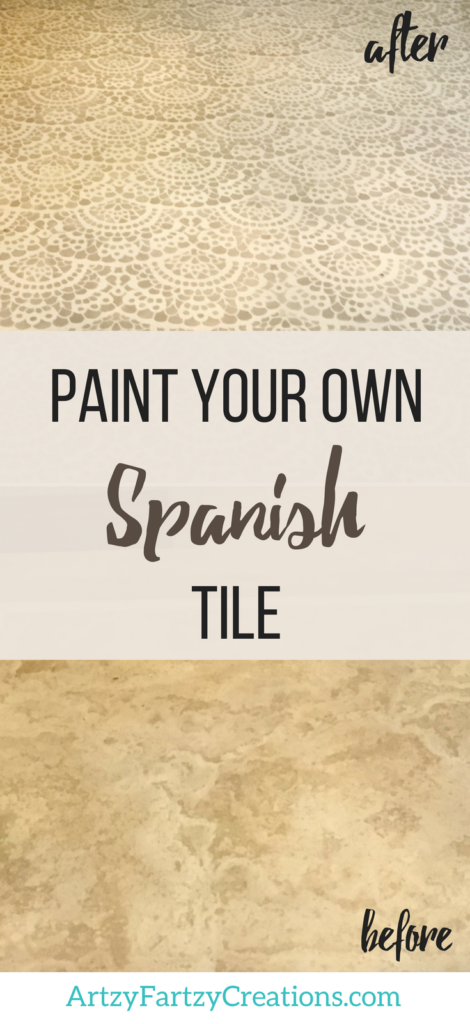
This was the existing floor. The design was not centered to the elevator door, and it just threw the entire room off. So instead of drilling out the tile and creating a huge mess, my client called me to work my magic with paint.
This post may contain affiliate links from Amazon. I will make a small commission if your purchase these items from my blog. You will not be charged extra! Thank you. Read my disclosure and privacy policy here.
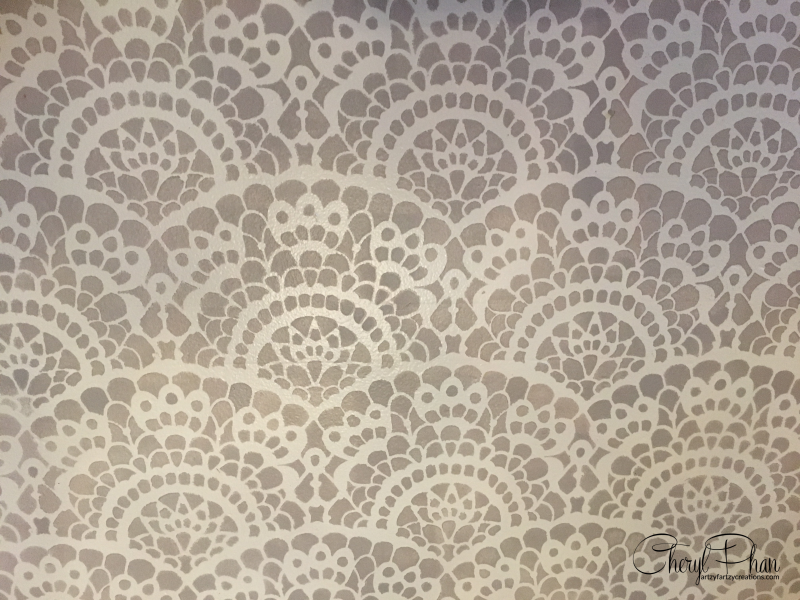
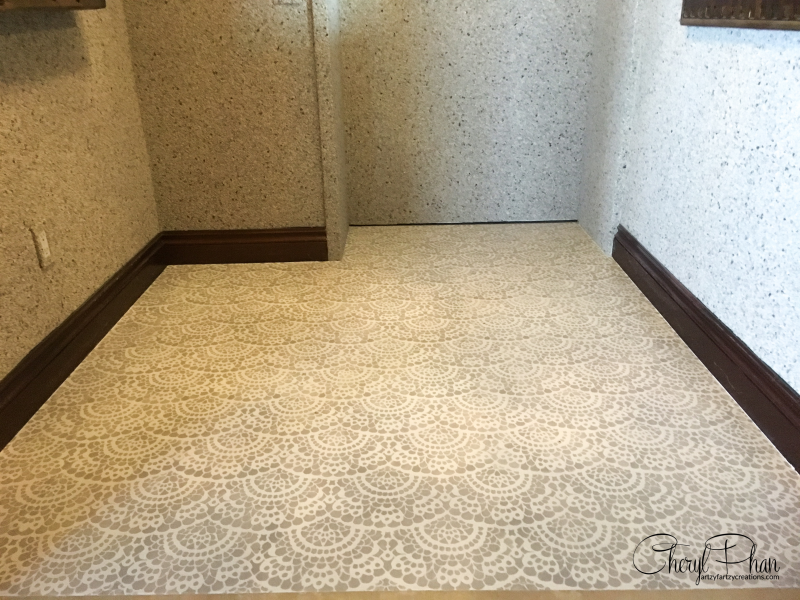
This was the pattern we selected from Royal Design Studio. The reason we picked this one was, there were no lines that would make your eye follow a pattern. It had a nice even flow.
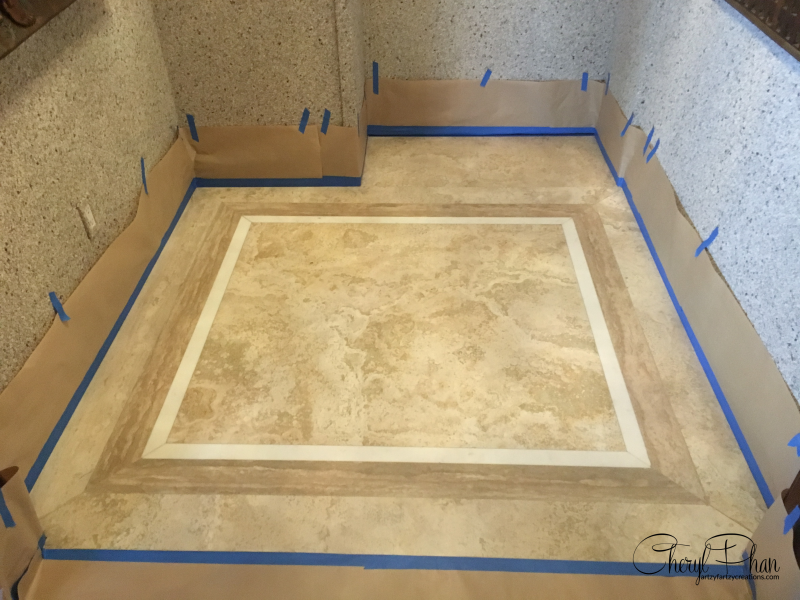
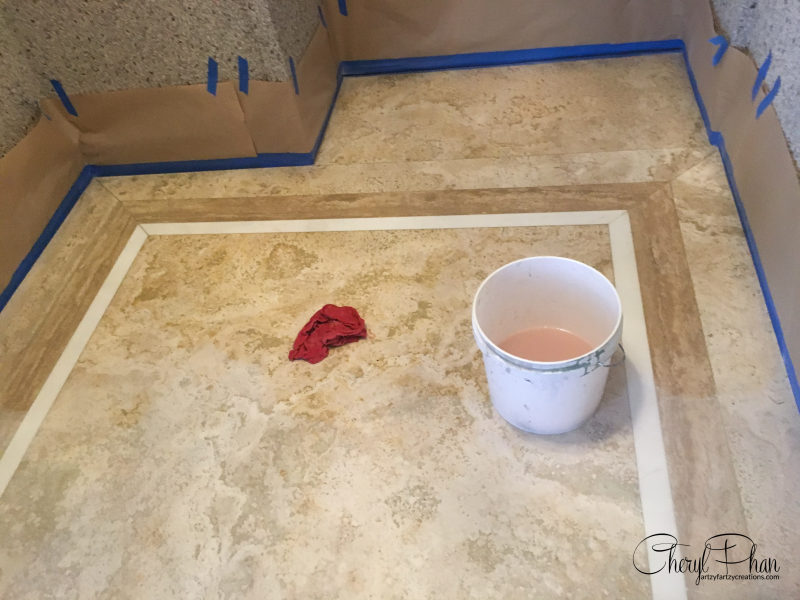
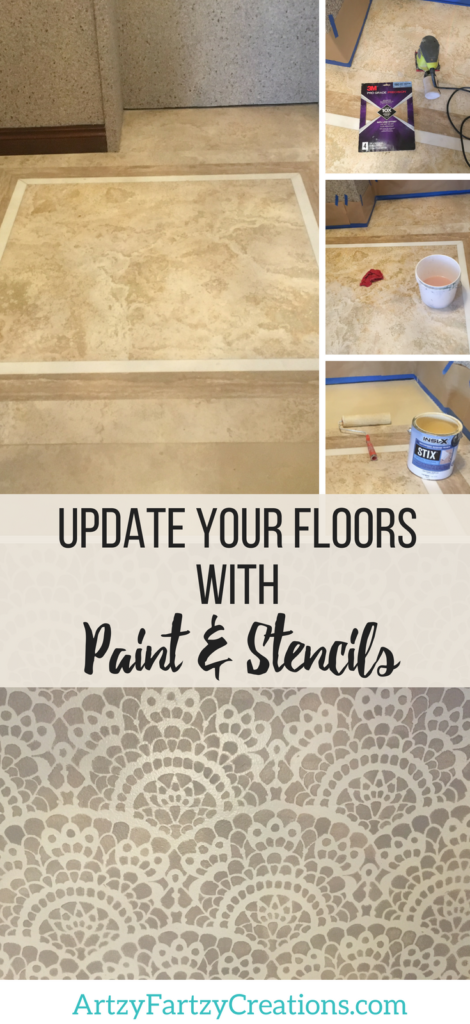
Step 1
Tape off the floorboards with blue tape and brown paper
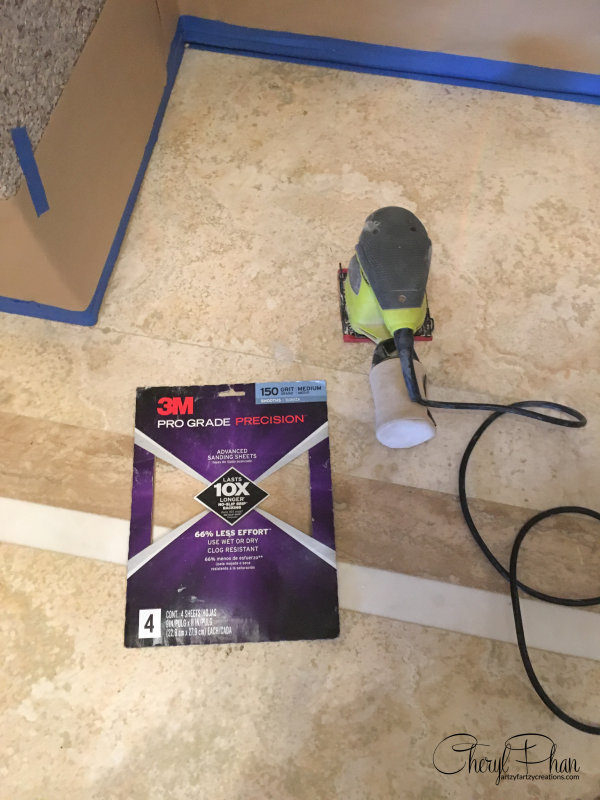
Step 2
Step #2: Use an electric Sander and sand floor with 150 grit sandpaper.
This will give it what they call “tooth” basically it helps make the primer stick.
Step 3
Clean floor with TSP. Make sure you remove all the dust.
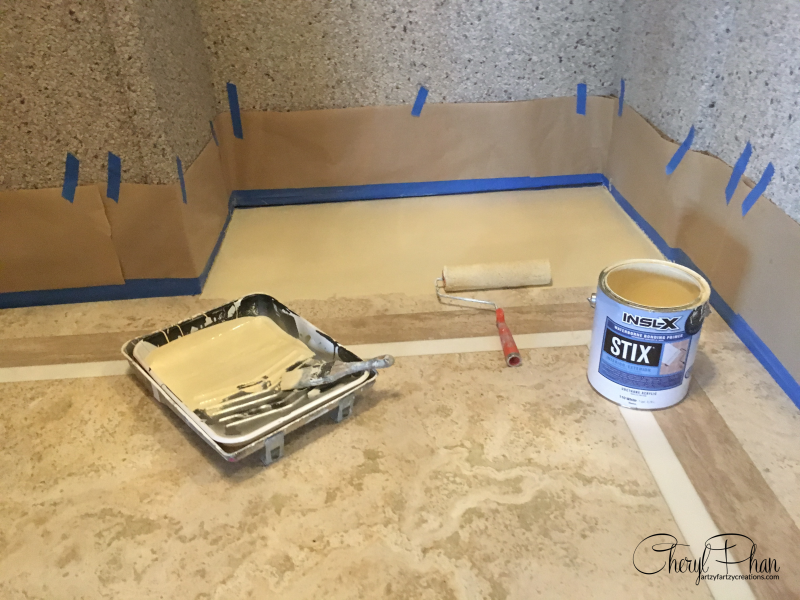
Step 4
Prime the floor with 2 coats Stik Primer.
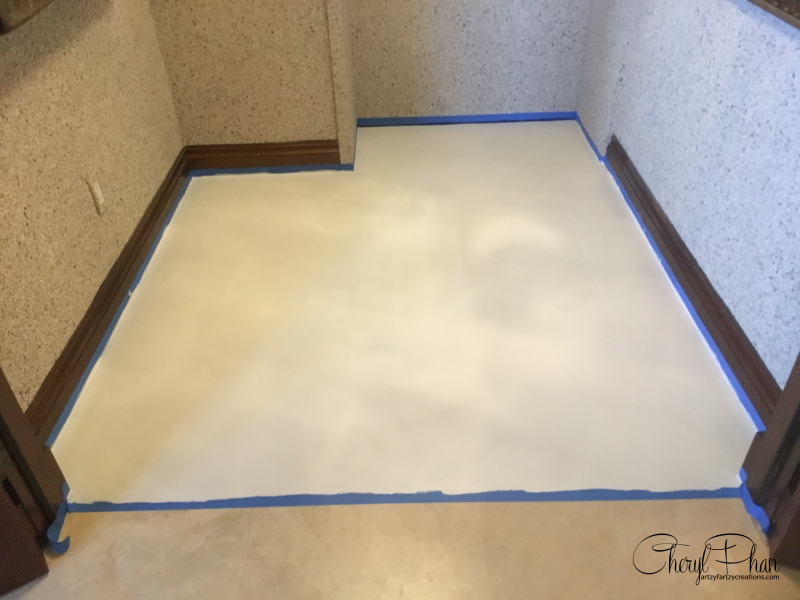
Step 5
Paint 2 coats satin paint. (This is Benzamine Moore American White)
Use whatever color you want.
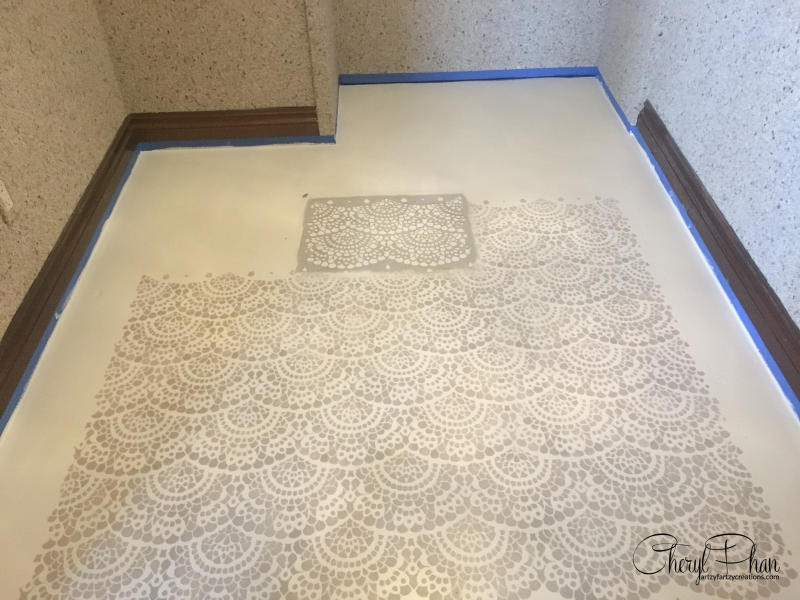
I like working on the large section first and then doing the sides. The stencil used on this floor was Spanish Lace Scallop. The stencil color Benjamin Moore Stormy Monday.
Step 5
Stencil. Watch this video for instructions on how to stencil and line up the pattern.
Step 6
Lastly, seal it with 3 coats of Polycrylic clear coat
I bet you’ll think twice before you rip out your tile floors. This tile floor makeover saved a lot of money. This floor only cost $85 to refinish.
If you loved that painted tile floor makeover — I have a similar project to share with you — painted concrete! See that painted floor project here.

If you want to learn how to start making money with your hobby get the details HERE
If you want to learn DIY Tricks and Tips get my weekly blog HERE

If you’re interested in learning to DIY unique faux finishes — check out my e-book – How to Faux Finish with Common Household Items. I’ll teach you six amazing painting techniques to create more stunning walls for only $5.99.
Artzy Fartzy Creations. Oh Yes you can DIY!

Create Faux Driftwood Cabinets In 3 Easy Steps
Dreaming of beautiful faux driftwood cabinets to give [...]

5 Amazing Race Car Themed Bedroom Ideas
Are you looking to create a race car-themed bedroom that [...]

Easily Repurpose Old Hubcaps Into Wall Decor
Have you ever thought you could repurpose old [...]

Creative Way To Turn a Golf Cart Tire Into a Shelf
Transforming a child’s room into a space that sparks imagination [...]

Transform a Dresser Into a Kids Race Car Tool Chest in 3 Easy Steps
Are you looking for a creative way to upcycle old [...]

Easy Peel and Stick Border For Kids Room
How to use an easy peel-and-stick border for kids' room [...]
Contents
Recent Reads

Quick Fix: How to Repair a Cracked Tile Floor (Without Replacing Everything)
How to Repair a Tile Floor and Make [...]
How to Create Budget-Friendly Stenciled Door Panels That Look Custom and High-End
DIY Textured Stencil Design – Door Tutorial Want to transform [...]

Ultimate Guide: How to Paint Stripes on Fabric Chairs Without Bleed-Through
How to Paint Stripes on Fabric Chair [...]