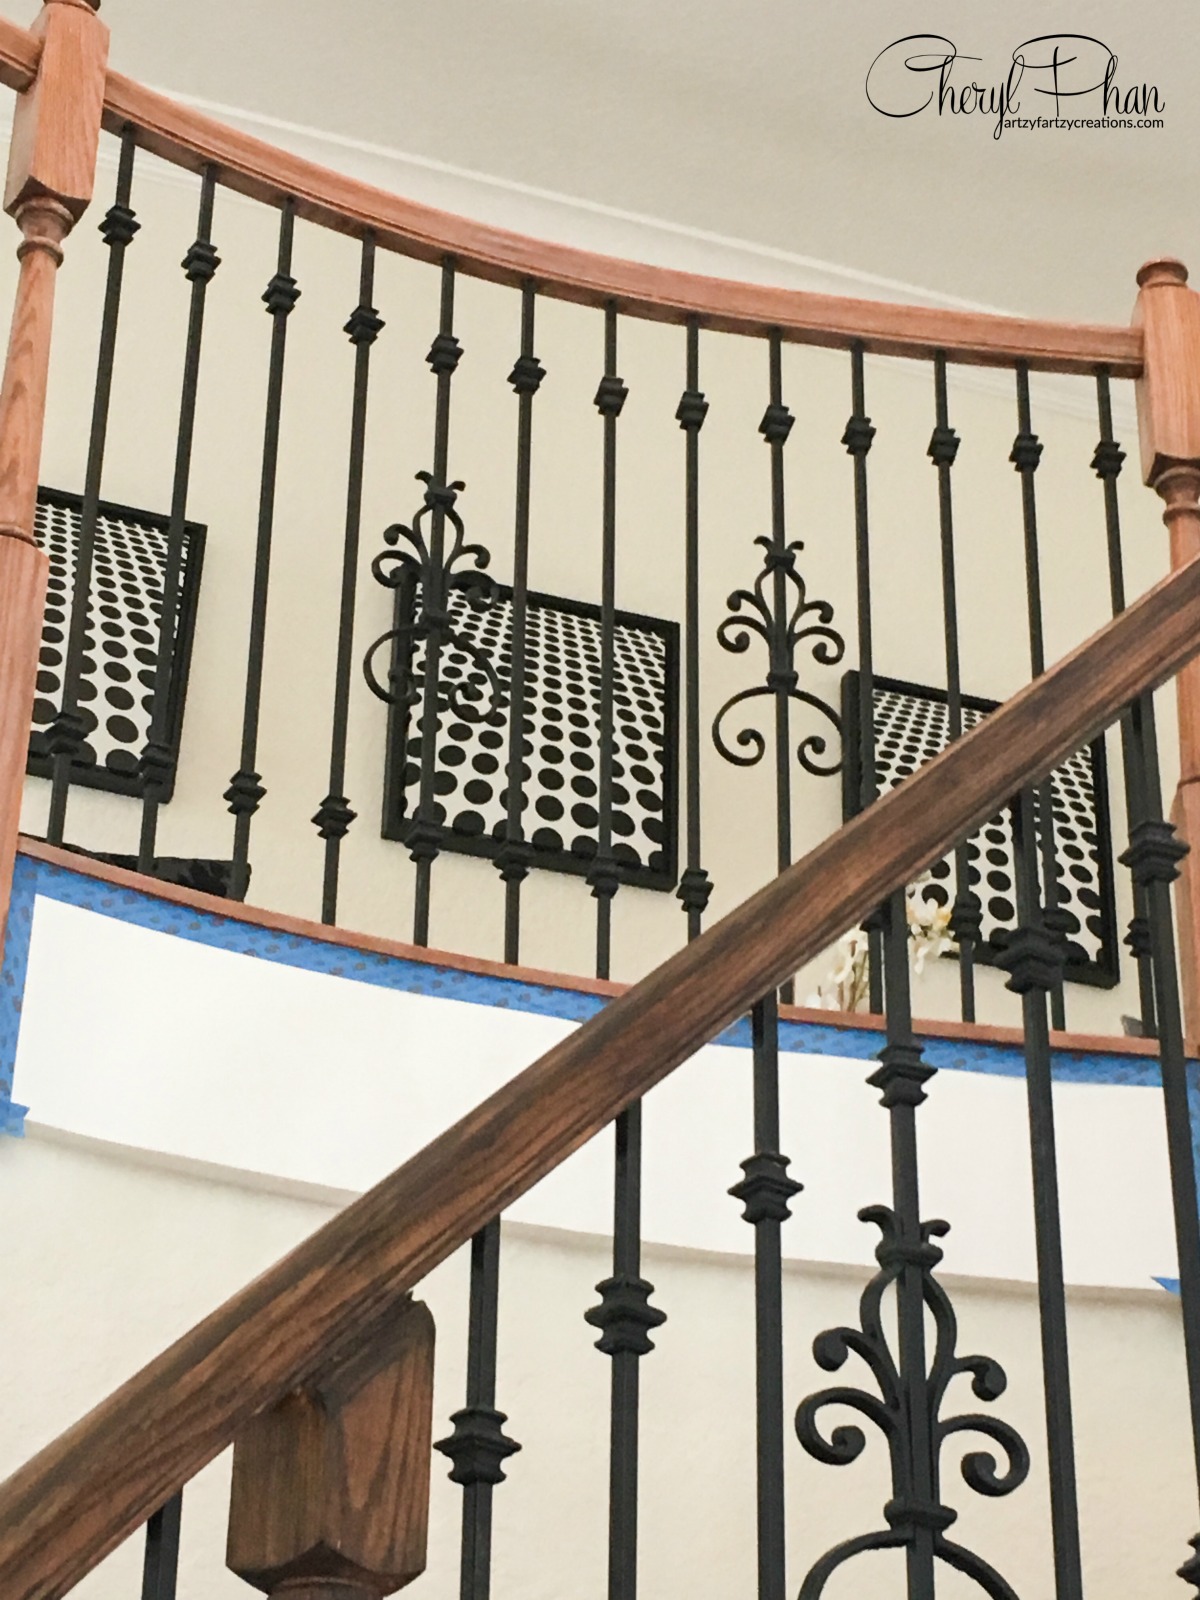
The grand entrance. When you have a staircase like this you want it to be spectacular.

This post may contain affiliate links from Amazon. I will make a small commission if your purchase these items from my blog. You will not be charged extra! Thank you.
This is a close up picture of the banister before and after. As you can see the before was a light oak color and the after was refinished with a darker finish.
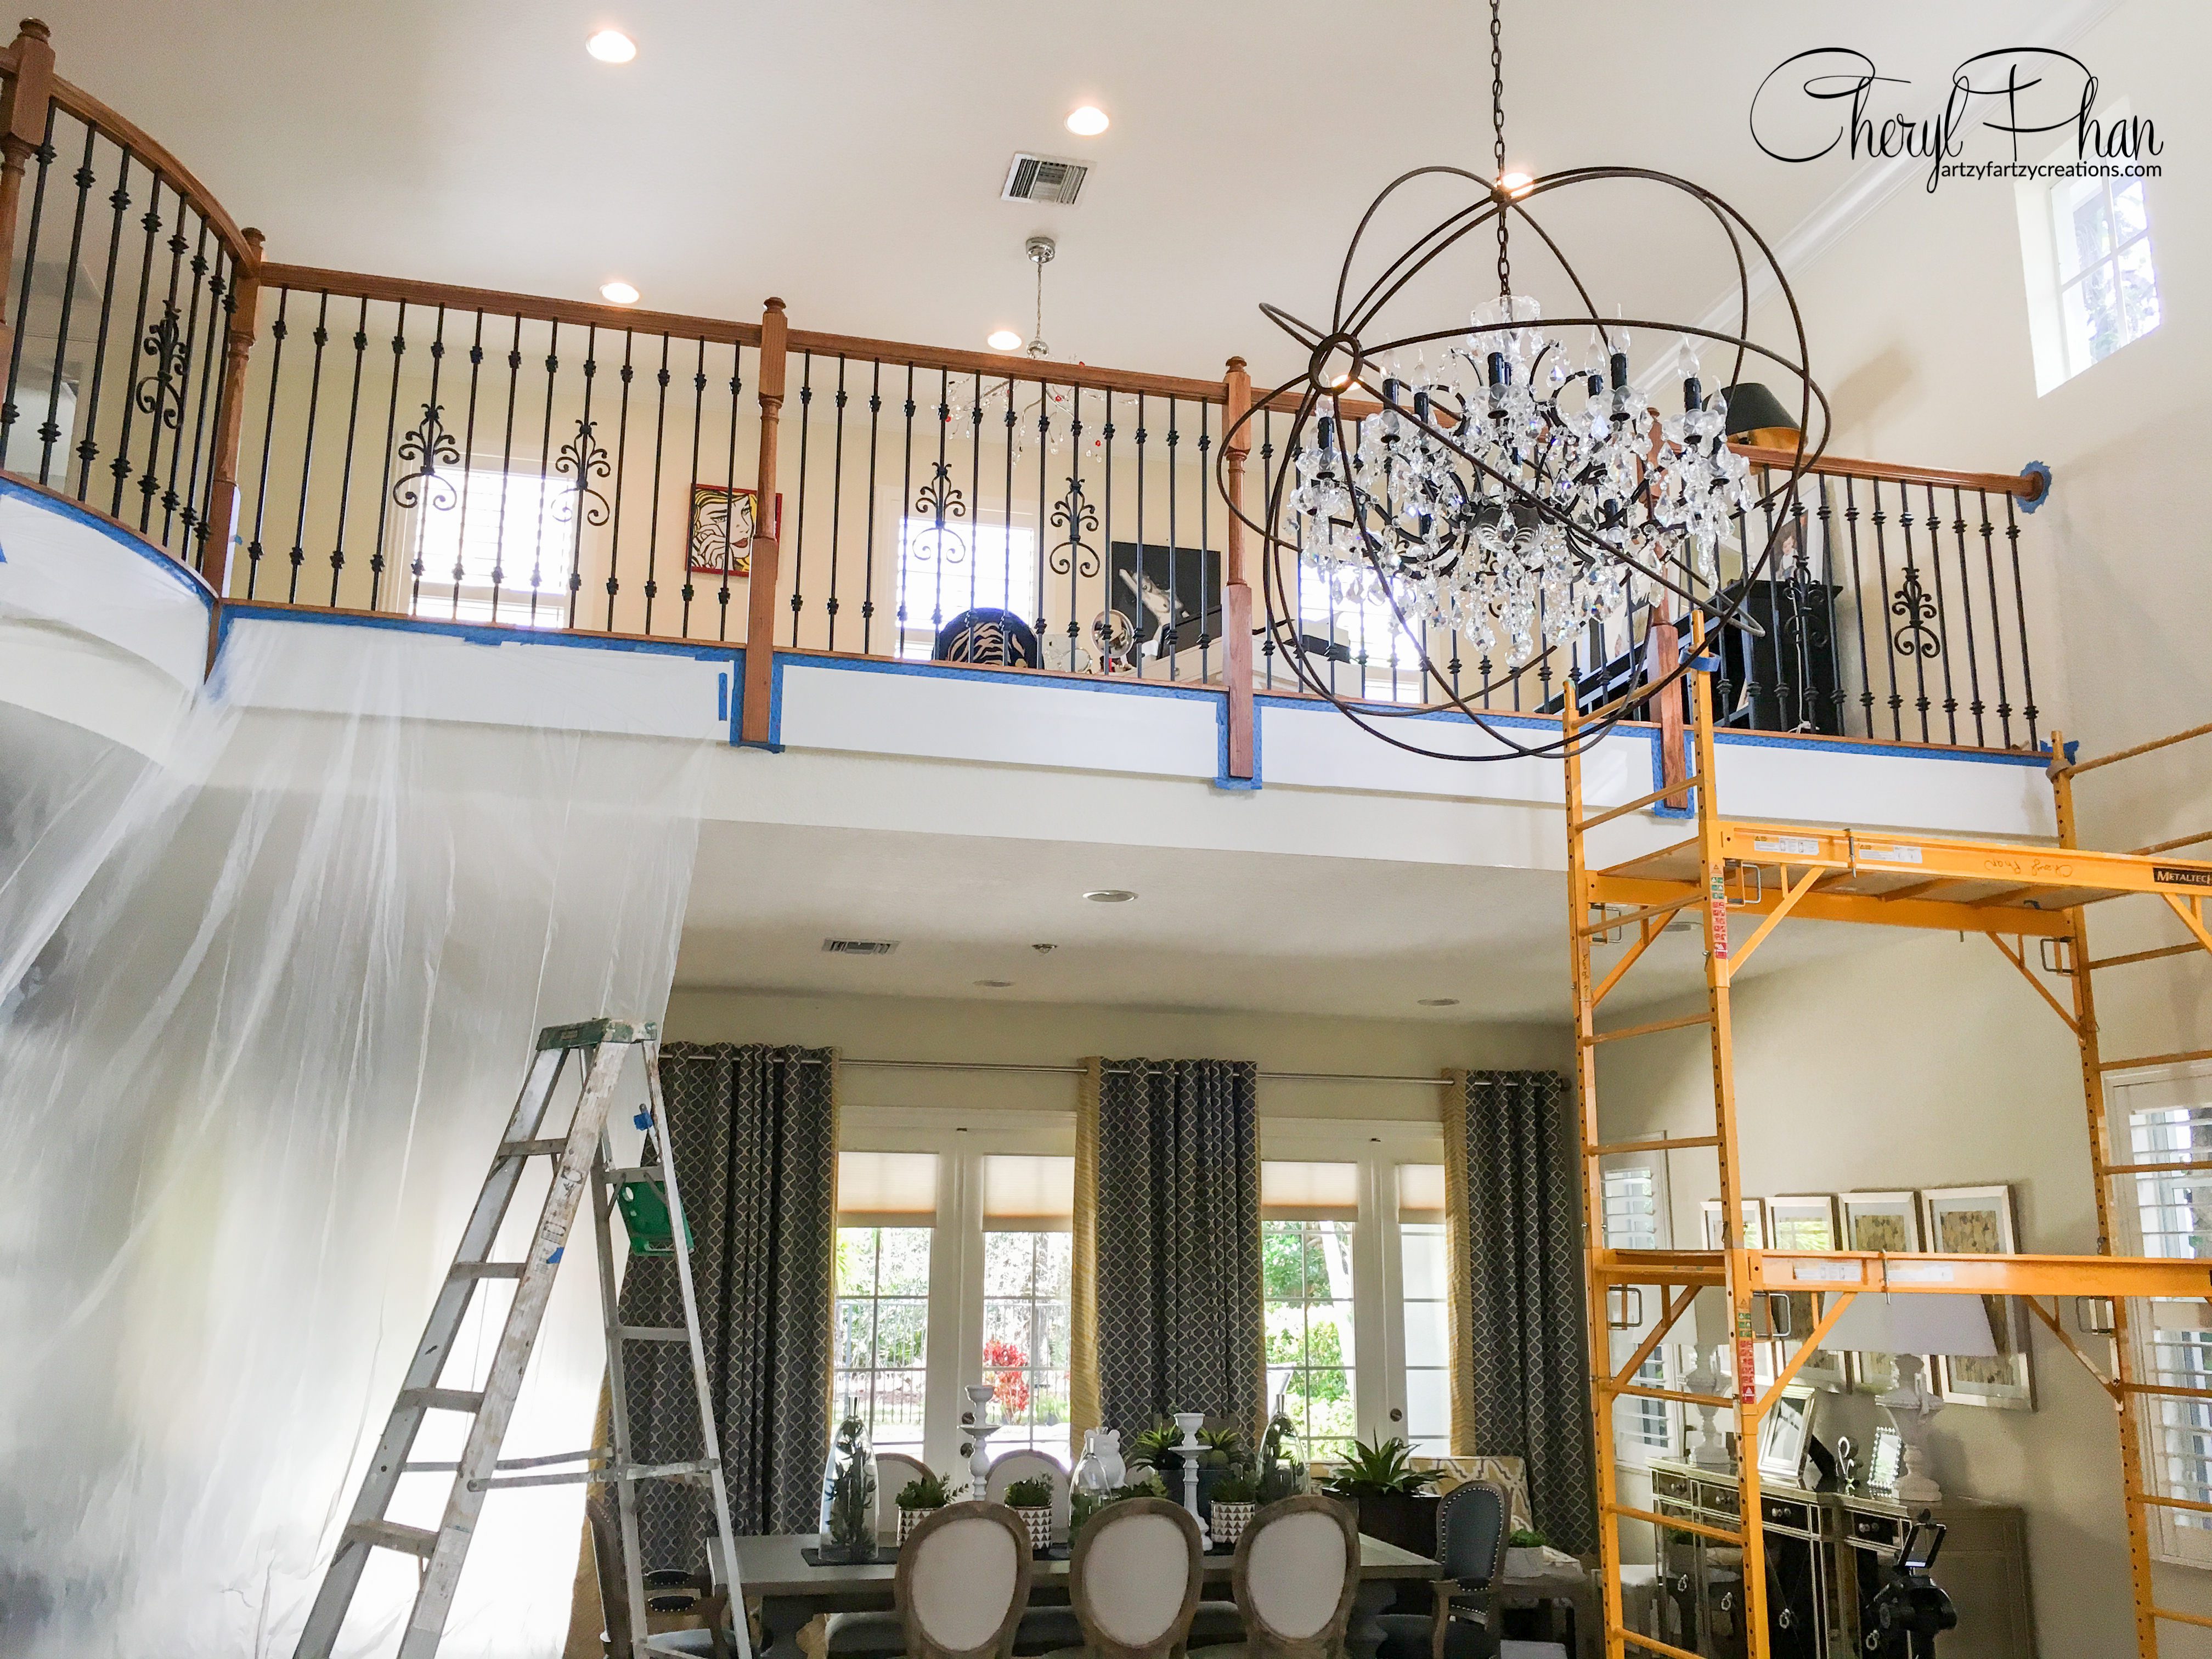
I had to use scaffold and a ladder to reach the top of the staircase. Using scaffold is so much easier than moving the ladder around the room and you can cover more area.
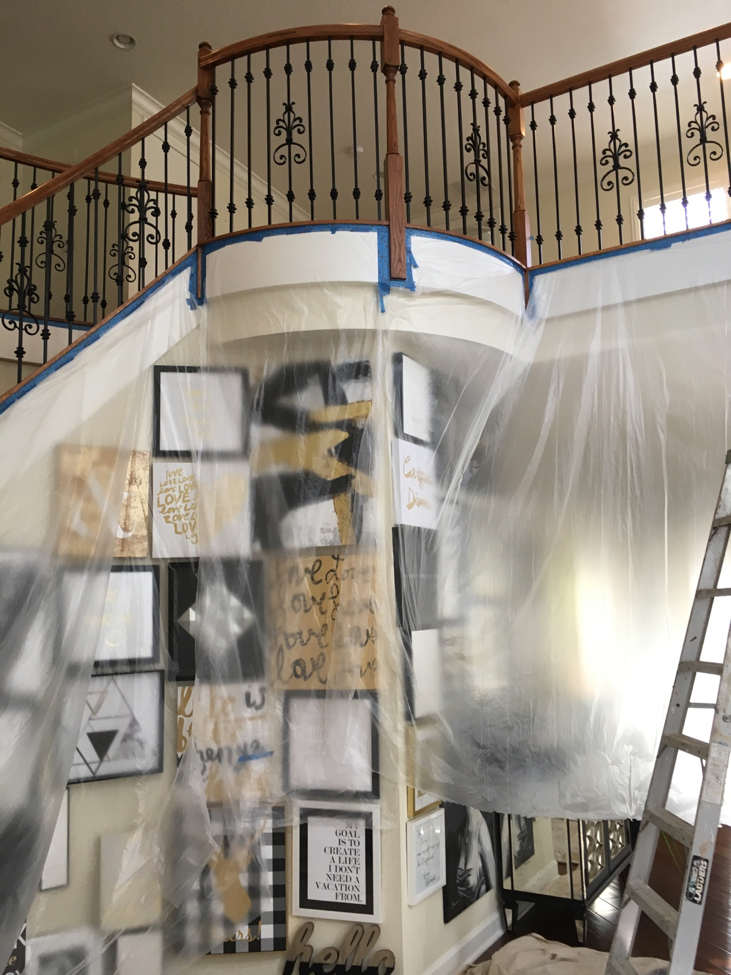
Before you get started you must do the prep. Taping off the areas that you don’t want stain on is essential. I like using blue tape. It’s also a good idea to drop plastic over the walls and accessories just in case you have any drips. It’s always better to be safe than sorry. I especially didn’t want to get any product on the client’s pictures.
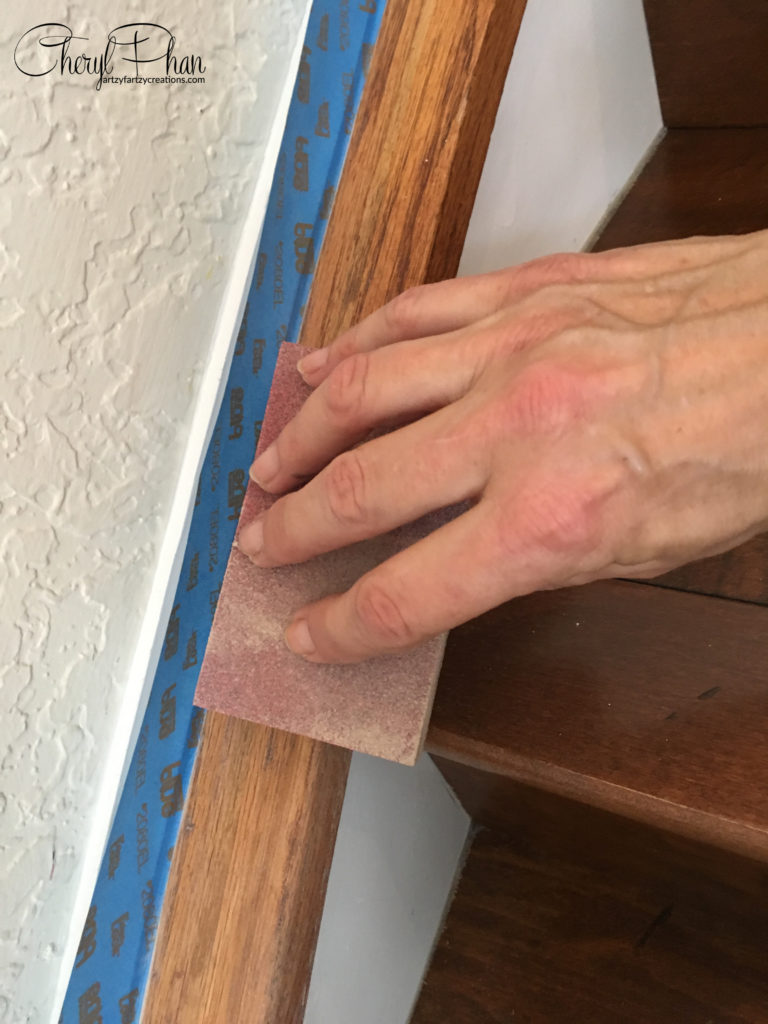
After taping off all the areas it’s time to do the prep. In some of the lager areas I used a medium grit sand block. This is an important step. If you don’t remover the clear coat the stain won’t stick and will come right off.
I used 220 grit sandpaper so I could get in the tight areas. Once you’re done sanding, make sure you wipe off the dust before you start staining. You don’t want to use anything to abrasive. It will scratch the wood.
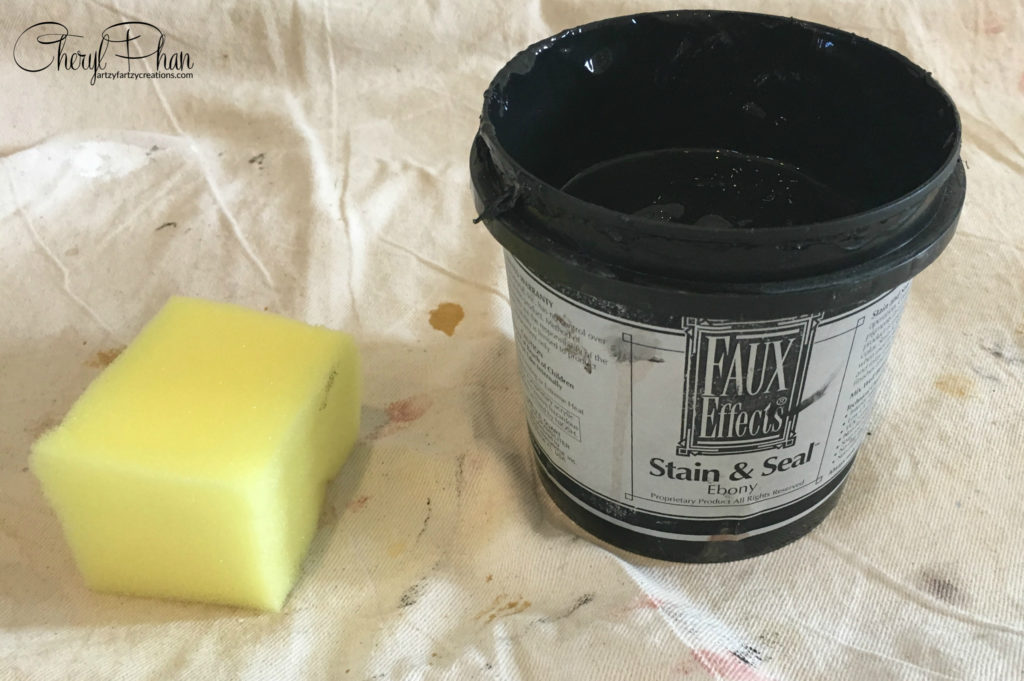
The 3 tools you will need is a chip brush, a car sponge and Stain & Seal. For this project, I used Ebony stain and seal but there are many others to choose from. I love this product. It’s easy to apply and doesn’t drip and it’s water based. Wear gloves when applying the stain.
Stain & Seal™ is a unique water-based, gel-like concentrated staining material that stains and seals in just one easy operation. For maximum color depth simply rub Stain & Seal™ onto your work piece, wait minutes and wipe excess off with a clean, absorbent cloth
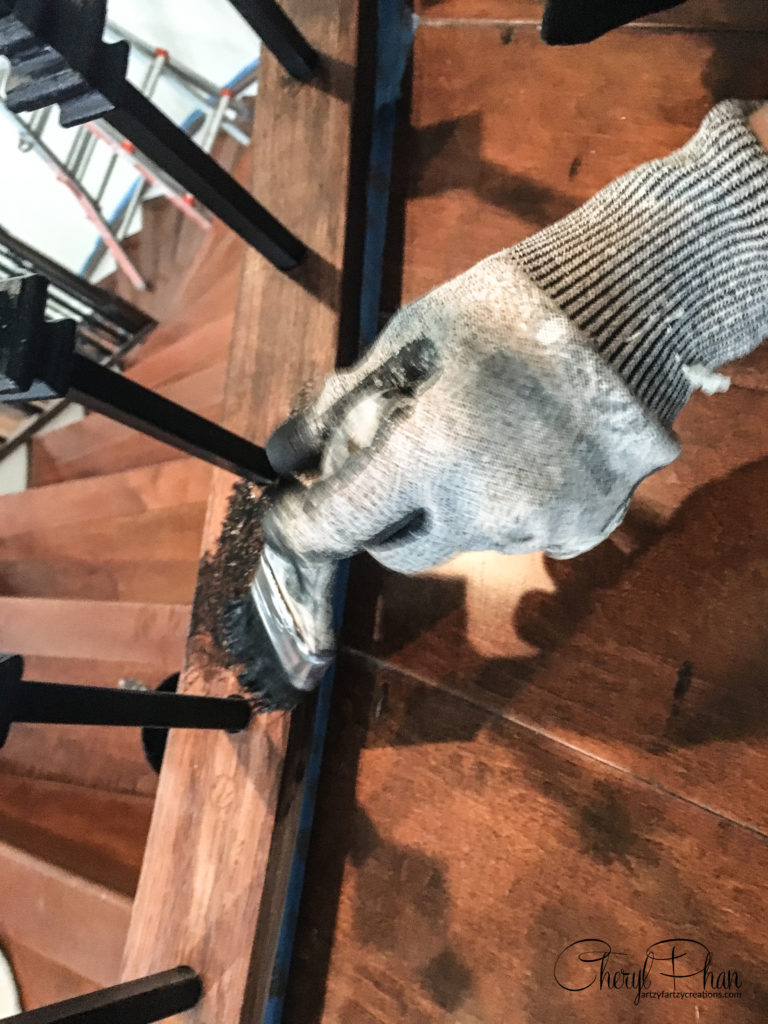
Use a small amount of stain at a time and work on small sections at a time.
Here’s a quick video showing you how to apply the stain.
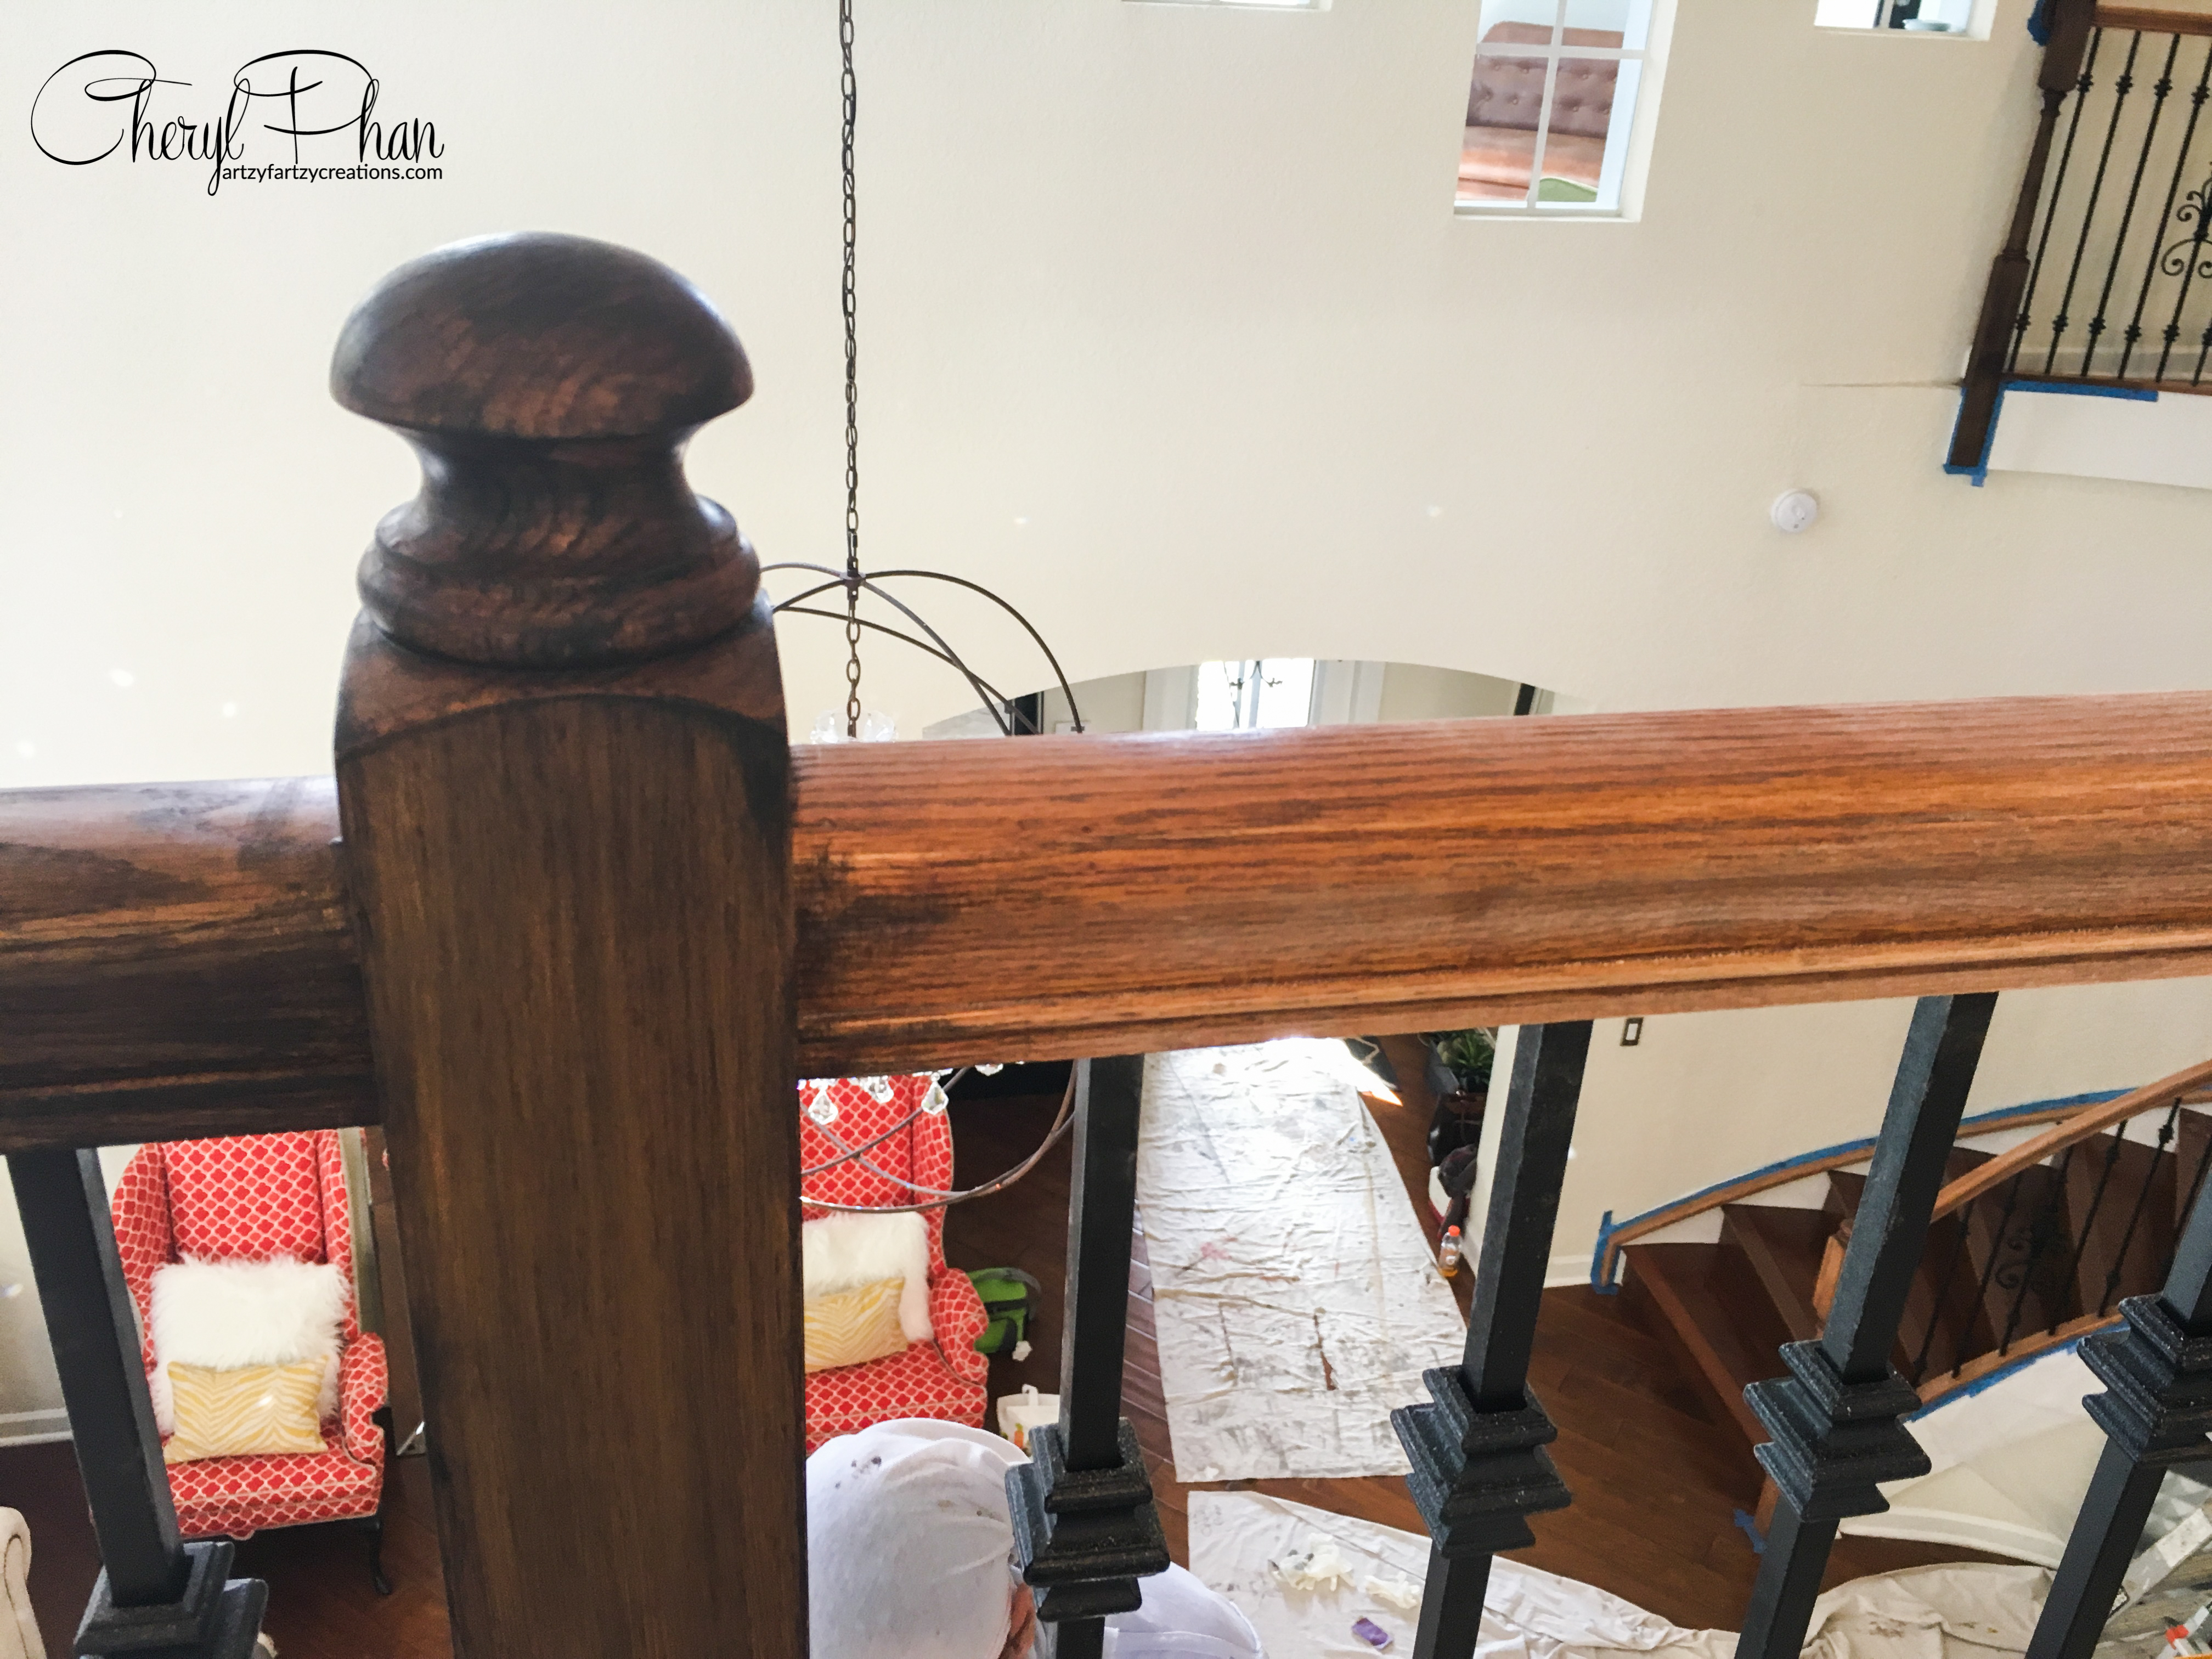
Here’s a close up of the before and after. I love how the ebony stain looks next to the rod Iron.
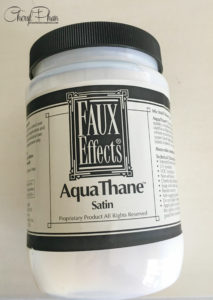
Let the stain dry for 48 hours before applying the clear coat. I am a big believer in using the same product line for both steps. I say this because I once tried to use a different sealer over the stain and seal and it took the finish off. Be careful on what products you mix. Aqua Thane is long lasting and great protective coat.
AquaThane™ is a clear, durable, anti-yellowing water-based polyurethane coating used as a top coat to increase a finished look and durability of a work piece. This top coat dries to a very durable, chemical and water resistant finish.
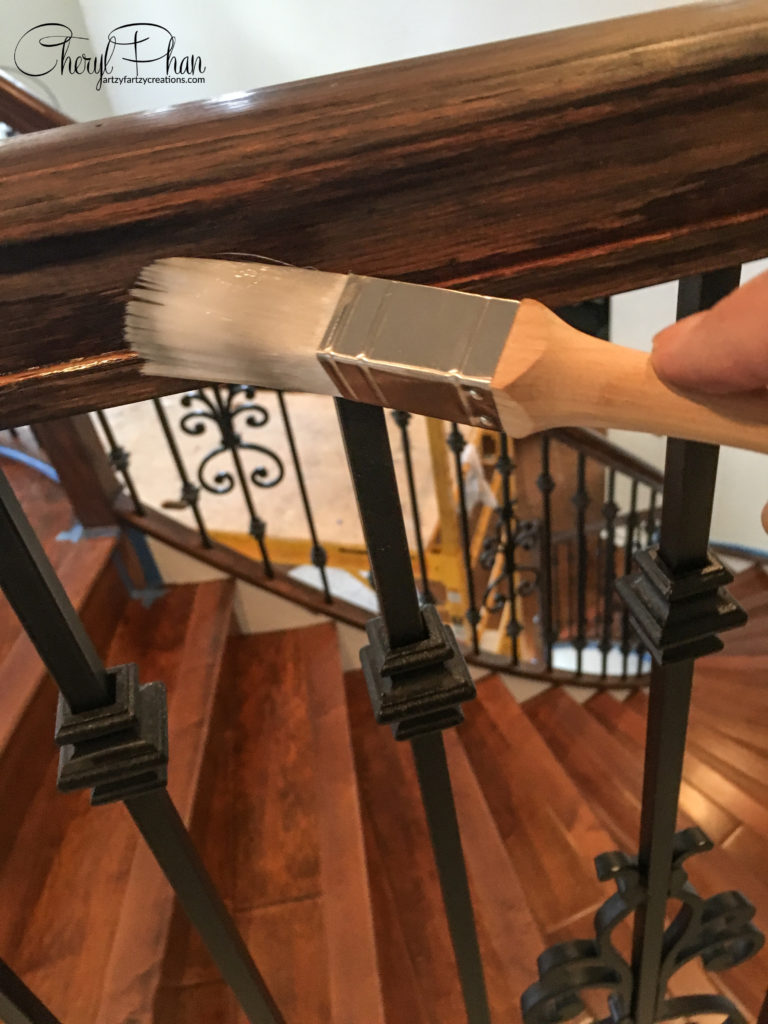
Use a soft brush when applying the clear coat. You don’t want to create streaks in your finish. The brush I’m using in this picture is a square brush. It was perfect for getting into the groves and small areas.

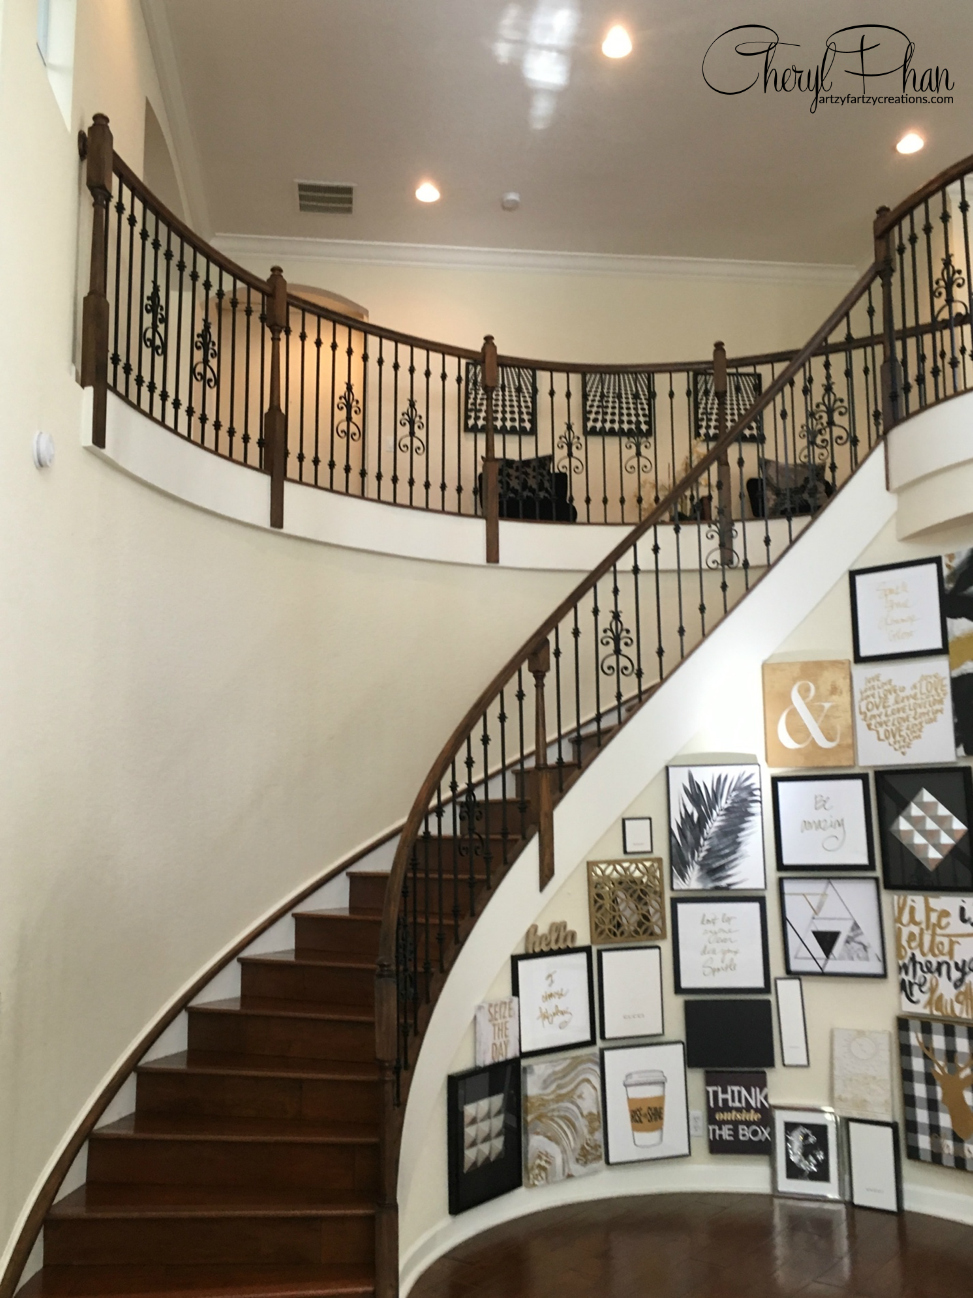
What a huge difference. The color matched the floor perfectly and really enhanced the entire room.
I also love how it toned down the rod iron spindles. So here you have it 3 easy steps, sand, stain and seal. Hope this was helpful. If you have any question please join my Facebook group “Ask Cheryl Phan” I’m here to help.
I can also show you the steps to wood-graining your cabinets in my tutorial…
If you’re interested in learning to DIY unique faux finishes — check out my e-book – How to Faux Finish with Common Household Items. I’ll teach you six amazing painting techniques to create more stunning walls for only $5.99.
If you love seeing furniture flips and getting painting tips please subscribe to my weekly blog here! I’ve got a free tutorial on how to paint a silver leaf or gold leaf finish HERE. Also, check out my favorite paintbrushes in my NEW online shop.
HAPPY PAINTING

Don’t forget to follow me on Facebook for more DIY budget-friendly projects and live videos!
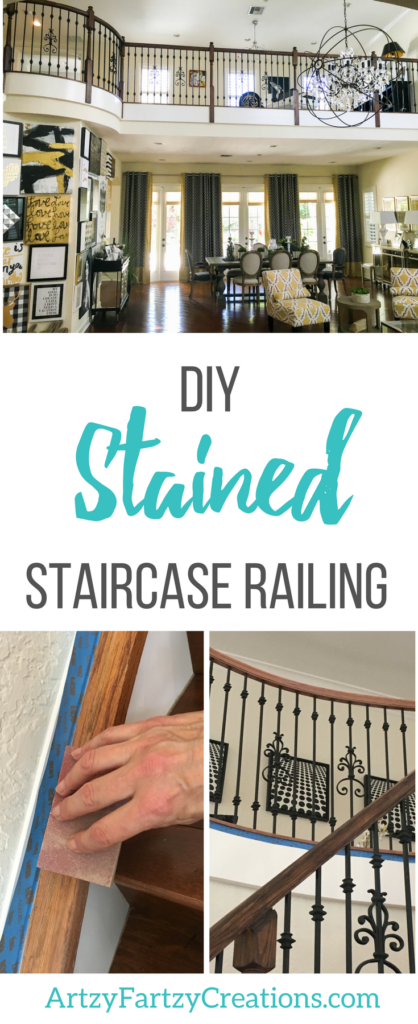
Please share my Stained Staircase Raili pin and visit me on Pinterest for more DIY projects & painting tips!

Artzy Fartzy Creations. Oh Yes you can DIY!

#1 Guide to Choose the Best Base Coat for Faux Wood Grain, Marble, and Metallic Finishes
How to Choose the Right Base Color for [...]

5 Pro Prep Secrets That Make or Break Any Faux Finish (Don’t Skip These!)
Let me let you in on a little [...]

My First Furniture Painting Mistake (And What I’d Do Differently Now)
If you’ve ever picked up a paintbrush, looked at a [...]


1 Best Seller- How to Live a Purpose-Driven Life Using the Talents You Already Have
Living a Purpose-Driven Life by Using Your God-Given [...]


How to Create a Buffalo Plaid Painting Technique (That Looks High-End but Is Totally DIY)
Buffalo plaid painting technique showing layered [...]
Contents
Recent Reads

How to Paint a Ceiling with Metallic Paint (Step-by-Step for a Luxury Finish)
Most people never think twice about their ceilings, [...]

How to Glaze Walls Like a Pro: The Ultimate Guide to Open Time, Transparency, and Texture
Learning how to glaze walls like a pro. If [...]

#1 Guide to Choose the Best Base Coat for Faux Wood Grain, Marble, and Metallic Finishes
How to Choose the Right Base Color for [...]