Not sure what to do? Read this before you make a decision. It could save you thousands of dollars.
Let’s face it your kitchen is one of the most visited areas of your house. We start out there in the morning for breakfast and end up there for dinner. In fact we spend more time in the kitchen than any other room in the house.
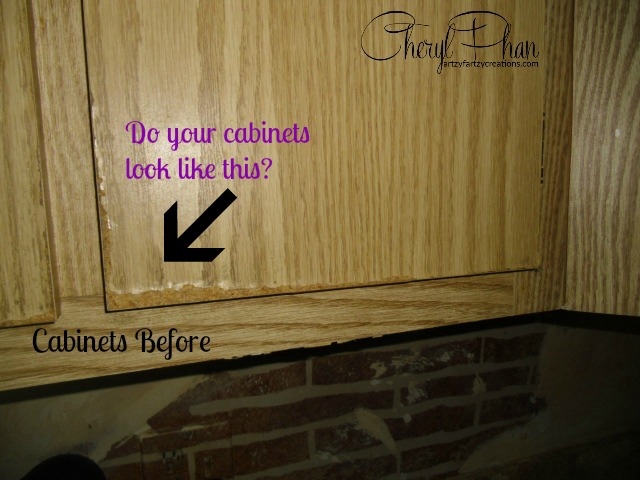
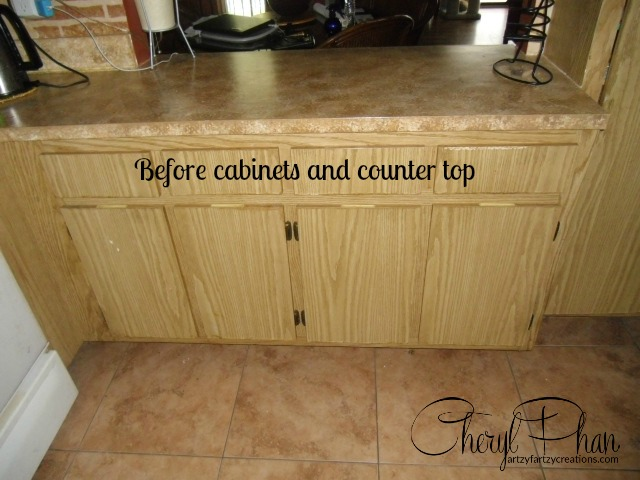
So what do you do when your kitchen cabinets that look like this?
• Do you install brand new cabinets? (This kitchen would cost about $15,000)
• Maybe you thought about re-facing them? (That estimate was $9,000)
• Have you ever considered just painting them? (Your DIY cost would be around $400 or about $2000 if you hire a professional)
I guess that would be up to you to decide. If you have a disposable income that would be great, if you don’t I have a solution.
Ask anyone and they will agree that kitchens are the most expensive upgrade in your home. But it doesn’t have to be that way. You can take your tired worn out kitchen into the 21st century with durable finishes that look beautiful and save you thousands of dollars.
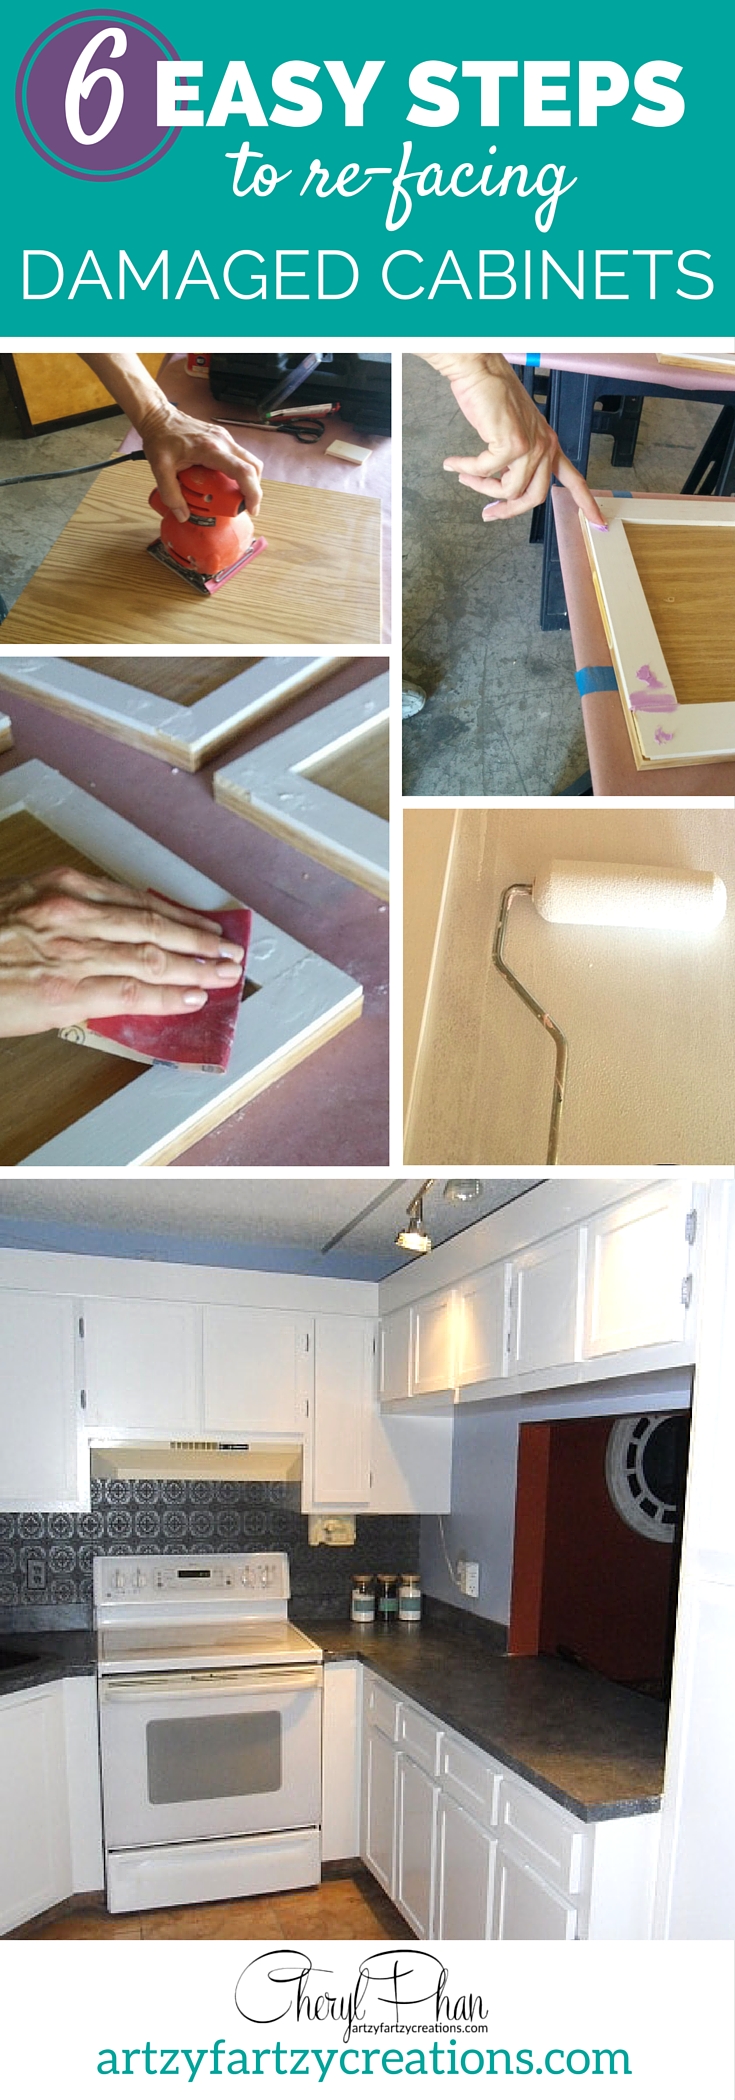
I’m going to show you step-by-step how to
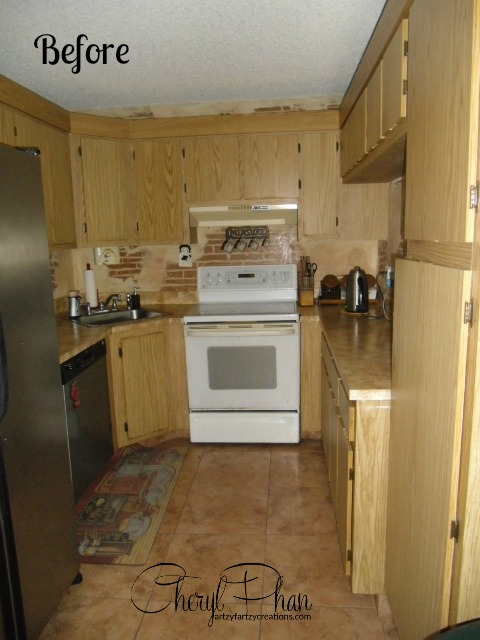
Transform This
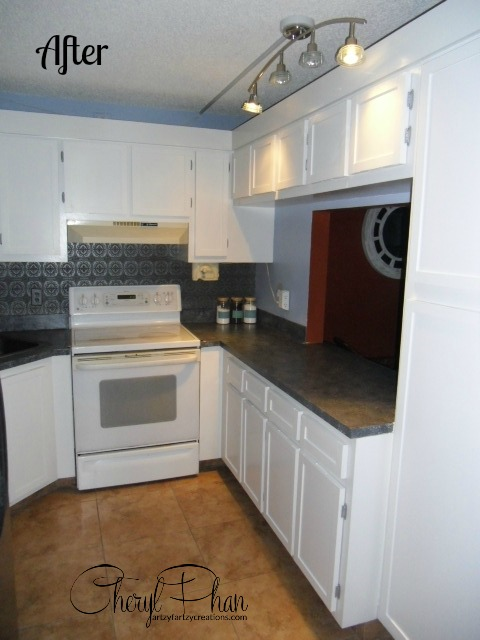
To This
Step #1
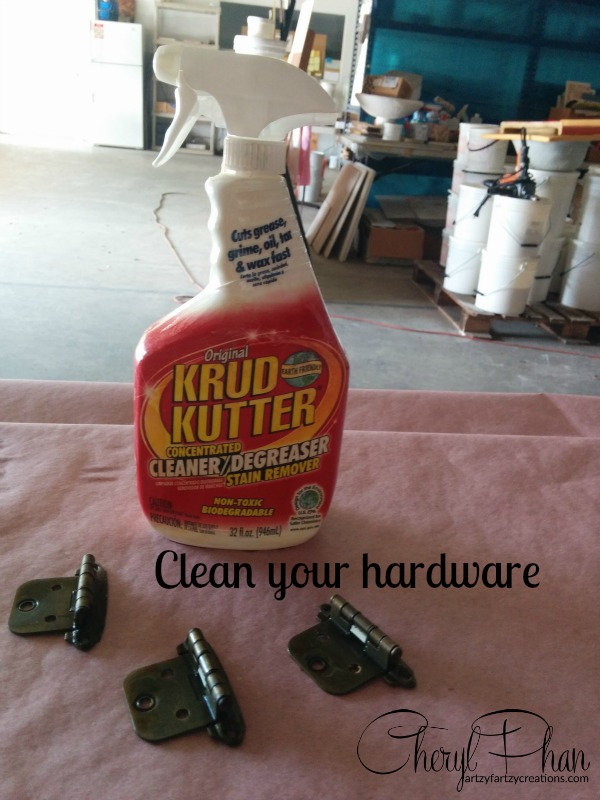
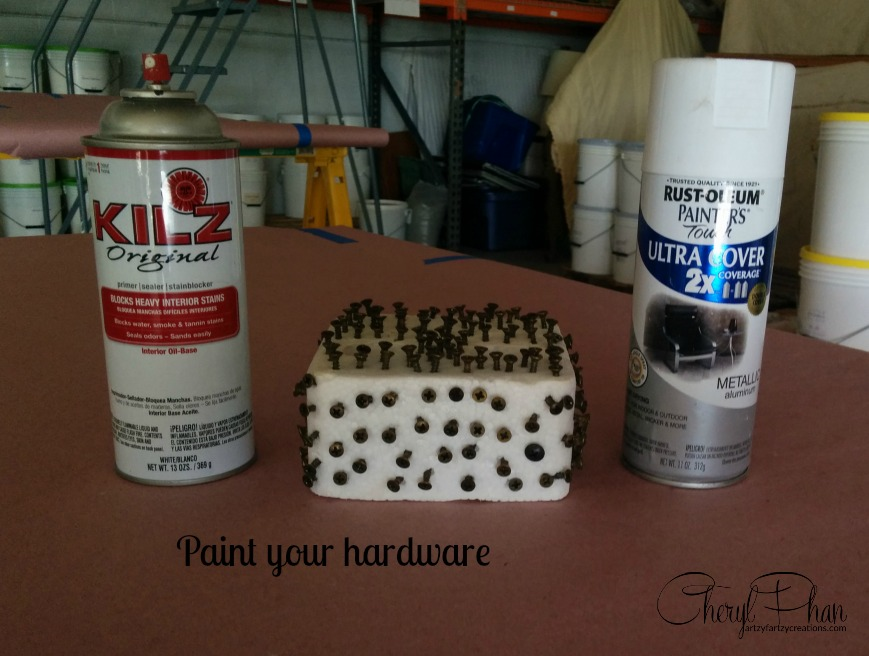
Remove all the doors, hinges and screws. If the hinges are old and dingy clean them with Krud Kutter, it really cuts through the Krud. Then once they are dry, spray paint them with a primer spray paint. Don’t forget the screws. I used a piece of Styrofoam to hold the screws while I painted them. This saved $250 vs buying new hinges.
Prep is the most important step so make sure you don’t skip this part.
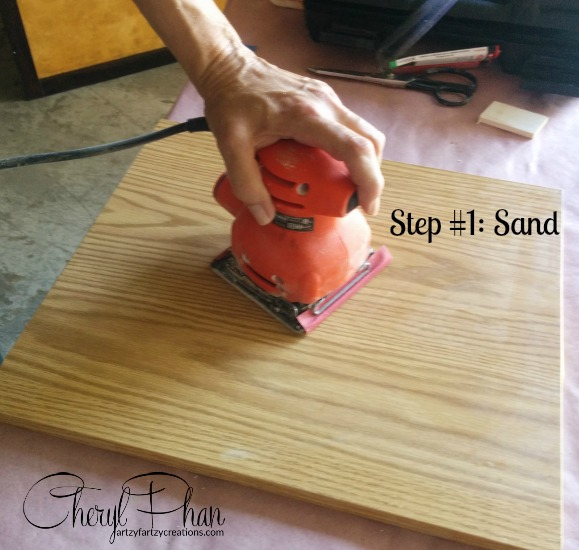
Lightly sand all the doors to give it some tooth (that means something for the paint to grab)
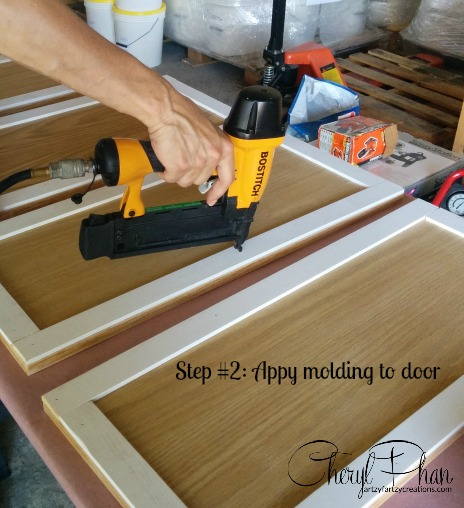
I added molding to the doors because as you can see in the picture above it was peeling back and exposing the wood underneath, in this case it was pressed wood. The only solution I could come up with was to cover it up. The quickest and easiest way to do that was to give it a shaker style look.
I measured each side and cut it accordingly. Then I applied the wood with a nail gun. This was the first time I had ever used a nail gun. I felt like Bob the builder.
Step #3
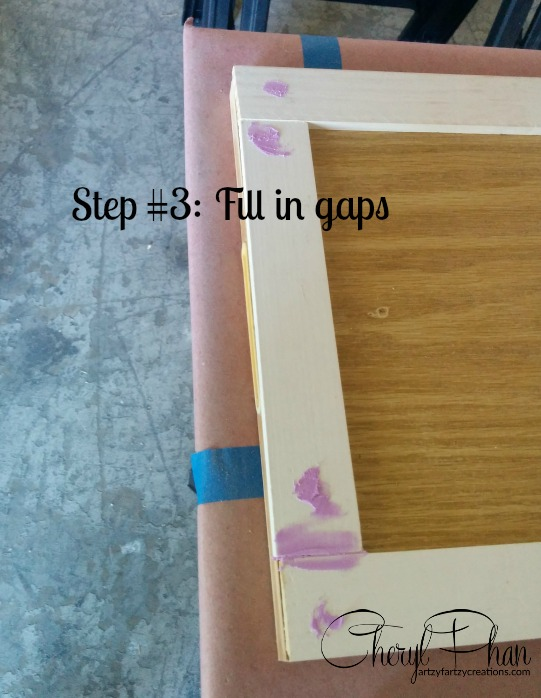
After I applied all the wood there were some gaps that needed to be filled in so I used a wood filler that goes on pink and turns white when it dries. Love this stuff.
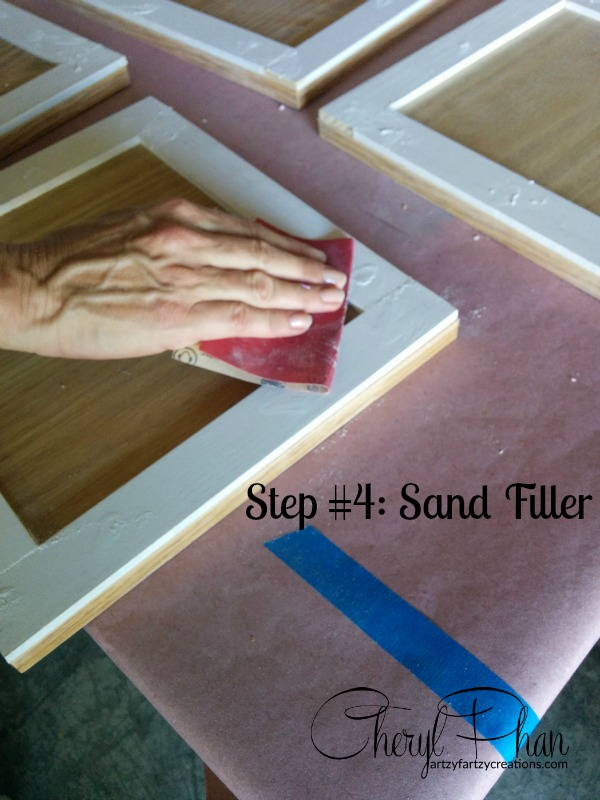
Step #4
When the wood filler dries sand it down until it’s smooth.
Then wipe all doors with some tsp to get all the dust off before you start painting.
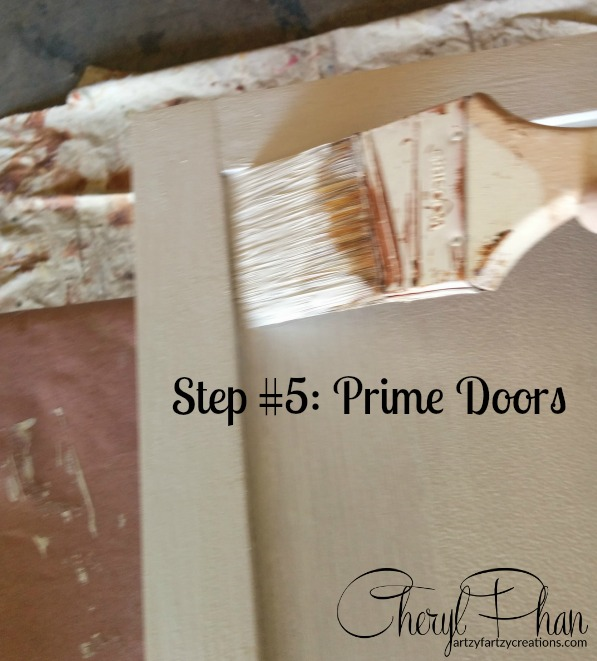
Prime all the doors, I use a cut in brush to get in the corners and then sponge roller to smooth it out. Allow to dry
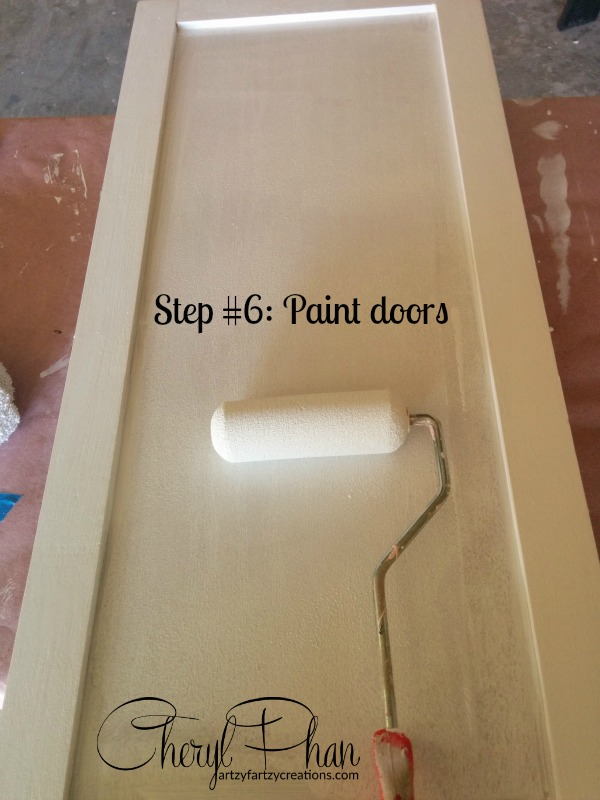
Apply the paint the same way you apply the primer. Paint two coats of paint allow it to dry between coats.
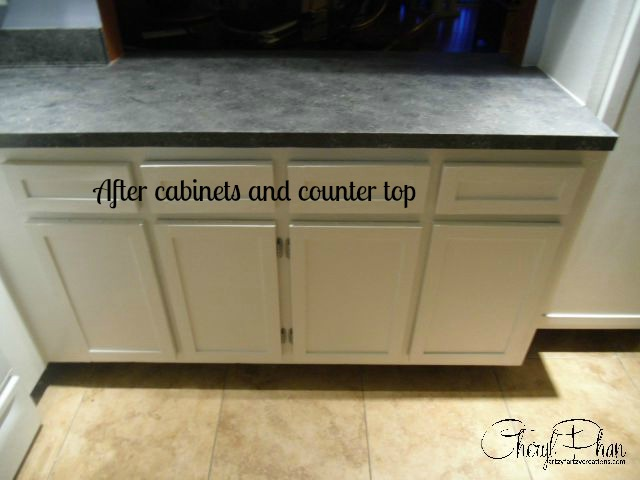
Here’s a before and after of the cabinets and the Faux granite counter top. I’m not going to get into the step-by-step on how to do a faux granite in this blog, but I did want to show you how amazing it looks. And YES! You can paint your counter tops. I’ve been doing it for many years. It’s durable, looks like granite and can save you thousands of dollars.
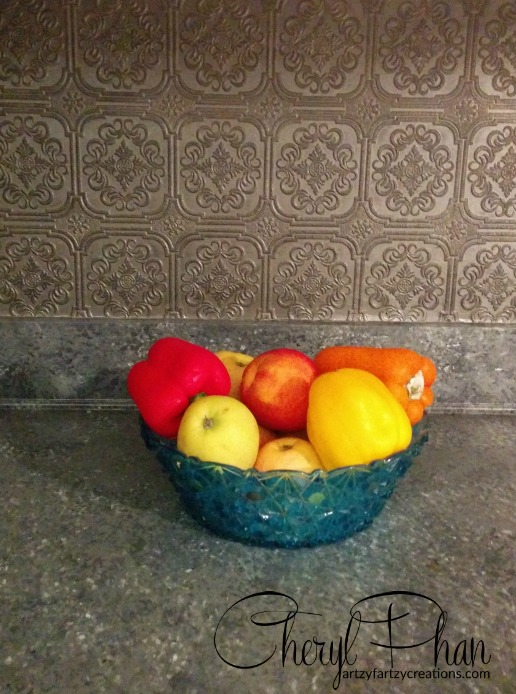
Can’t have a total transformation without doing the back splash! I used raised wallpaper to give it a tin look. I applied 4 coats of sealer to protect it.
If you want to learn how to start making money with your hobby get the details HERE
If you want to learn DIY Tricks and Tips get my weekly blog HERE
Artzy Fartzy Creations. Oh Yes you can DIY!
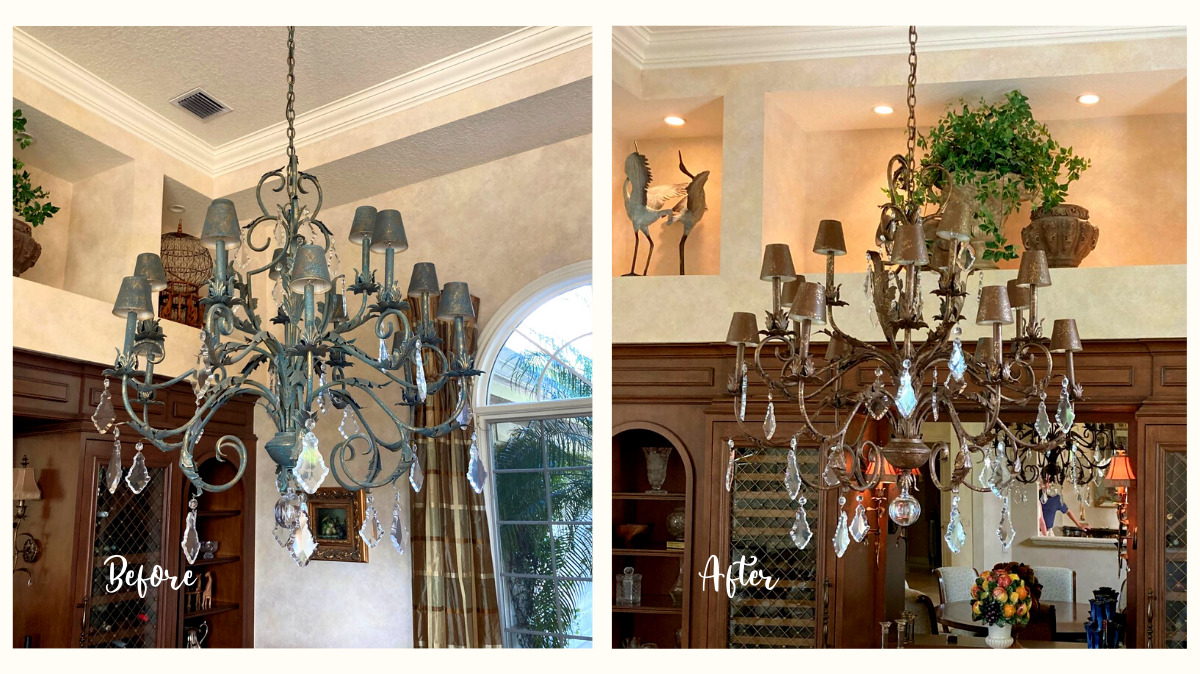
No Need for an Electrician to Remove Your Chandelier
Do you have a large chandelier hanging from your ceiling [...]
How to Hang a Picture Straight with One Piece of Tape
Have you ever tried to hang a picture that has [...]
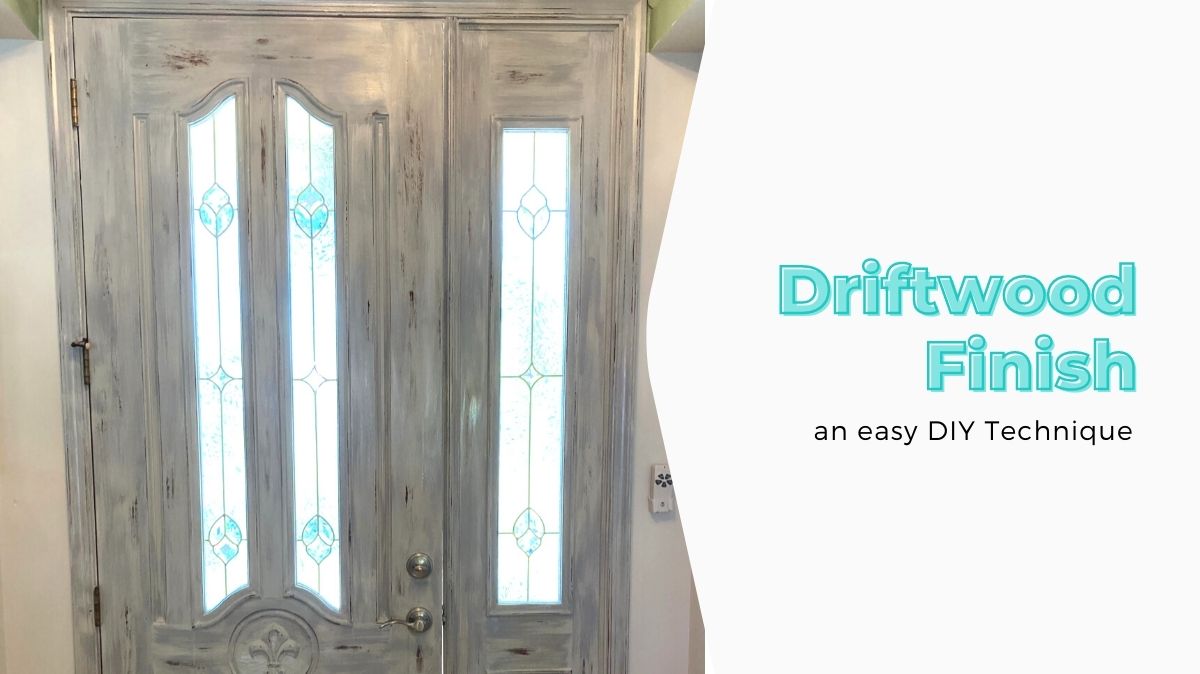
3 Easy Steps to a Driftwood Finish
Do you like the weathered driftwood look? Learn how you [...]
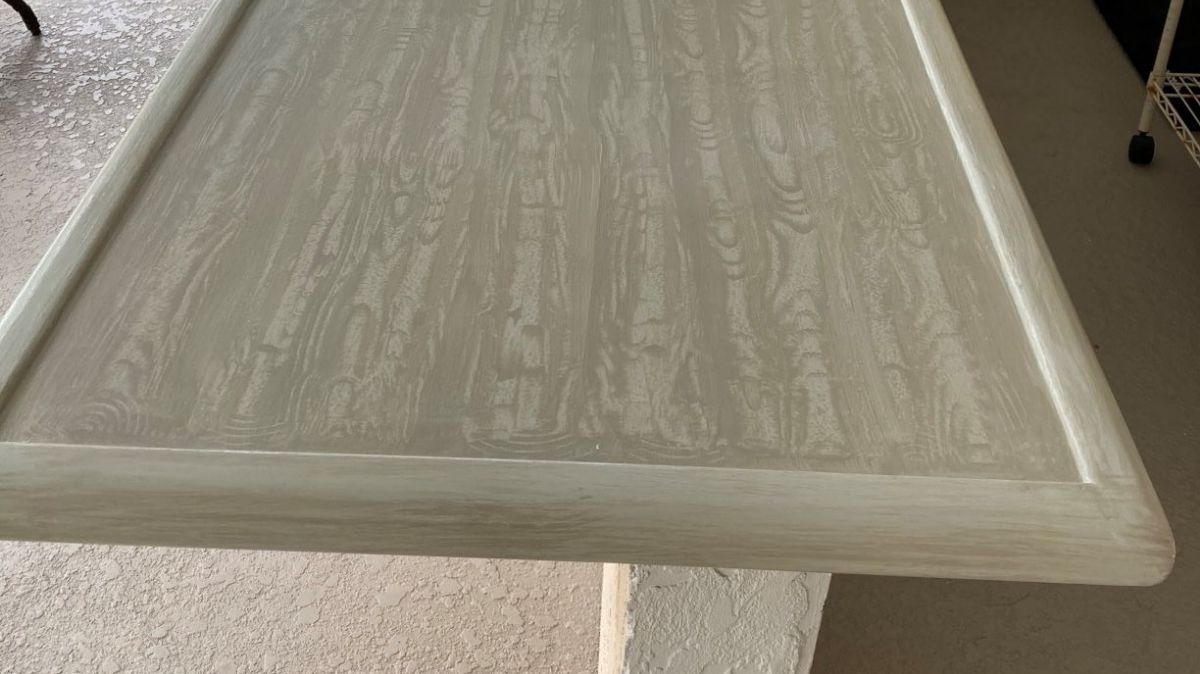
How to Create a Simple Wood Grain Finish
If you love the gray wood grain look, I’m going [...]
How to Reupholster a Chair with Fur
I’ve been wanting to do this for a while now, [...]
How to Look 10 Years Younger on Your Profile Picture
I figured out a way to look 10 years younger [...]
Contents
Recent Reads
The Art of Bathroom Tile Painting in 3 Easy Steps
Did you know you can paint your bathroom tiles? Bathrooms [...]
Mastering Wallpaper Transformation with Limewash Technique
Ever had that "uh-oh" moment when the wallpaper you painstakingly [...]
Staircase Makeover Magic: Transforming Your Space in 3 Easy Steps
Ever walked into a space and thought, Hmm, a [...]

