You don’t need to spend a ton of money on a professional headshot. And taking your own professional pictures is easier than you might think.
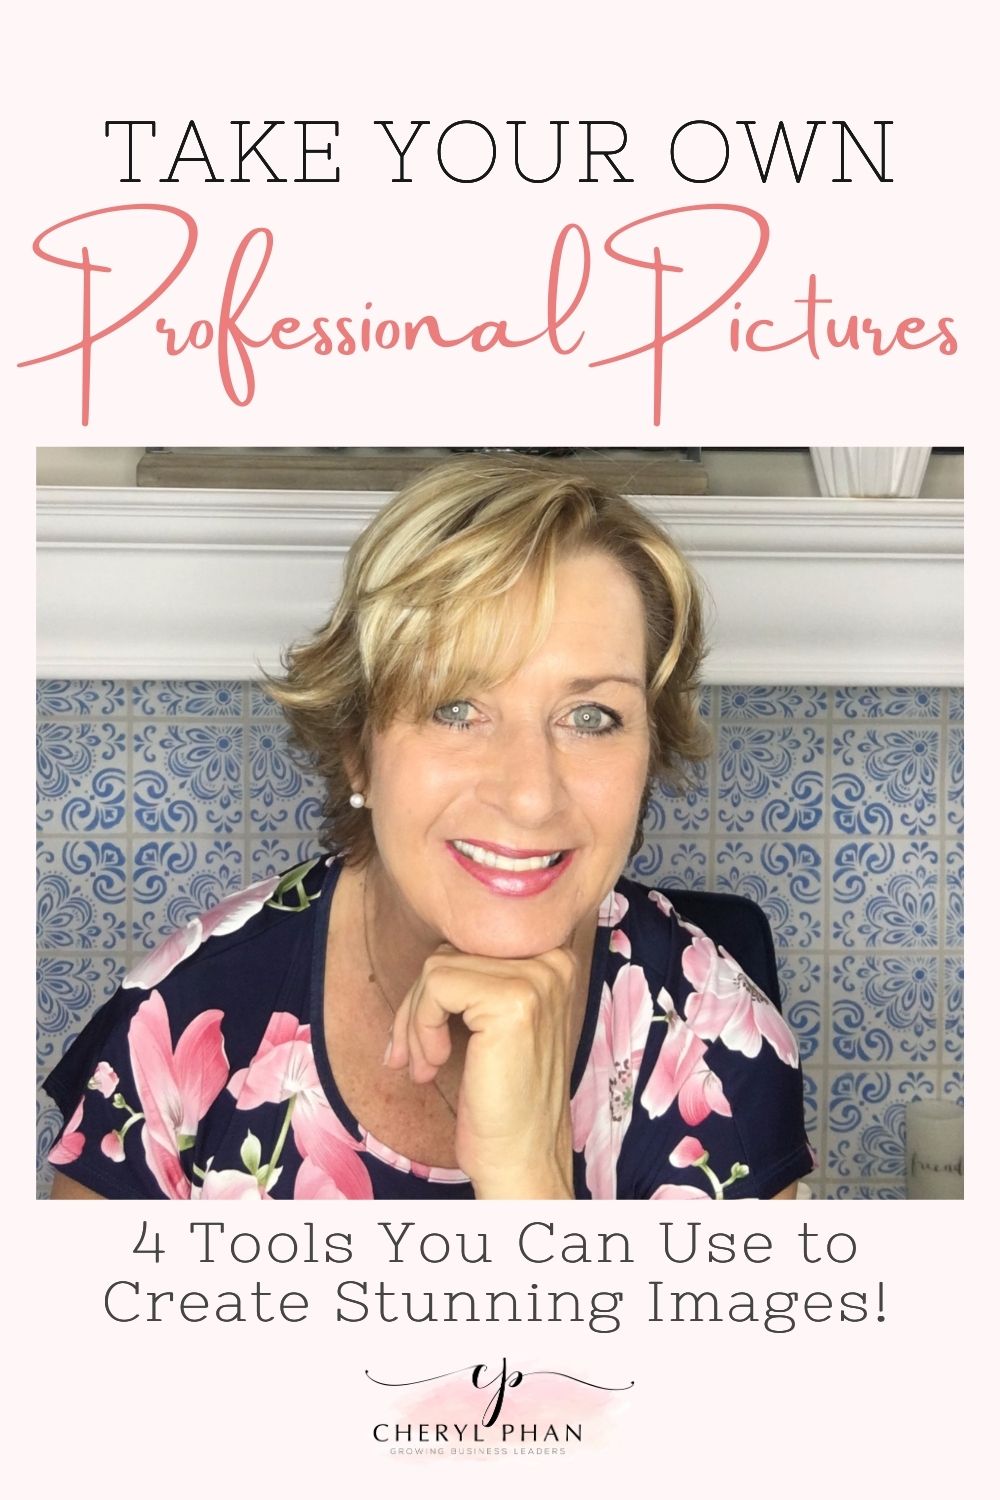
I took this one of myself with my cell phone and a few other tools.
I remember a few years ago I hired a professional photographer to take some pictures of me for my marketing materials and social media platforms.
I spent hundreds of dollars and the entire day trying to get the perfect pictures.
He must have shot over 200 photos and to be honest with you, I only used two of them.
So, I figured out how to do it myself and I’m going to share it with you.
I live alone and don’t have someone to keep taking pictures of me. So, I had to come up with a way to do it myself.
Here are the four things I use to take my own pictures
#1: My cell phone
Everyone these days has a cell phone and they take great pictures. I don’t know anyone that uses a camera anymore.
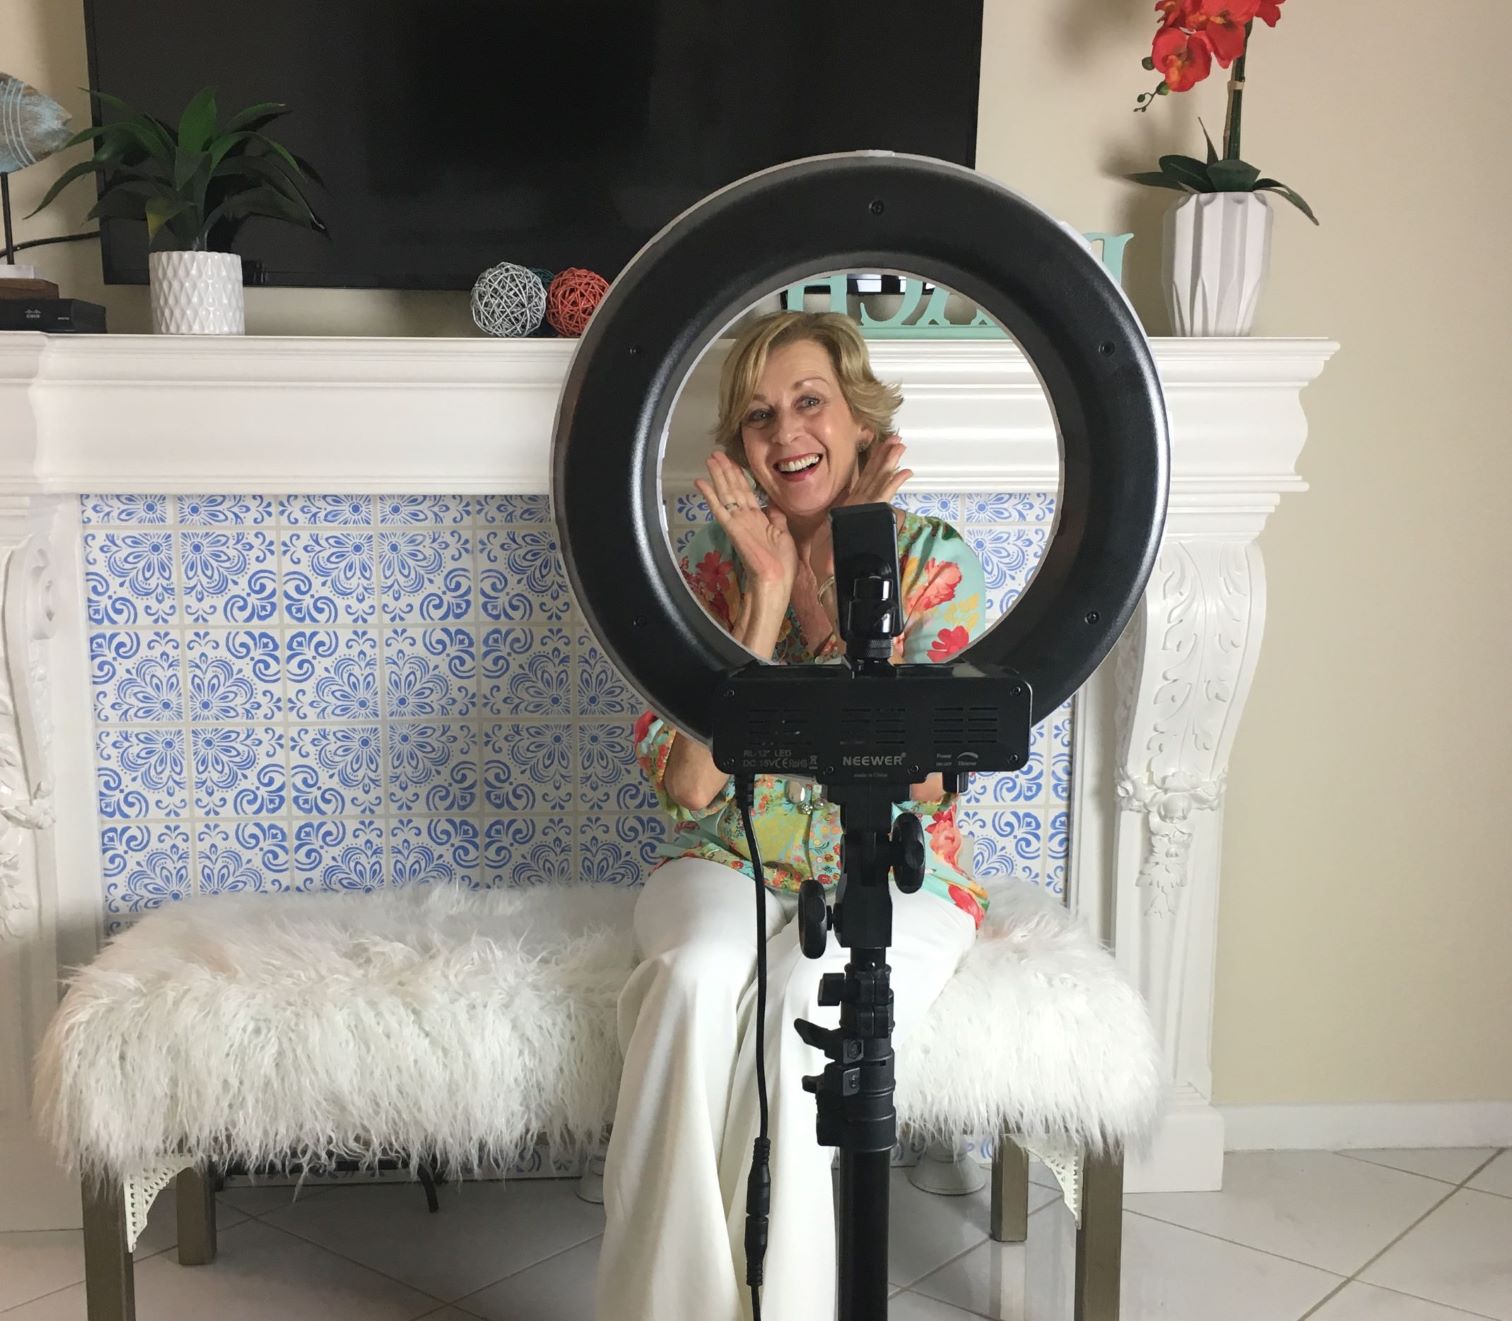
#2: O-ring Light
This gadget is the best thing since bubble gum. Lighting is everything when your taking pictures and this light is the bomb.com.
It will take years off your face. Seriously, when you get yours, take a picture without the light and then take one with the light. You’re going to love the results.
The light comes with a stand and a phone holder.
I set mine up in front of my fireplace to create a nice backdrop.
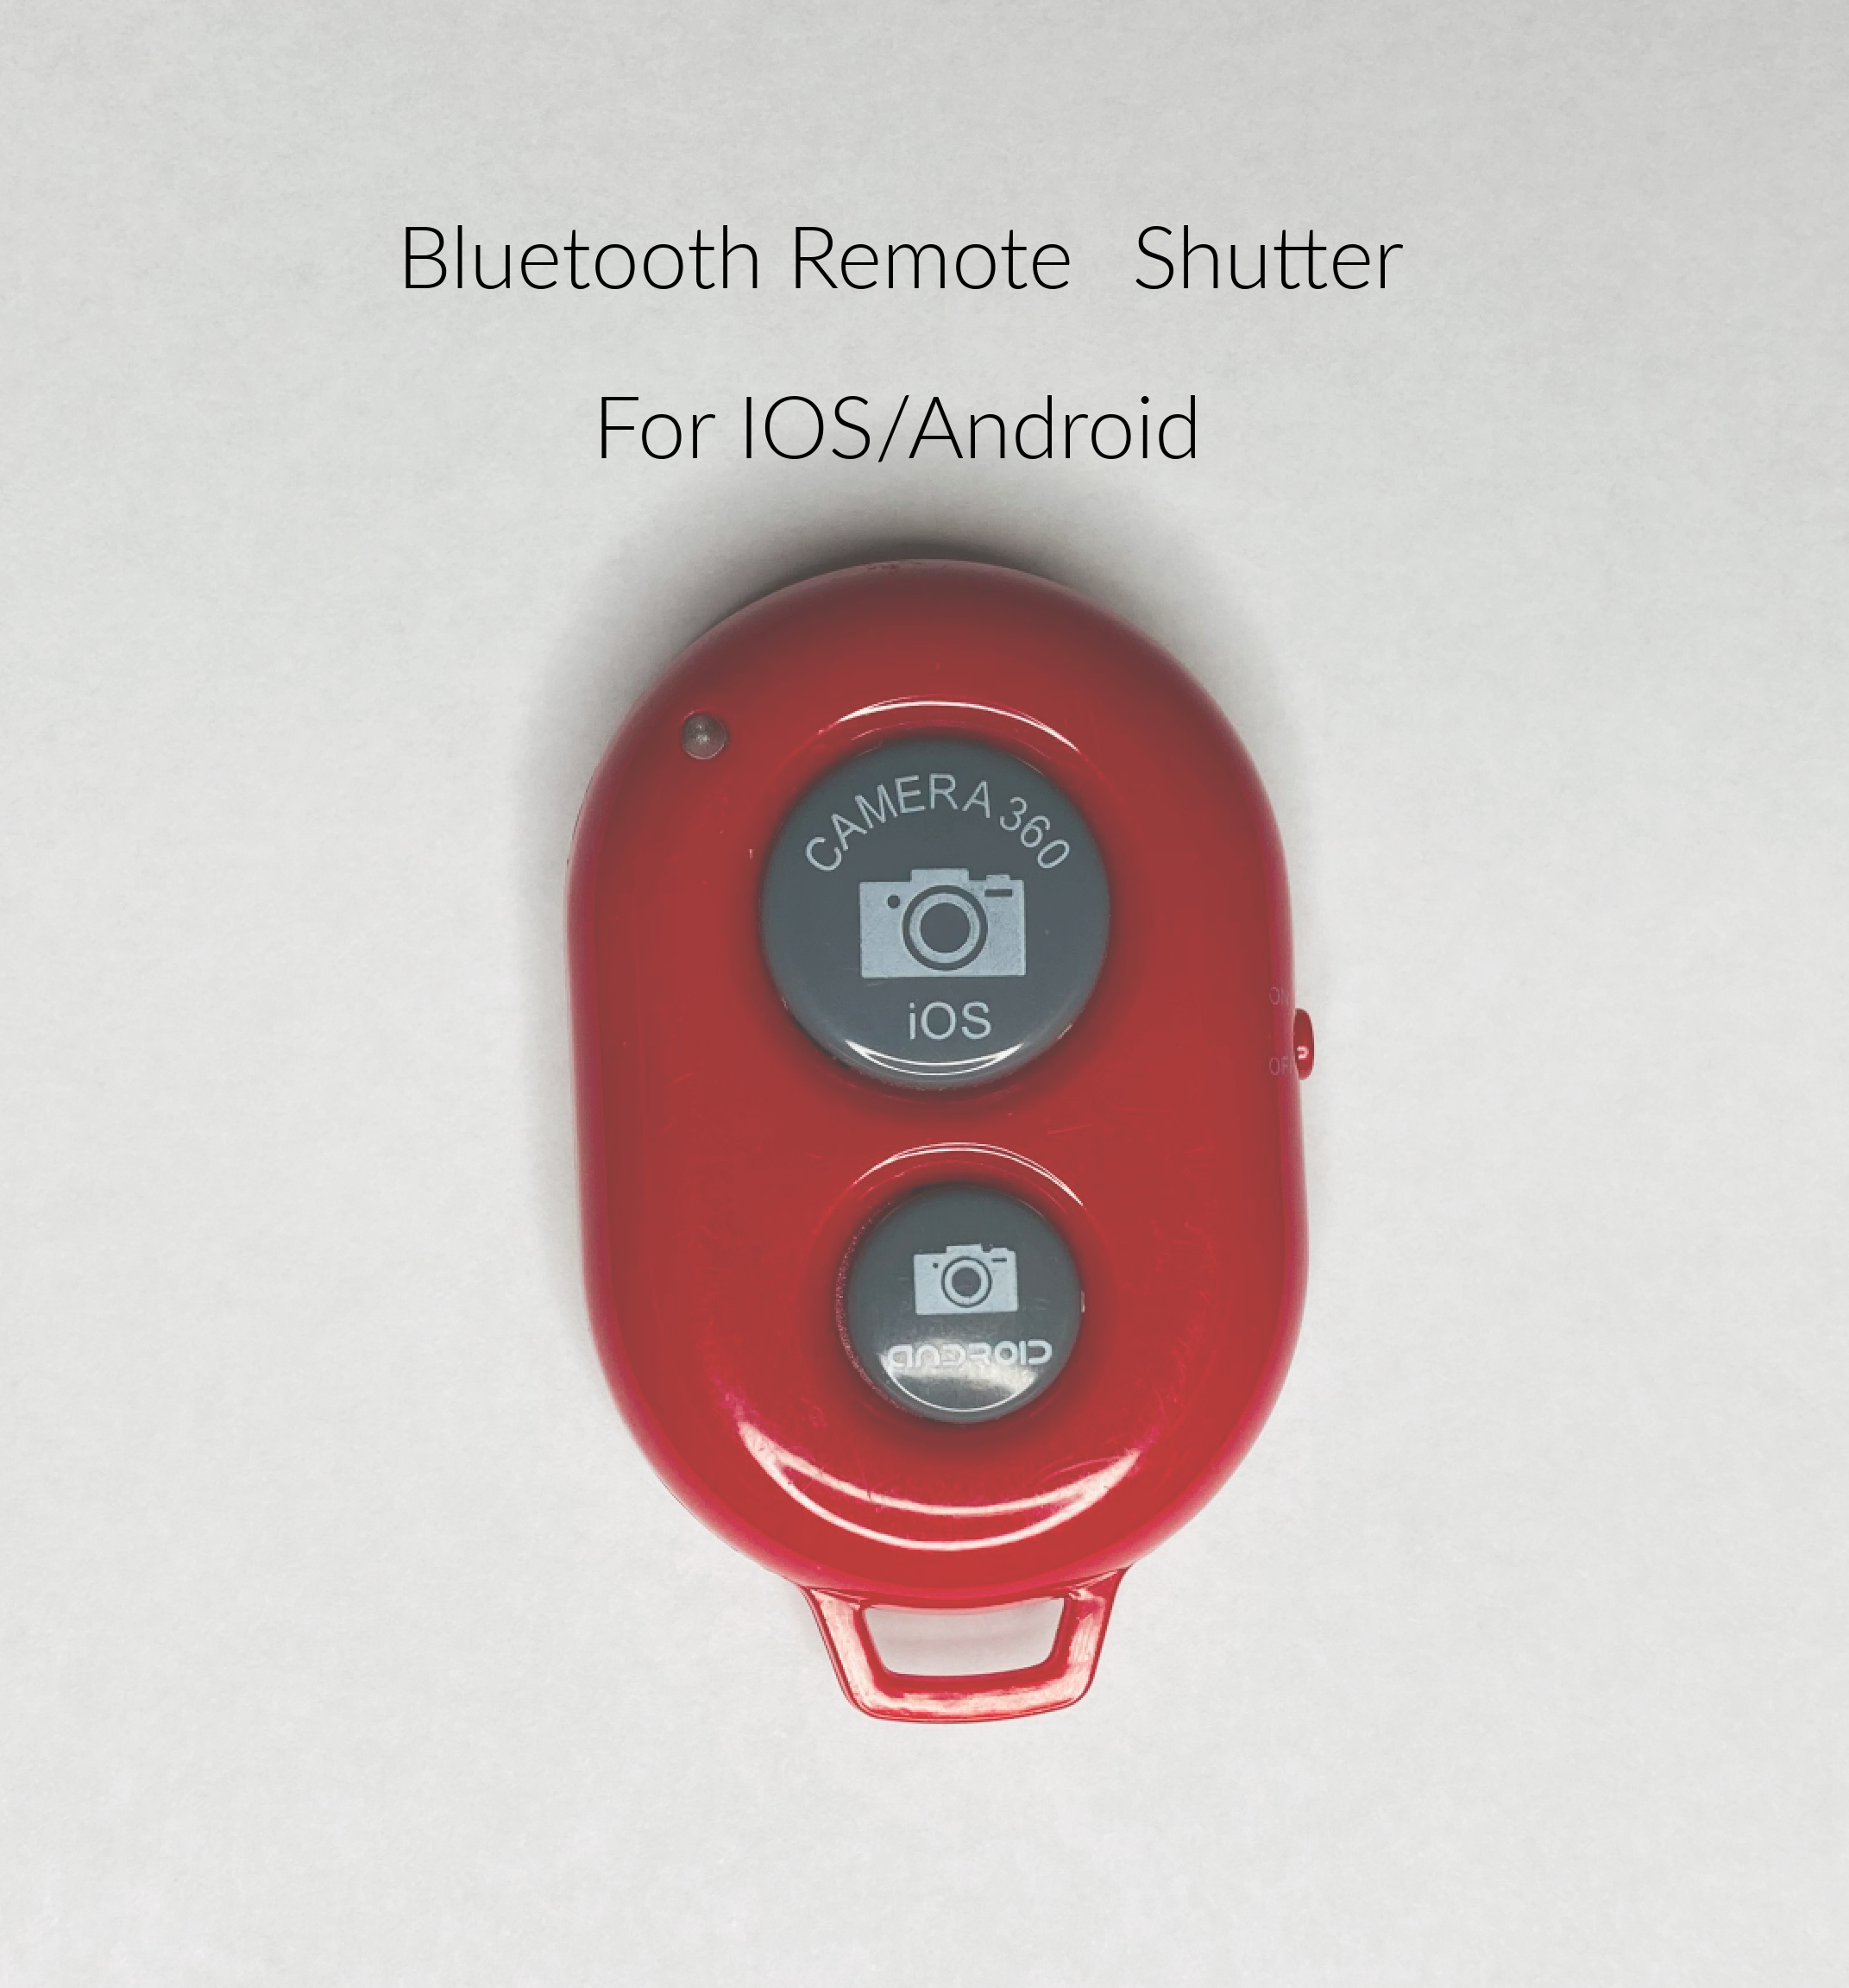
#3: You’re going to need a Bluetooth Remote Shutter
Whoever invented this thing was a genius. All you have to do is sit in front of the phone and click away.
The fun part about doing this on your own is you can get as silly as you want and not have to worry about who’s watching you.
Stick out your tongue and make funny faces!
#4: If you don’t have a wall in your house that has a nice backdrop here is another alternative
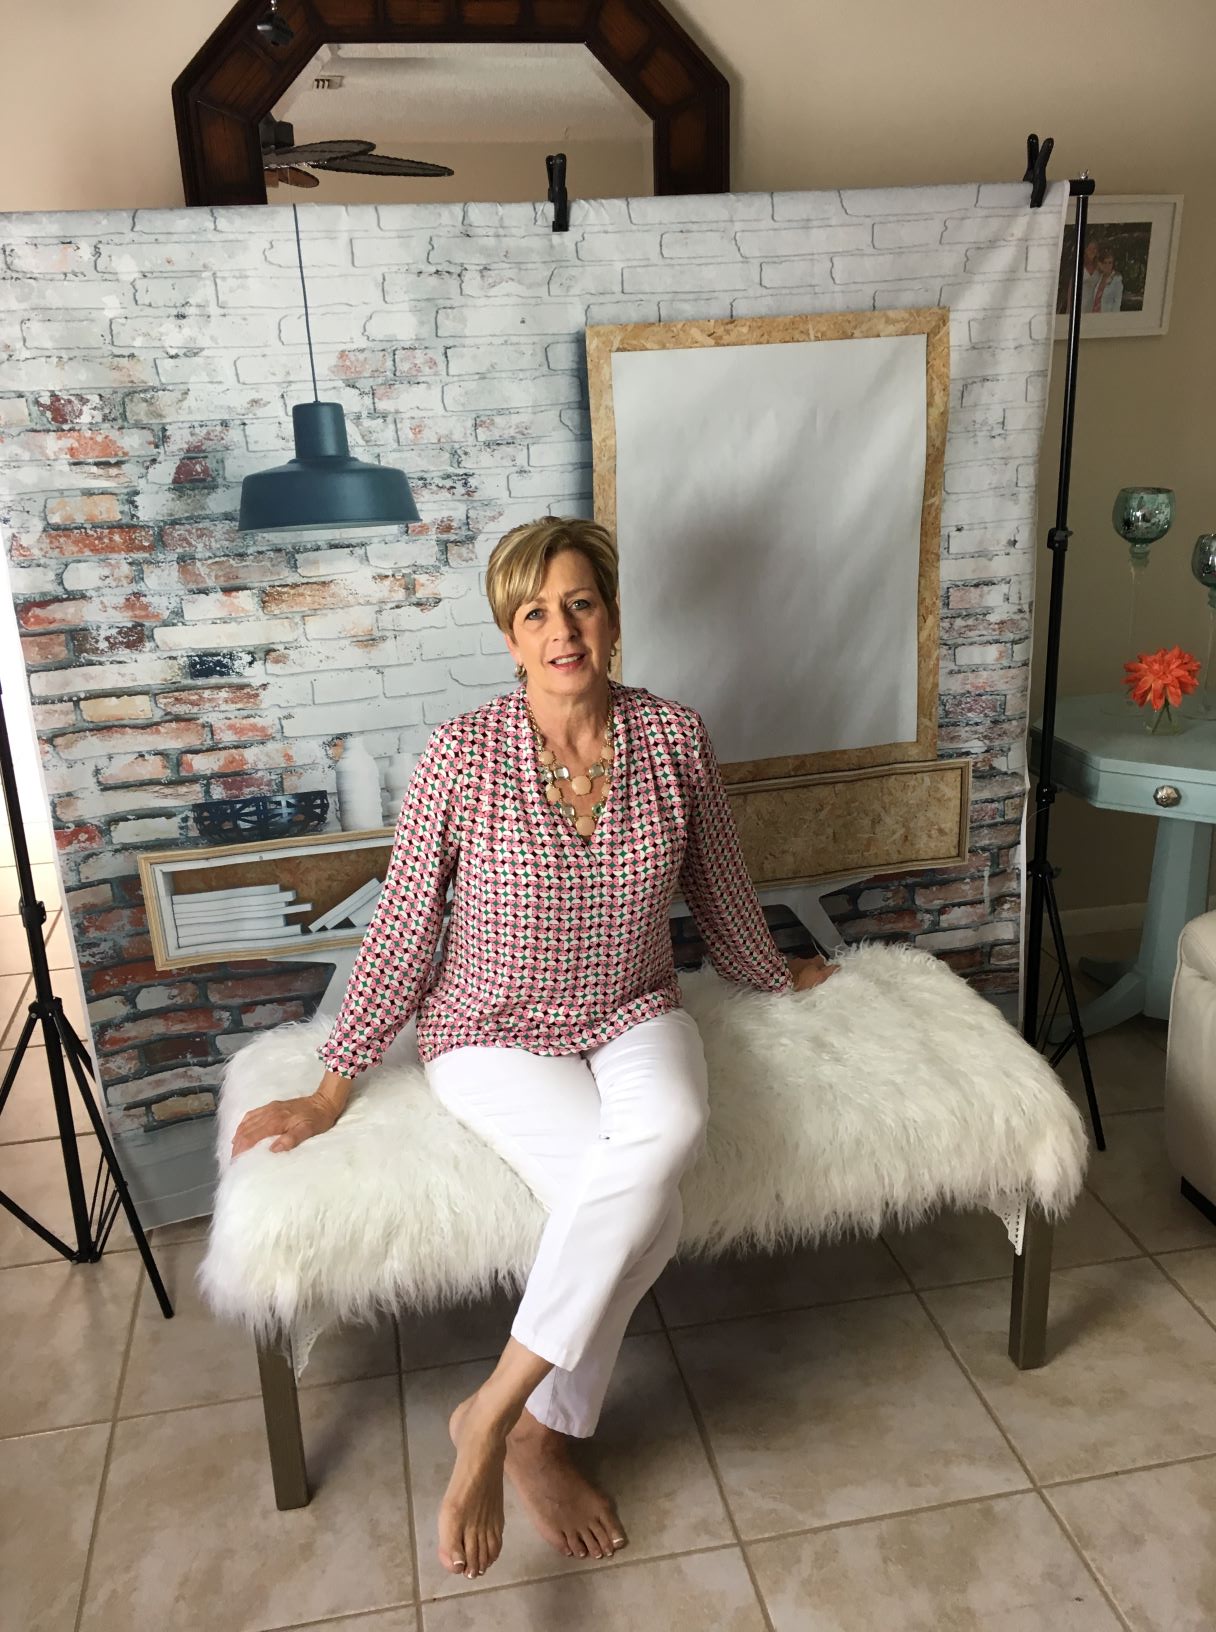
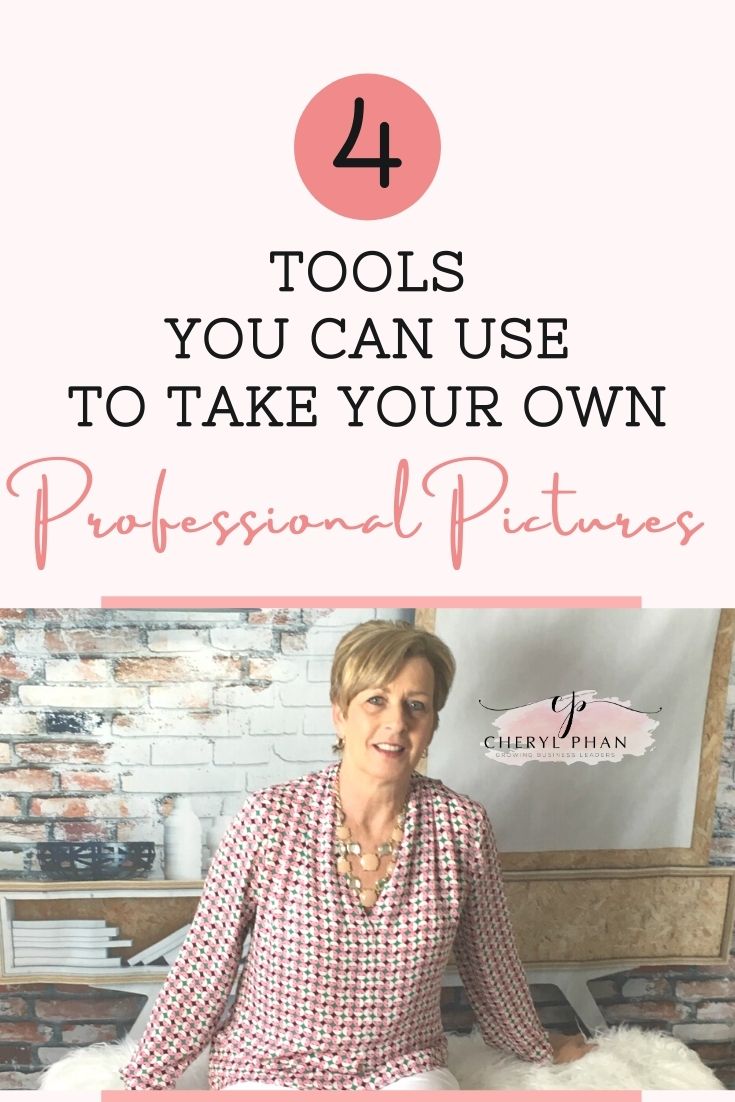
You can buy a backdrop to sit in front of. This is one of many that I have. Sometimes I like to change it up a little.
You will need to get the stand separately and then order the backdrop you like.
Here is a backdrop that I have.
Don’t worry that you can see everything around it. I’m going to show you how to edit it and make it perfect.
After I’m done, I select the picture I want to use and upload it to Picmonkey or Canva. They’re editing tools where I edit all my pictures. Just an FYI, they do charge a fee, but it’s worth it if you plan on editing lots of pictures.
You can also search google for free editing tools, but they have limitations on what you can do
I hope you enjoyed this and found this informative.
If you want to learn how to start making money with your hobby get the details HERE.
If you want to learn more Tricks and Tips get my weekly blog HERE.
See Ya on the inside!
Blessings,
Cheryl
Artzy Fartzy Creations. Oh Yes you can DIY!
Learn how to paint Glitter office accessories in less than 3 minutes for as little as $12
Making your own glitter office accessories After searching [...]
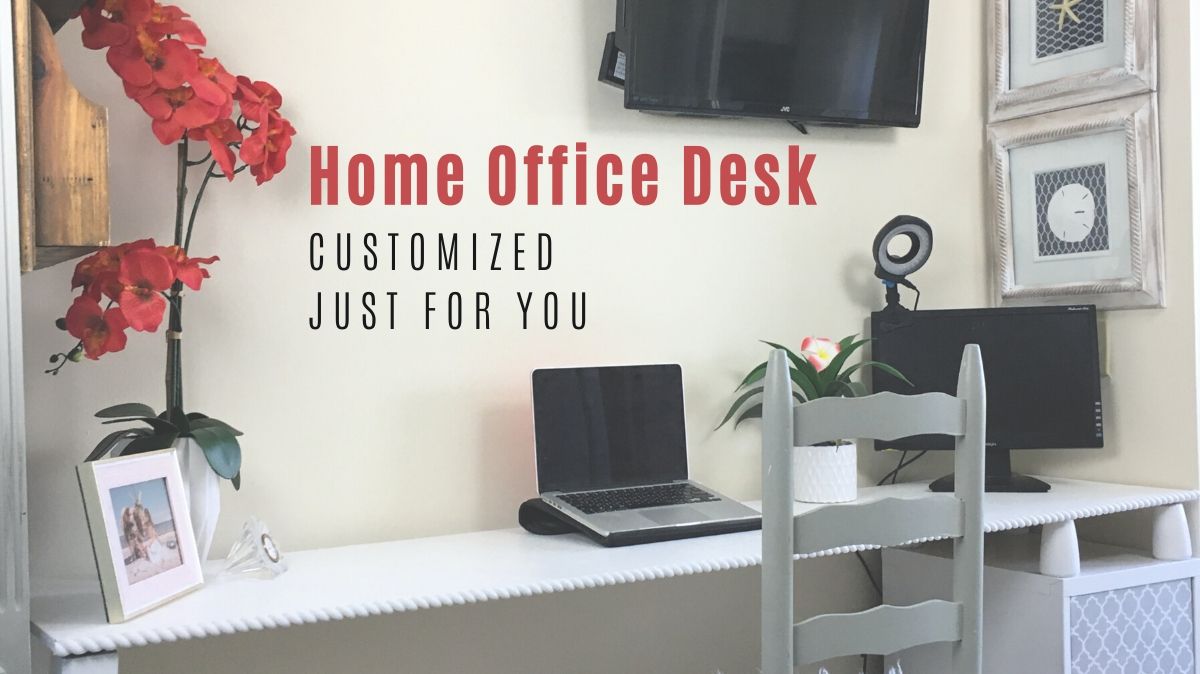
Build a Custom Office Desk to Suit Your Individual Style
When you work from home, having a comfortable and pretty [...]
3 Fast and Easy Ways to Invite People to like your Facebook page
Increasing your Likes on your Business Facebook page [...]
Your cheatsheet on how to make a profit selling repurposed furniture
How to price your furniture for sale Pricing [...]
Simple and Fast Modern Wall Finish You Can Do In One day
If you’re looking for a really cool and [...]
Update your ceiling fan with style using contact paper from the Dollar Tree for just $1.00
A creative, inexpensive way to update your ceiling [...]
Contents
Recent Reads
Turning Trash To Treasure
Have you ever driven by your neighbor’s trash and seen [...]
Coastal Table & Chair Makeover
One of my favorite things to do is [...]
How to Create a Faux Crocodile Table
Have you ever wondered how they create that crocodile faux [...]
