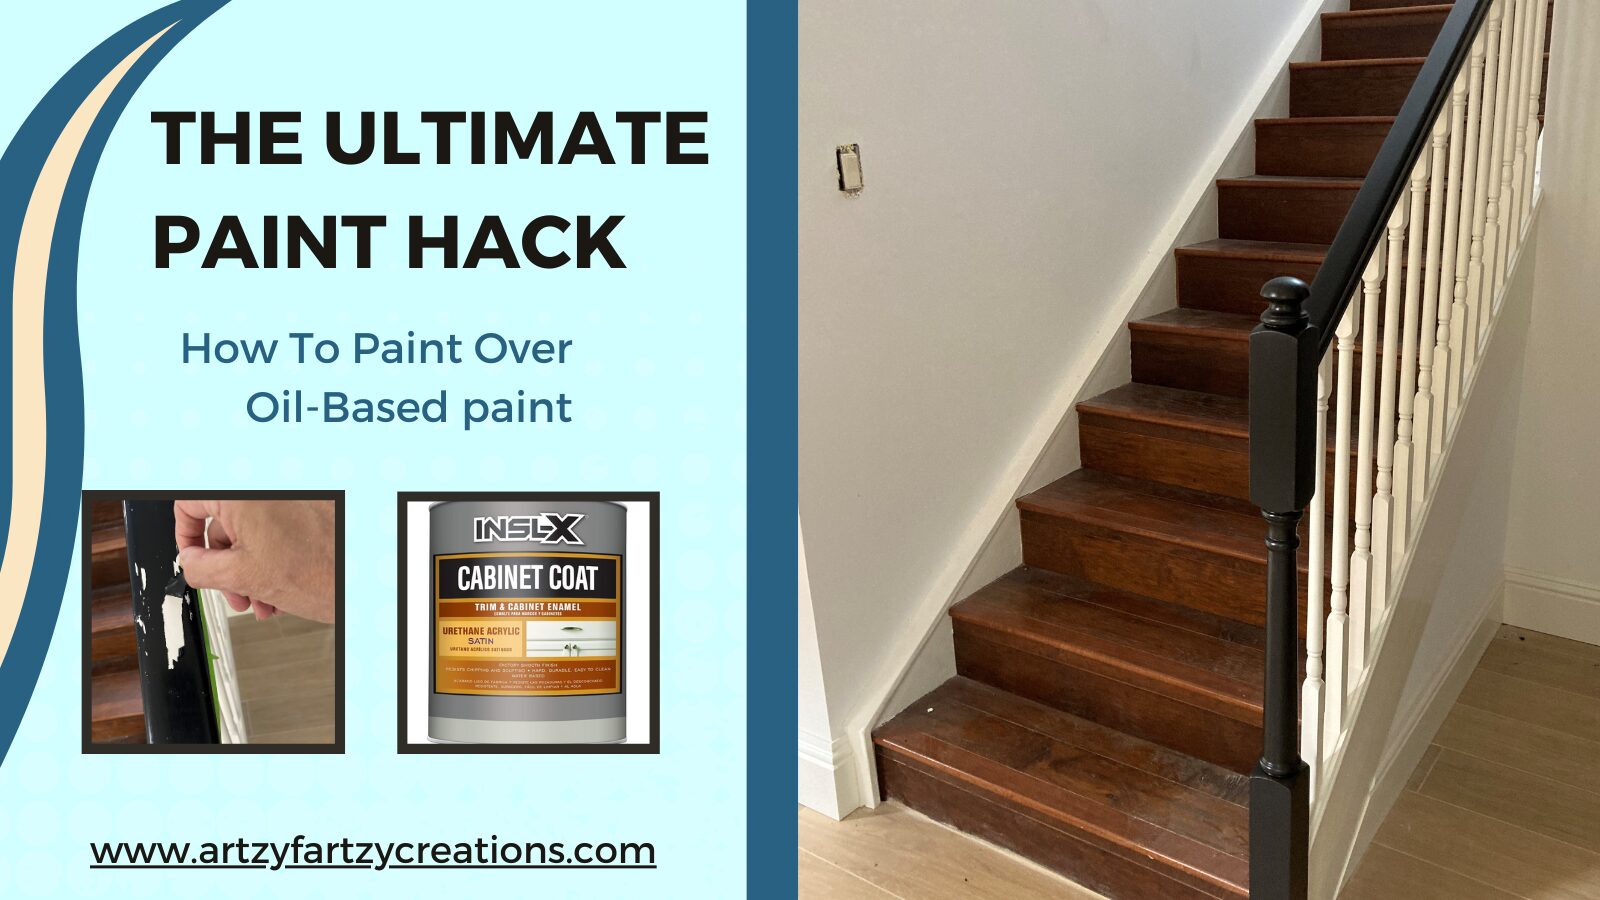
Is the latex paint not sticking to your molding, doors, or staircase? It may be that someone painted latex over oil-based paint.
I have the Ultimate paint hack you wish you knew sooner.
Before you start painting, it’s super important to know if the existing paint is oil-based or latex.
But don’t worry! I’m going to share my handy cotton ball hack with you, so you don’t make the mistake many amateurs do.
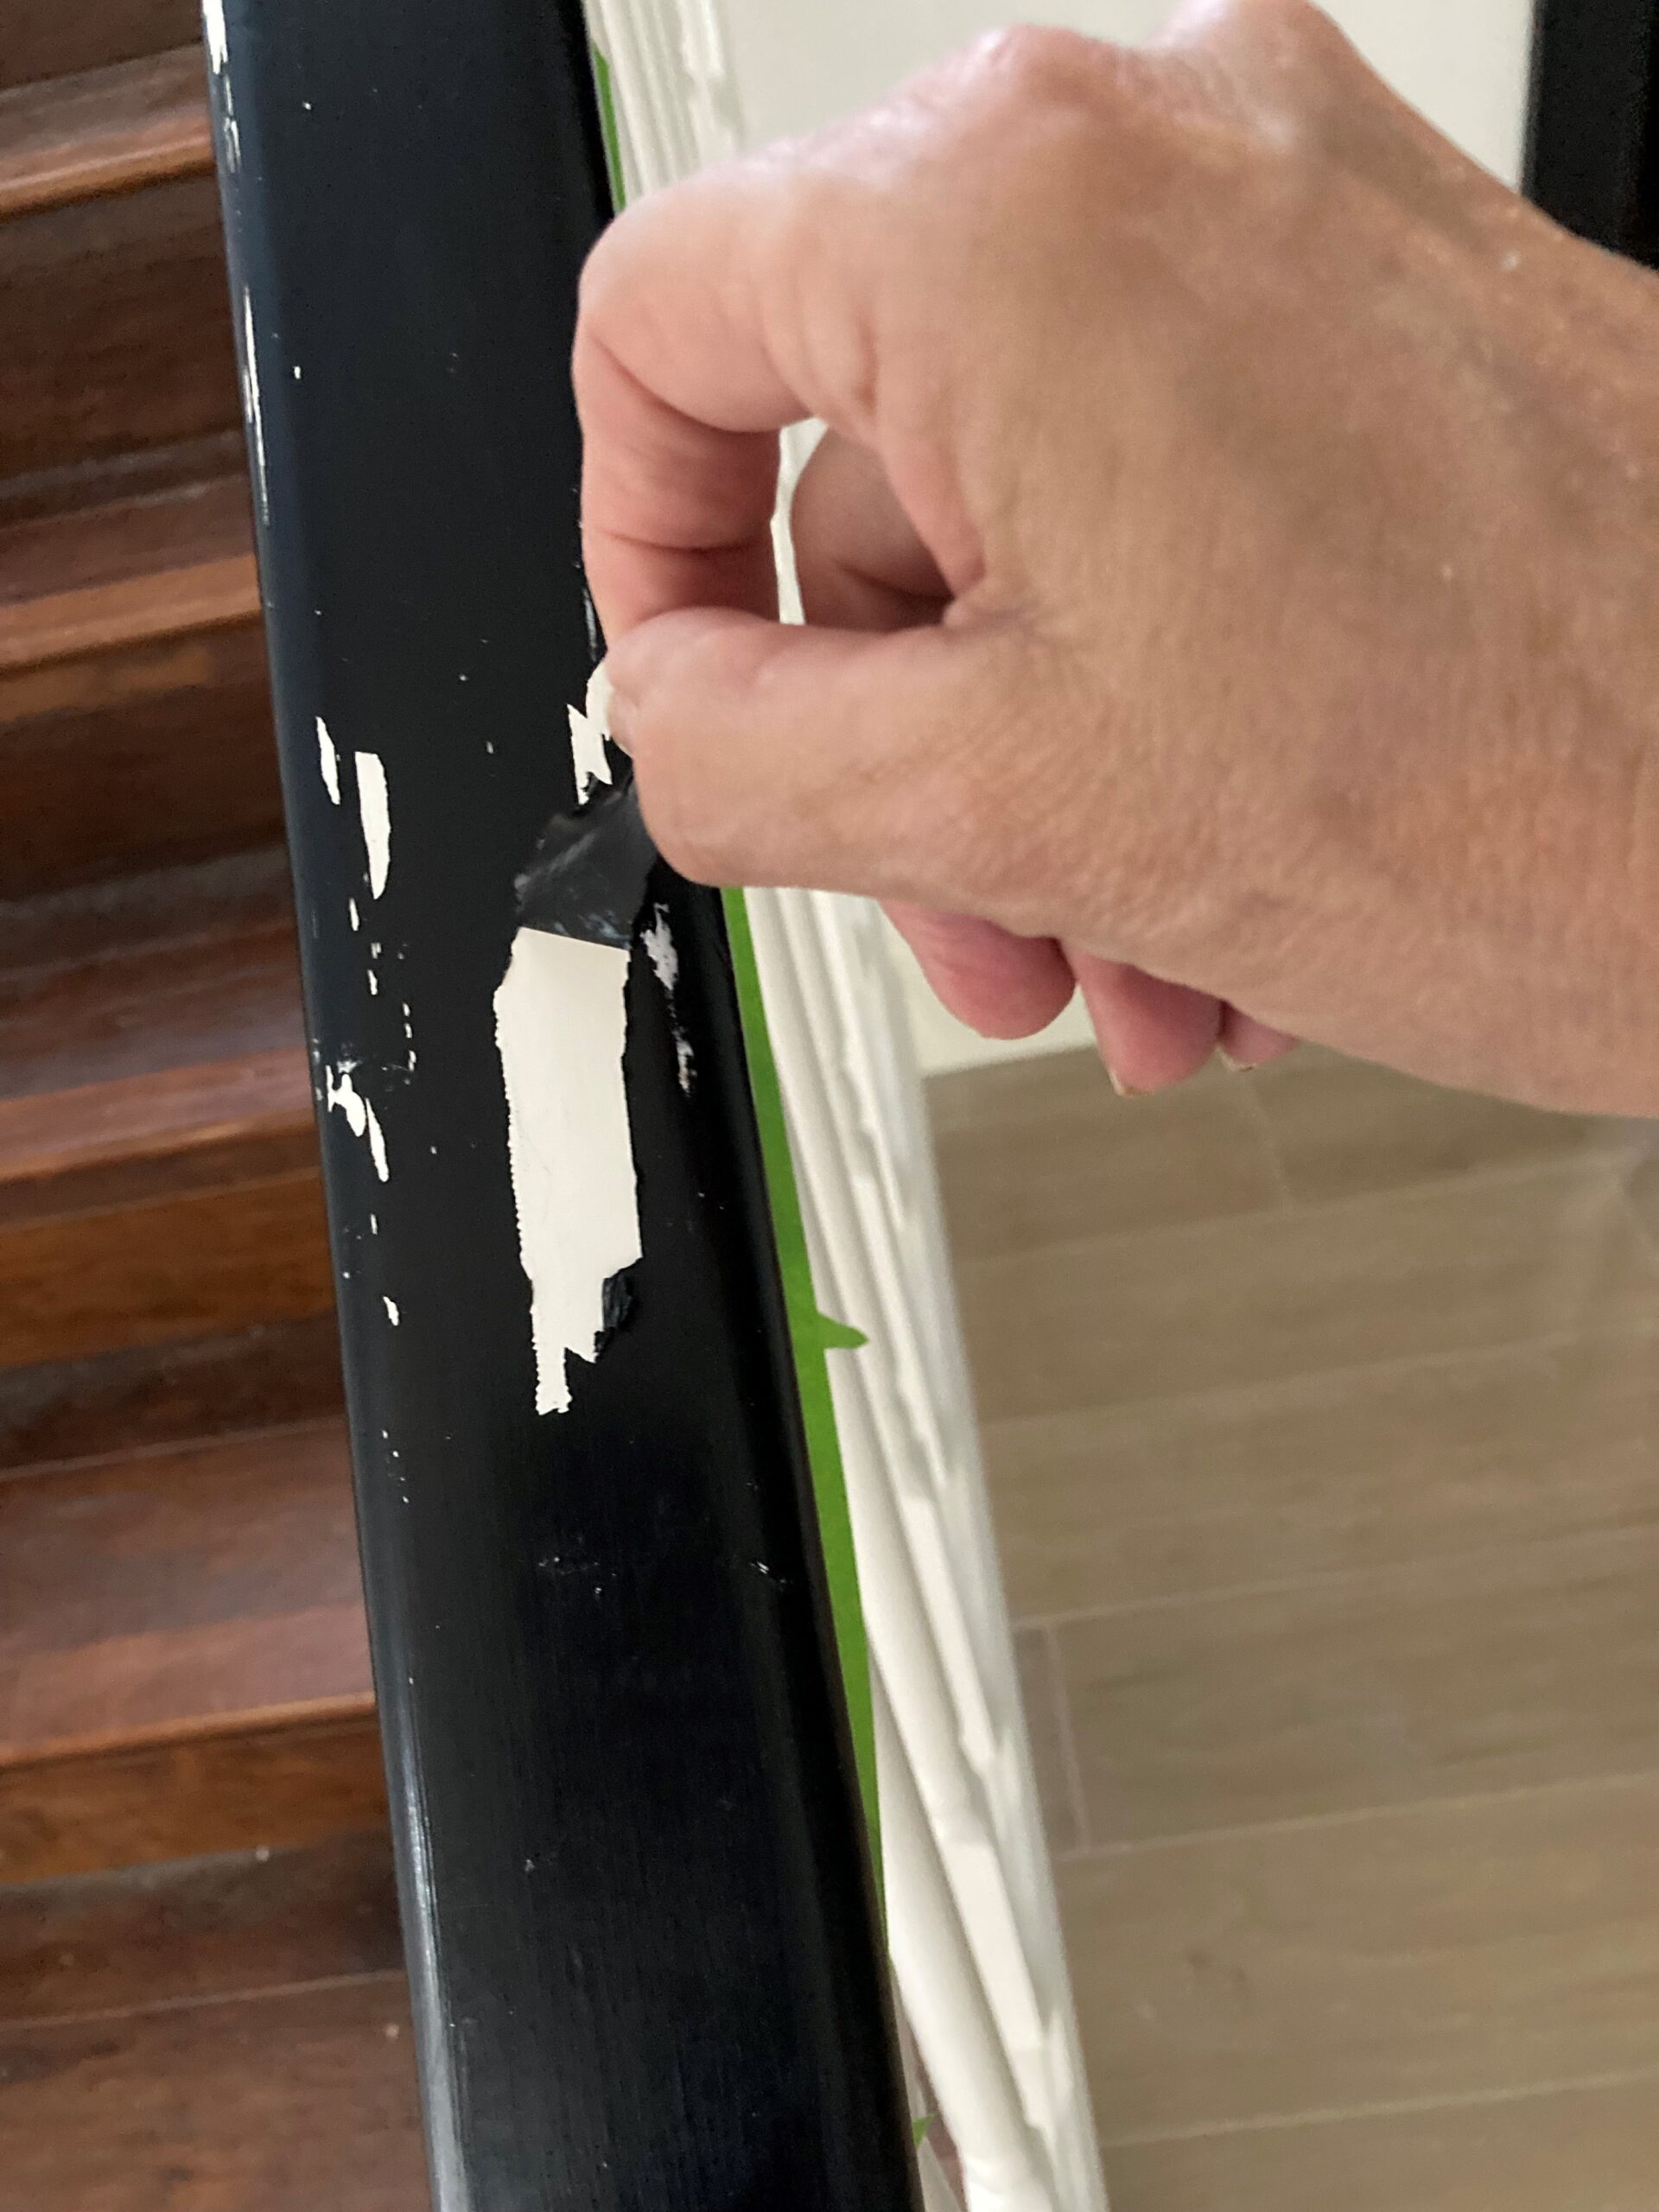
Yikes! Did you paint your doors, floorboards, or staircase only to have it peel back like this?
Here’s why…..
This staircase was painted with latex paint over oil-based paint, which is a big no-no. Latex paint won’t stick to oil-based paint and will eventually peel off, as shown in the picture above.
Interestingly, oil-based paint will adhere to latex paint.
So, how can you determine the type of original paint? Here’s a handy trick that most people don’t know: Take a cotton ball with some mineral spirits or nail polish remover and rub it on the surface. If the paint comes off on the cotton ball, it’s latex paint. If nothing happens, it’s oil-based paint.
Let me guide you through the proper steps to fix the damage and successfully paint latex over oil-based paint.
The glossy surface of oil-based paint makes it difficult for any other paint to bond. If you apply water-based paint directly over oil-based paint, it will flake and crack as the water-based paint pulls away.
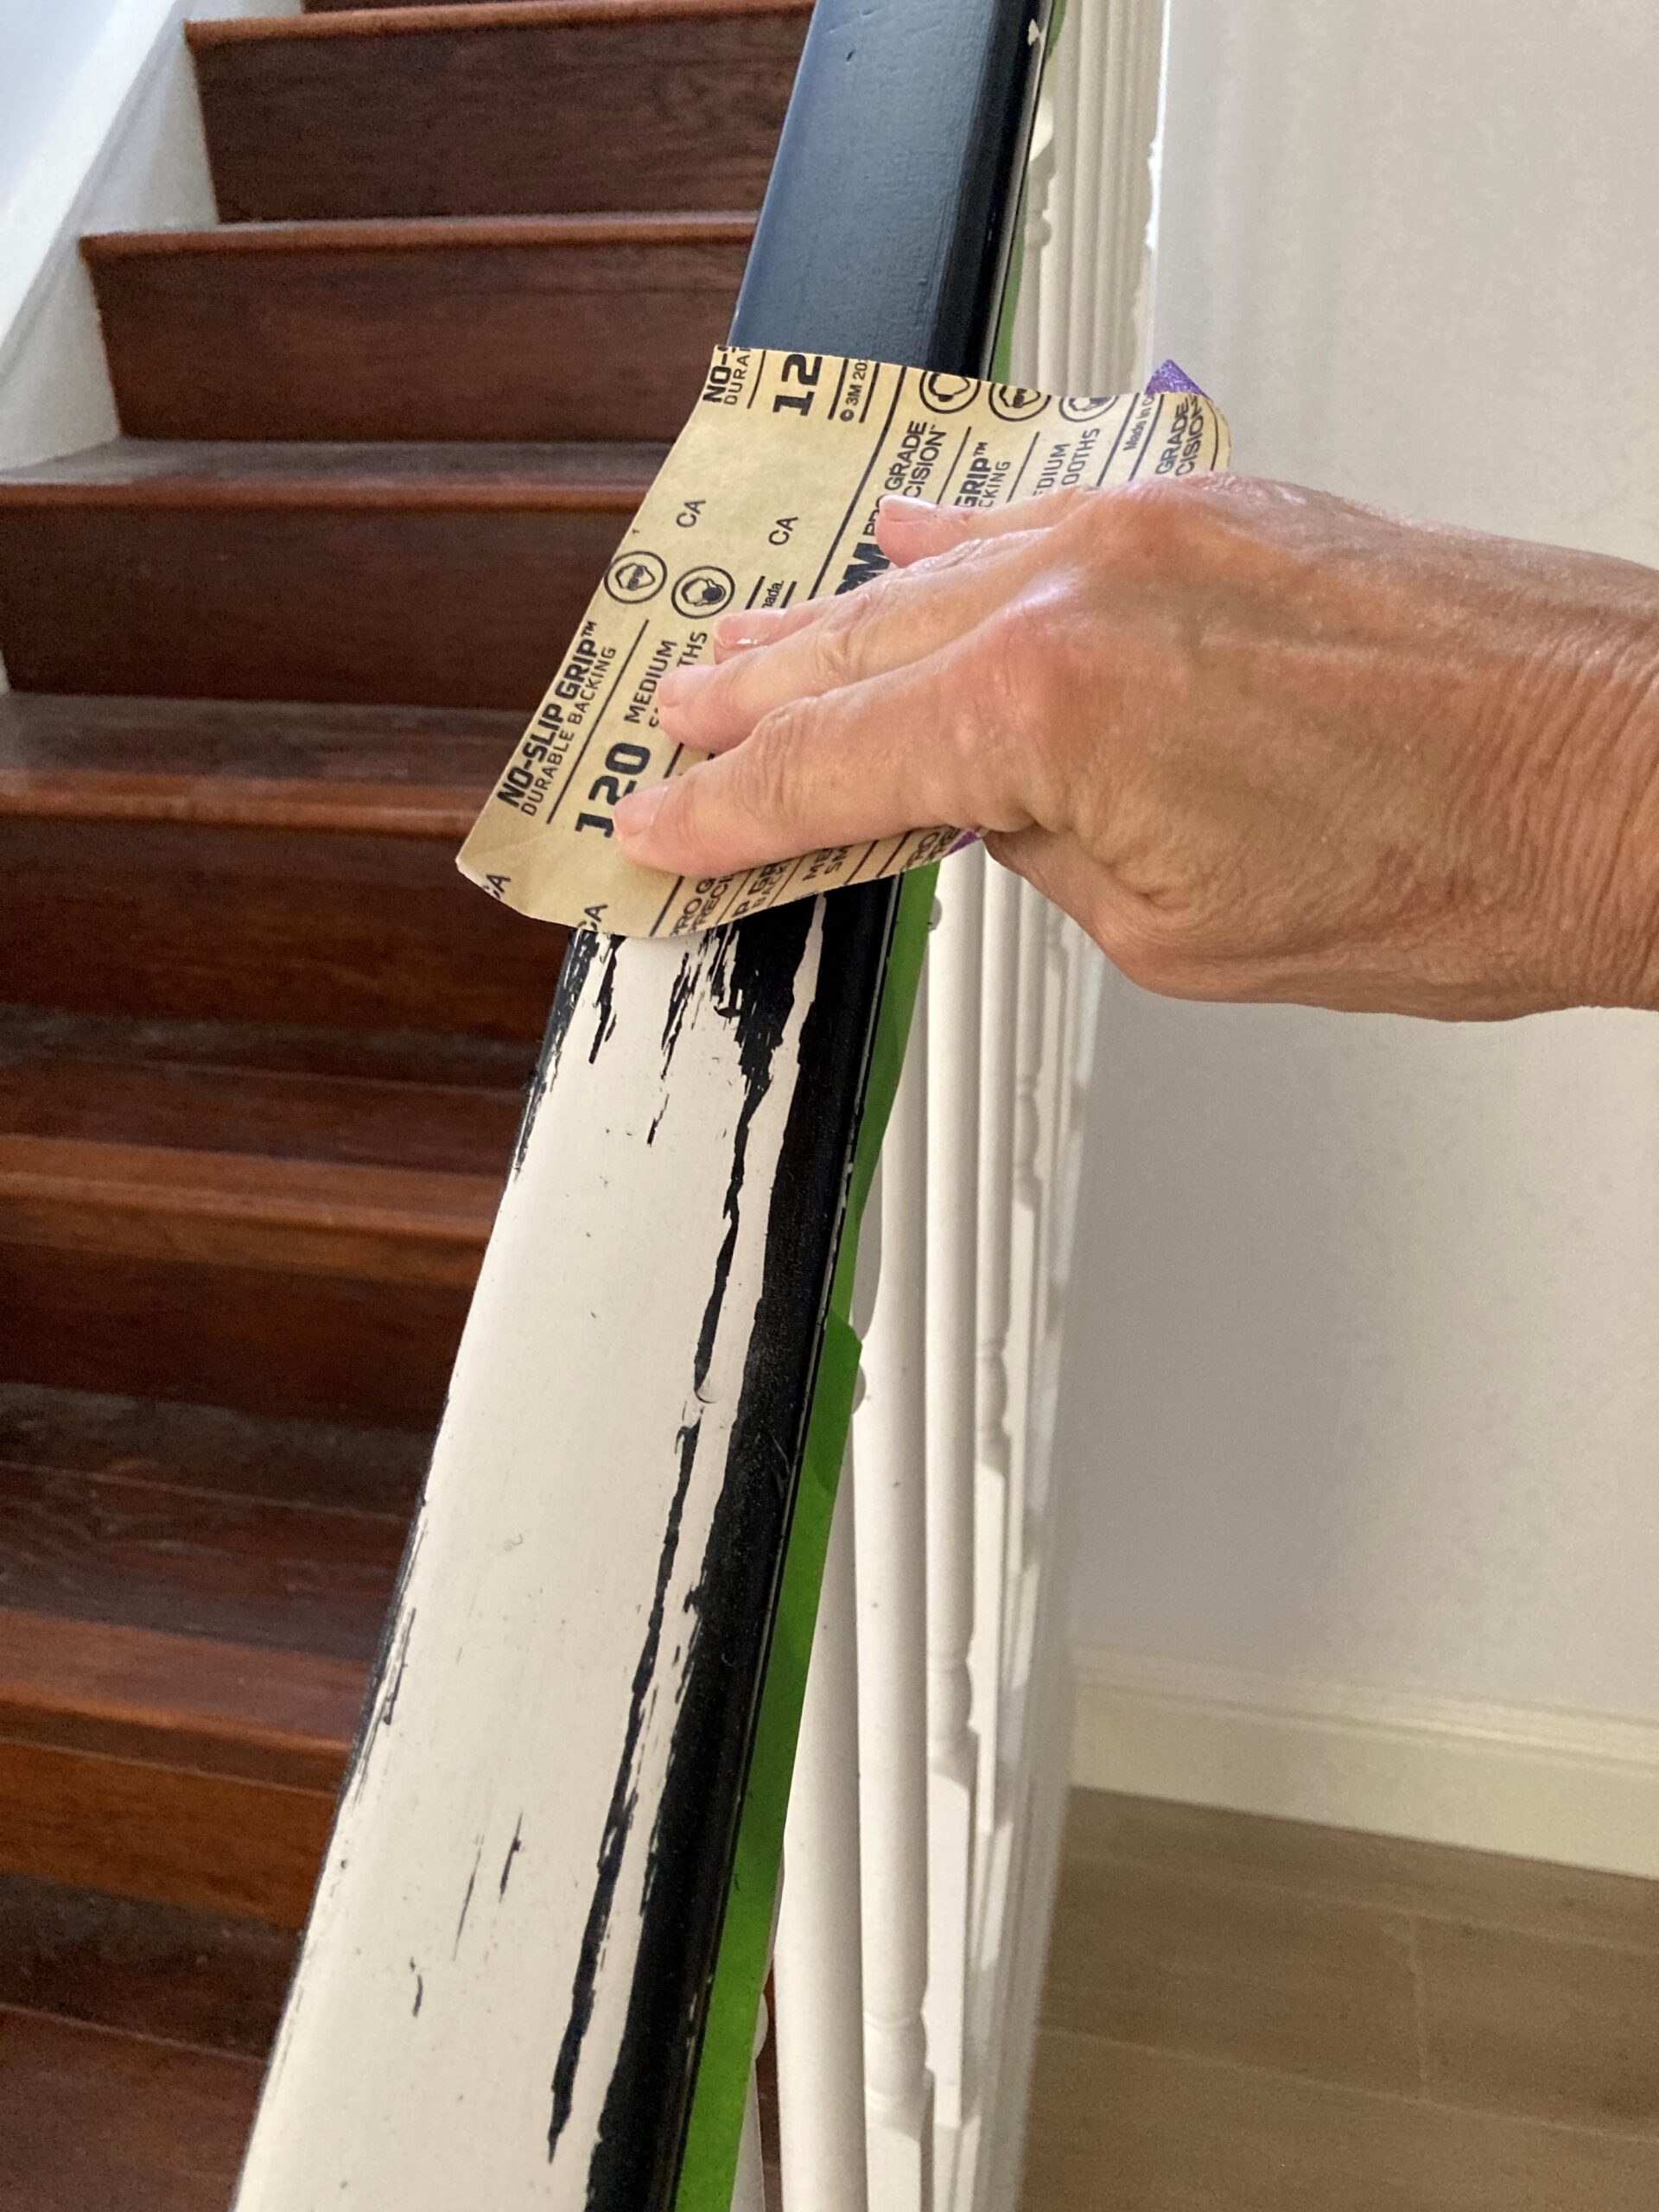
Step #1
Use a fine-grit sandpaper to remove the loose paint. Then wipe it down with TSP to clean it.
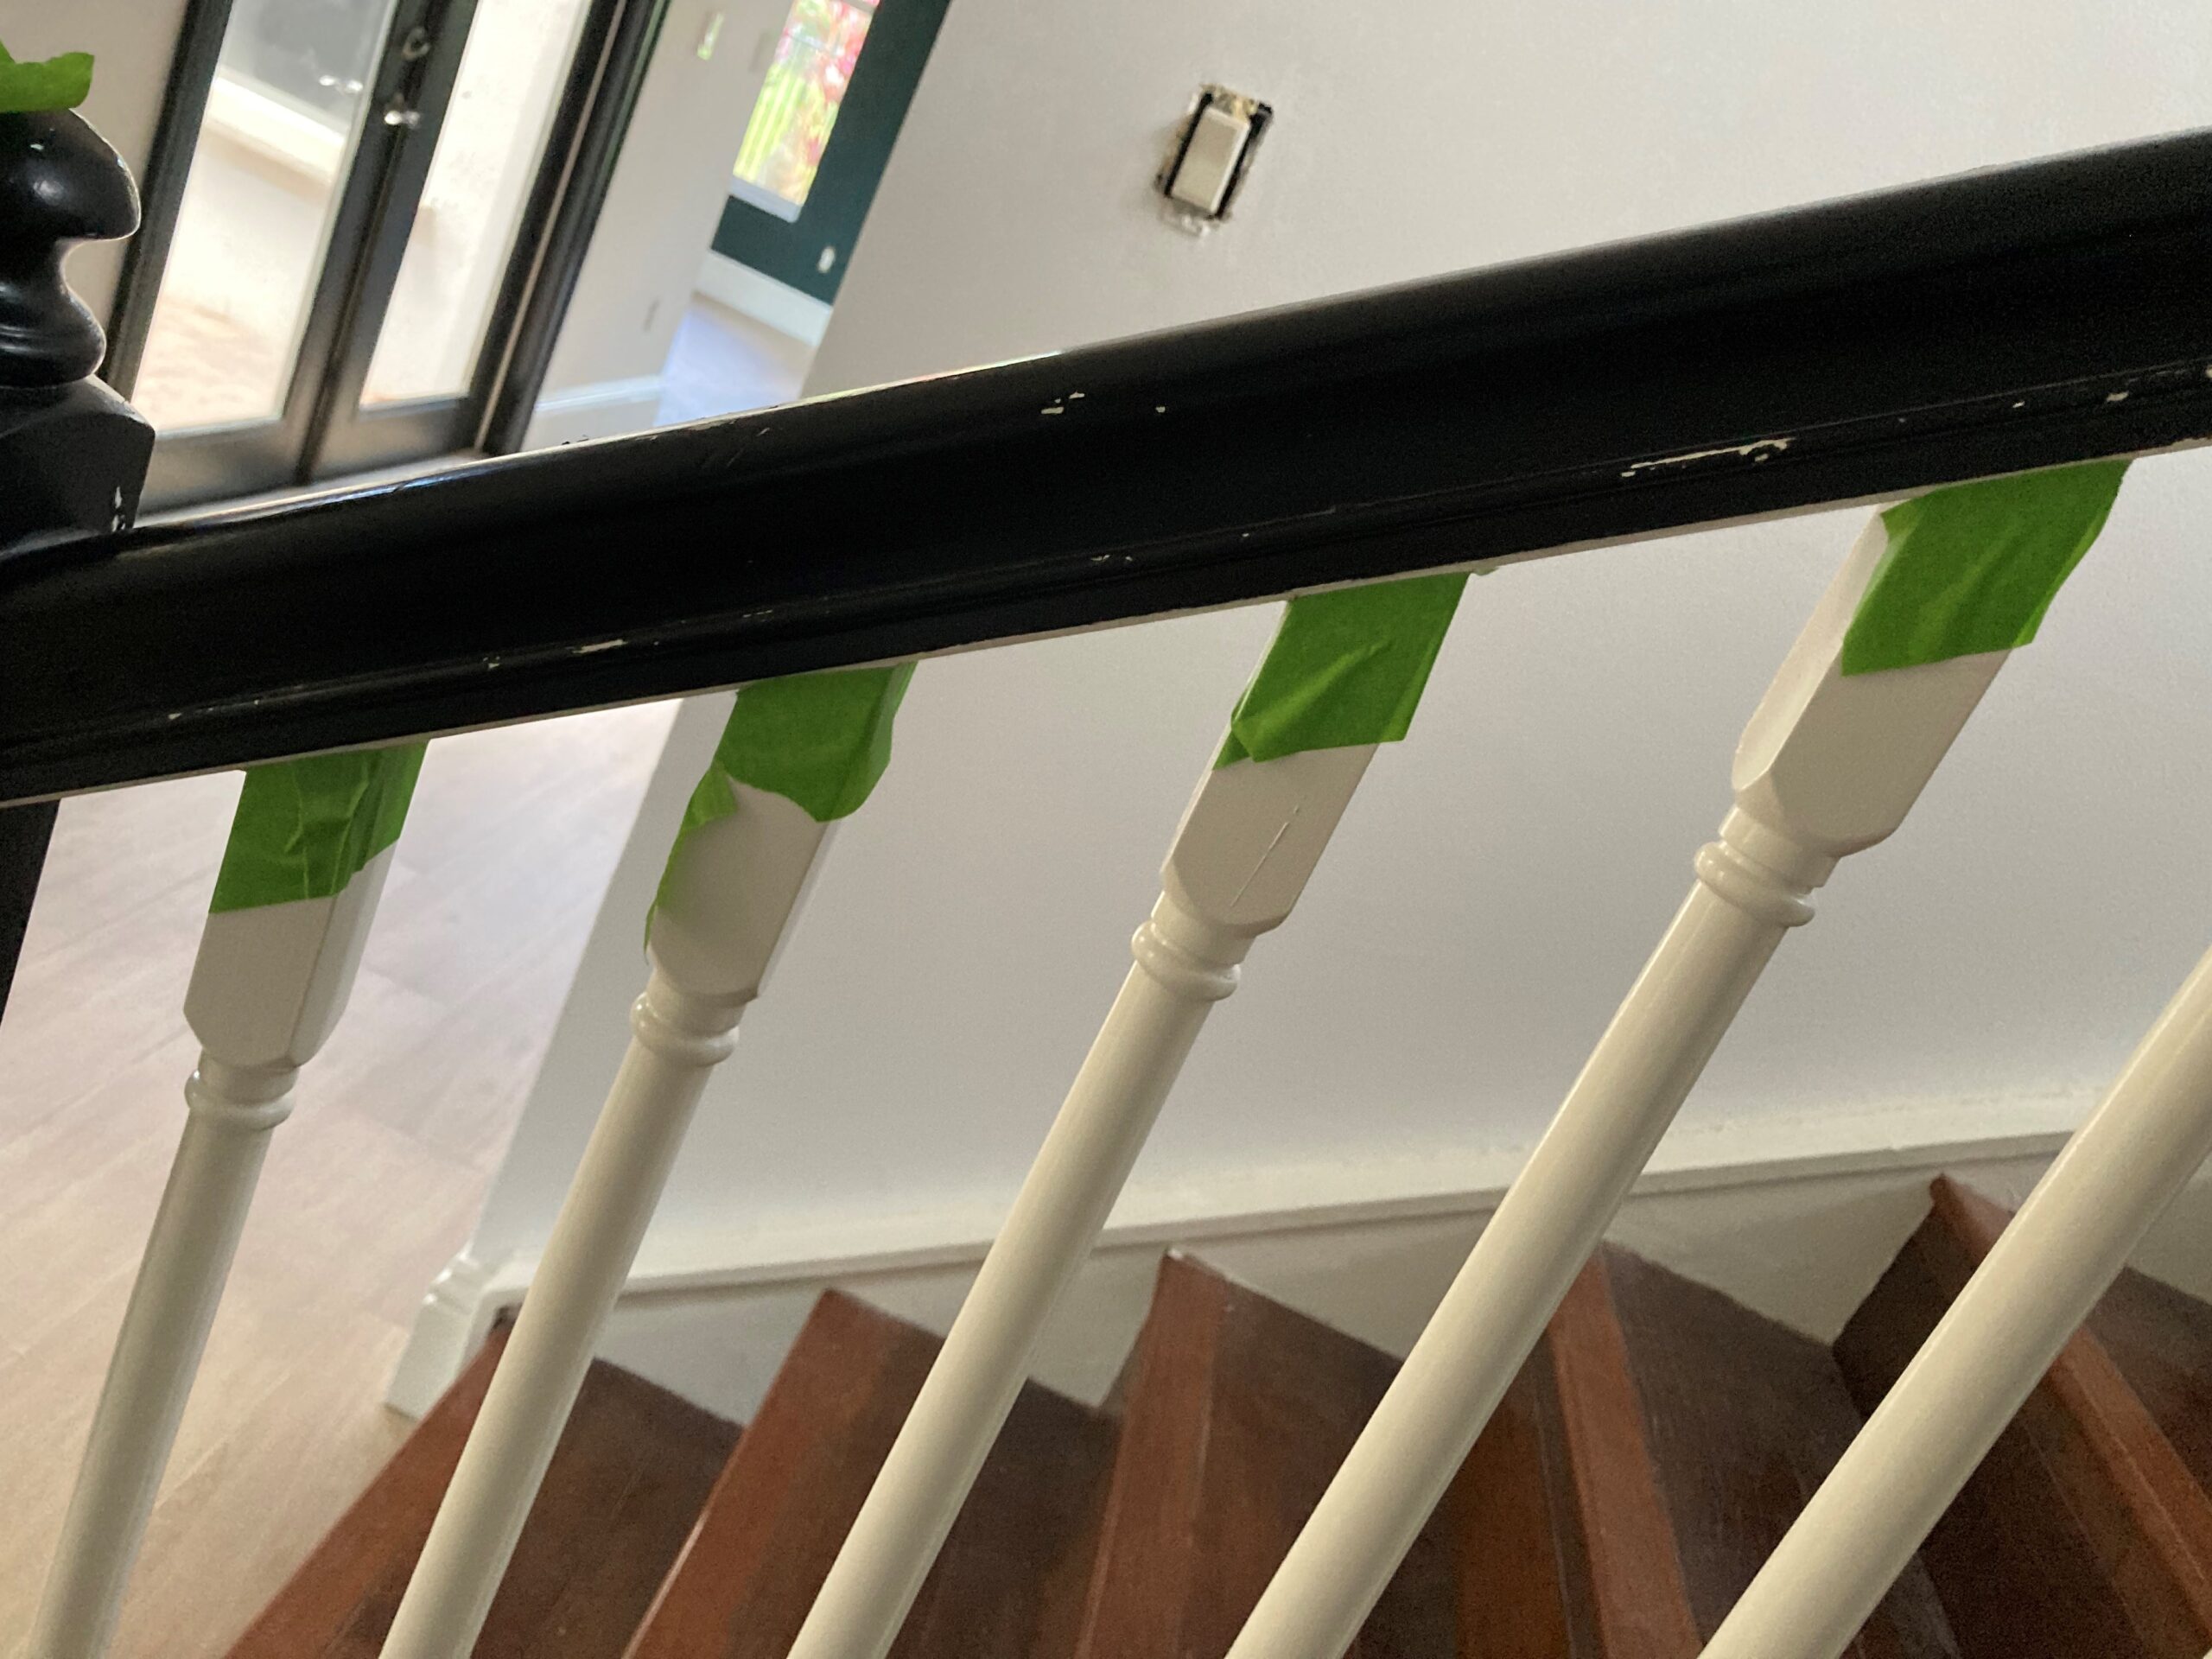
Step #2
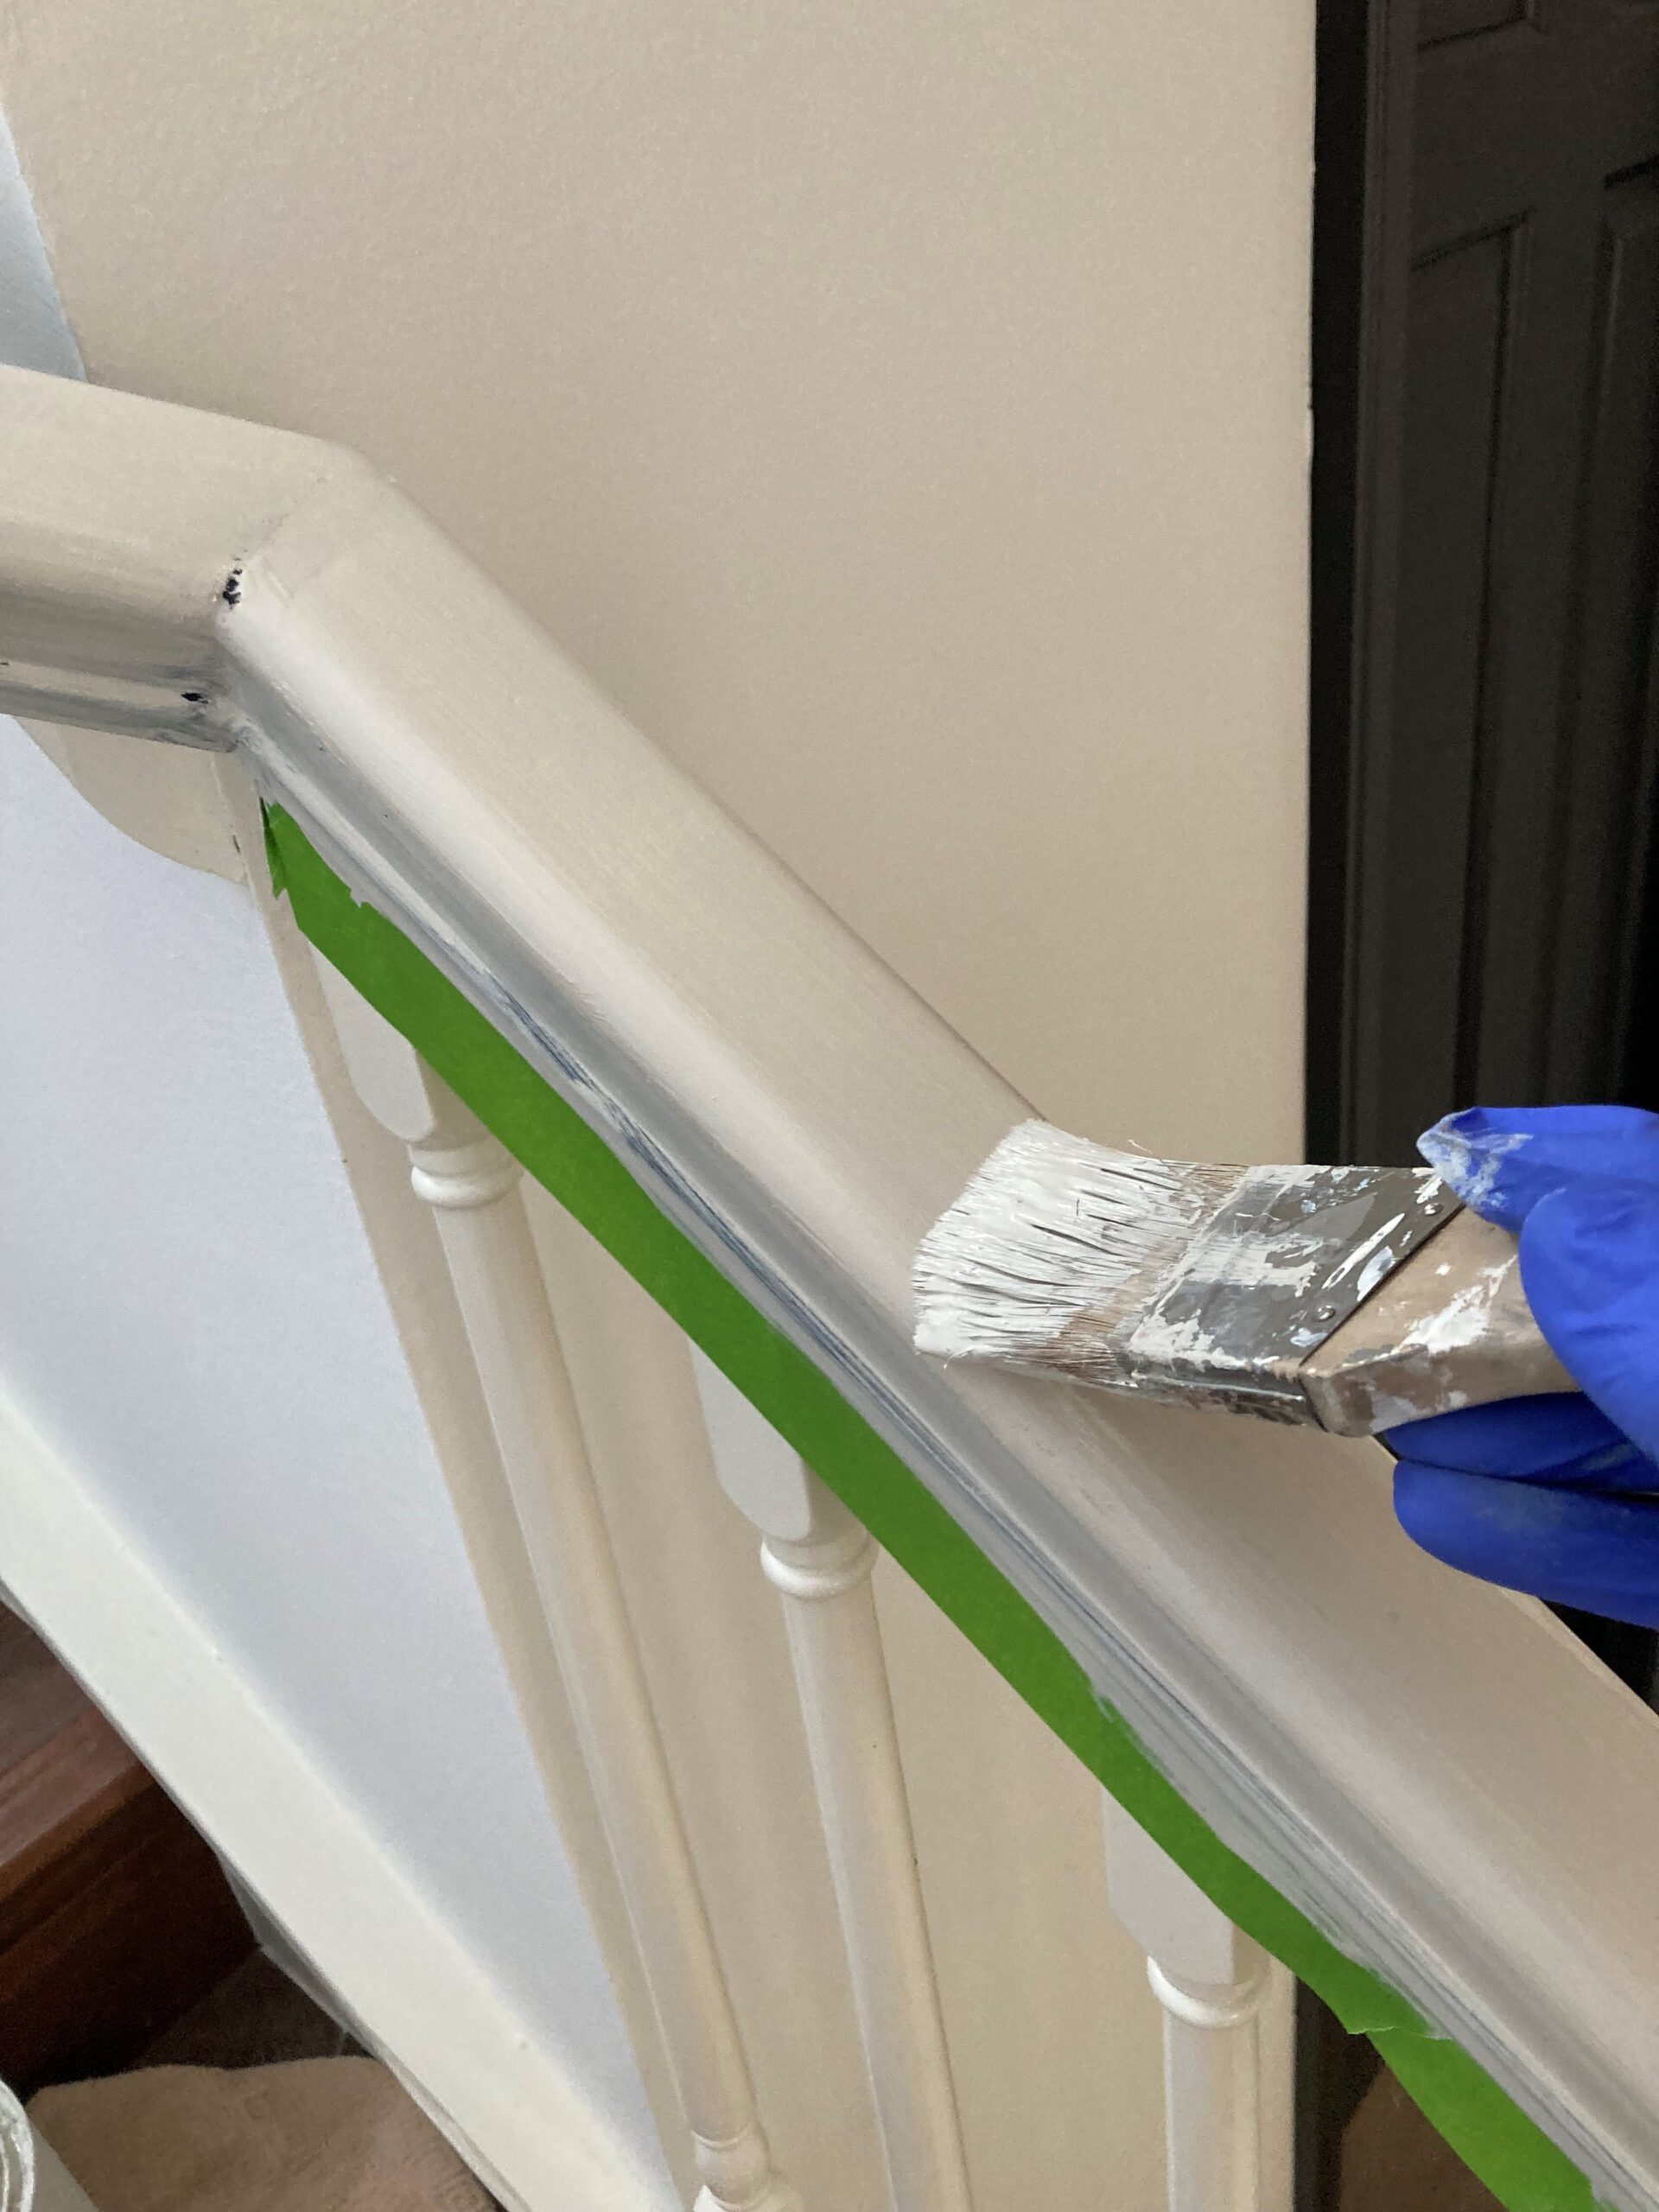
If you’re using two different colors, tape off the areas you want to keep paint-free. This will make the job much easier and save you from having to do any touch-ups later.
Step#3
This is the most important step. Apply a bonding primer that is specifically designed to promote adhesion between oil-based and latex paints. A good quality primer I like to use is Stix. I also use this on my kitchen cabinets before painting them. Once it’s dry do the scratch test. Use your fingernails and scratch the surface to make sure it doesn’t come off.

Step #4
You’re going to want to use a good Enamel paint. Enamel paints are commonly used for high-traffic areas and are very durable. Enamel paint dries with a hard finish that is easy to clean. It’s also available in satin, semi-gloss, or high gloss.
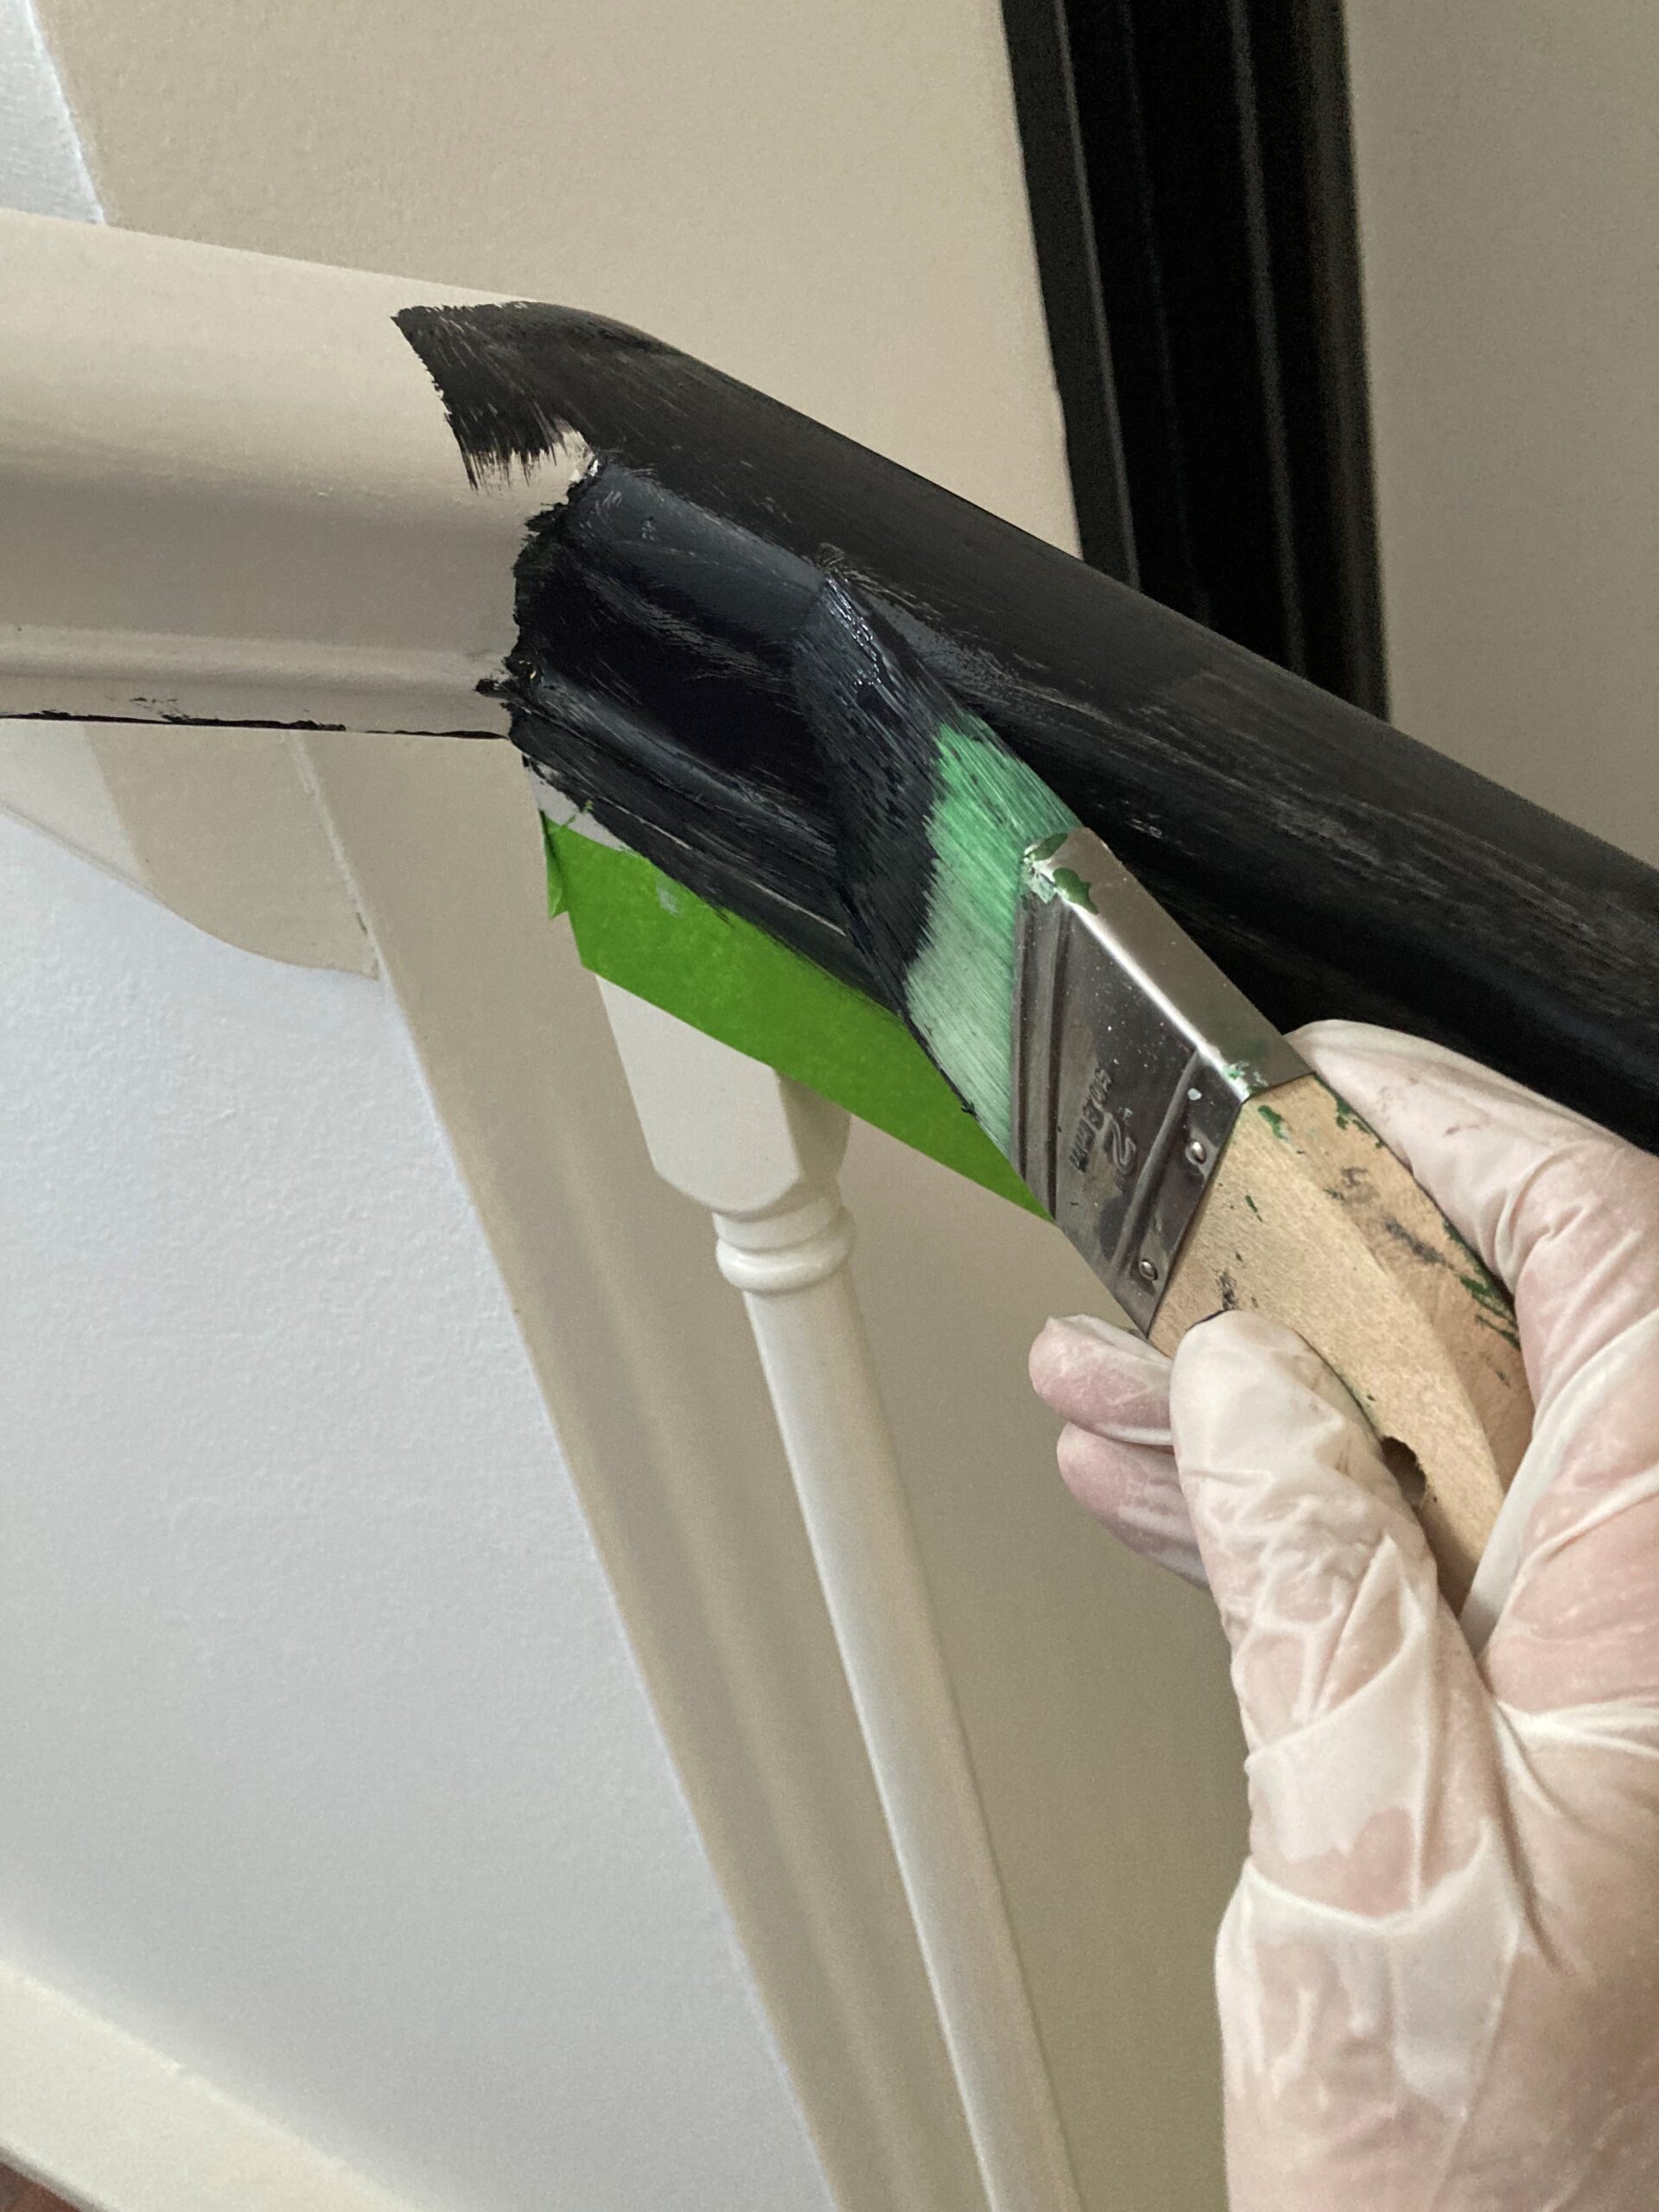
Step #5
Use a soft brush to help eliminate brush marks. Apply thin even coats and let the first coat dry before applying the second coat. Apply two coats and let dry overnight.
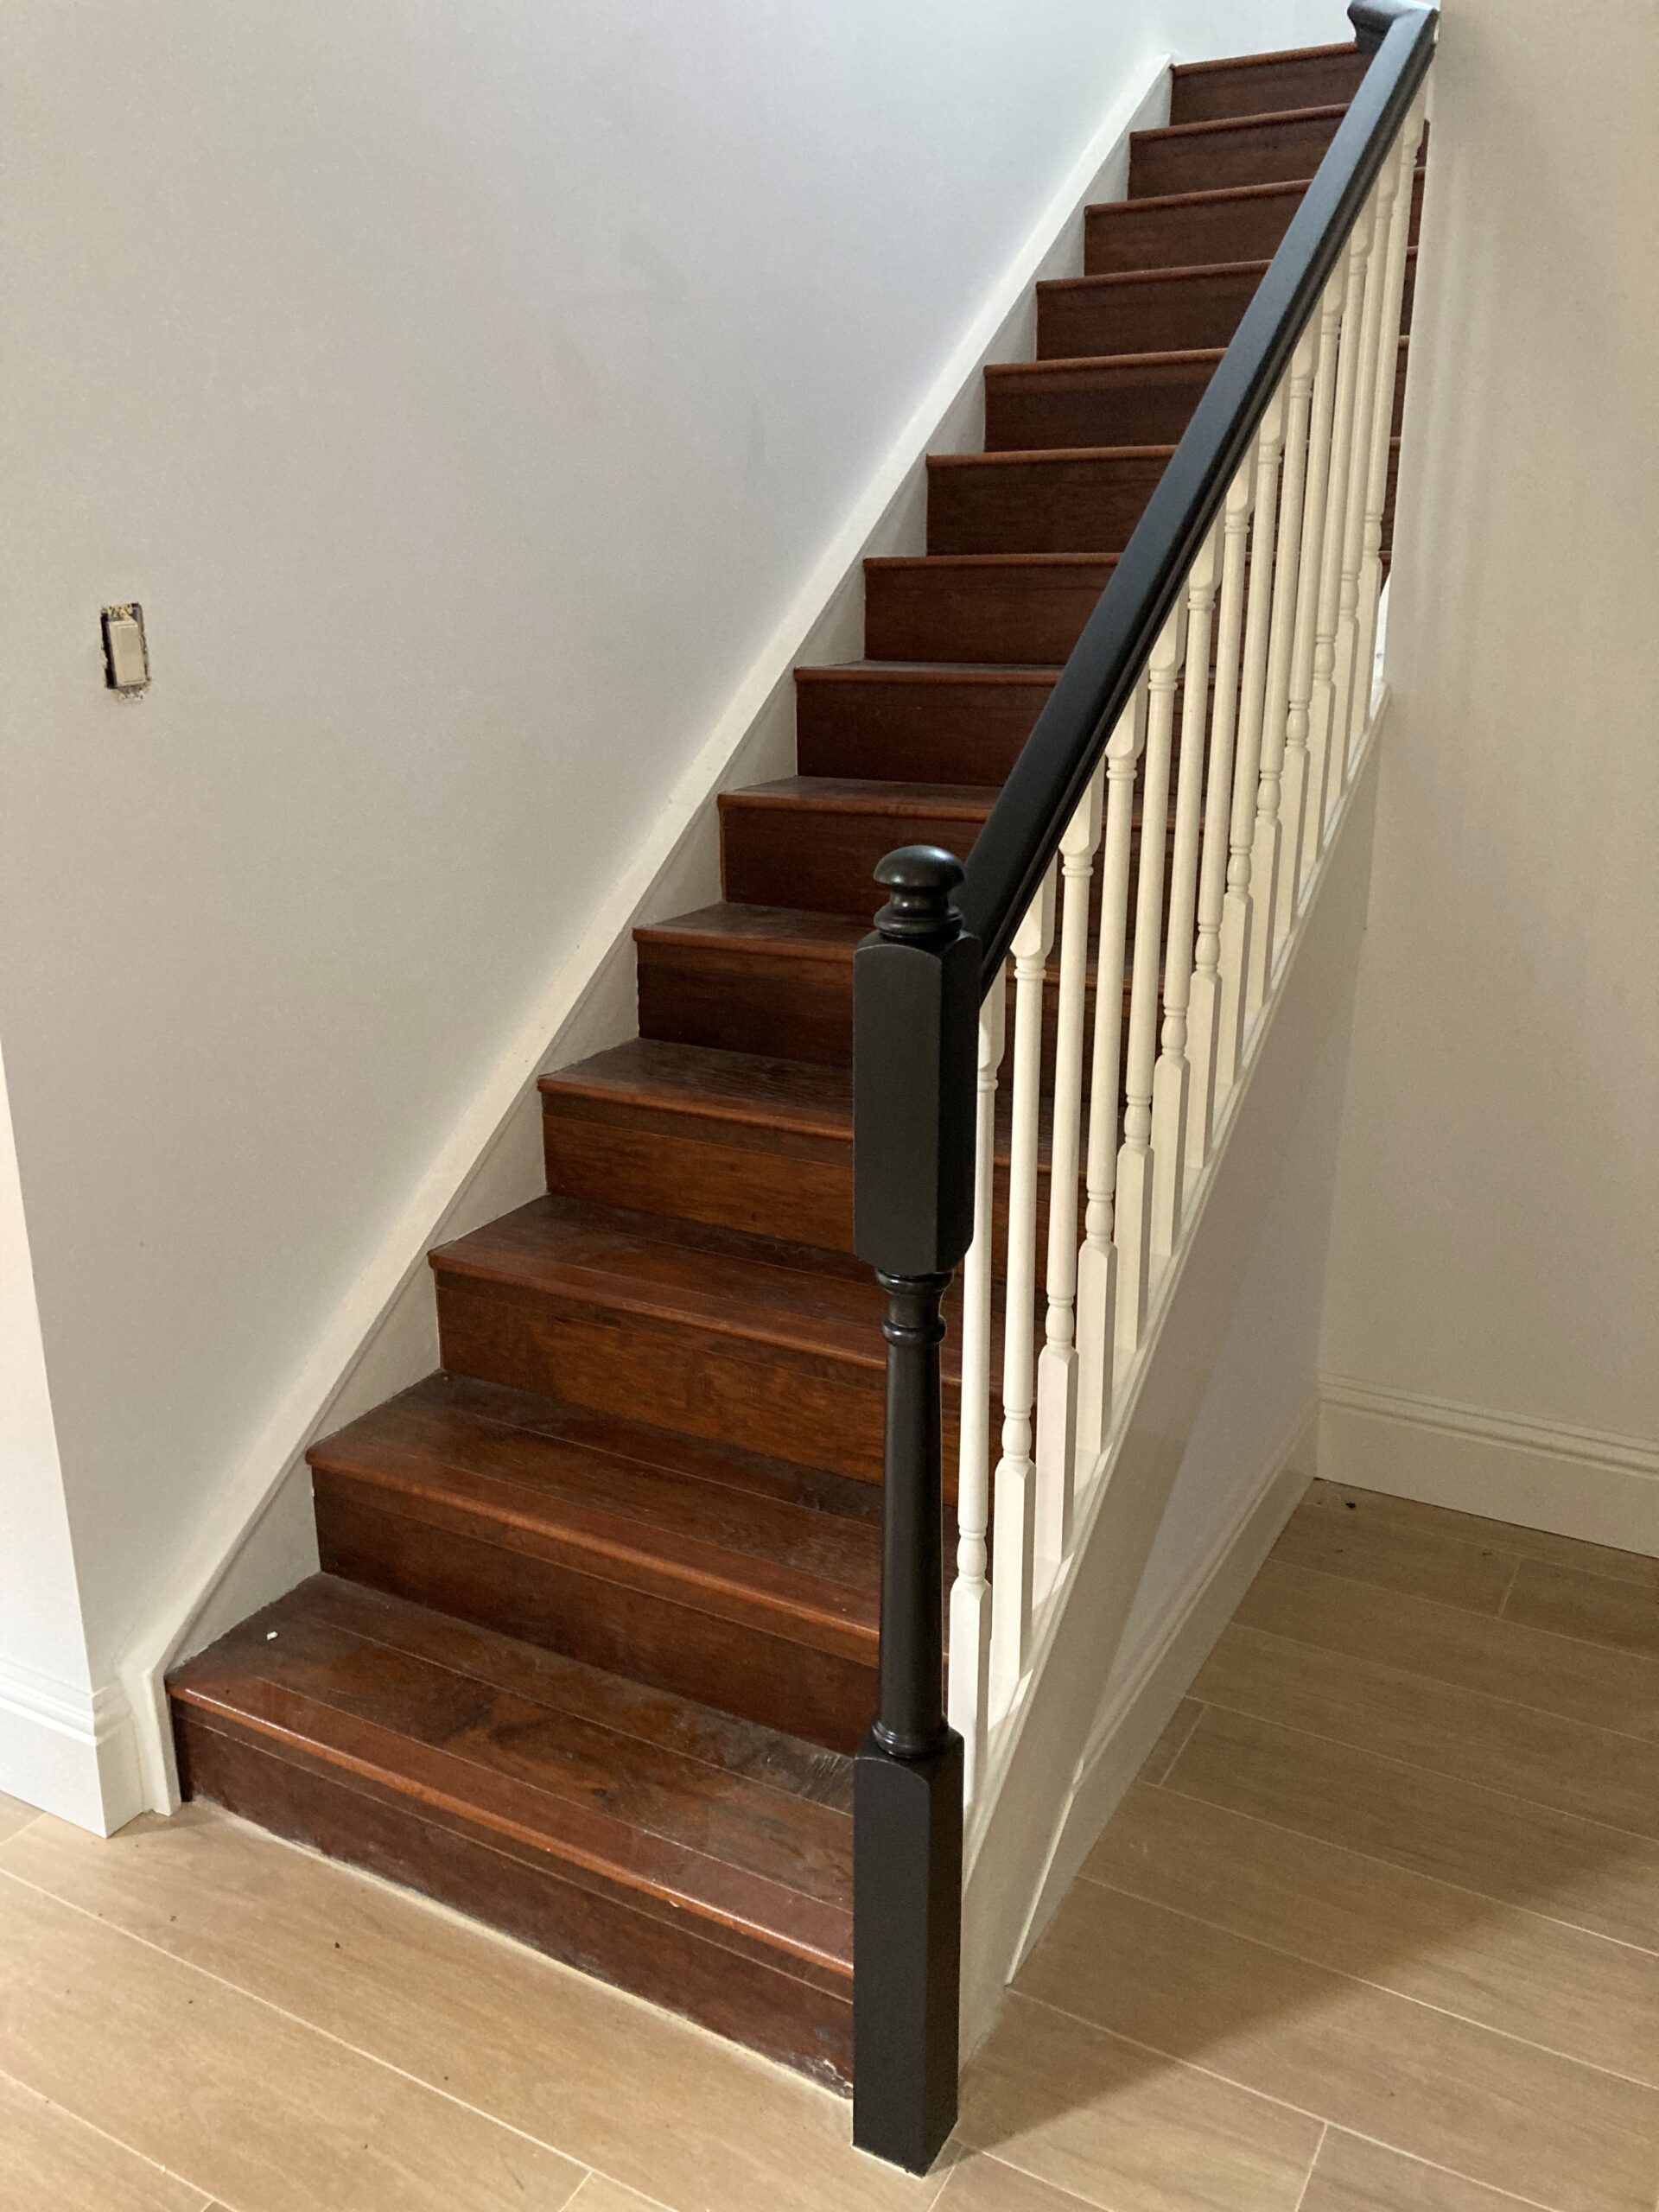
And there you go, Easy Peasy!
With these tips and techniques, you can confidently tackle your painting projects and achieve beautiful, long-lasting results. If you have any questions feel free to reach out. I’m always here to help. Happy painting!
P.S. Do you have a hobby you would like to turn into a business but need some help getting started? Join Empowering Women.
P.S.S. Make sure you don’t miss out on signing up for my blog, filled to the brim with home decorating and DIY tips!
XOXO
Cheryl


Artzy Fartzy Creations. Oh Yes you can DIY!

How to Make Money Writing an eBook
Writing an eBook has a lot of benefits. It’s a [...]

How to Make Money Blogging
Did you know you can make money blogging? In fact, [...]

How to Make Money with Affiliate Marketing
This is probably one of the easiest ways to make [...]

How to Make Money With Videos
Did you know that 85% of people watch videos online? [...]

Turn Your Passion Into A Paycheck
If you’ve been following me for any length of time, [...]

Learn How to Take Your Own Professional Pictures with These 4 Tools and Save Hundreds of Dollars
You don’t need to spend a ton of money on [...]
Contents
Recent Reads
RV Kitchen Makeover: A Budget-Friendly Guide Using Adhesive Tiles
A friend of mine recently asked me to help her [...]
Drawer Wallpaper Transformation: A Stylish DIY Home Decor Upgrade
Drawer Wallpaper Transformation: A Creative DIY Hack Are you a [...]

The #1 Secret to Success After Age 50
Have you ever wondered how some people are successful [...]