If you love Joanna Gaines and watch “Fixer Upper”, then you probably like the Farmhouse décor she uses in all her home transformations. I’m going to show you how easy it is to create this look on any piece of furniture you have.
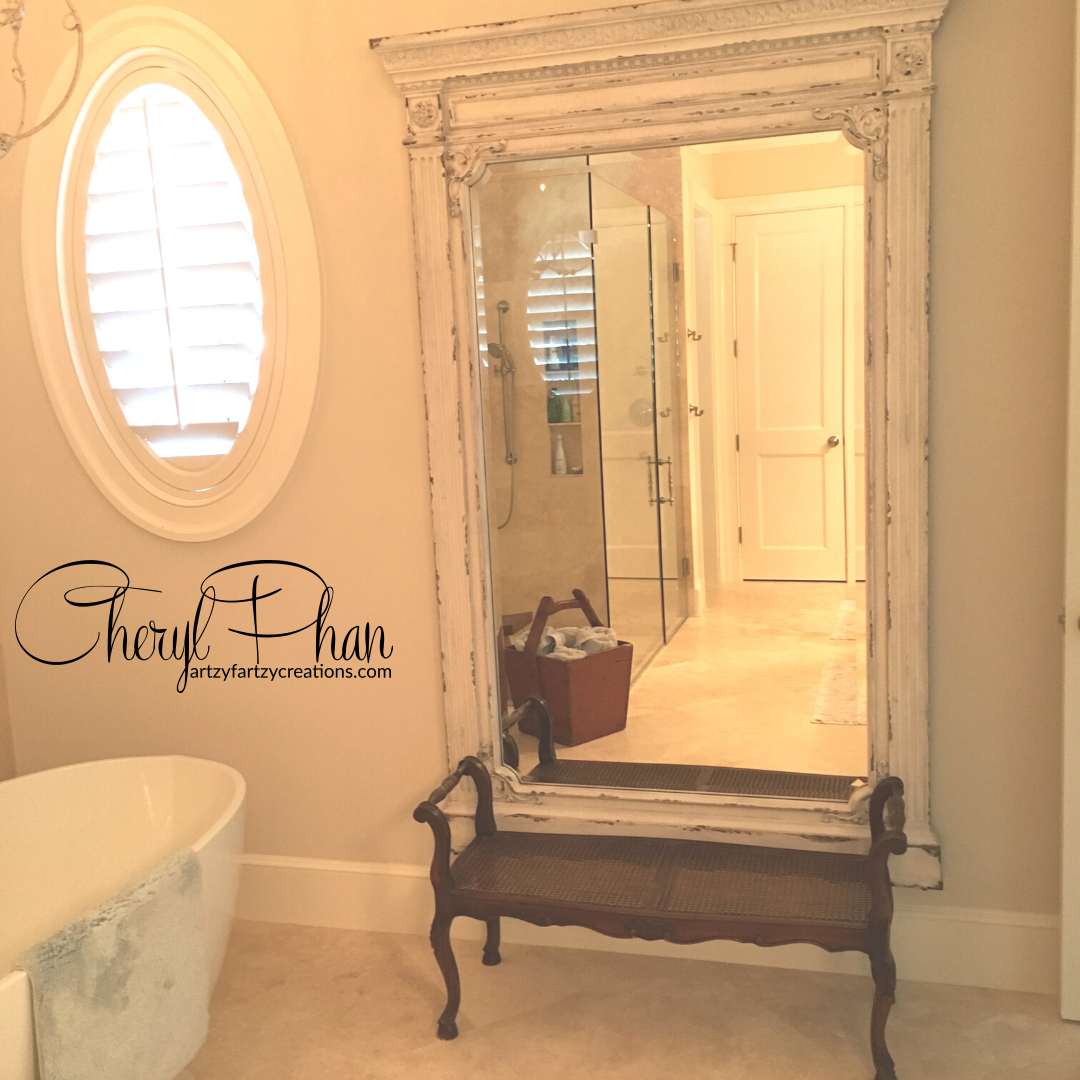
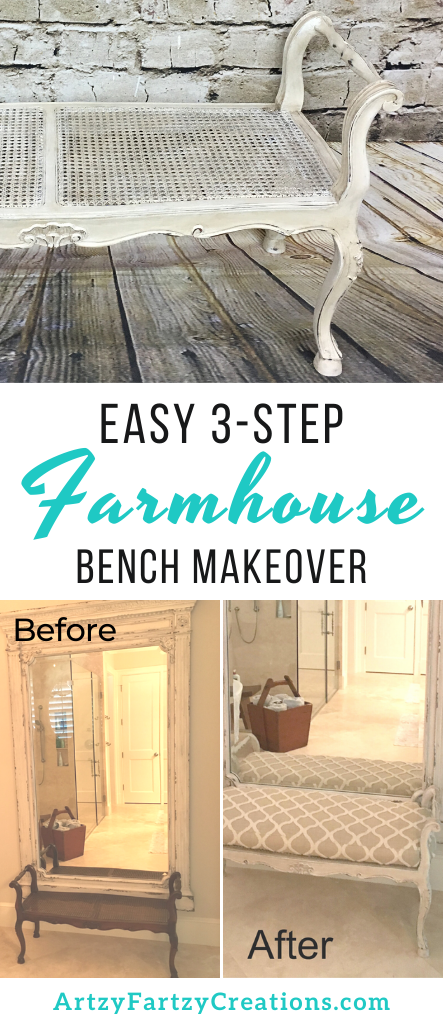
This bench fits perfectly in front of this mirror, but the color just doesn’t go with the rest of the farmhouse décor. No problem, I have a quick fix that is super easy.
Step #1: Apply Chalk Paint
The best thing about chalk paint is you don’t need to prep when you use chalk paint. Just paint two coats of paint on the furniture piece. For this bench, I used white chalk paint.
The first coat will not give you complete coverage. But the good news is it dries really fast, so you can apply the second coat in 30 minutes.
One of the reasons chalk paint is so popular is because it makes furniture painting quick and beginner-friendly. As long as your piece is clean and free of dirt, grease, or loose debris, you’re ready to start painting. Before you know it, you’ll have a beautiful new finish that looks professionally done.
Watch the time-lapse: Paint furniture piece
BTW, if you want to learn how to make your own chalk paint, I have a video you might want to watch before you get started.
Get your free cheat sheet: Discover the simple formulas, tips, and techniques that make decorative painting easier. Keep this handy guide nearby for quick reference on every furniture makeover project you create.
https://artzyfartzycreations.com/chalk-type-paint/
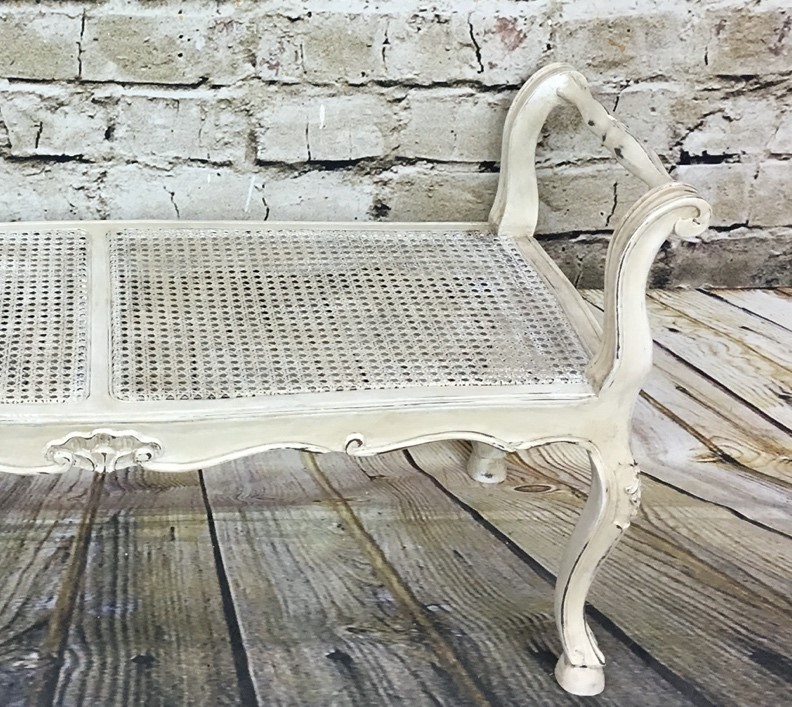
Step #2 Distressing
Lightly sand the edges and detailed areas with a piece of sandpaper.
Watch the time-lapse: Distressing
Step #3 Antiquing
Making glaze is really easy and will give your furniture piece a soft antique appeal.
All you have to do is mix 1 cup water-based glaze and 1 teaspoon of Burnt Umber tint together. That’s it!
The beauty of this glaze is that it settles into the details of your furniture, highlighting carvings, grooves, and texture while adding depth and character for your farmhouse decor.If you want a slightly darker, more aged appearance, simply add a little more Burnt Umber until you achieve the look you love. Always test your mixture on a scrap piece of wood or an inconspicuous area first before applying it to your project. Remember, you can always add another coat to deepen the color, but it’s much harder to remove glaze once it has dried. Working in small sections and wiping away the excess with a soft cloth gives you the most natural, professionally aged finish.
it over the chalk paint and wipe it off with a cotton cloth. (An old T-shirt works great)
Watch the time-lapse: Antiquing
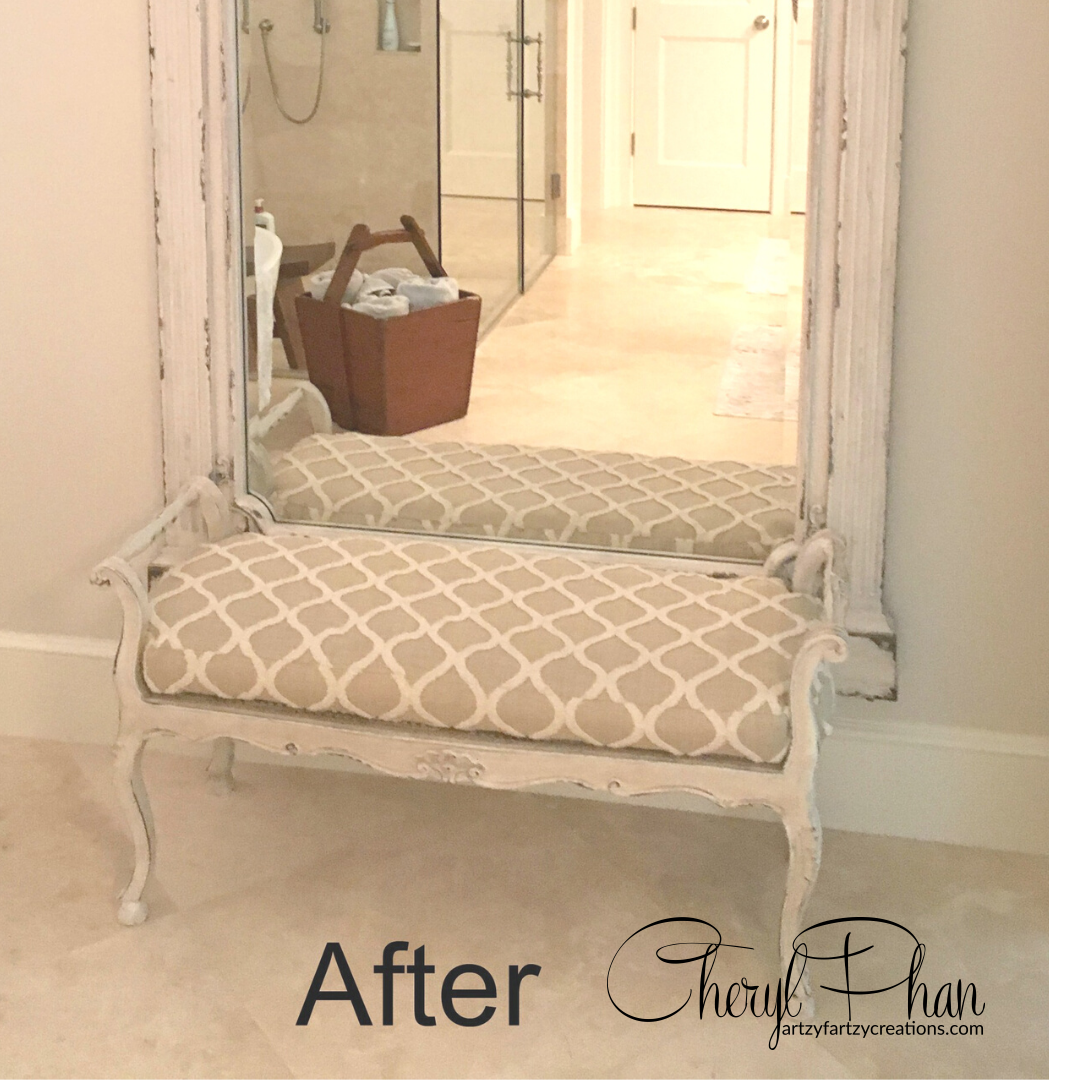
Isn’t it crazy how easy it is! You can do this on any piece of furniture. If you really want that farmhouse look, try doing this technique on a picnic table and put it in your kitchen.
One of the things I love most about this finish is how versatile it is. You don’t have to spend a fortune on brand-new furniture to create a beautiful, custom look. Thrift stores, flea markets, estate sales, and even old pieces you already own can be transformed with this simple technique. Every piece takes on its own unique character, making your home feel warm, welcoming, and full of personality. Don’t be afraid to experiment with different paint colors or finishes to match your style. Once you try it on one project, you’ll start looking at every old piece of furniture as a new opportunity to create something beautiful. That’s the fun of DIY—you get to turn ordinary into extraordinary with just a little creativity.
If you want to learn how to start making money with your hobby get the details HERE.
Hey, did you know you can follow me on Pinterest? That’s where I hang out the most and where you can see all the cool DIY projects I’m working on.
See Ya on the other side.
XO
Cheryl

Artzy Fartzy Creations. Oh Yes you can DIY!

Best Way to Clean Oil Paint Brushes and Keep Bristles Soft
How to Clean Oil Paint Brushes the Right [...]

Quick Fix: How to Repair a Cracked Tile Floor (Without Replacing Everything)
How to Repair a Tile Floor and Make [...]
How to Create Budget-Friendly Stenciled Door Panels That Look Custom and High-End
DIY Textured Stencil Design – Door Tutorial Want to transform [...]

Ultimate Guide: How to Paint Stripes on Fabric Chairs Without Bleed-Through
How to Paint Stripes on Fabric Chair [...]

Easy Harlequin Chair Tutorial For Furniture
How to paint harlequin on a chair [...]

How to Create a Metallic Wall Finish with a Sea Sponge
Sponge metallic wall technique is the secret to [...]
Contents
Recent Reads

How to Paint a Ceiling with Metallic Paint (Step-by-Step for a Luxury Finish)
Most people never think twice about their ceilings, [...]

How to Glaze Walls Like a Pro: The Ultimate Guide to Open Time, Transparency, and Texture
Learning how to glaze walls like a pro. If [...]

#1 Guide to Choose the Best Base Coat for Faux Wood Grain, Marble, and Metallic Finishes
How to Choose the Right Base Color for [...]