ThisThis blog will teach you how to repurpose furniture like a pro! There is nothing more rewarding than turning a dumpster find into an elegant showpiece. You’ll learn simple techniques to repair damaged furniture, prepare old finishes, and create a beautiful, one-of-a-kind piece without spending a fortune. With a little creativity and patience, you’ll start seeing hidden potential in furniture that everyone else overlooks.
Old Table Makeover: Step-by-Step Repairs Before Painting
When I pulled up to the dumpster and saw this abandoned old table, I immediately knew I had to have it. The biggest challenge was getting it into my SUV.
Once I got it to my studio, I started investigating it and found many things that needed repair.
The first thing I noticed was that the leg was broken; this is usually not a problem except this leg had dowels holding it together rather than nails. In fact, the entire table was made with tongue-and-groove joinery. This tells me the table is very old.
Which brings me to another problem. If this table was made before 1978, it was probably painted with lead paint. UGH! This can be a health hazard and very dangerous to remove.
No worries—I’ll show you how to do it the safe way.
Read on for your step-by-step tutorial. The challenge is on!
Step #1: Repairs
The very first thing I had to do was fix the leg so I could stand it up and work on it. I used a small saw to cut the dowels off so it would fit flush on the table.
It was missing a big chunk of wood, so I had to do a little rebuilding. I used Minwax two-part wood filler (epoxy).
I also used a piece of plastic to keep the wood filler from going all over the place.
Here’s a great video on how to repair wood.
This is what I did. I bought everything I needed at Home Depot.

MINWAX Wood FILLER

MIX AS DIRECTED and stir thoroughly until the consistency is smooth and lump-free.

I screwed on a temporary bracket to hold it in place. Then used the wood filler to repair the damage. Let dry overnight.

When it was dry, I removed the bracket and filled in the holes with wood filler and shaved off the excess. Then I used 320-grit sandpaper to smooth it out.
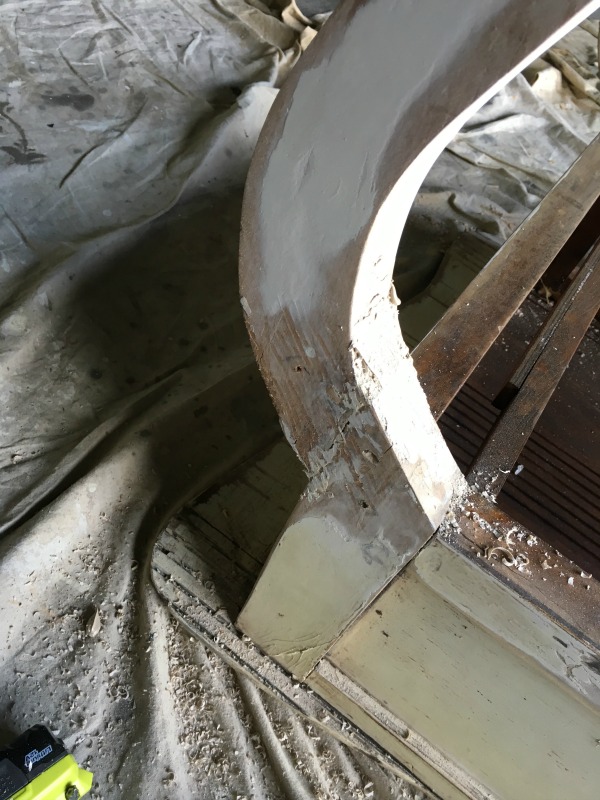

The bottom of the leg also needed repair.
So I made a brace out of plastic and sprayed it with WD40. Filled it in with wood filler and let it harden overnight.
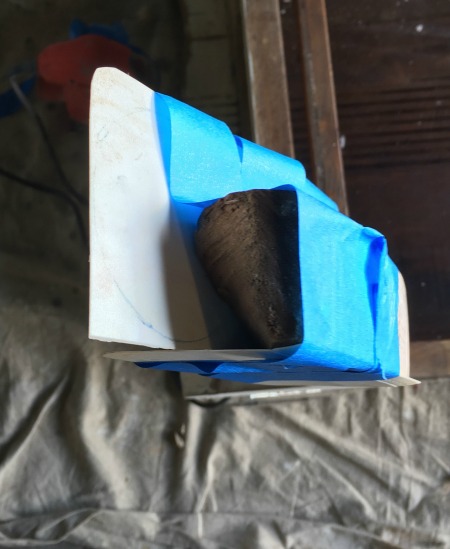
Once it was hard I used the wood shaver to shape it like the other legs. Then used sandpaper to smooth it out.

Step #2: Removing the paint
Just by looking at how the paint was flaking, I could tell that it was lead paint. So I knew I had to take precautions. Make sure you wear long sleeves, long pants, heavy-duty gloves, a mask, and eye goggles.
Here’s a very informative tutorial on how to remove lead paint.

I started out spraying the paint with water and removed all the loose paint first.

Then used the paint remover and scraped off the paint. I had to go over it a couple of times to get through the layers. This stripping gel had a Citrus smell to it. It makes it a little more pleasant to work with.

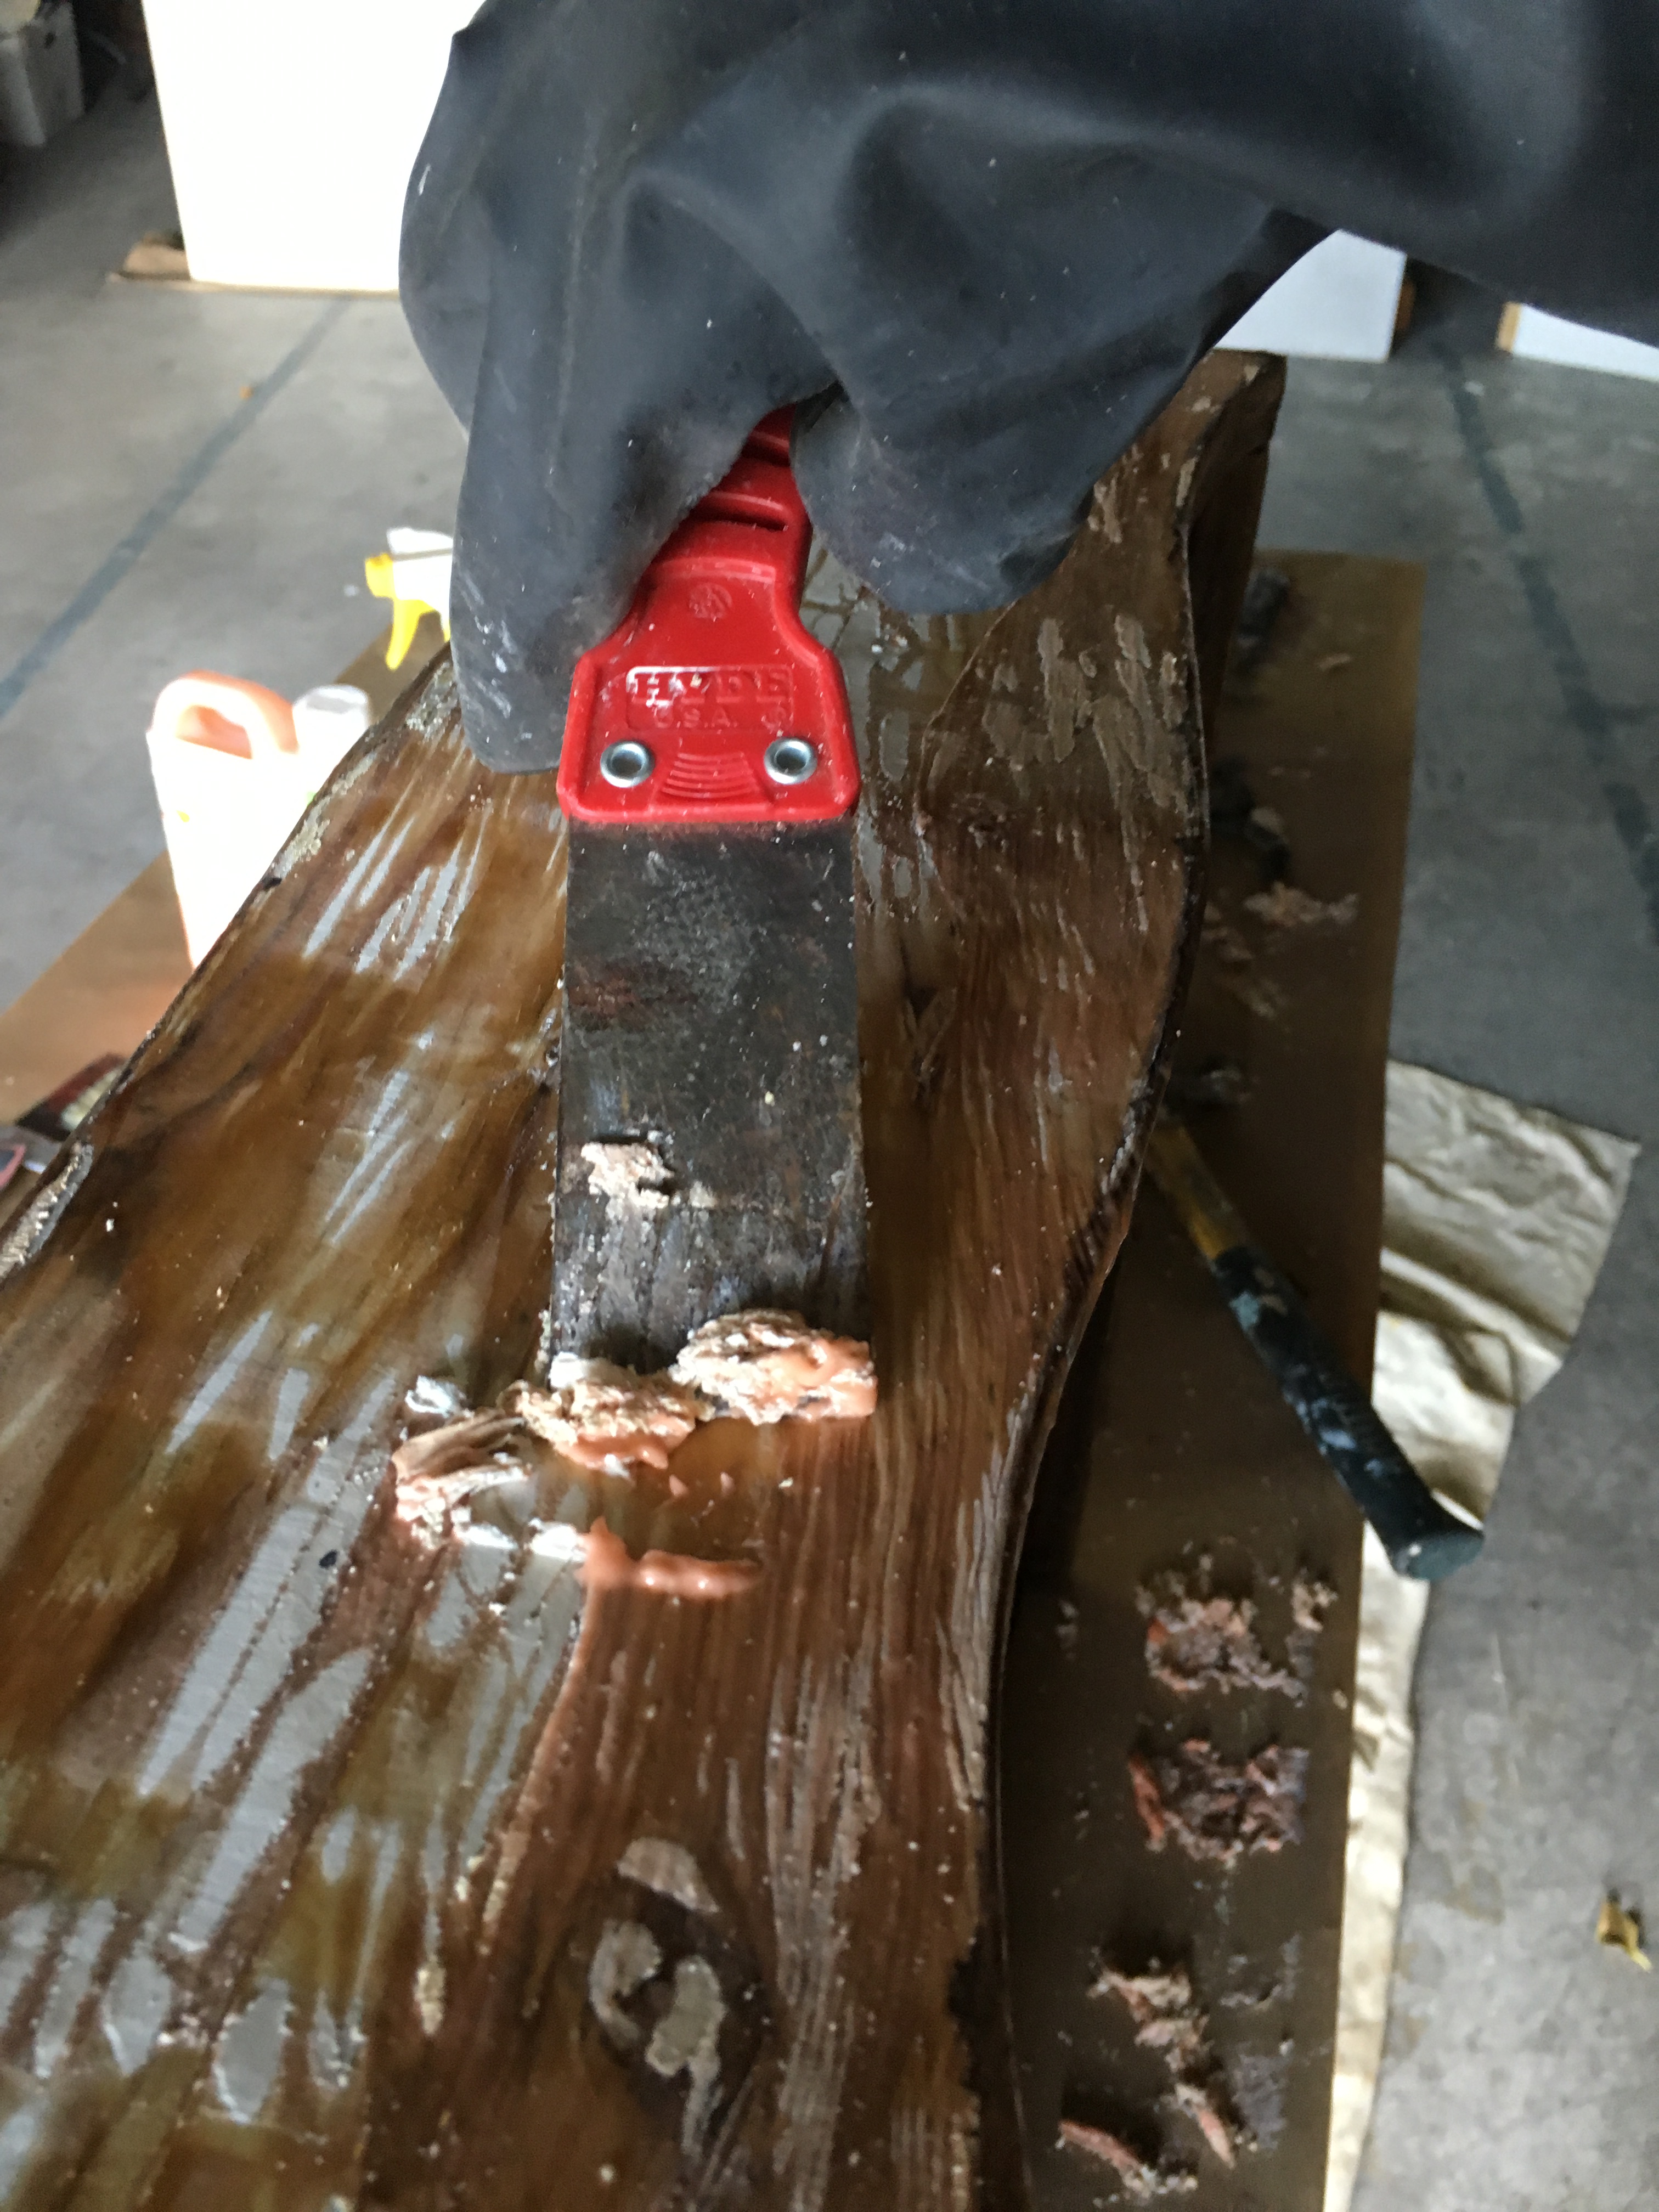
I let it dry overnight and sanded it with 320-grit sandpaper to get a smooth finish.
TIP: Always sand in the direction of the grain.
Clean the entire piece with a damp cloth or a tack cloth.
TIP: DON’T sand the area if it’s still wet. The paint remover will get all gummy, and it will make it harder to sand.
This is the hardest part of the job, but once it’s done you will feel a great sense of accomplishment.
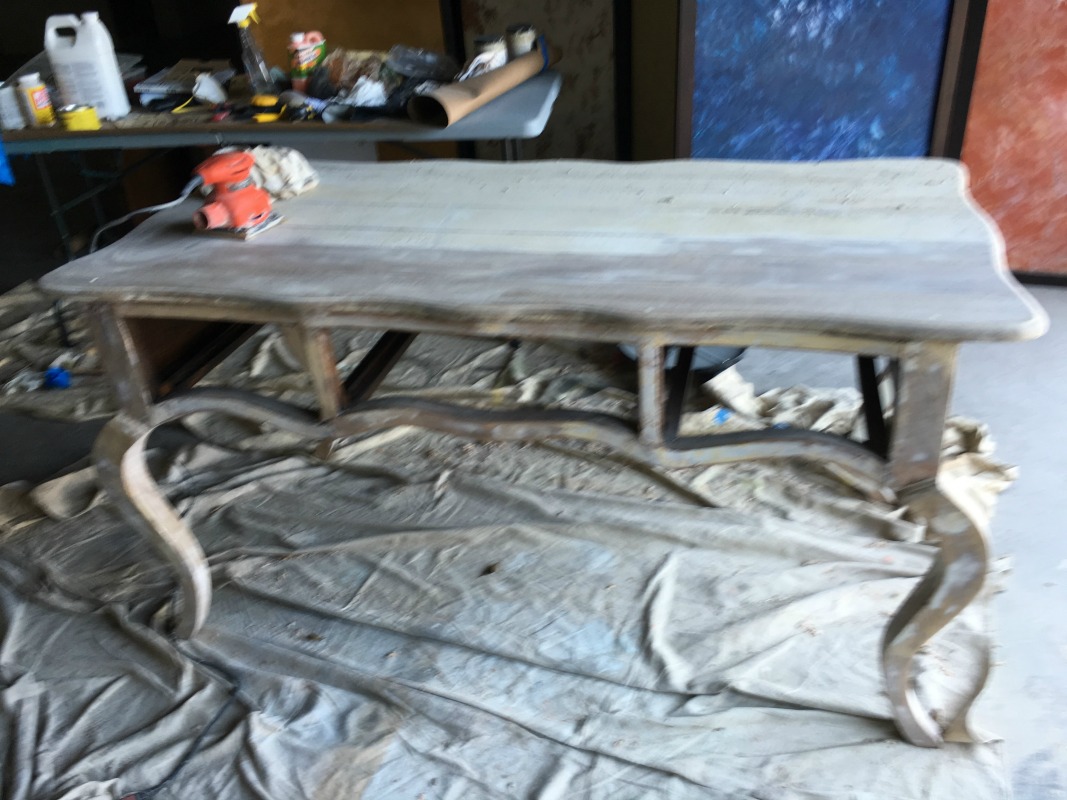
Now for the fun stuff!
Step #3 Staining
I used Minwax (Dark Walnut) stain. This is an oil-based product, and it does have a little bit of an odor. You’re going to need a paintbrush, rags, and gloves to apply the stain.
Brush the stain in the direction of the grain, then wipe off with the rag. The more layers you put on, the darker the wood will get. I only used one coat of stain.
Let it dry overnight.
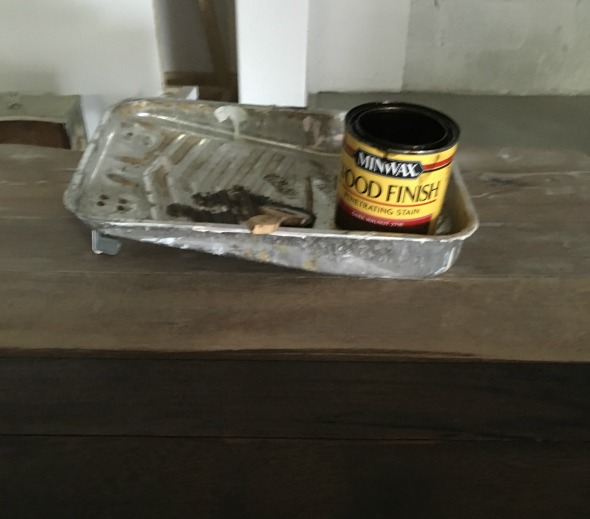
Once it dries, apply a clear coat on top with a paintbrush. I used a Minwax Polyurethane fast-drying clear coat, also bought at Home Depot. Let the first coat dry about 8 hours, then apply a second coat.

Step #4 Chalk Paint
I love chalk paint. There is NO PREP, and it is easy to use, making it one of my favorite ways to repurpose furniture. Normally, you don’t have to sand and prep when using chalk paint, but in this case, I had to remove the lead paint first. I used two different colors on this project. You don’t have to, but I wanted a couple of colors to show through when I distressed the finish, giving this repurposed furniture piece even more character and depth.
A quick TIP on distressing. DON’T overdo it. Less is more. Distress the areas that would normally be worn, like the edges and corners. You can do some in the middle of the piece, but not too much. You want it to look authentic.
Apply the chalk paint with a paintbrush that won’t leave brush marks; these are the best brushes I have ever used. Let it dry for about 20 minutes and apply the second coat. Let it dry another 20 minutes and distress the edges and corners with fine or medium sandpaper.
I make my own chalk paint; it saves me a ton of money, and it’s really easy. Buy any flat or matte paint and add this magic powder to it. Mix 2 TBSP Magic Powder with 2 TBSP water, then add to 1 cup paint. That’s it. This is the same adhesive used in the chalk paint you buy in the stores but for 1/4 of the price.
Learn: How to make your own chalk type paint!
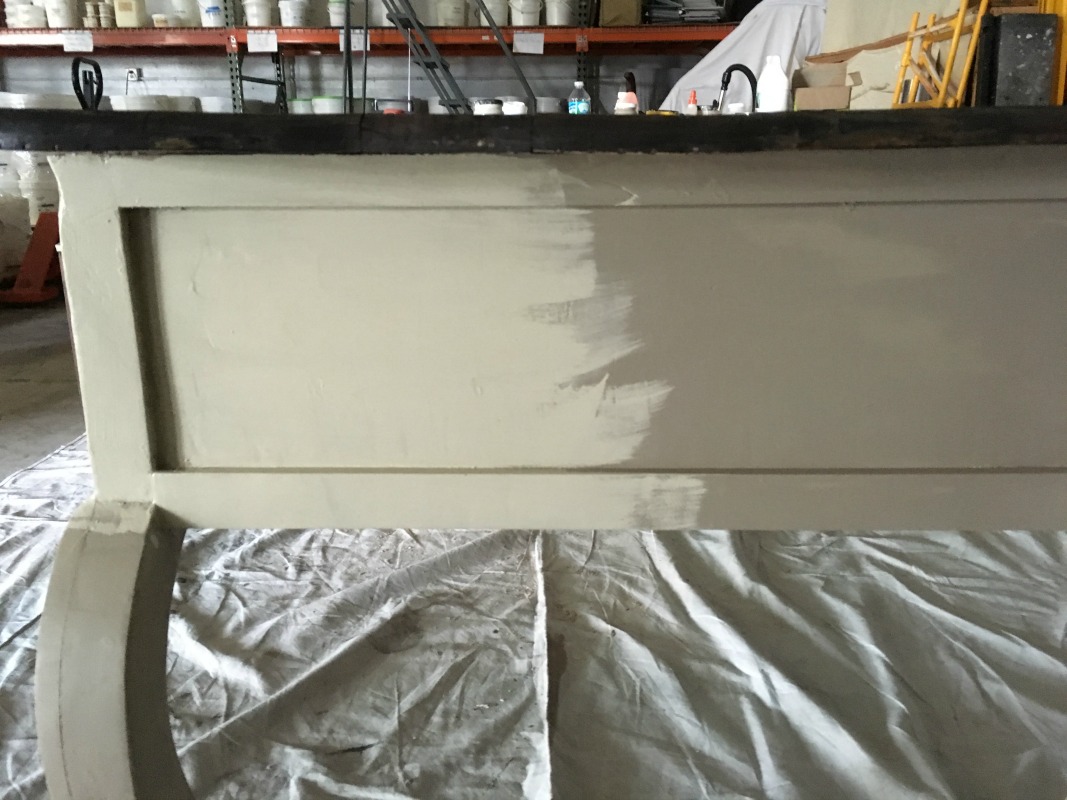
Here’s another TIP: Some chalk paint companies recommend using their wax to seal it, but I found that many of them will change the color slightly.
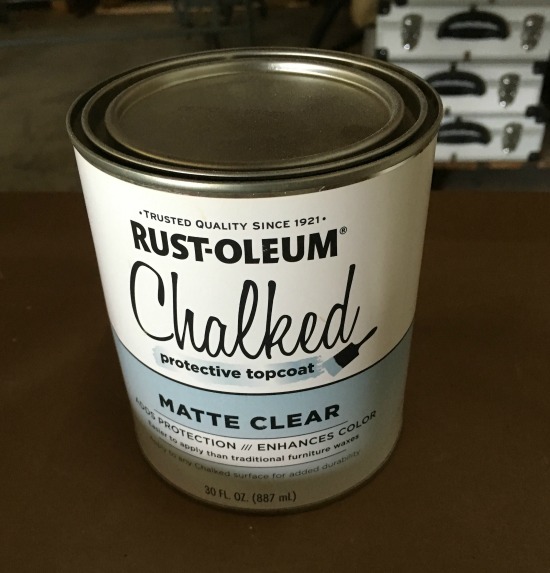
Not to mention it’s a lot of rubbing. I used Rust-oleum Matte Clear Protective Top Coat. It doesn’t change the color and protects the finish. You can find it at Home Depot.
Step #5 Transferring Image
There are many ways to transfer an image, and all of them have their own purpose. I have found this technique to be the fastest and easiest. The first thing you need to do is find an image for your project.
My go-to place is the Graphic Fairy
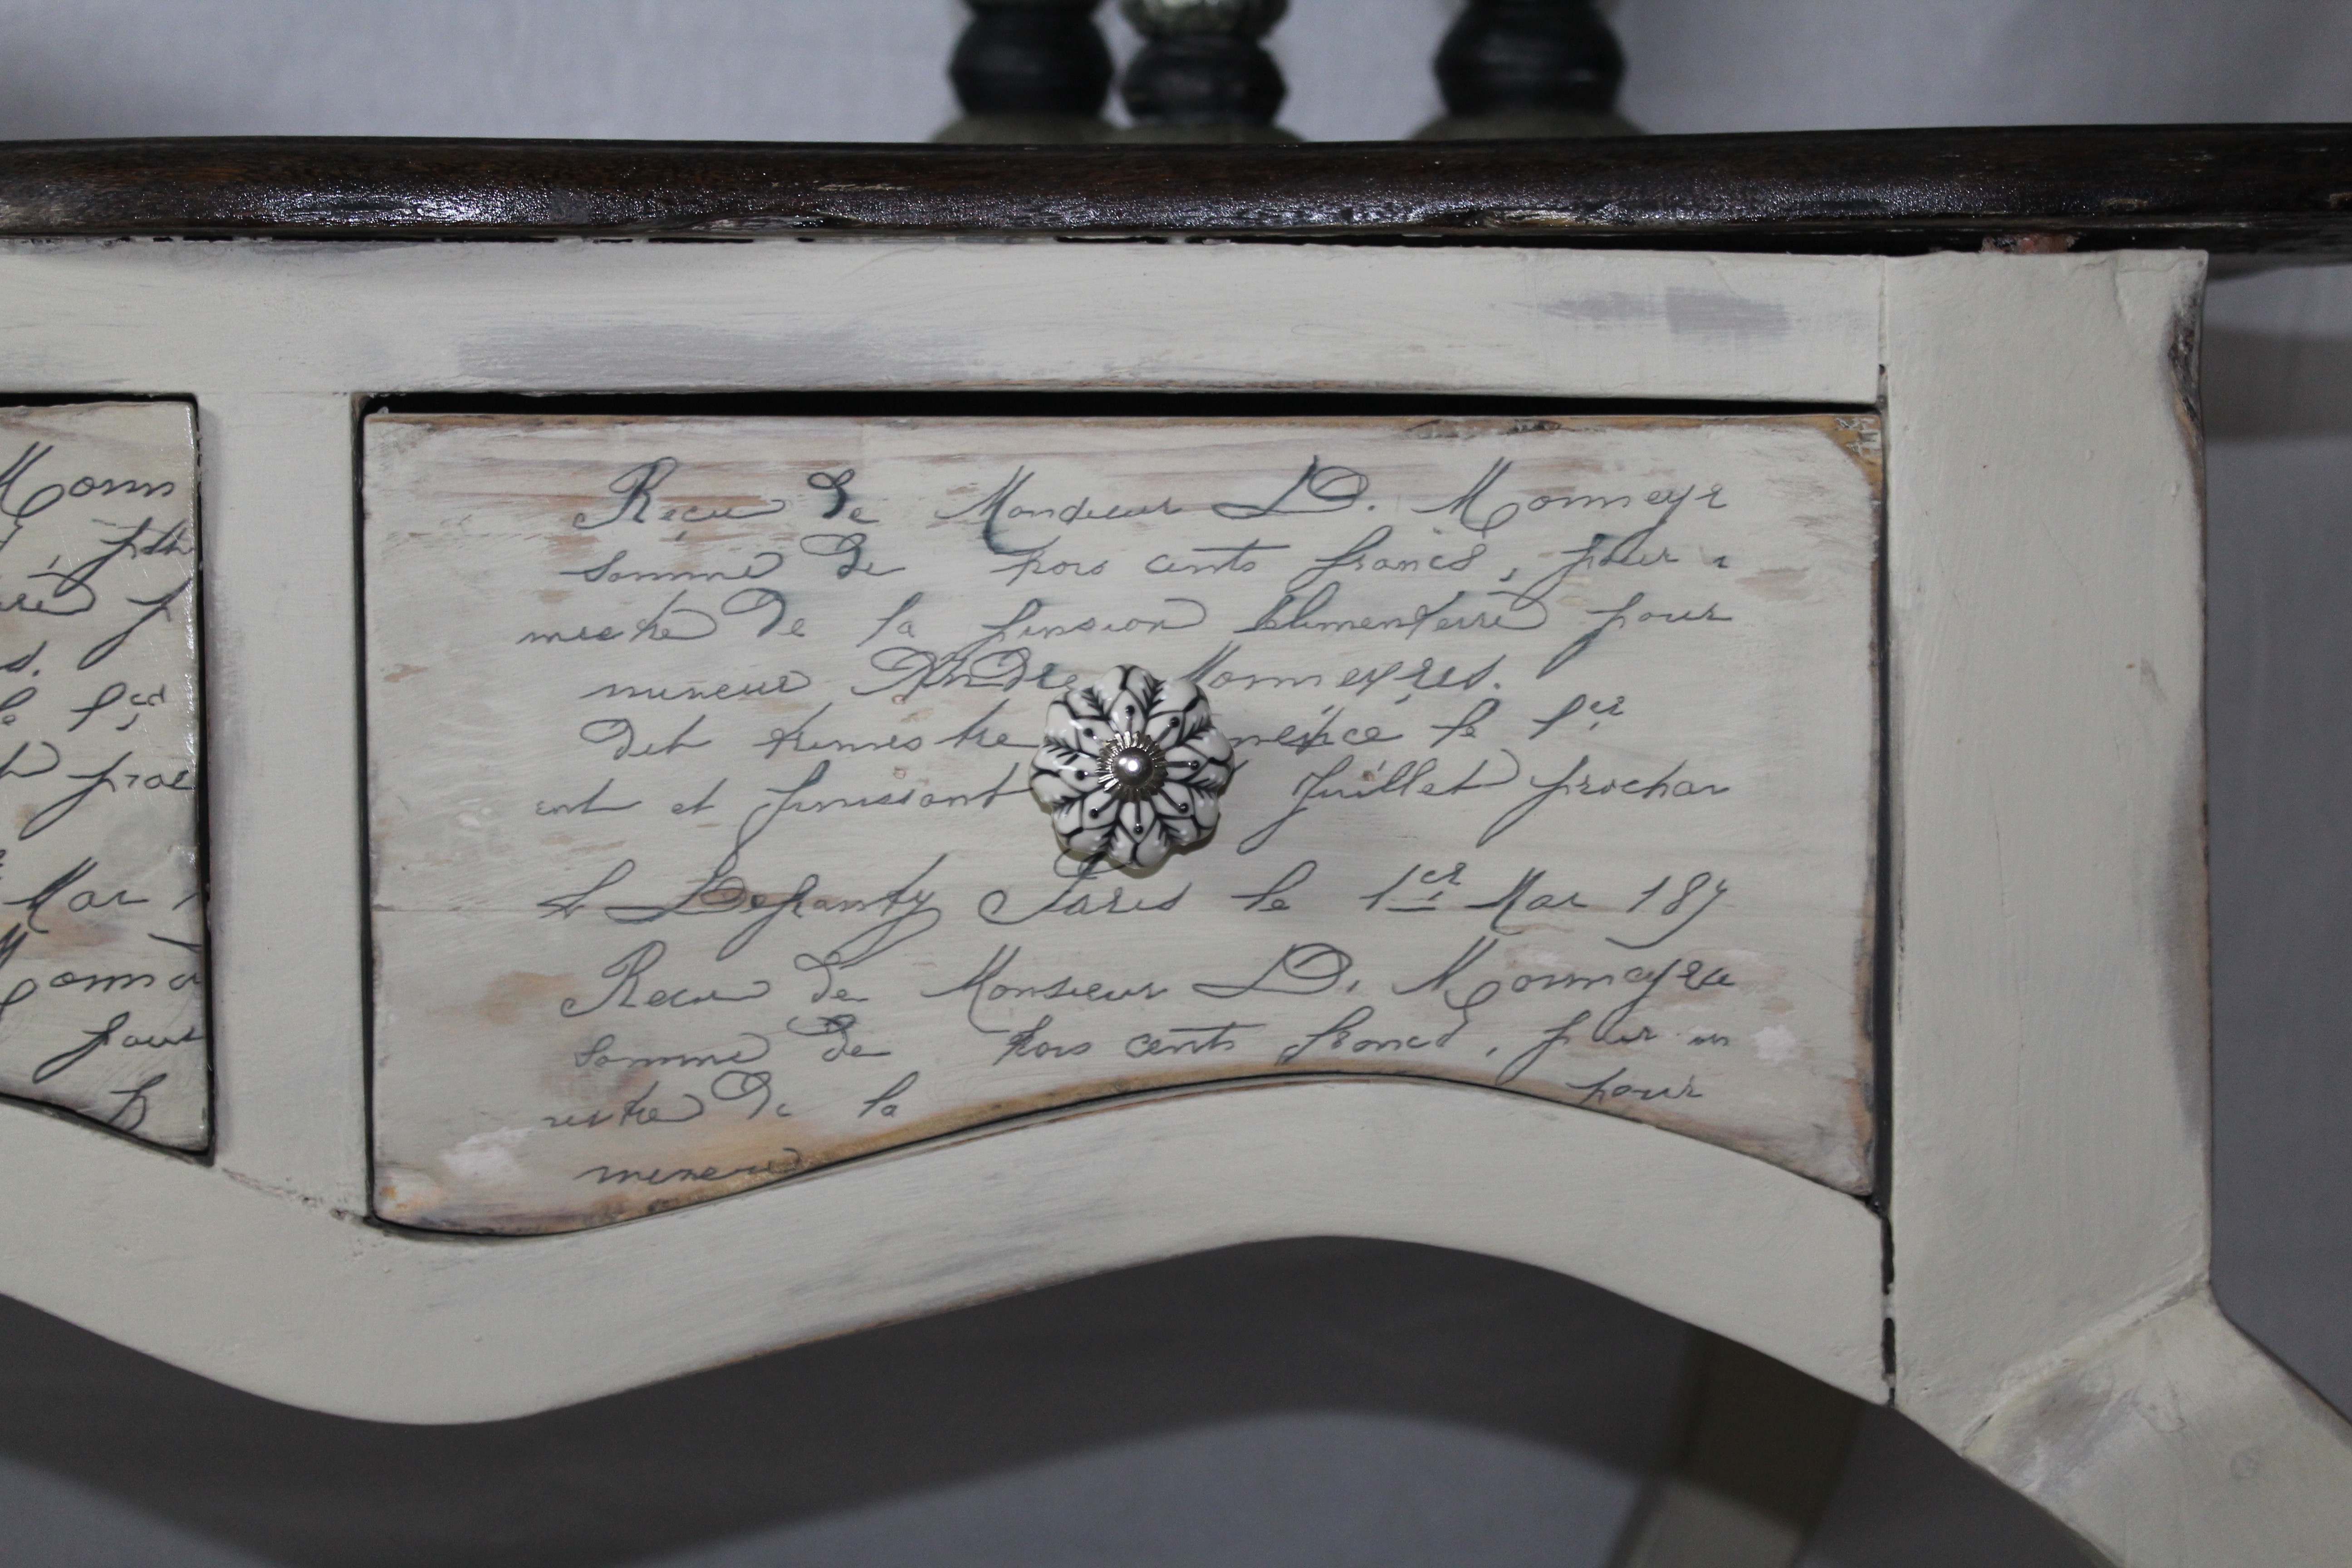
She has thousands of images to choose from.
After you download your image, print it out on regular copy paper. TIP: You don’t have to print it in reverse; just print it out.
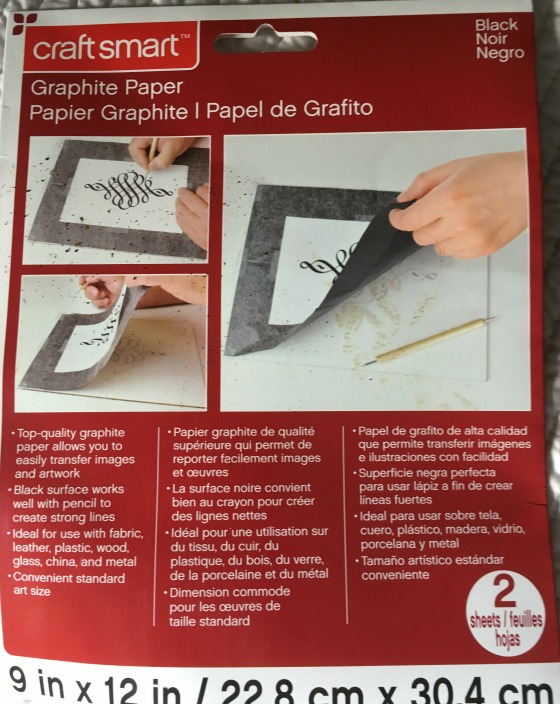
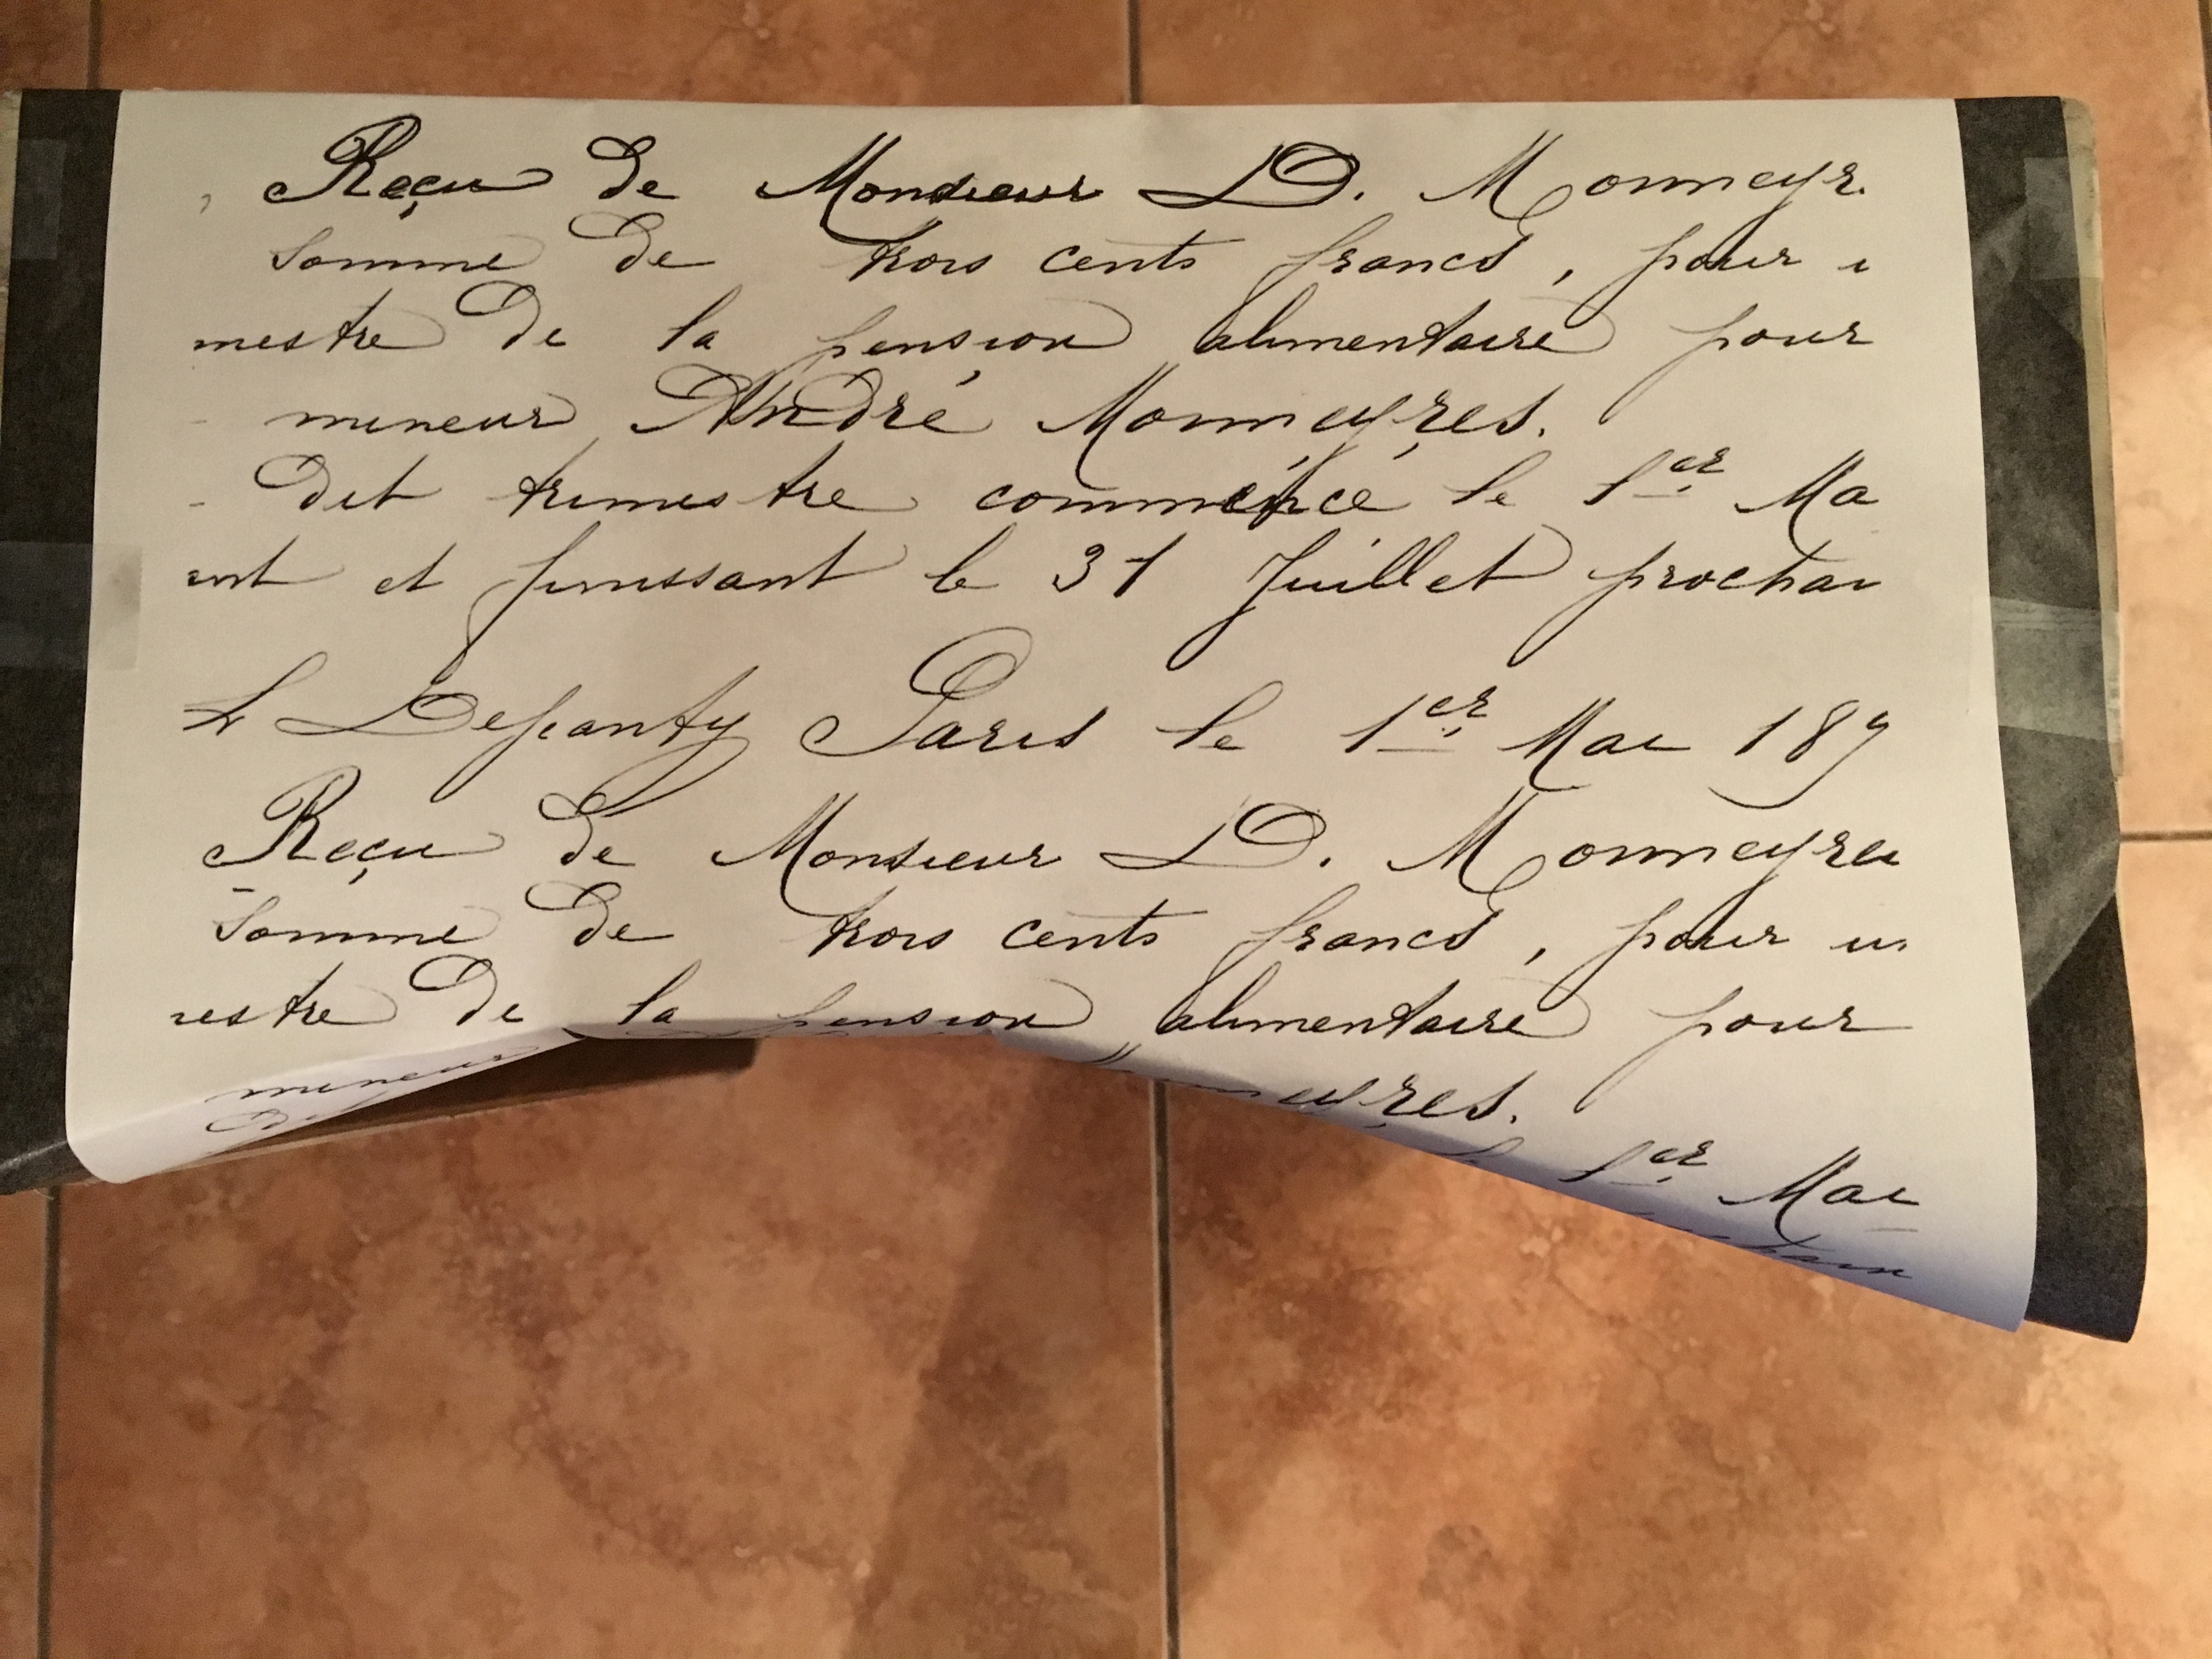
Lay the transfer paper on your project, then lay the image on top of that. Tape the edges in place so it doesn’t move.
Using a Precise V7 fine pen, start tracing the image on your furniture piece. You can buy the pens at Office Depot.
When you’re done, remove the paper and fix any touch-ups you might have.
If you want to peek to see if you’re using enough pressure, just lift the paper gently and take a look.
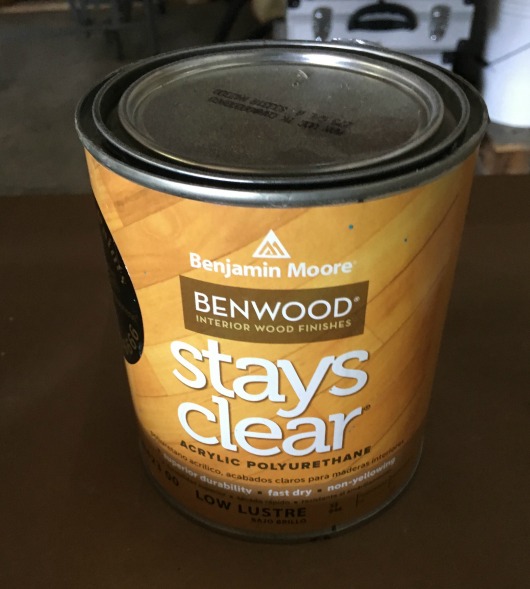
Once you’re done with the transfer, seal it with Ben Moore “Stay Clear” This will keep it from smudging. This is my go-to clear coat. Love this stuff!
Step #5 Apply Wallpaper to Drawers
I like to add wallpaper inside the drawers and on the sides if the drawers have a flat surface. You can use wallpaper, wrapping paper, or sheets of paper to add a little extra décor to your project.
If you want to save a bunch of money, find a designer or decorator who will give you her old wallpaper books. There are tons of great patterns to work with.
If you have to buy the paper, use wrapping paper or wallpaper. You can buy it in just about any store.
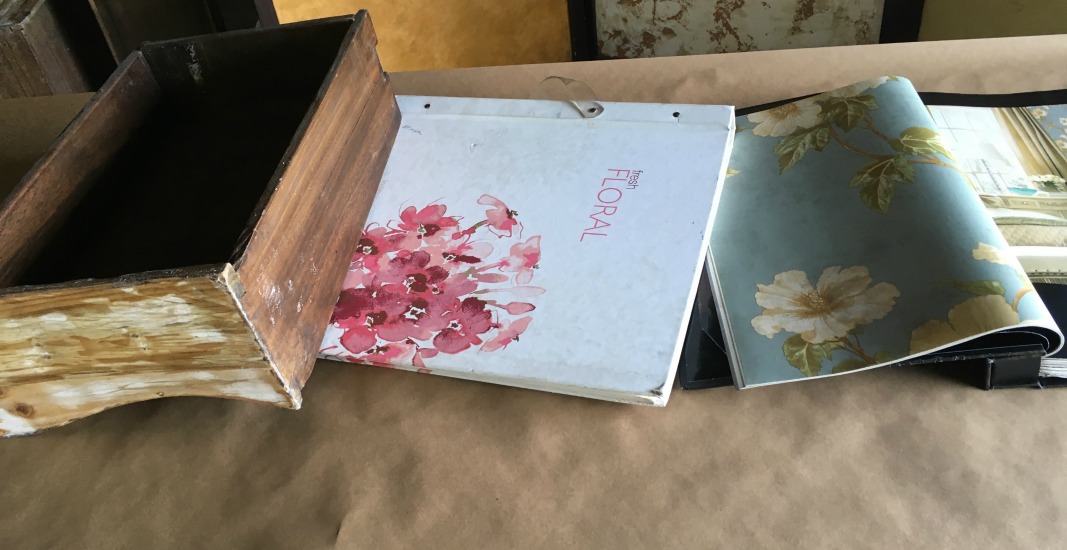
The easiest way to do this is…. Lay a piece of paper in the drawer and use your finger to rub it along the edge to make a crease.
Cut it with a pair of scissors. Make sure it fits nicely before you glue it down.
Use an old credit card to rub out the air bubbles, working it outward, and wipe off excess glue.
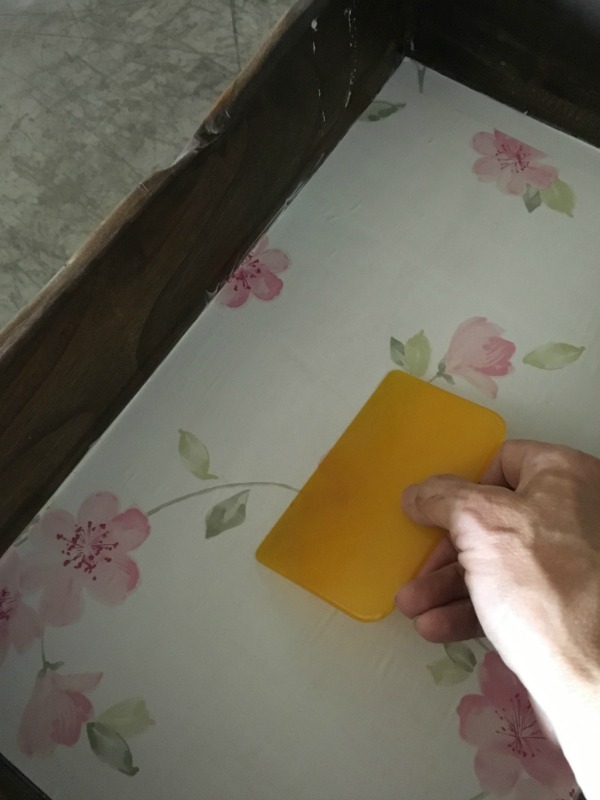
TIP: Speaking of glue, I see so many people hooked on Mod Podge for their craft projects.
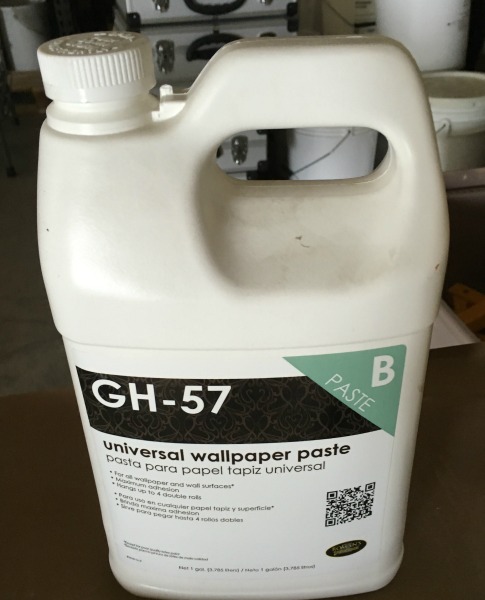
Let me let you in on a little secret. In my opinion, it’s just overpriced GLUE. I use whatever I have on hand. For this project, I used wallpaper paste. YUP! Is it glue, right? Its stick to walls; why wouldn’t it stick to my drawers?
So there you have it. And YES! It worked.
Once it’s dry, brush on stay clear for extra protection.
Add your hardware, and you’re done.

Looking for something unique? Repurpose furniture and create a one-of-a-kind piece you’ll be proud to display! Browse our shop and find your next favorite creation.
If you want to learn DIY Tricks and Tips, get my weekly blog HERE

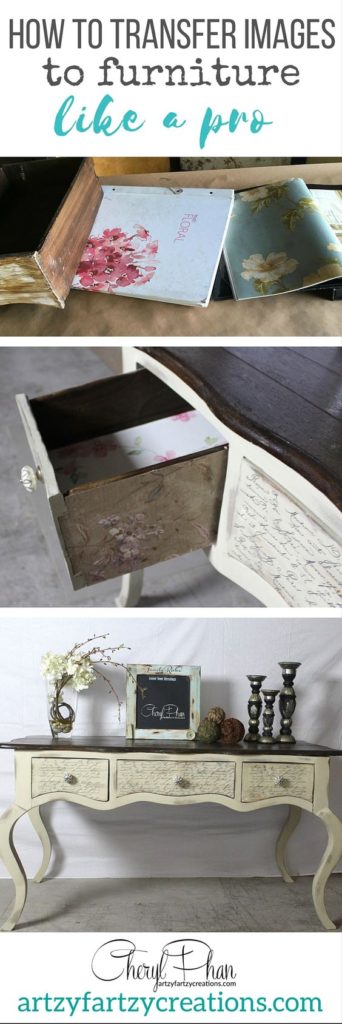
Artzy Fartzy Creations. Oh Yes you can DIY!

Turn Your Favorite Photos Into a Stunning Custom Decoupage Purse
How to Make a Custom Decoupage Purse That [...]


25 DIY Drawer Pulls That Will Instantly Transform Ordinary Furniture Into Designer Pieces
If you love repurposing furniture, thrift store flipping, or giving [...]

6 Different Types of Mod Podge: How to Choose the Right Formula for Every Project
Different Types of Mod Podge: Which One Should You Use [...]

How to Update an Old Metal Bed: The Elegant Makeover You Have to See to Believe
How to Paint a Metal Bed Frame in 5 [...]

How to Glaze Furniture: The Simple Trick That Makes Painted Furniture Look Expensive
Have you ever looked at a piece of furniture and [...]
Contents
Recent Reads


25 DIY Drawer Pulls That Will Instantly Transform Ordinary Furniture Into Designer Pieces
If you love repurposing furniture, thrift store flipping, or giving [...]

6 Different Types of Mod Podge: How to Choose the Right Formula for Every Project
Different Types of Mod Podge: Which One Should You Use [...]