Want to learn my secret to creating a beautiful woodgrain finish on a budget? This step-by-step guide will empower you to achieve a stunning woodgrain effect, infusing your dresser with warmth, texture, and character while completely revitalizing your space. So, roll up your sleeves, gather your supplies, and let’s get to work on this budget-friendly makeover!
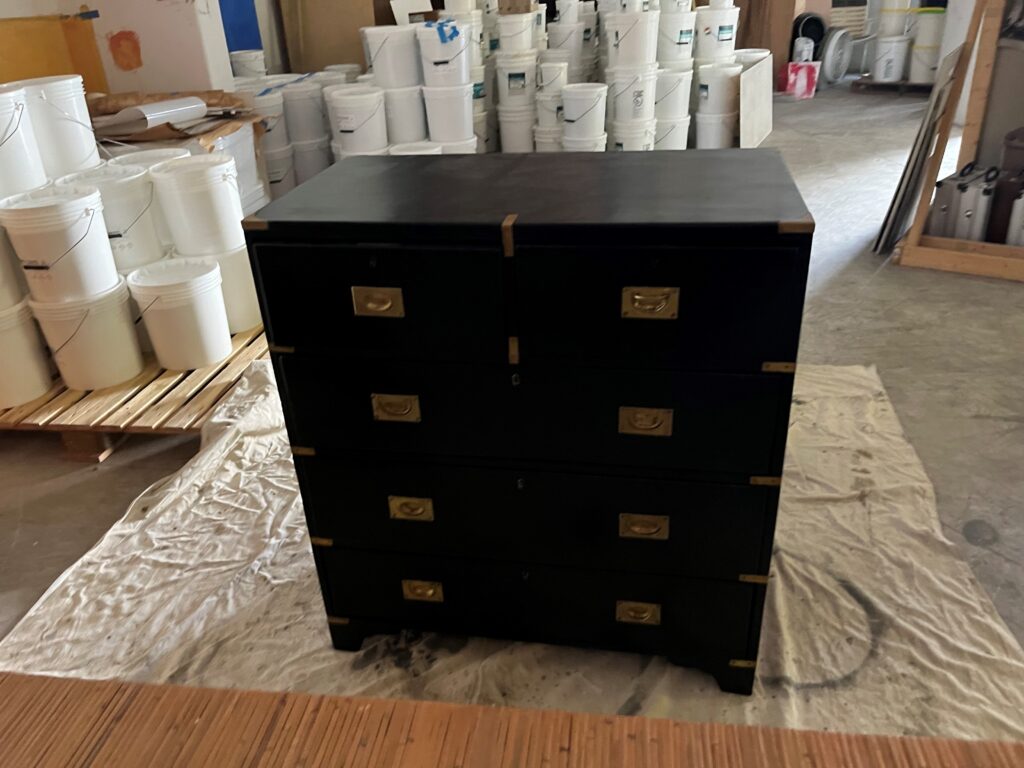
This is a beautiful piece of furniture, but it is much too dark for the room. Because this was going in a child’s room, we wanted a fun and playful woodgrain finish. You’re not only love the results you’re going to be pleasantly surprised at how easy it is to achieve.
Step 1: Removing the Hardware
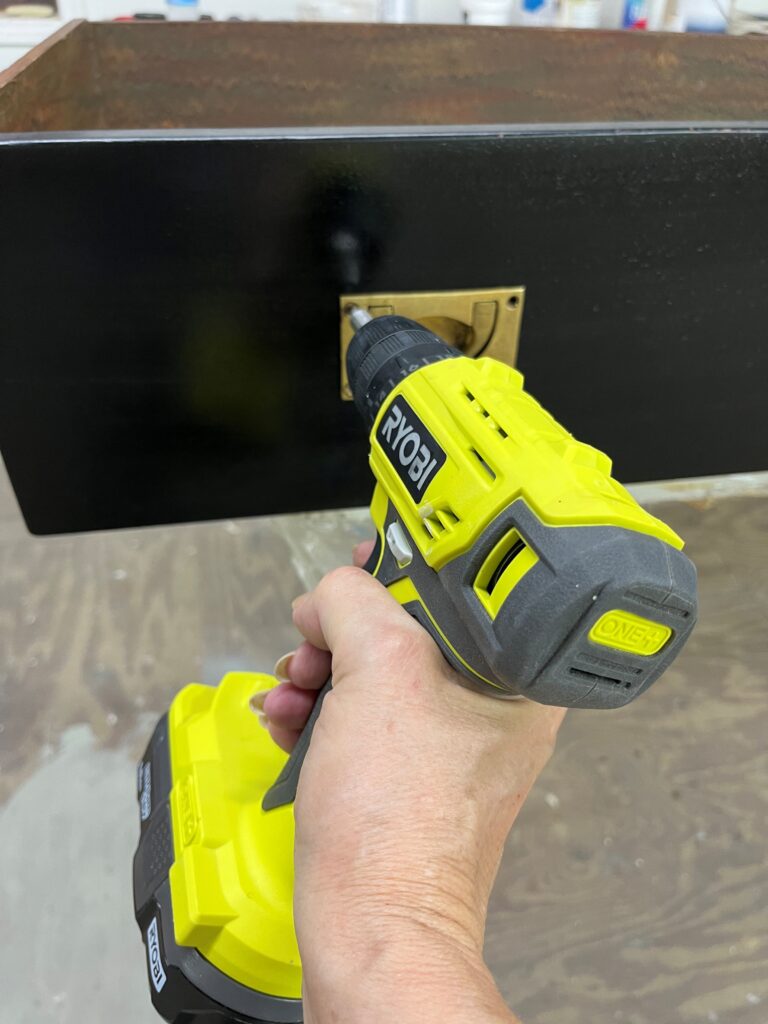
Honestly, the hardest part of this transformation was taking off the hardware. The screws were so tiny, I had to buy a new dill bit. And a few times I had to use a butter knife.
Step 2: Preparing the Surface – A Light Sanding for Proper Adhesion
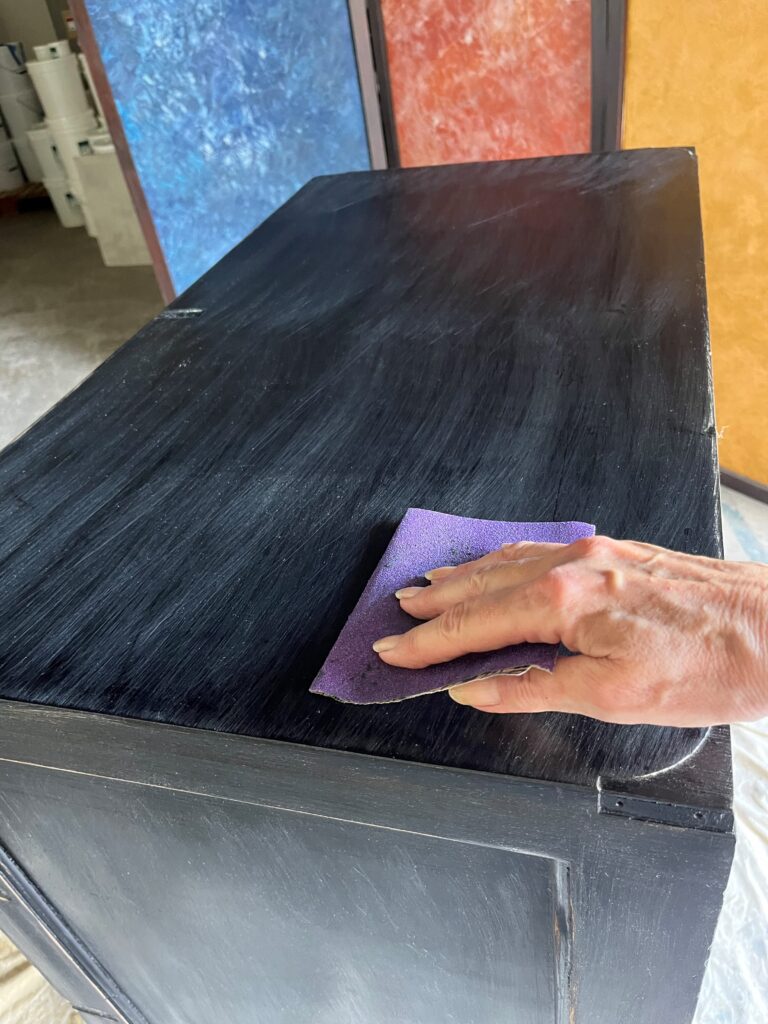
The next step is to give this dresser a light sanding with 150-grit sandpaper. You don’t have to strip the paint off, you just have to give it some tooth (meaning) and take off the shine so the paint will stick.
Step 3: Primer Application – A Time-Saving Tinted Technique
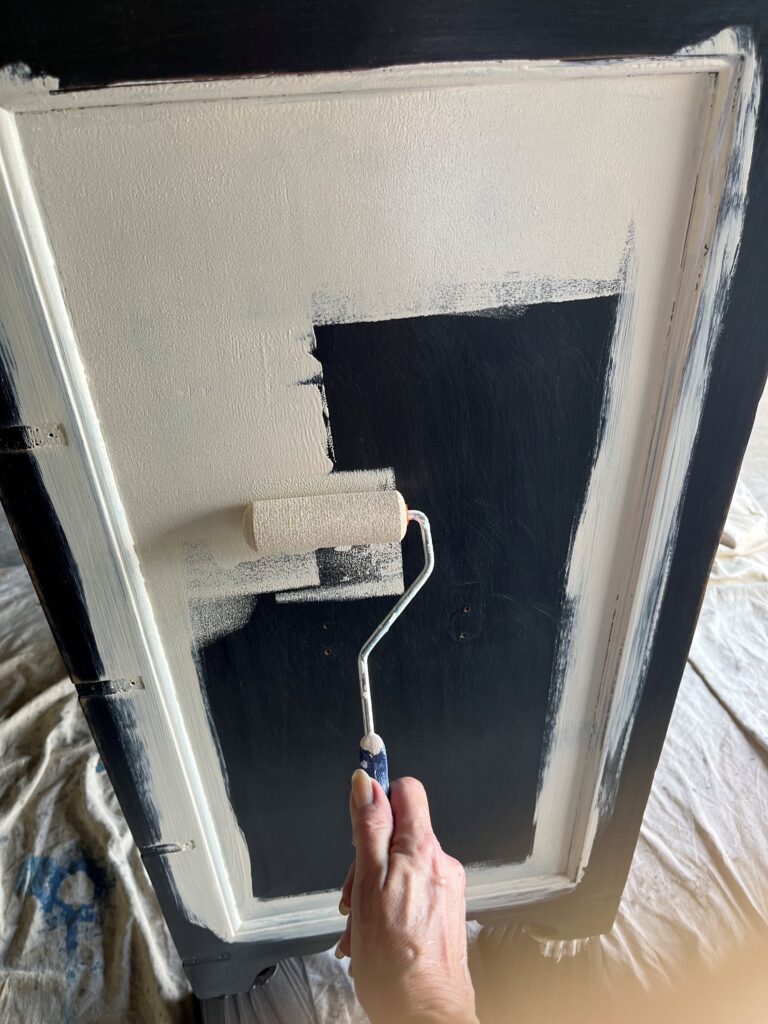
After sanding it’s time to add the primer. I like to tint my primer the base color because it saves me a step from painting. It’s also best to paint 2 coats of primer so you have full coverage, and it makes it extra durable.
Step 4: Taping for Precision – Achieving Clean Lines
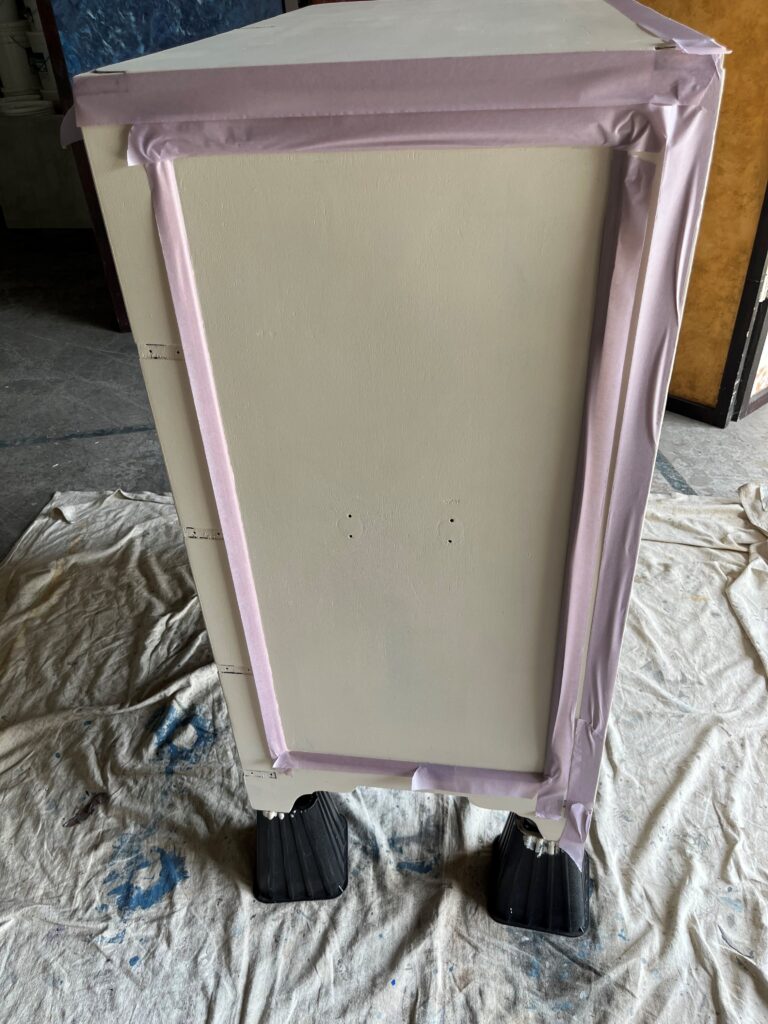
I like to tape off the section I’m working on. This way you don’t have any overlap and create nice clean lines. I also use low tack tape so it doesn’t pull up the paint.
Step 5: Money-Saving Glaze Hack
I’m going to let you in on a little secret. After spending a ton of money on glaze for many years I figured out a hack that has saved me thousands of dollars.
Discovering the Floetrol Secret
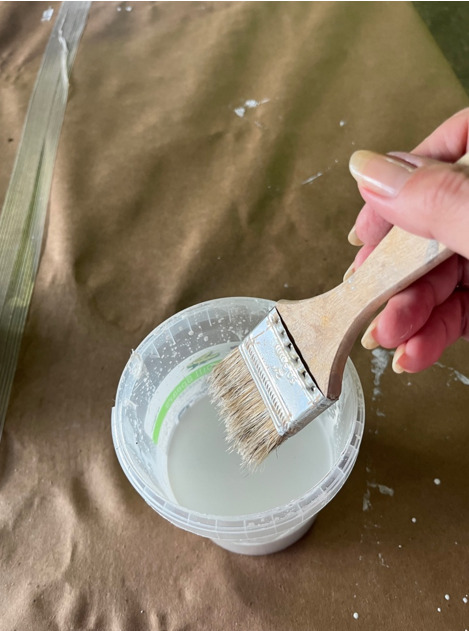
I use Floetrol. Believe it works just a good as glaze. All you have to do is mix 4 parts floetrol to one part paint. If you want it to have even more open time add some extender.
Step 6: Essential Tools – To Creating a Beautiful Woodgrain finish
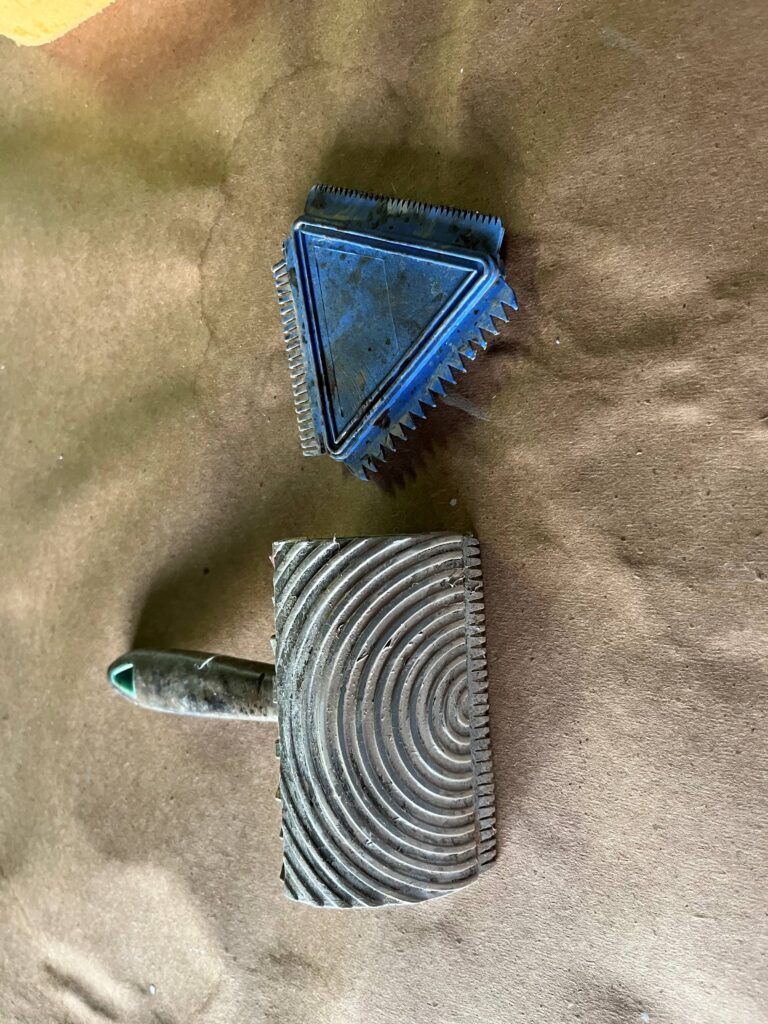
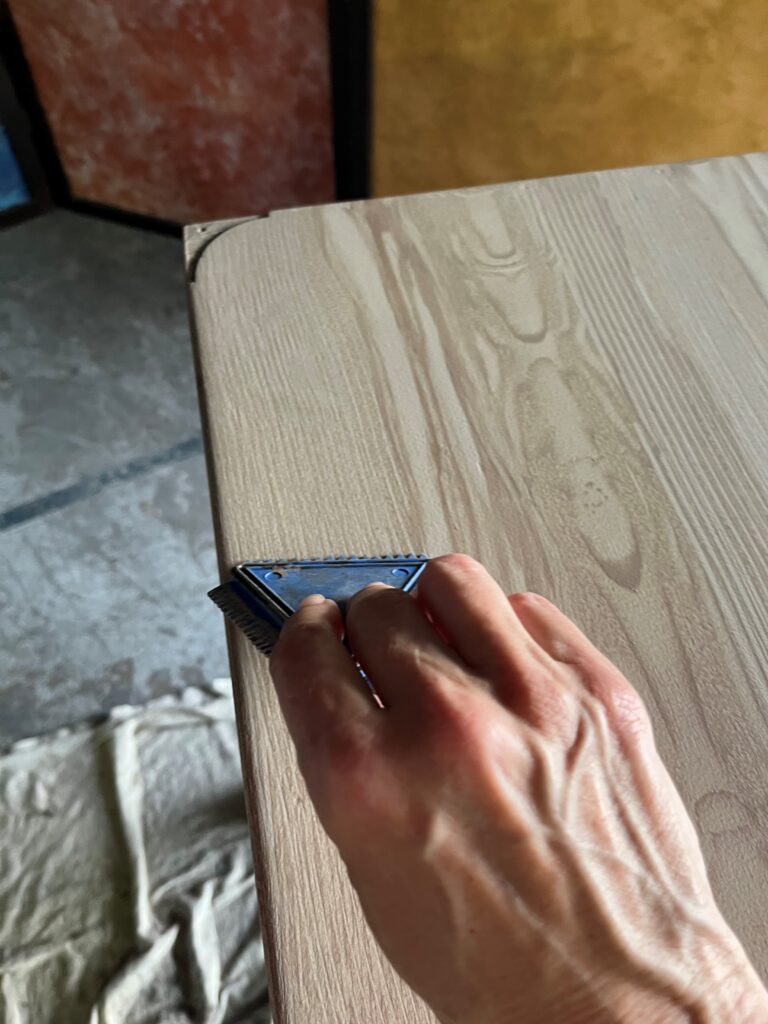
You’re going to need a few tools to get started. These two wood grain tools make it easy to create a nice wood grain finish.
Step 7: Rolling on the Glaze – Beginning the Wood Grain Effect
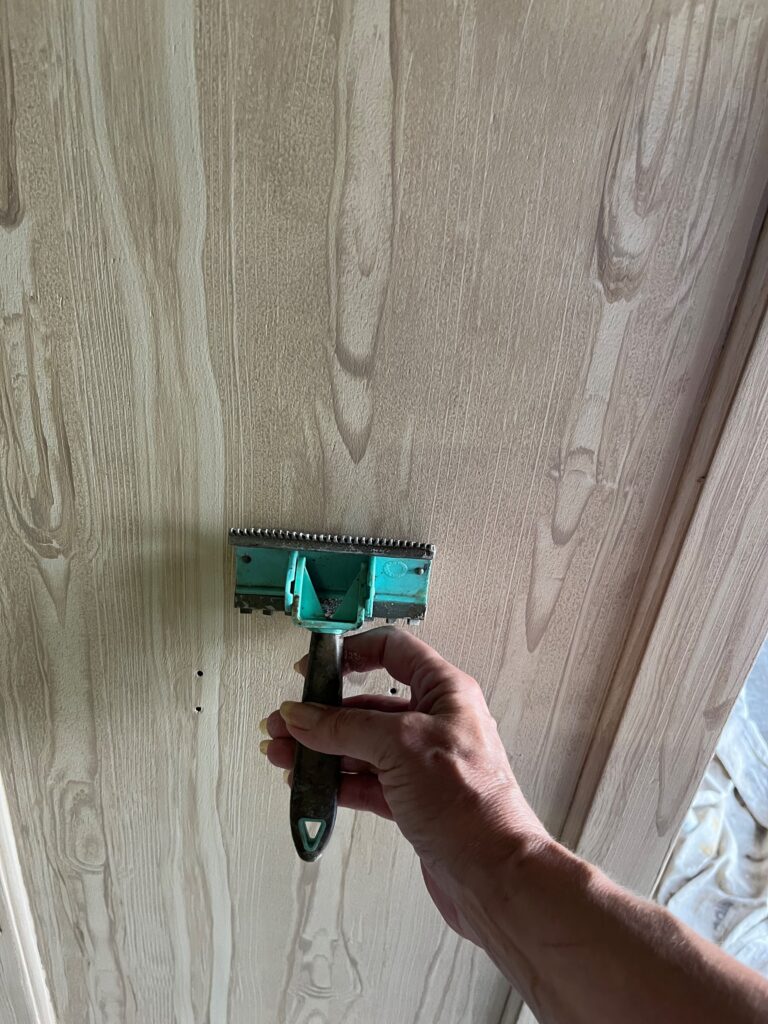
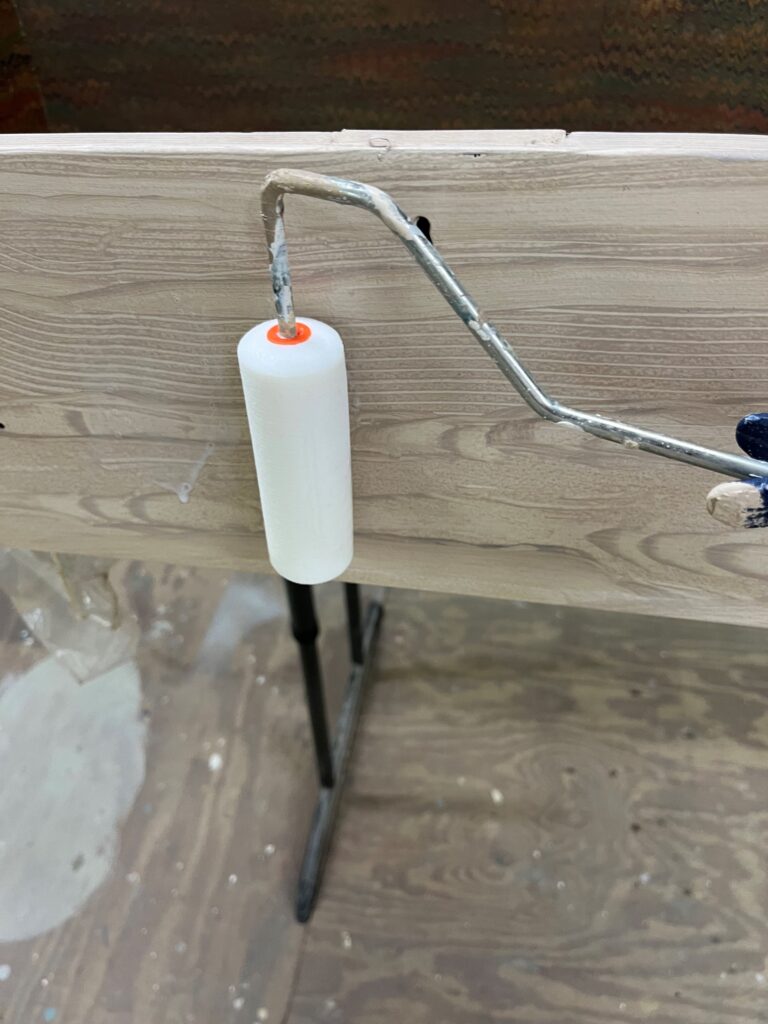
After you roll the glaze on with a sponge roller, take your wood grain rocker and start at the top. Slowly drag and rock the tool to create the woodgrain finish. It’s always best to practice on a sample board if you have never done this before.
Step 8: Adding Finer Details – Employing the Graining Comb
Then take the graining comb and drag it from top to bottom to create liner lines take run the long side of the grain.
Step 9: Preserving the Beauty – Applying a Protective Clear Coat
Once the glaze is dry, apply a clear coat to protect your beautiful work. I like to add at least two coats especially if it’s going in a kid’s room.
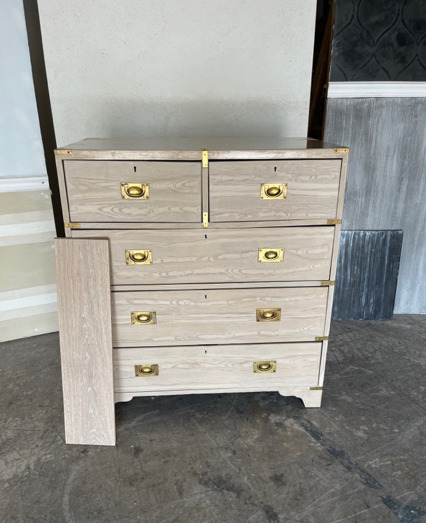
The Finished Product
This is the finished project. Sorry I didn’t have a better picture, but I did this in my studio for my client. They gave me this piece of wood to do a color match.
They were beyond impressed and loved the finish on the dresser. If you have any questions, feel free to reach out. Hope this gave you the inspiration to transform your own piece of furniture.
P.S.
Do you have a hobby that you would like to turn into a business, making money doing what you love? Get the details HERE.
P.S.S.
Get my blog jam-packed with home decorating and DIY tips.
Here’s your supply list:
- Sandpaper: https://amzn.to/43AsFPY
- Primer: https://amzn.to/3PWF6m5
- low tack tape: https://amzn.to/44v13Nw
- Floetrol: https://amzn.to/3rw5Bom
- Extender: https://amzn.to/3O0vkgb
- Woodgrain tools: https://amzn.to/3PXX0F7
- Sponge roller: https://amzn.to/3OiRgEB
- Clear coat: https://amzn.to/3pYpVht
XOXO,
Cheryl
Artzy Fartzy Creations. Oh Yes you can DIY!
How to Make Money Writing an eBook
Writing an eBook has a lot of benefits. It’s a [...]
How to Make Money Blogging
Did you know you can make money blogging? In fact, [...]
How to Make Money with Affiliate Marketing
This is probably one of the easiest ways to make [...]
How to Make Money With Videos
Did you know that 85% of people watch videos online? [...]
Turn Your Passion Into A Paycheck
If you’ve been following me for any length of time, [...]
Learn How to Take Your Own Professional Pictures with These 4 Tools and Save Hundreds of Dollars
You don’t need to spend a ton of money on [...]
Contents
Recent Reads
RV Kitchen Makeover: A Budget-Friendly Guide Using Adhesive Tiles
A friend of mine recently asked me to help her [...]
Drawer Wallpaper Transformation: A Stylish DIY Home Decor Upgrade
Drawer Wallpaper Transformation: A Creative DIY Hack Are you a [...]
The #1 Secret to Success After Age 50
Have you ever wondered how some people are successful [...]

