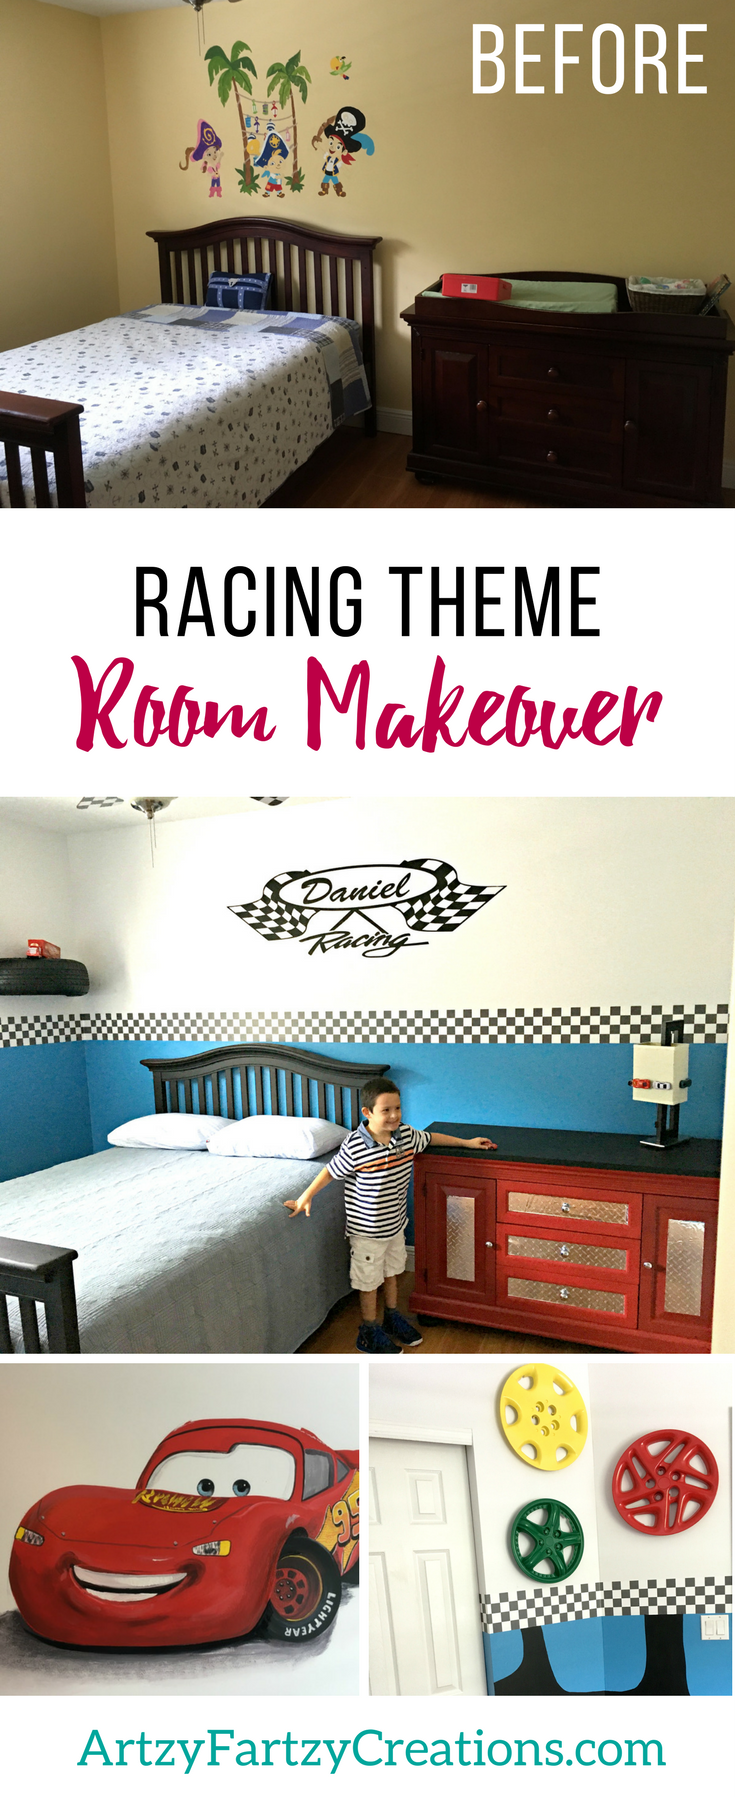
All boys love cars but this little boy is special. Daniel has Down Syndrome and Autism and unlike most children he can’t go out and play on his own, Daniel need constant supervision so he spends most of his time in his room playing with his favorite car Lighting McQueen. So we designed a race car boy’s bedroom just for him!
One year ago, I started a nonprofit organization – PaintforChildren.org – that blesses children with special needs with a room makeover. I think I’m the one who receives the biggest blessing. I can’t express the joy it brings to see the expression on their little faces when they see their new room for the first time, it brings tears to my eyes.
With a little imagination and a lot of help from my volunteers, we transformed this room into a race car theme in two days. You’re not going to believe this transformation! Check it out.
(I have used affiliate links for the products I used in this boys room transformation)
This is his room before. Daniel’s mom painted this for him when he was a lot younger, now it’s time for a big boy’s room; well, for a 10-year-old that is.
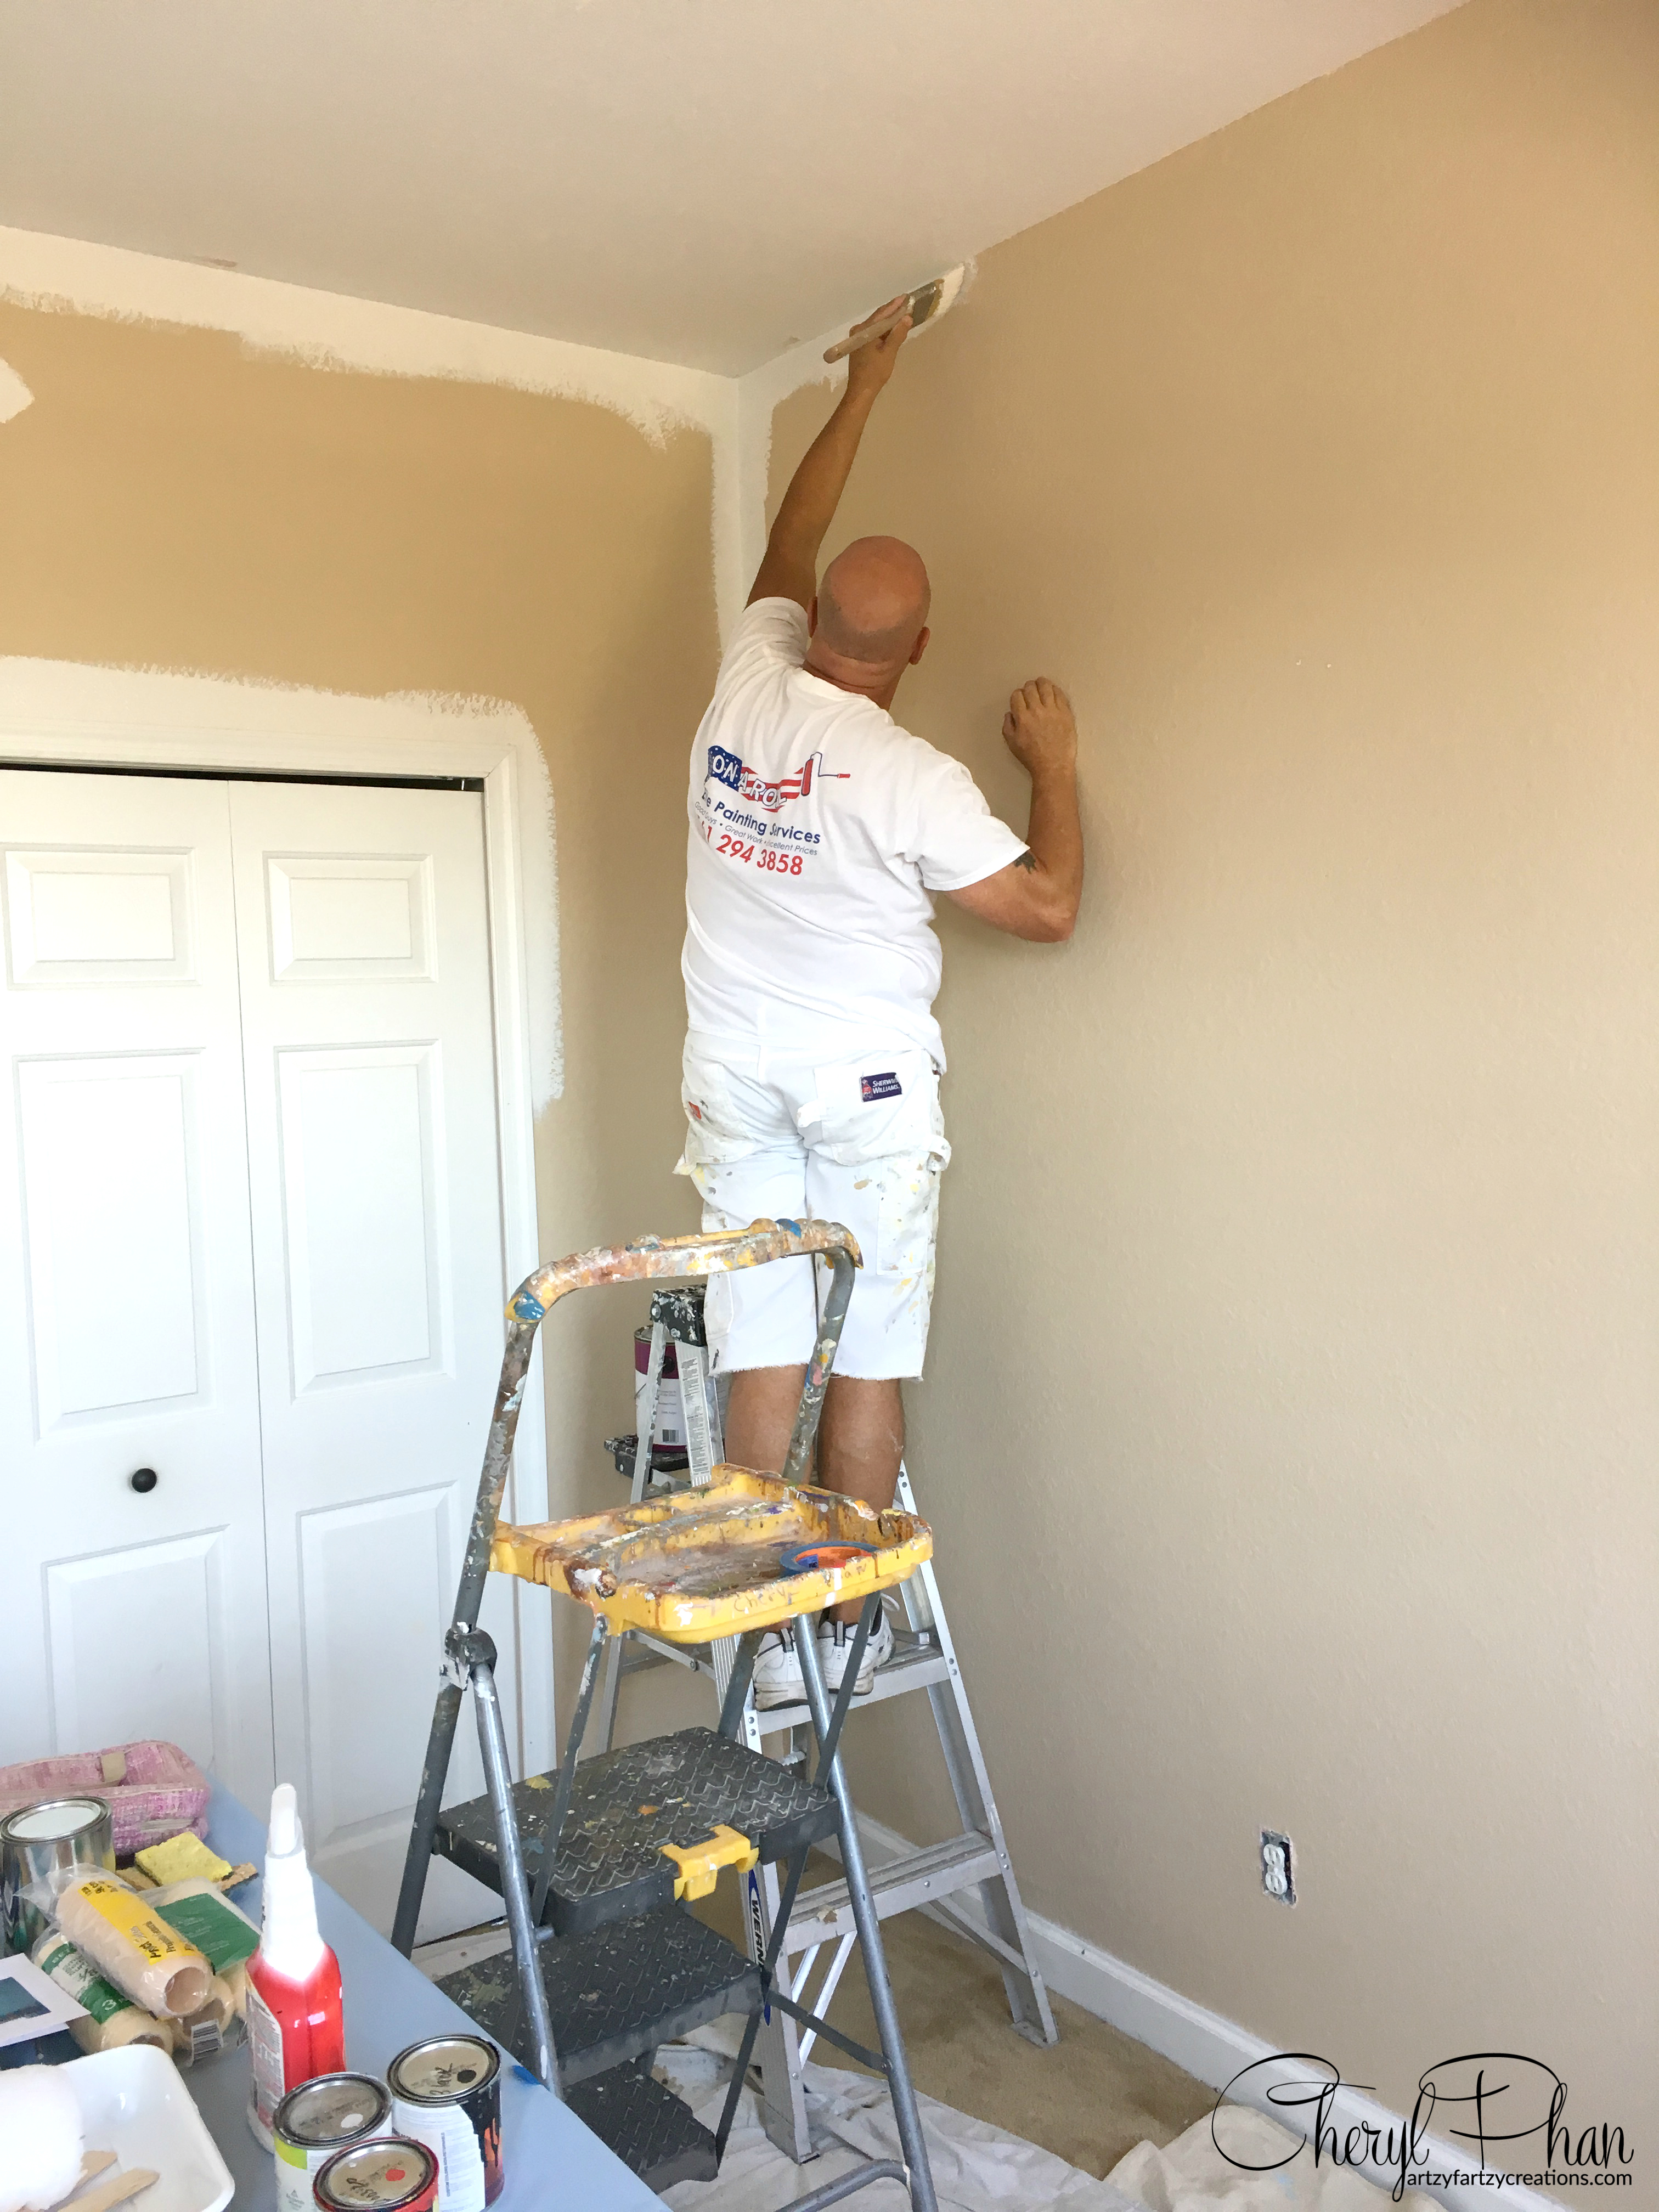
The very first thing we do is determine the base color. In this room, we decided to do the top in white and the bottom in blue. Dennis and one of his workers from “On a Roll Painting” applied two coats of paint to give it a fresh start. Later we will add a checker wallpaper border to hide the seam.
This is just part of the room and all the cool elements that were incorporated into the design.
As you read through this blog I will show you how we transformed the Dresser to look like a tool chest, how we transferred the flag stencil with his name on it, a simple way to add this border and matching ceiling fan where to get hub caps and paint them and how to make cool shelves out of a tire.
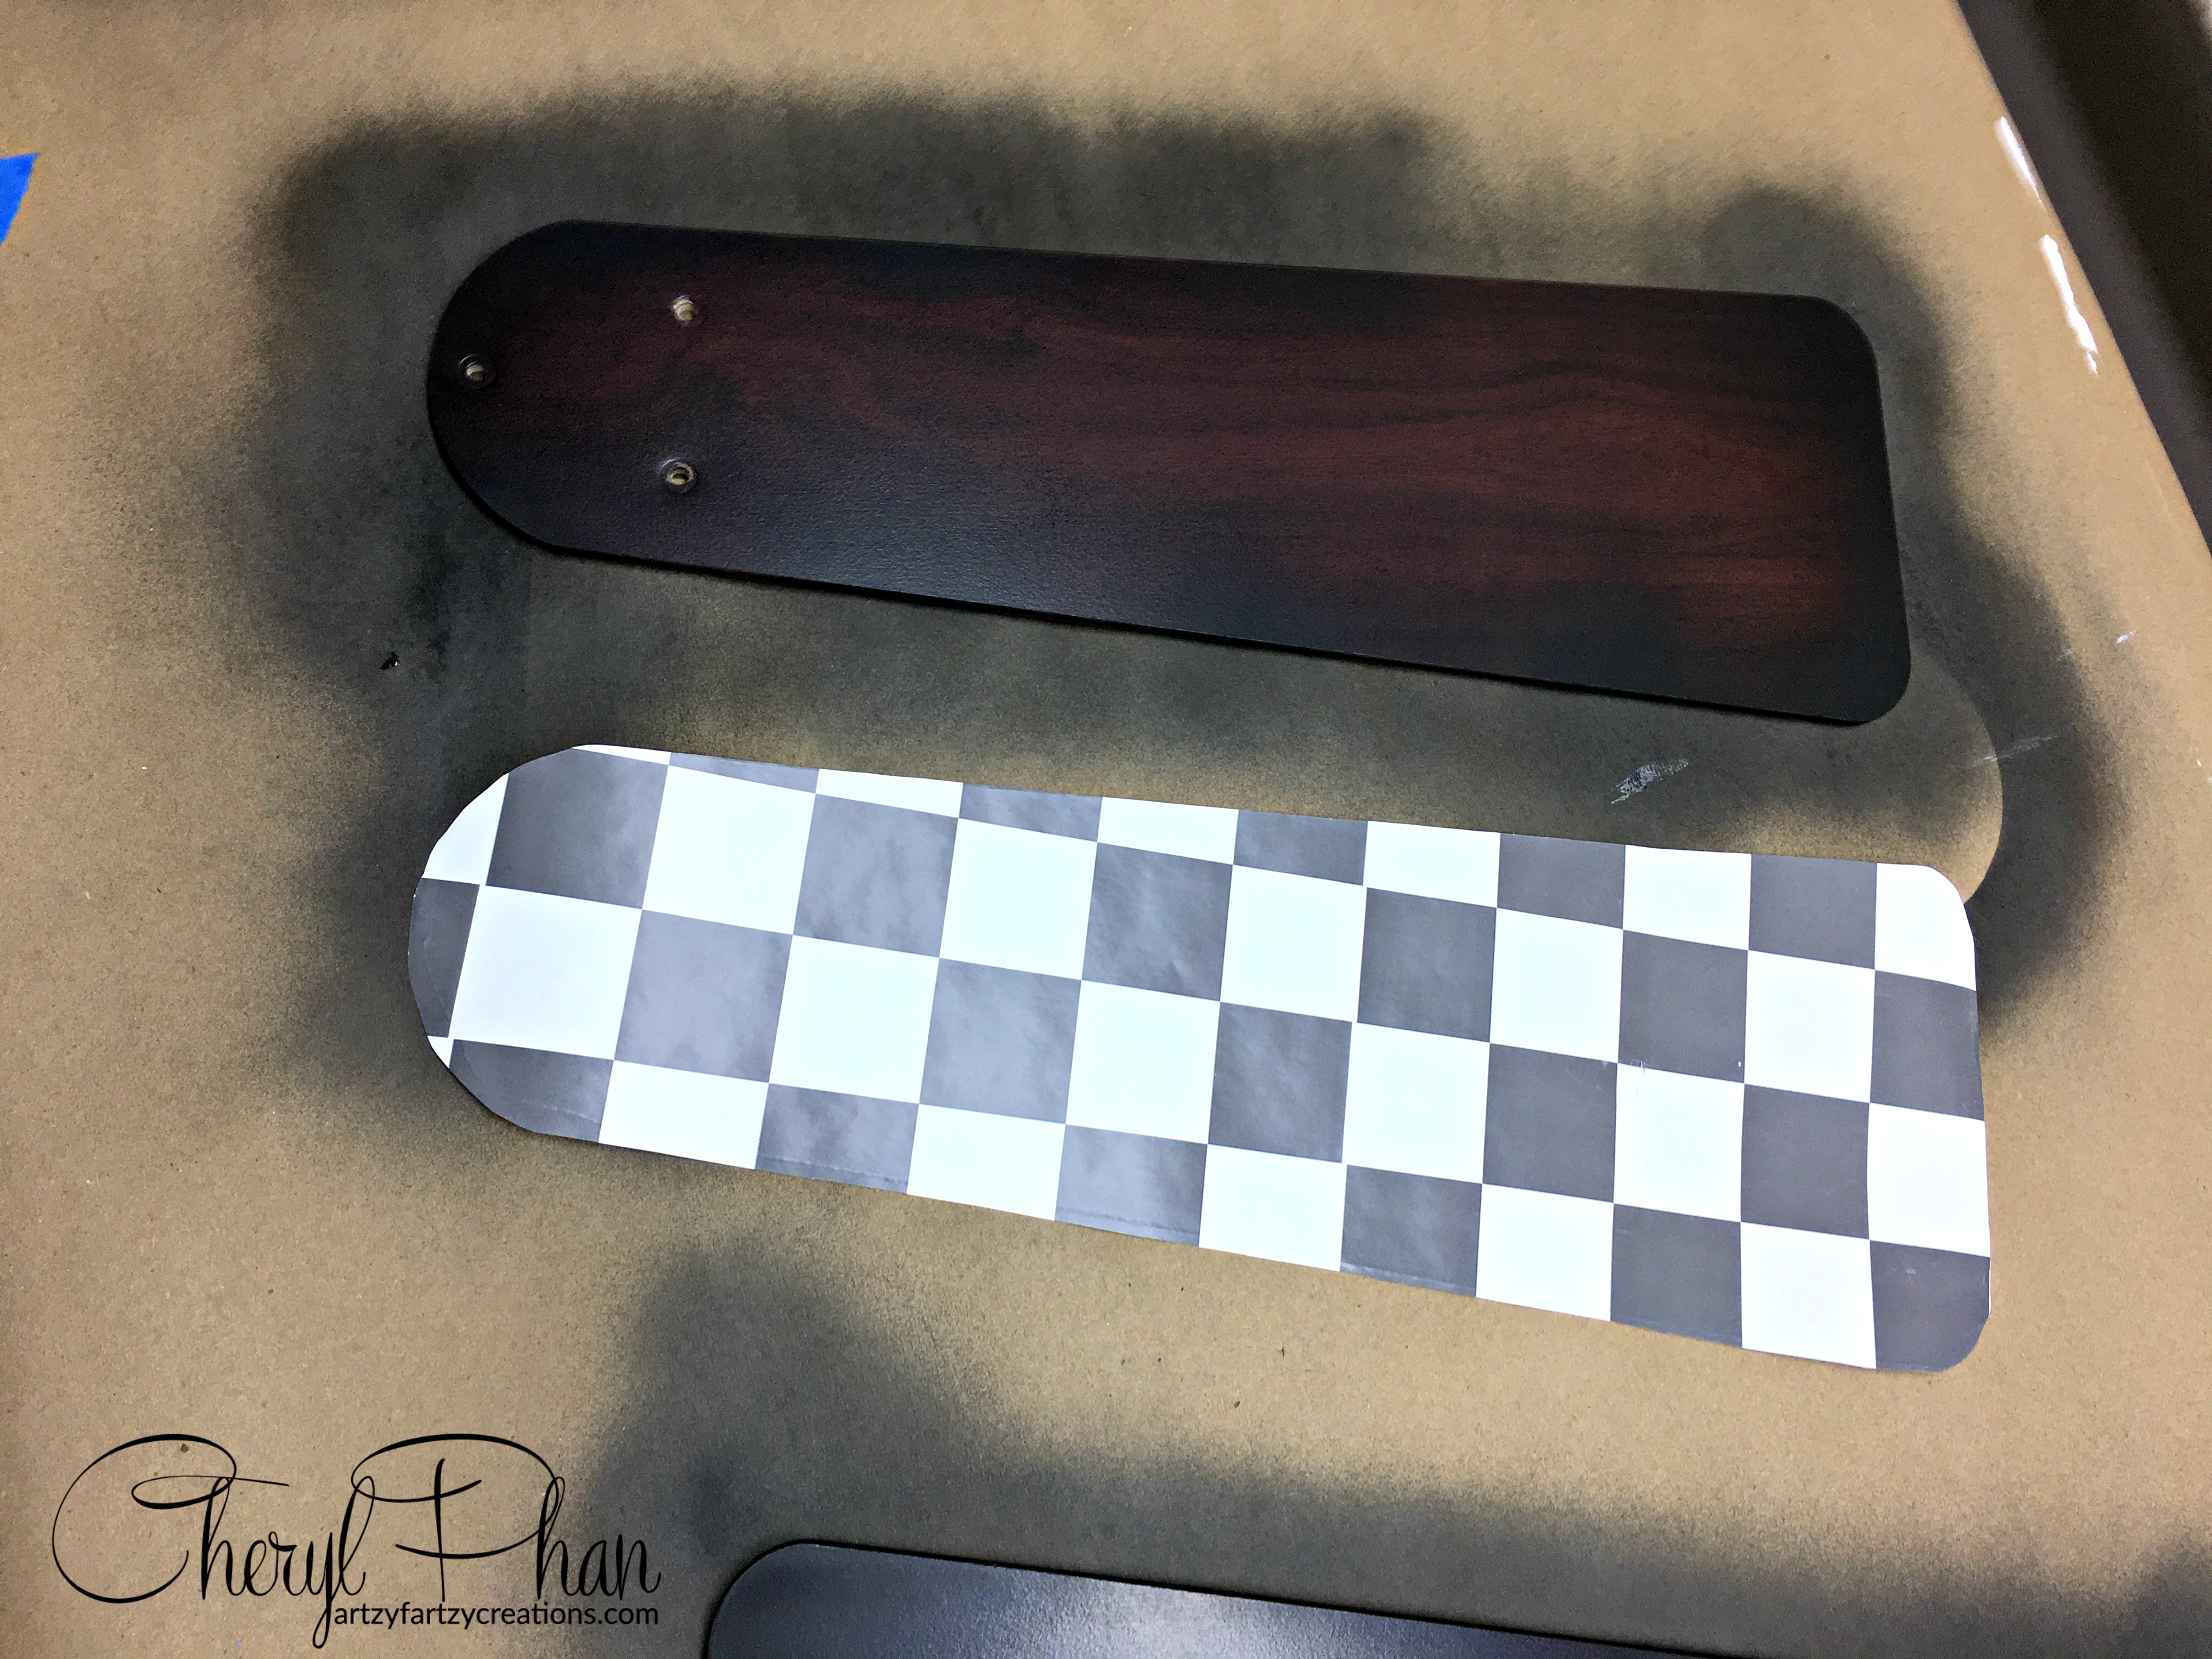
I bought this checkerboard self-stick wall border for the ceiling fan and the border around the room. Make sure you measure the room and buy a little extra, just in case you mess up cutting it. I spray painted the edges of the ceiling fan blades because they were brown and I wanted to be black to match.
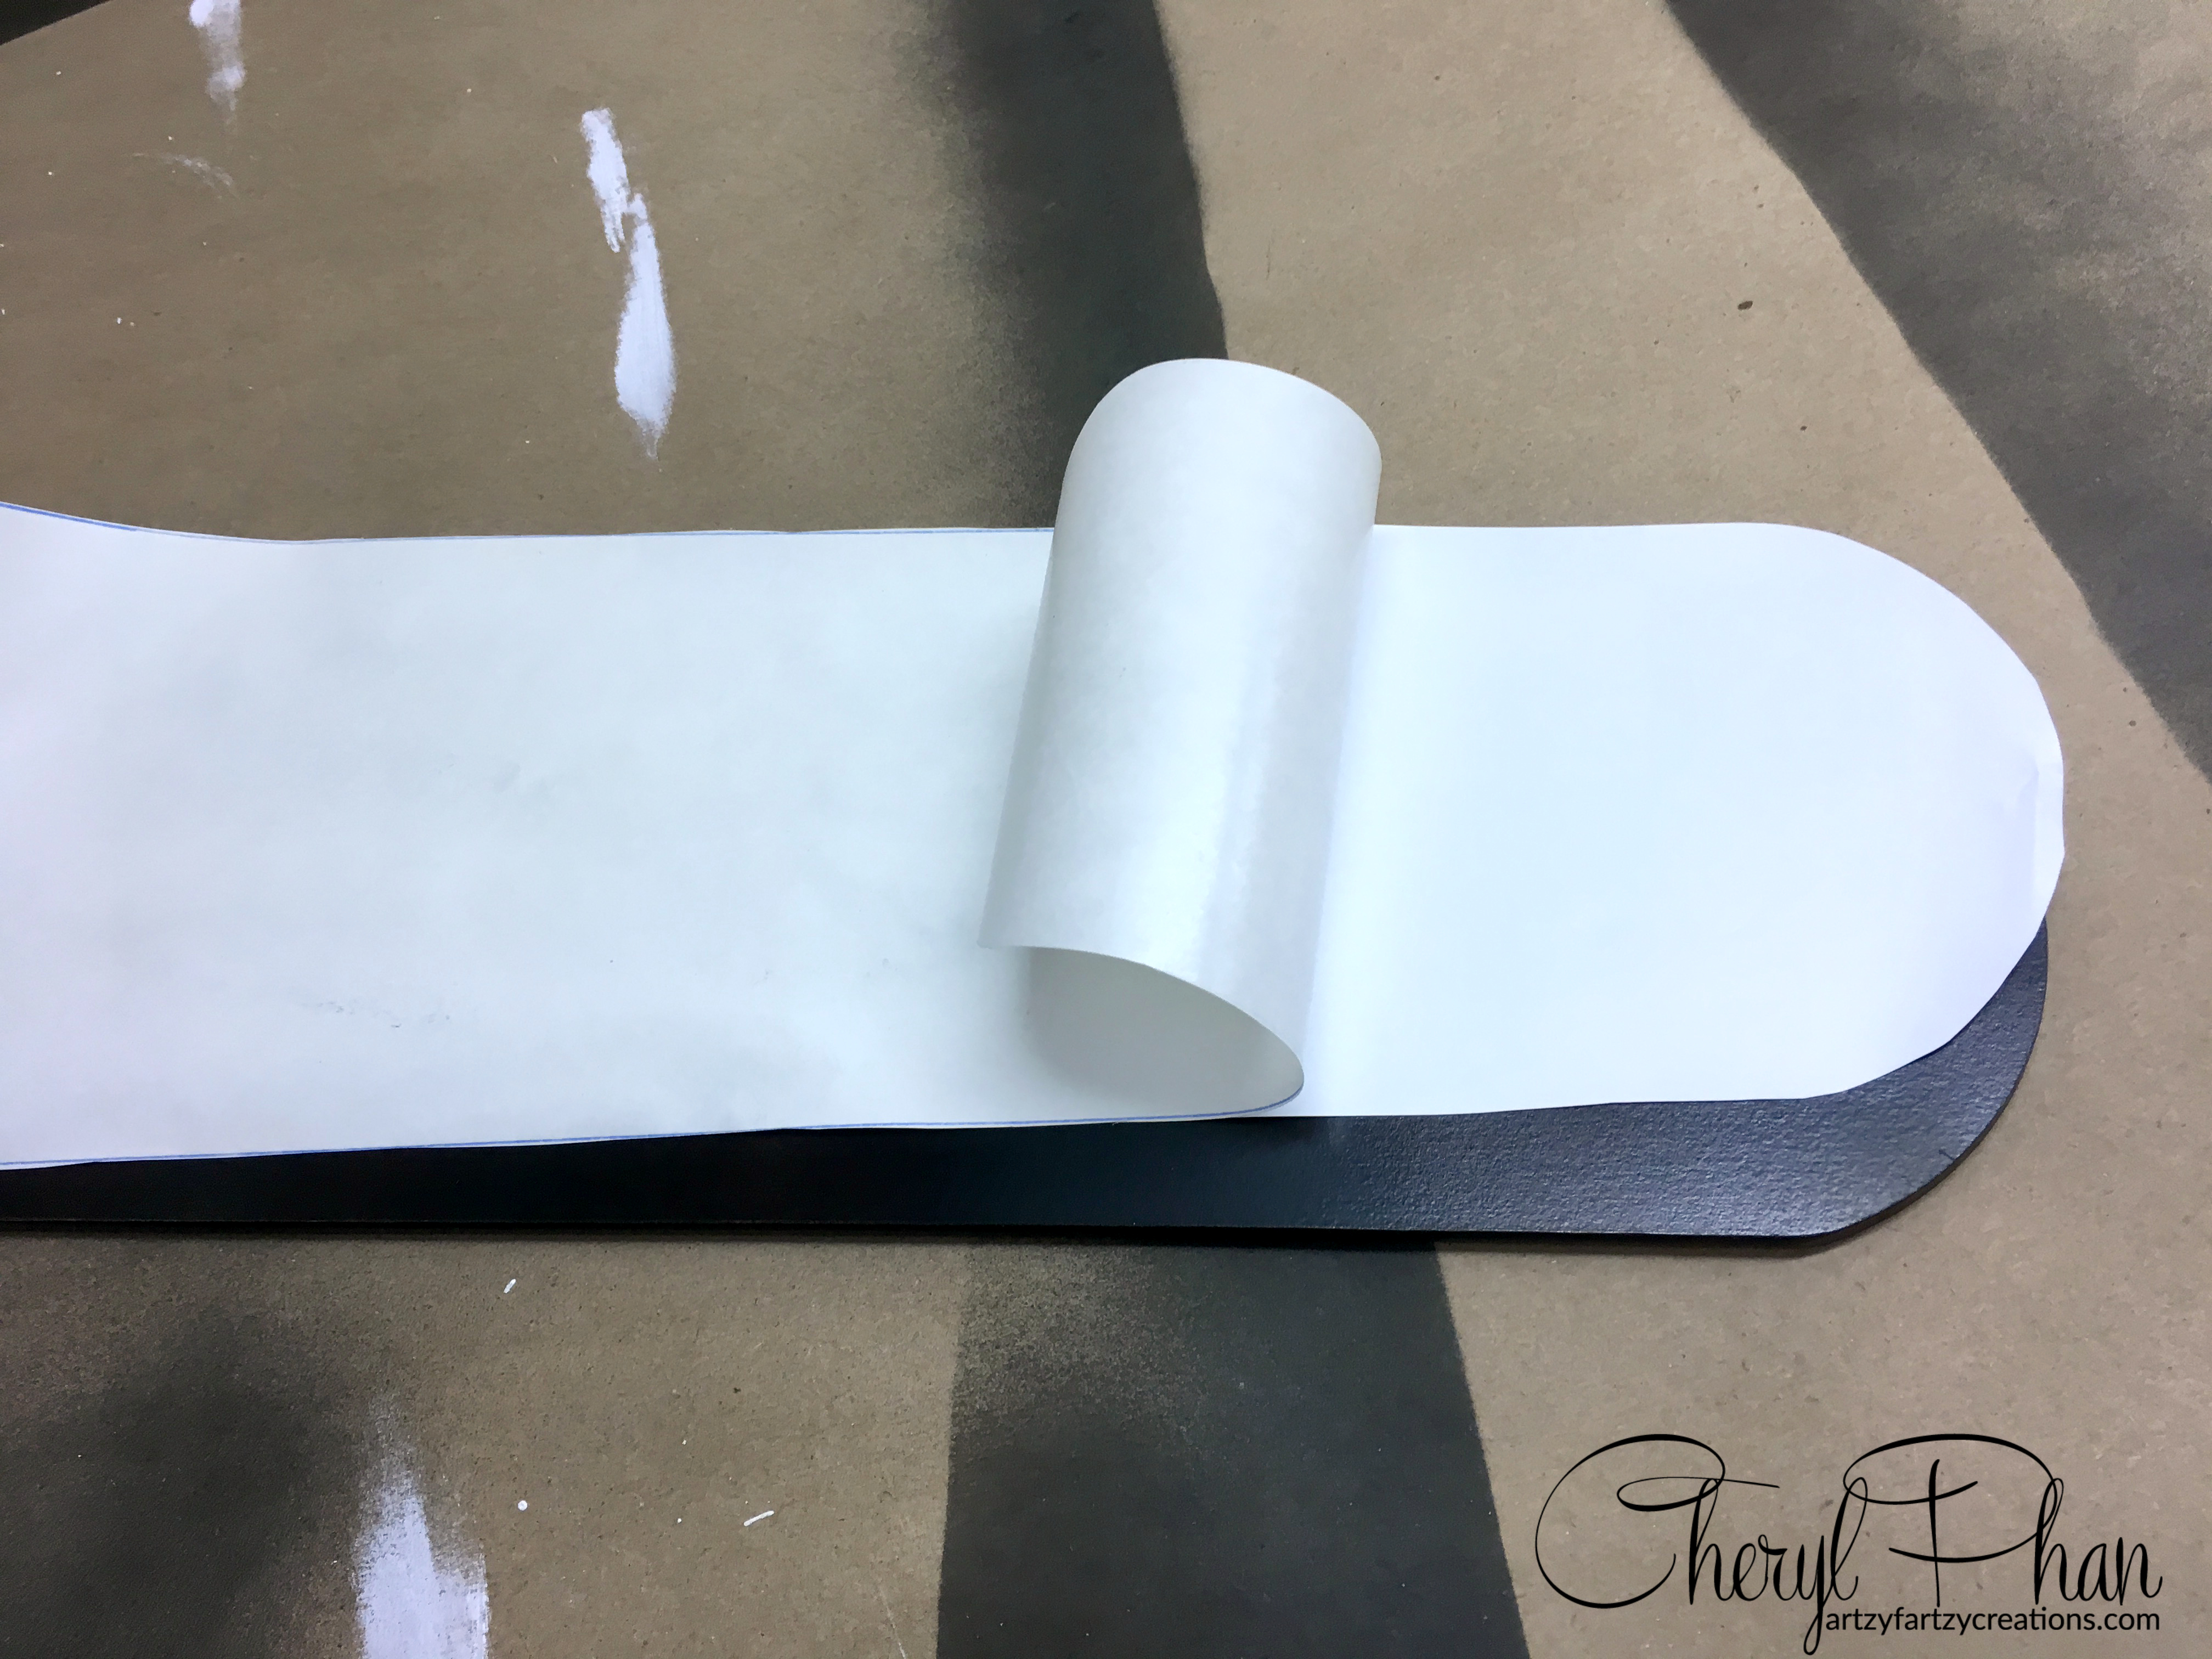
I just laid the ceiling fan blade on the border and traced it and cut it. Then you just peel it back and stick it on. It doesn’t get any easier than that.
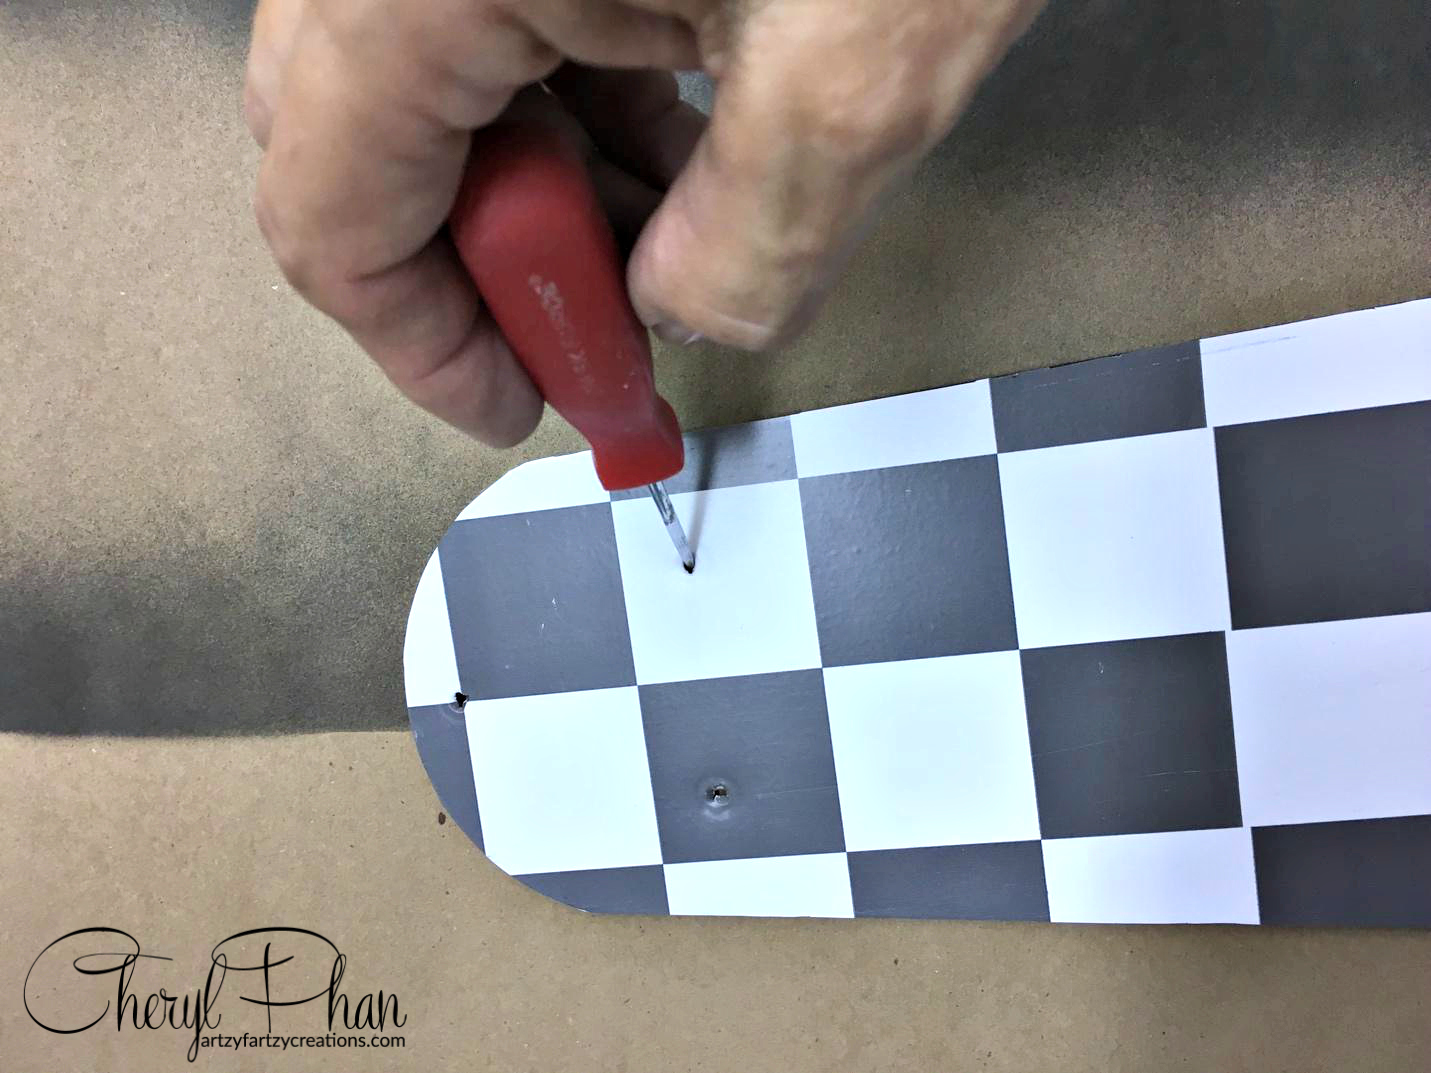
Take a pick and poke it through where the screws go. It will make it much easier to hang them back on the fan.
I applied the border around the room the same way.
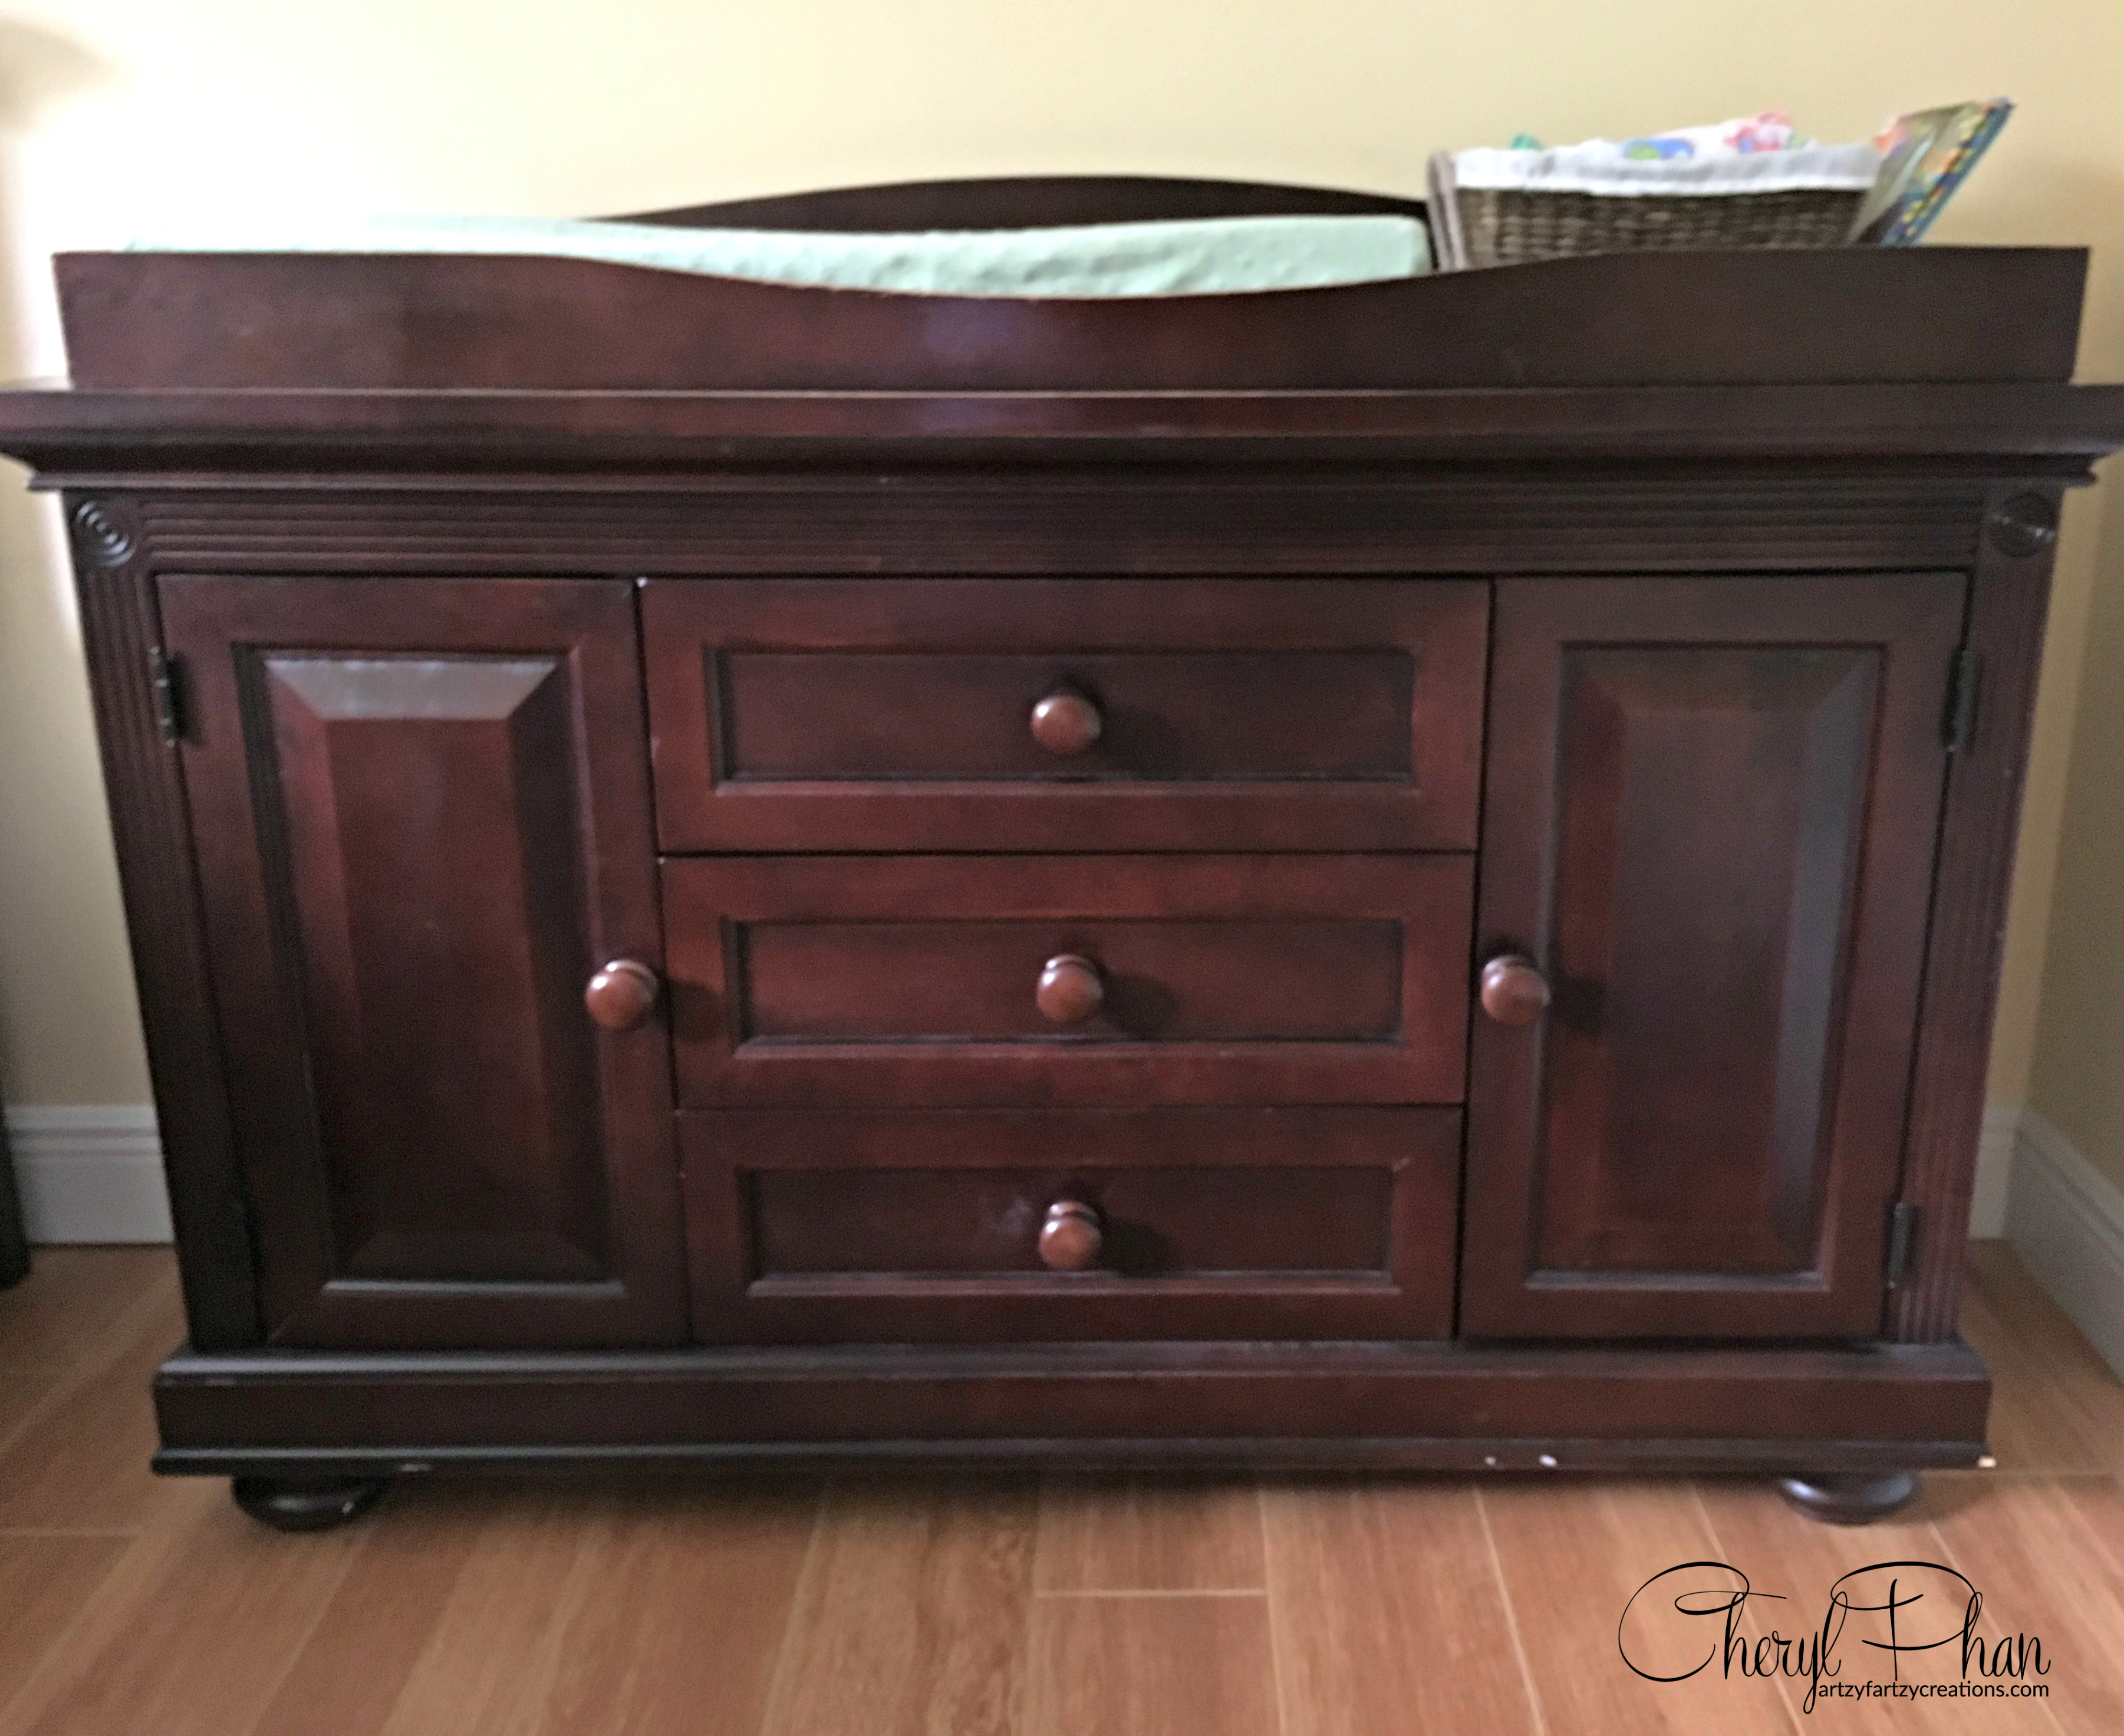
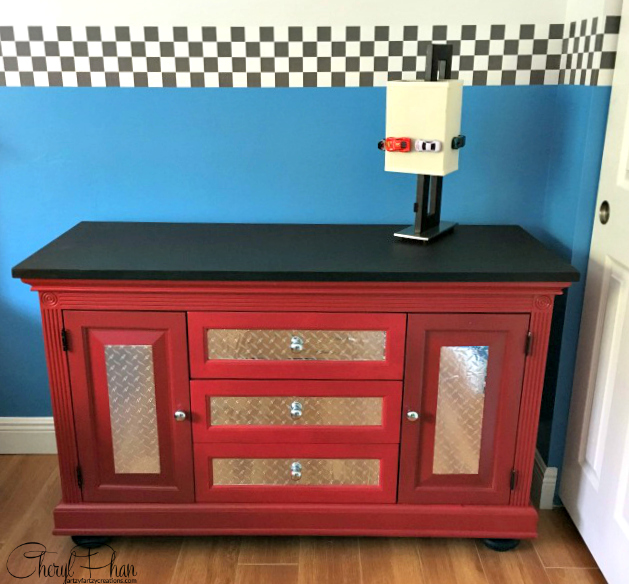
This was a changing table from when he was a baby. We took the top off and turned it into a tool chest dresser. You’re going to LOVE this.
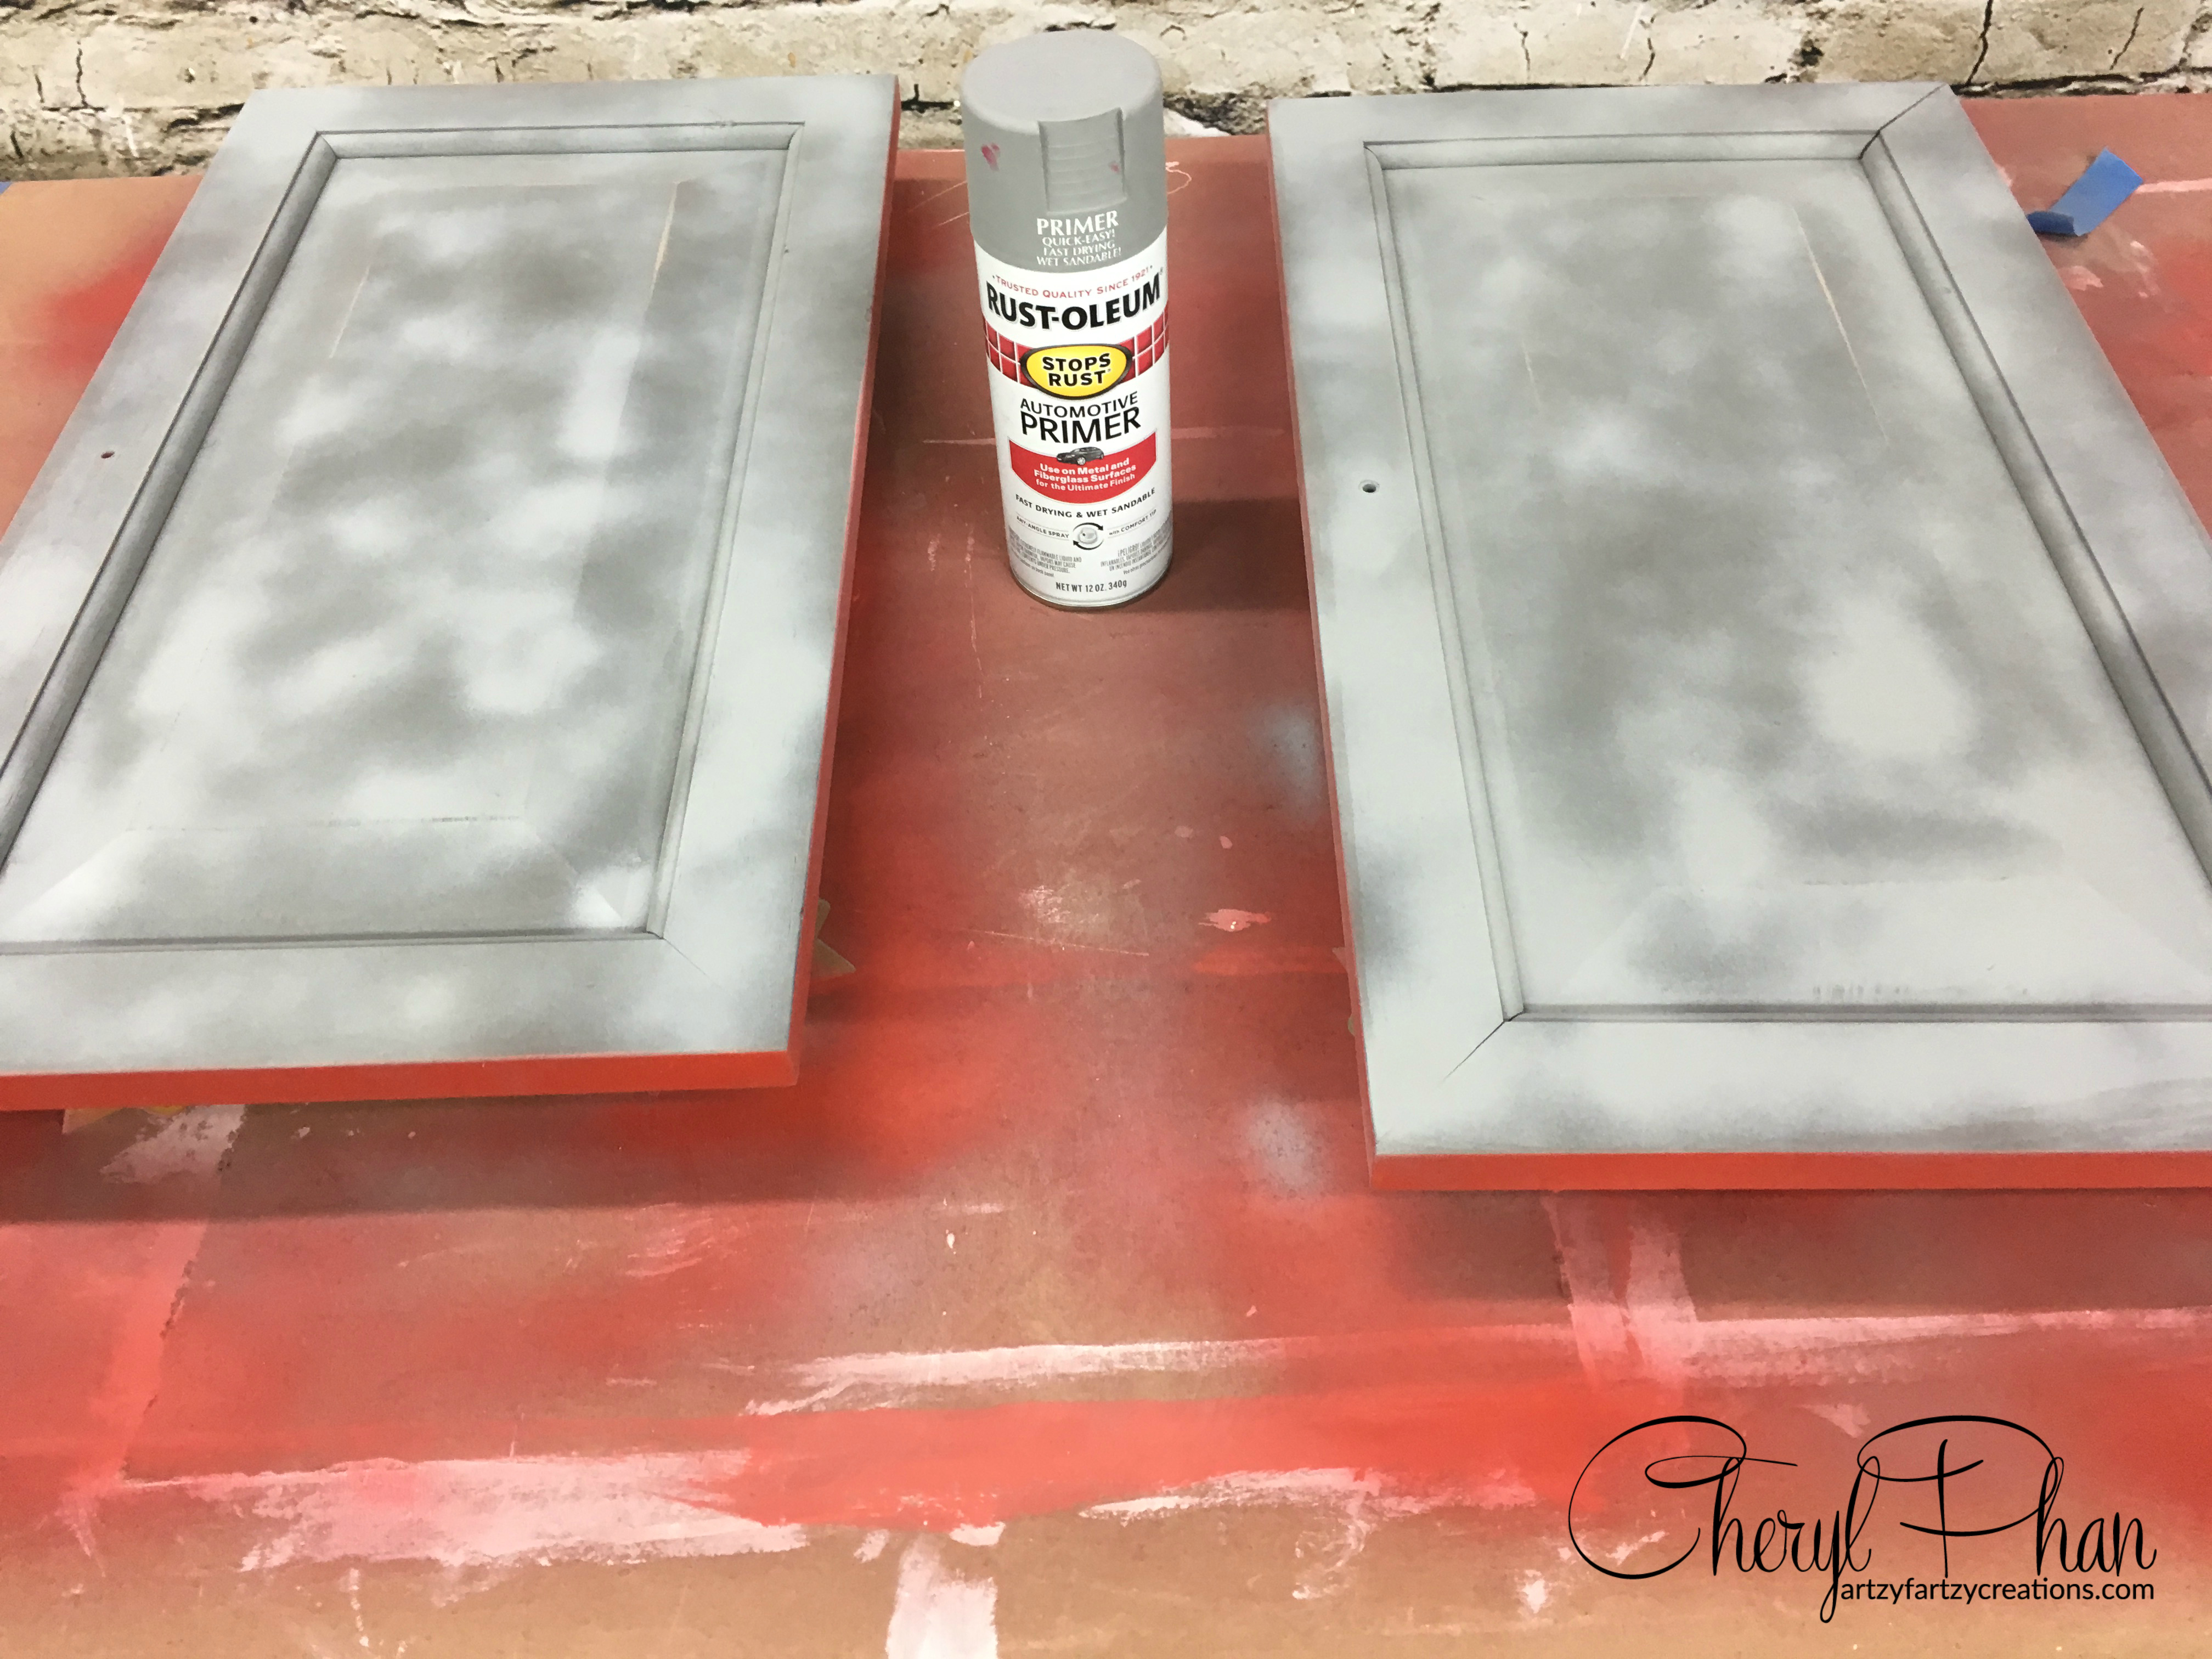
The first thing we did was clean, sand and prime the dresser. I used this spray primer because it was fast and easy.
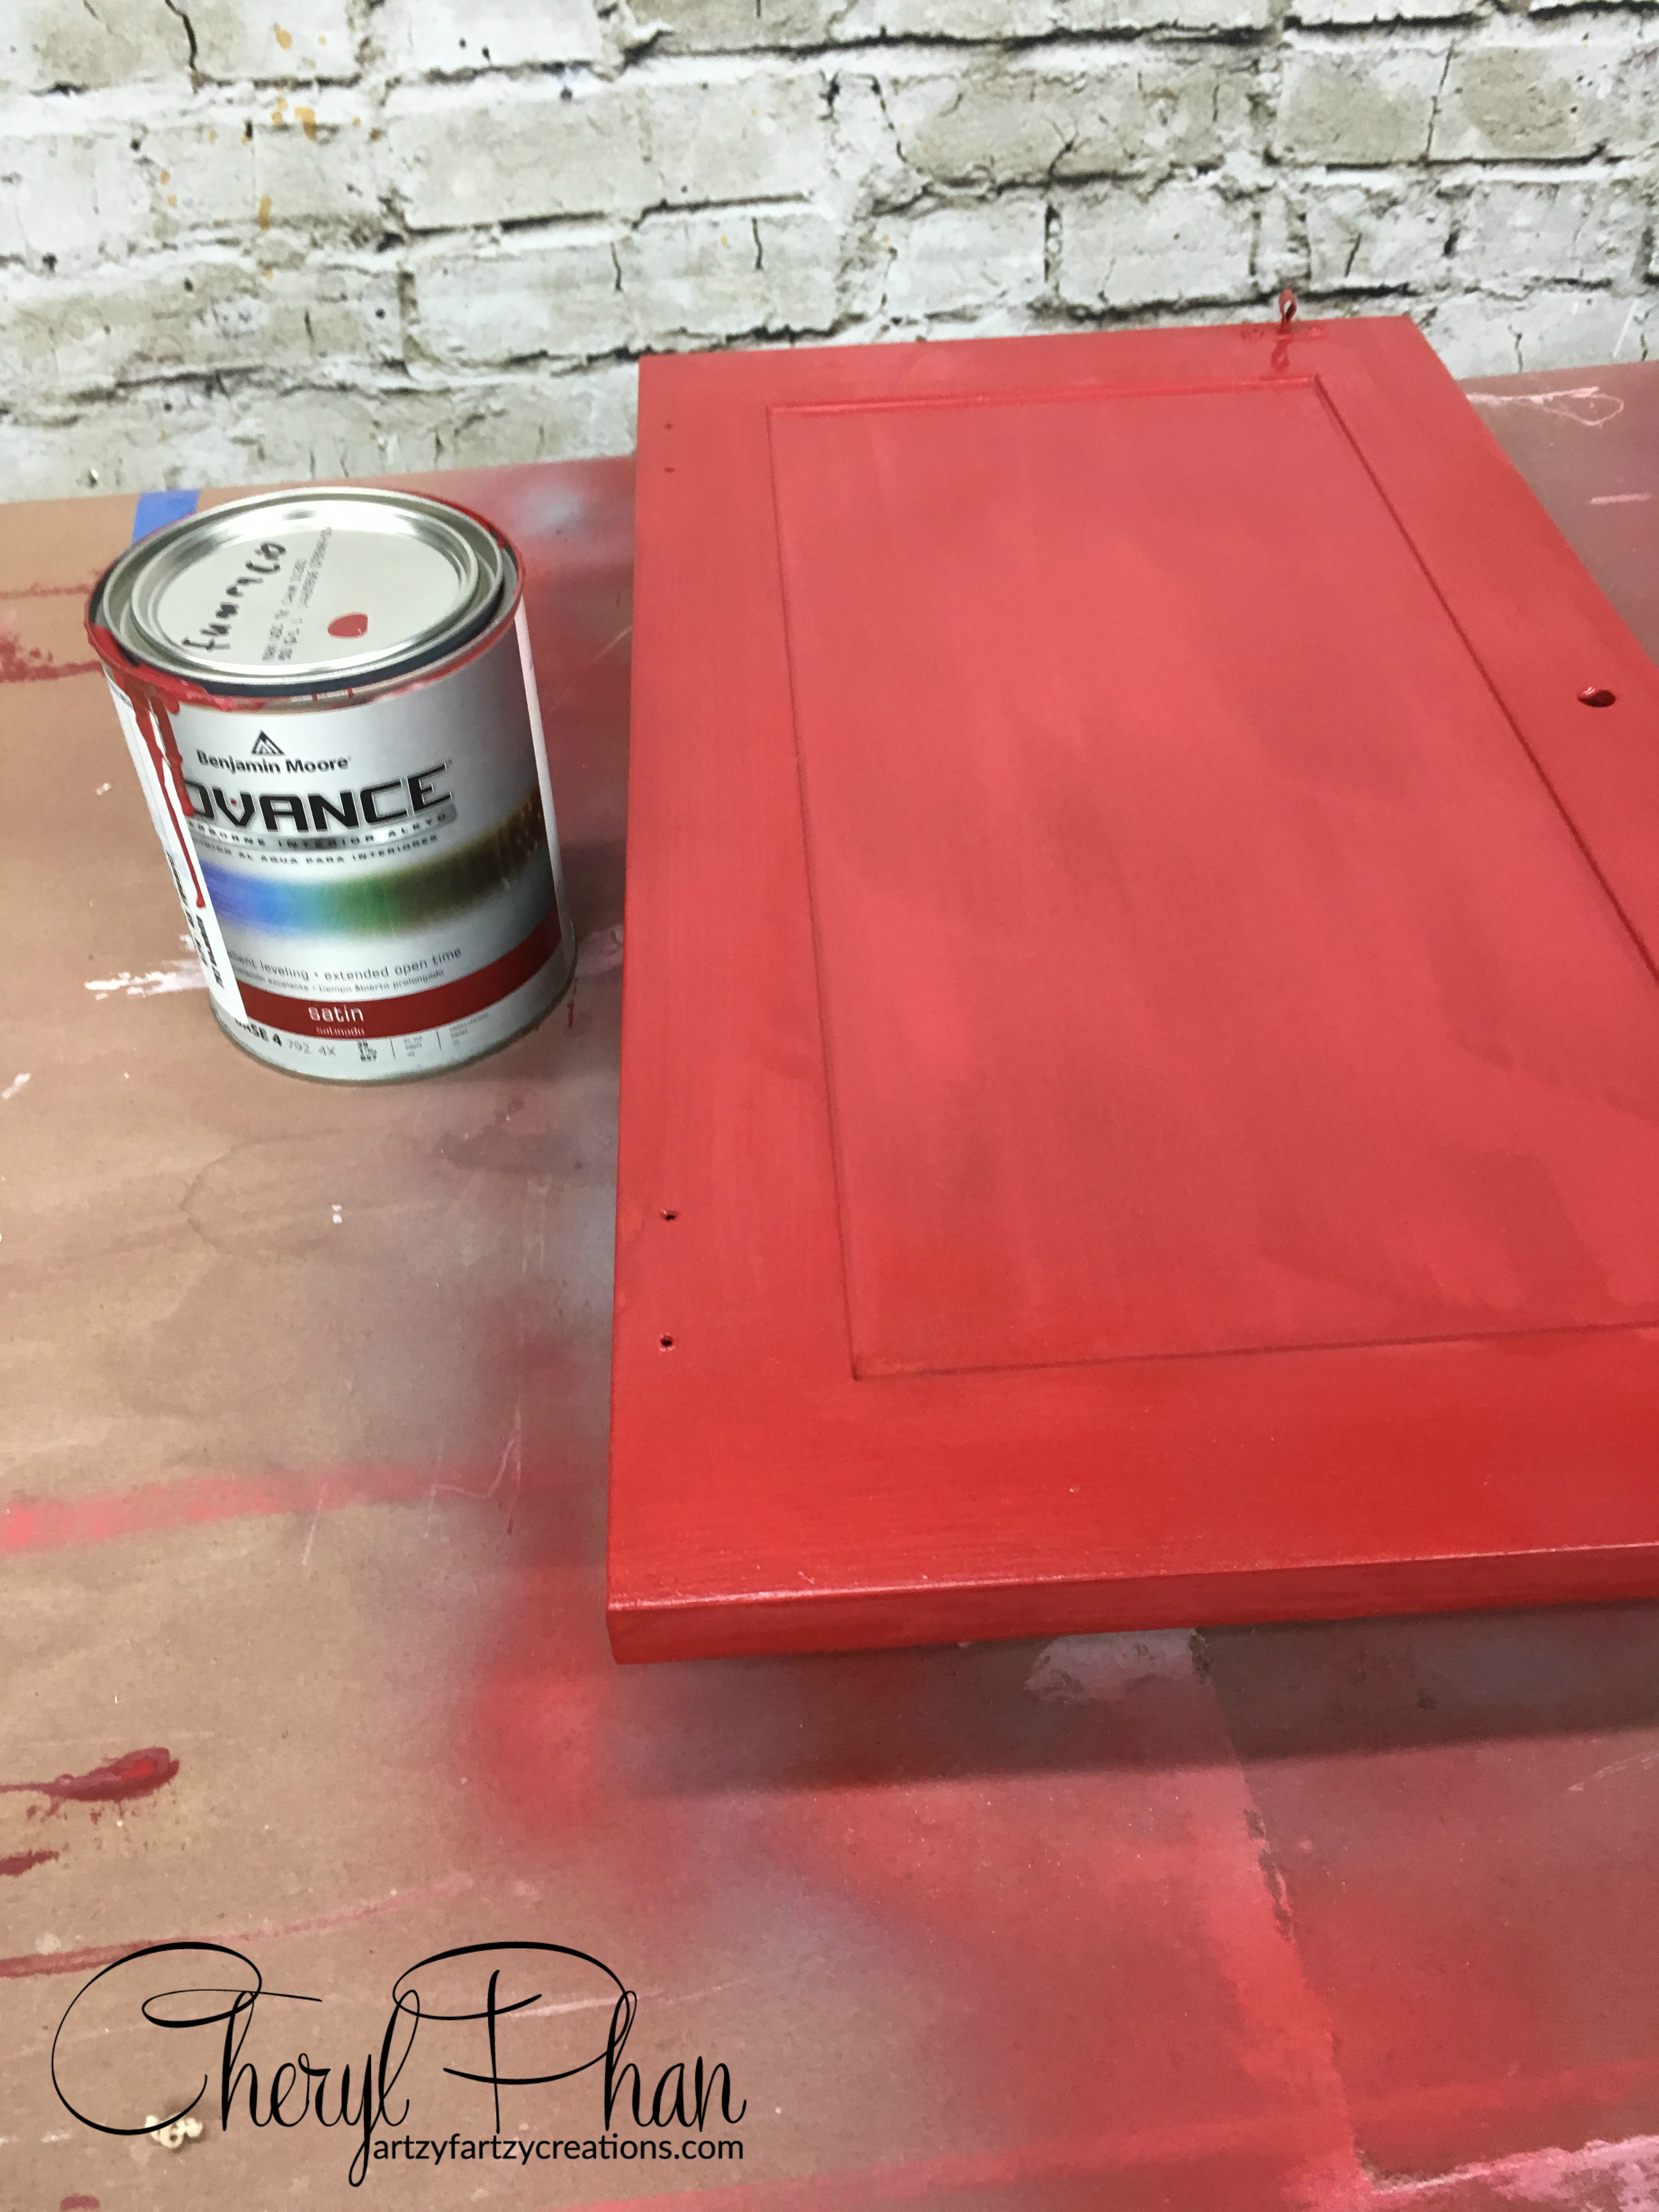
Next, I painted it with 2 coats of red Benjamin Moore Advanced paint. It is going in a child’s room so I wanted it to be durable.
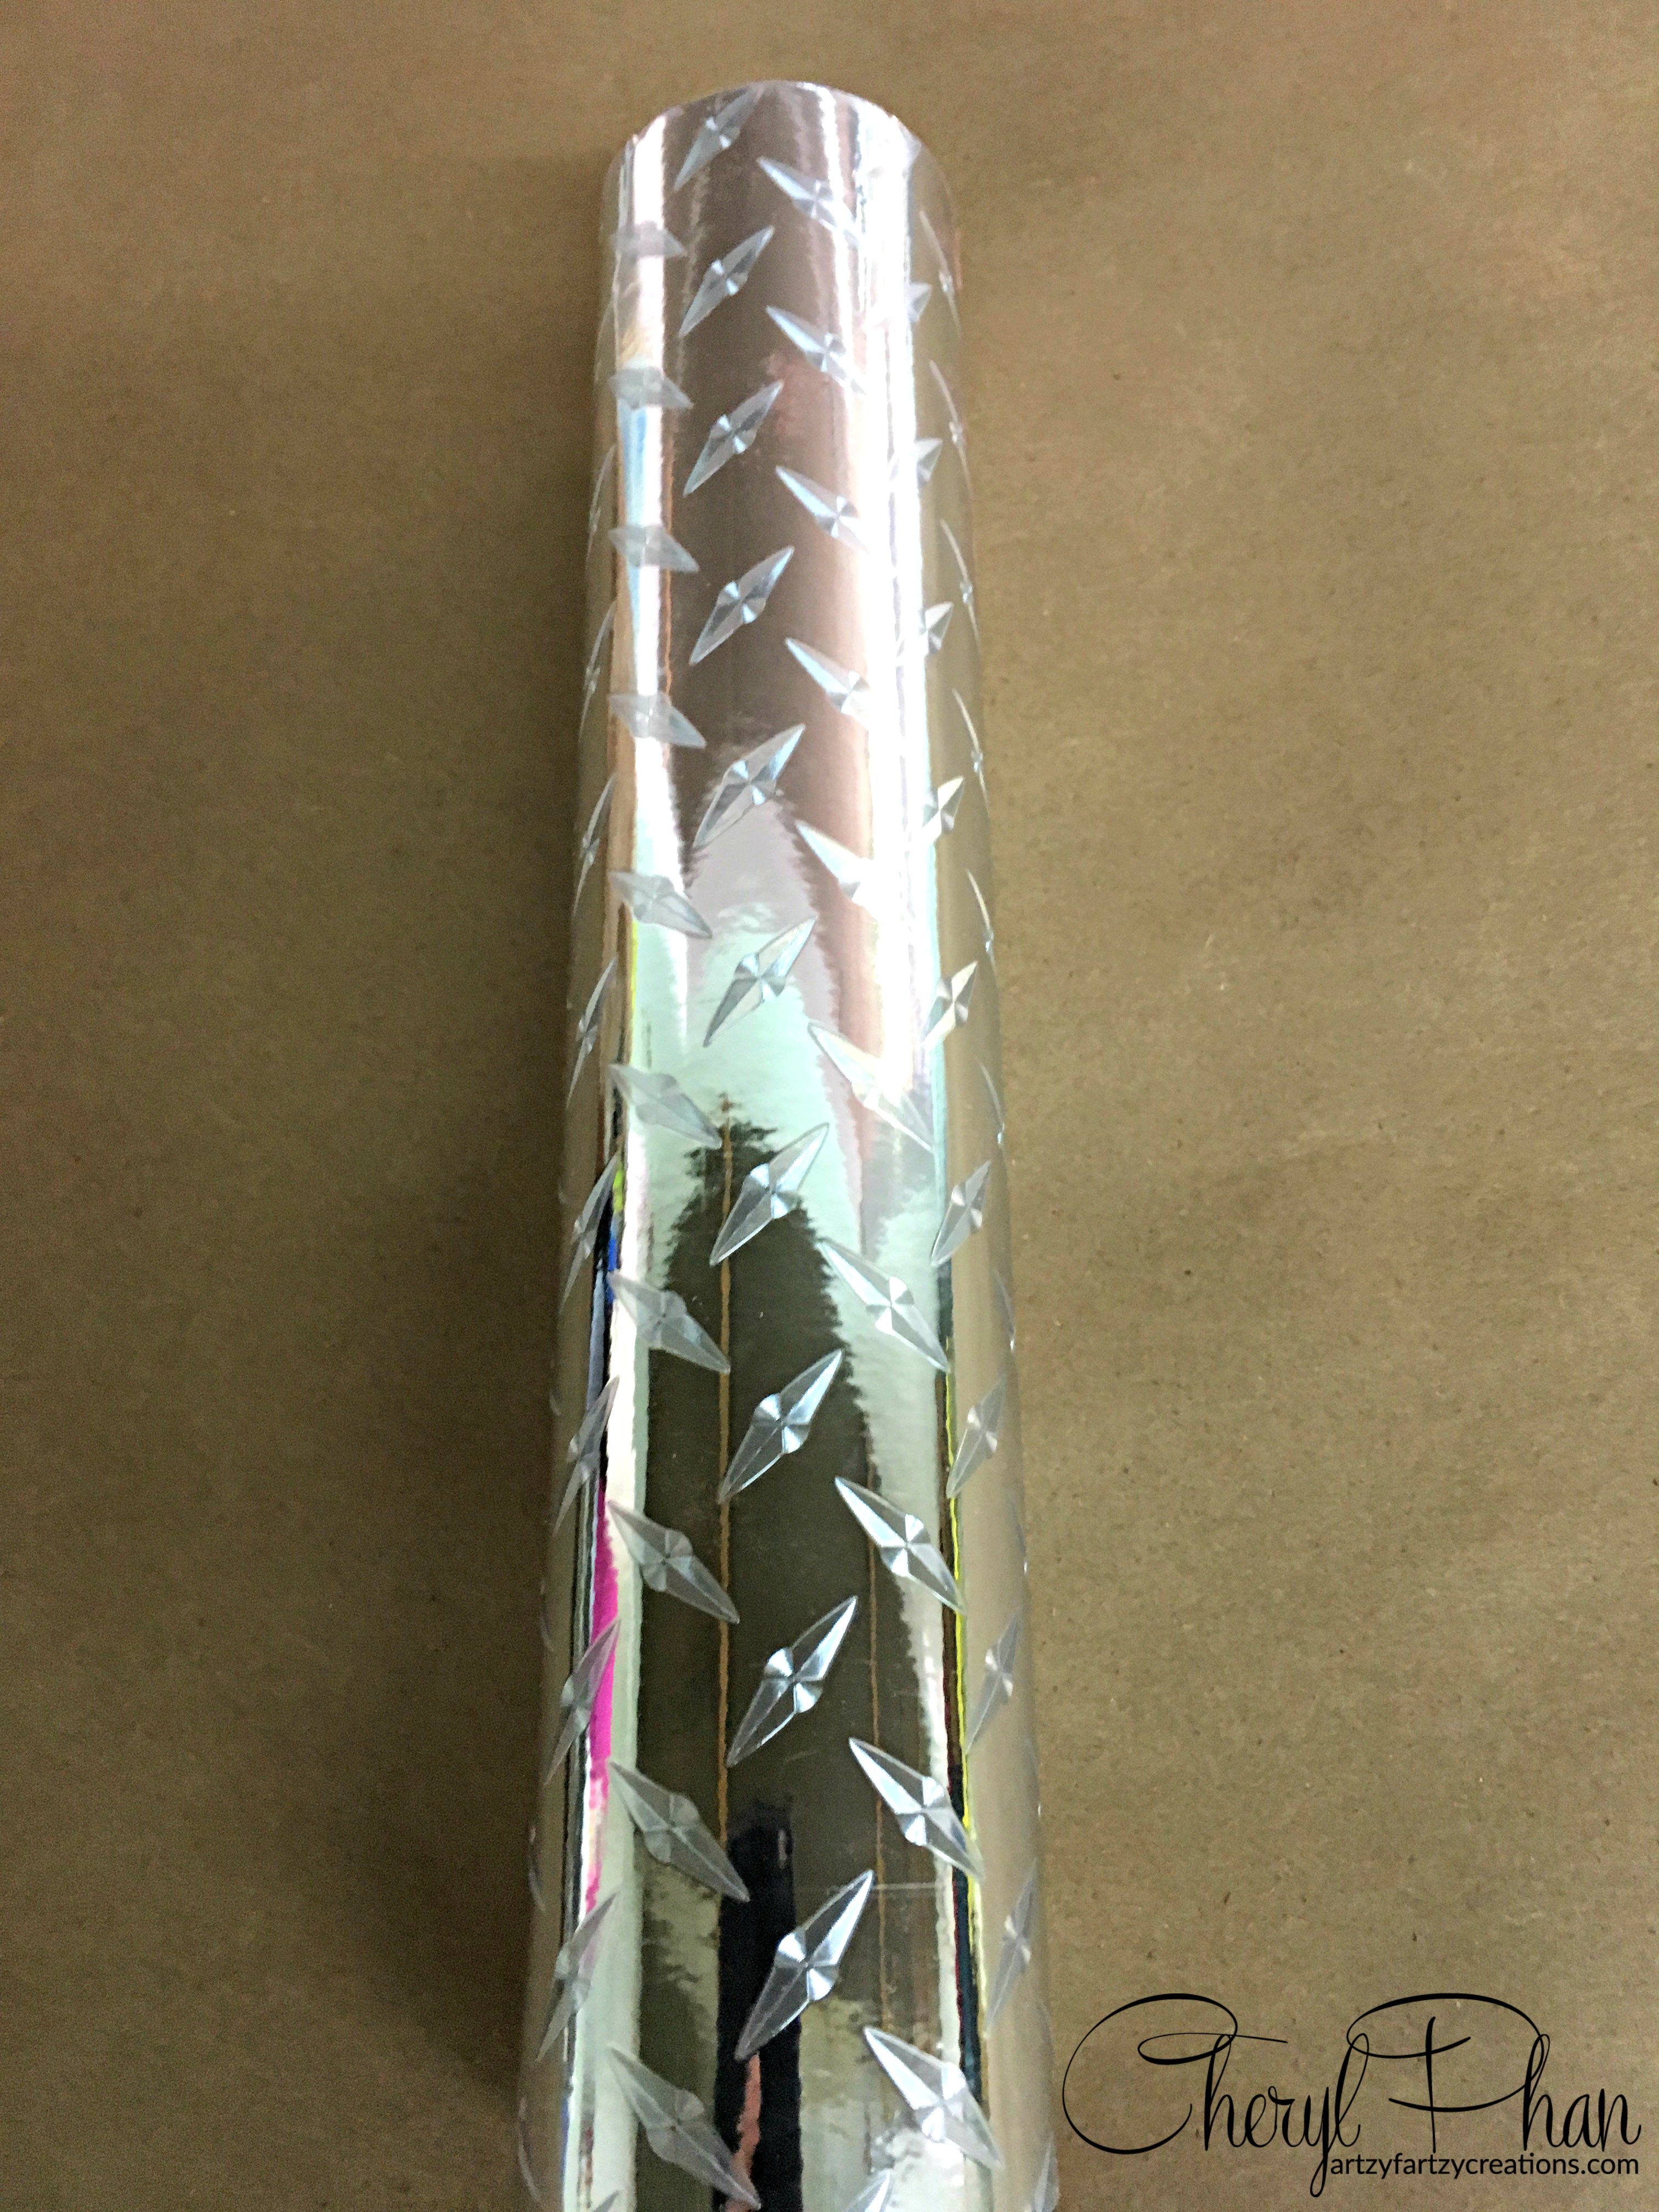
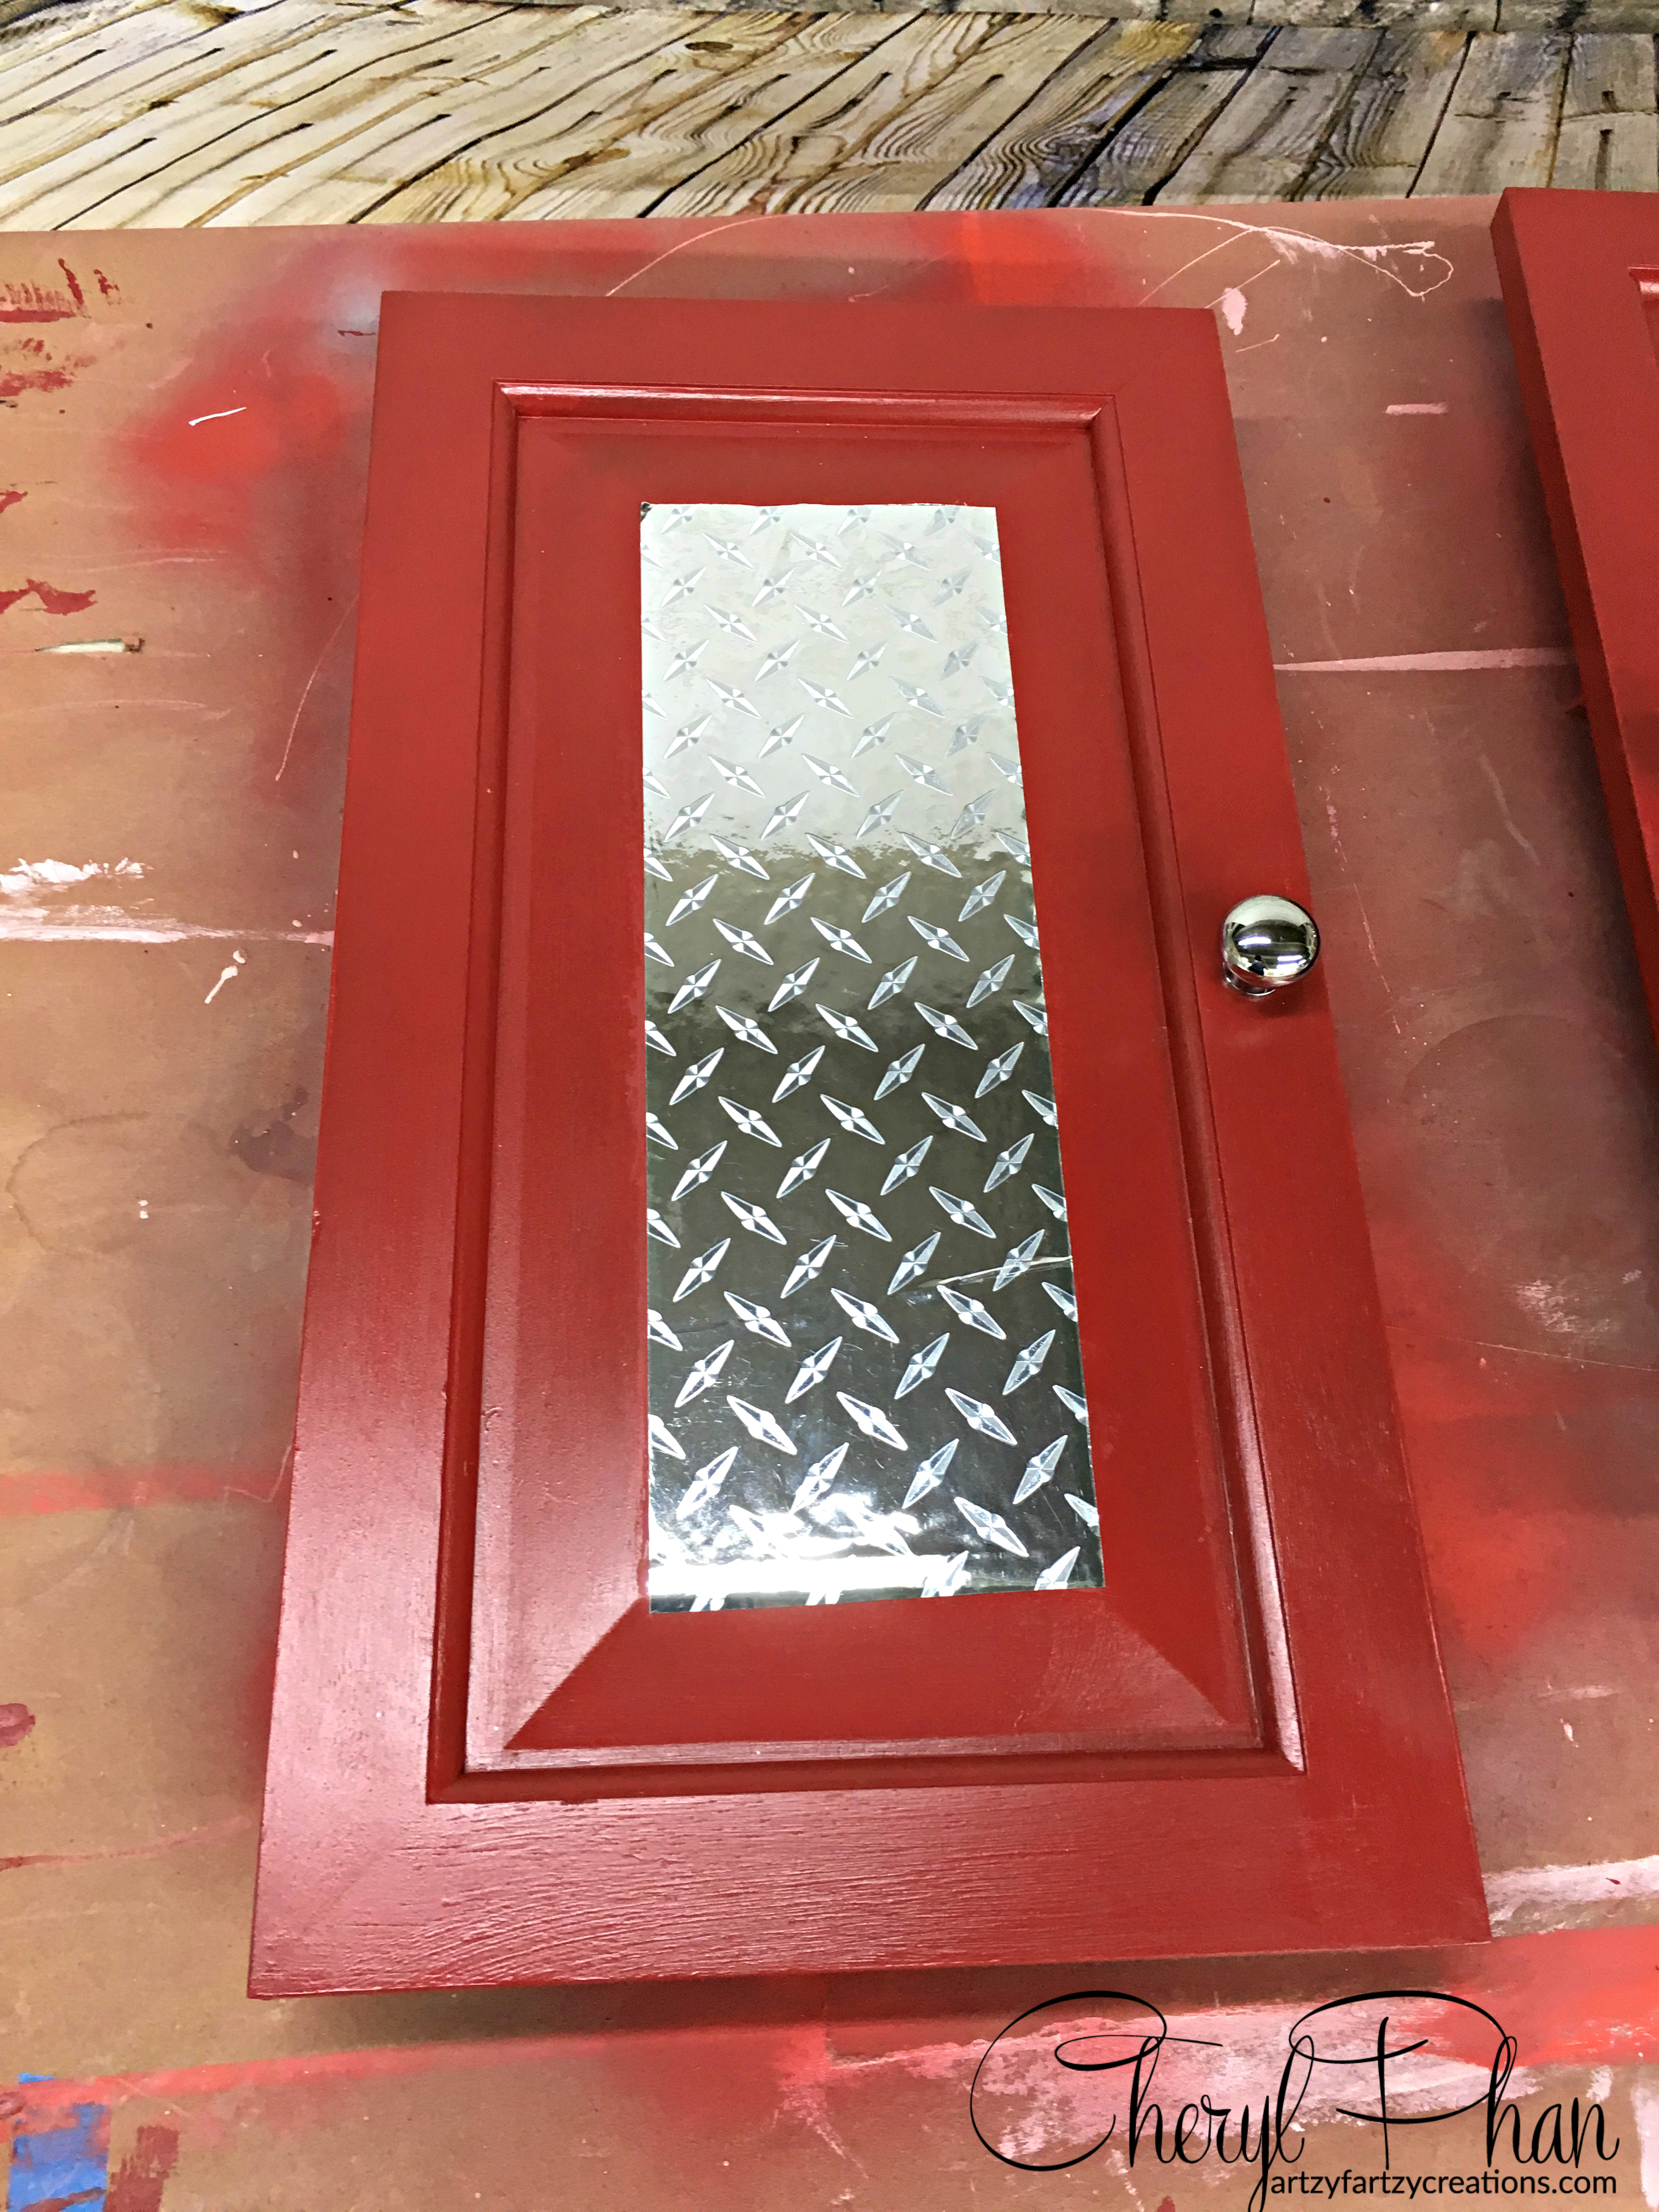
I bought this self-stick Diamond Foil to apply on the doors and drawers to it would look like a tool chest. Just a little percussion here. Although it was self-stick, I also added glue to it before I applied it. It didn’t seem to stick all that well and I didn’t want it to come off.
Just measure out each piece and apply it to the area. I used a soft cloth to rub it on so it would scratch the foil.
I used flat black paint mixed with my Magic Powder to make my own chalk paint. I do this because I can make my own for a quarter of the price.
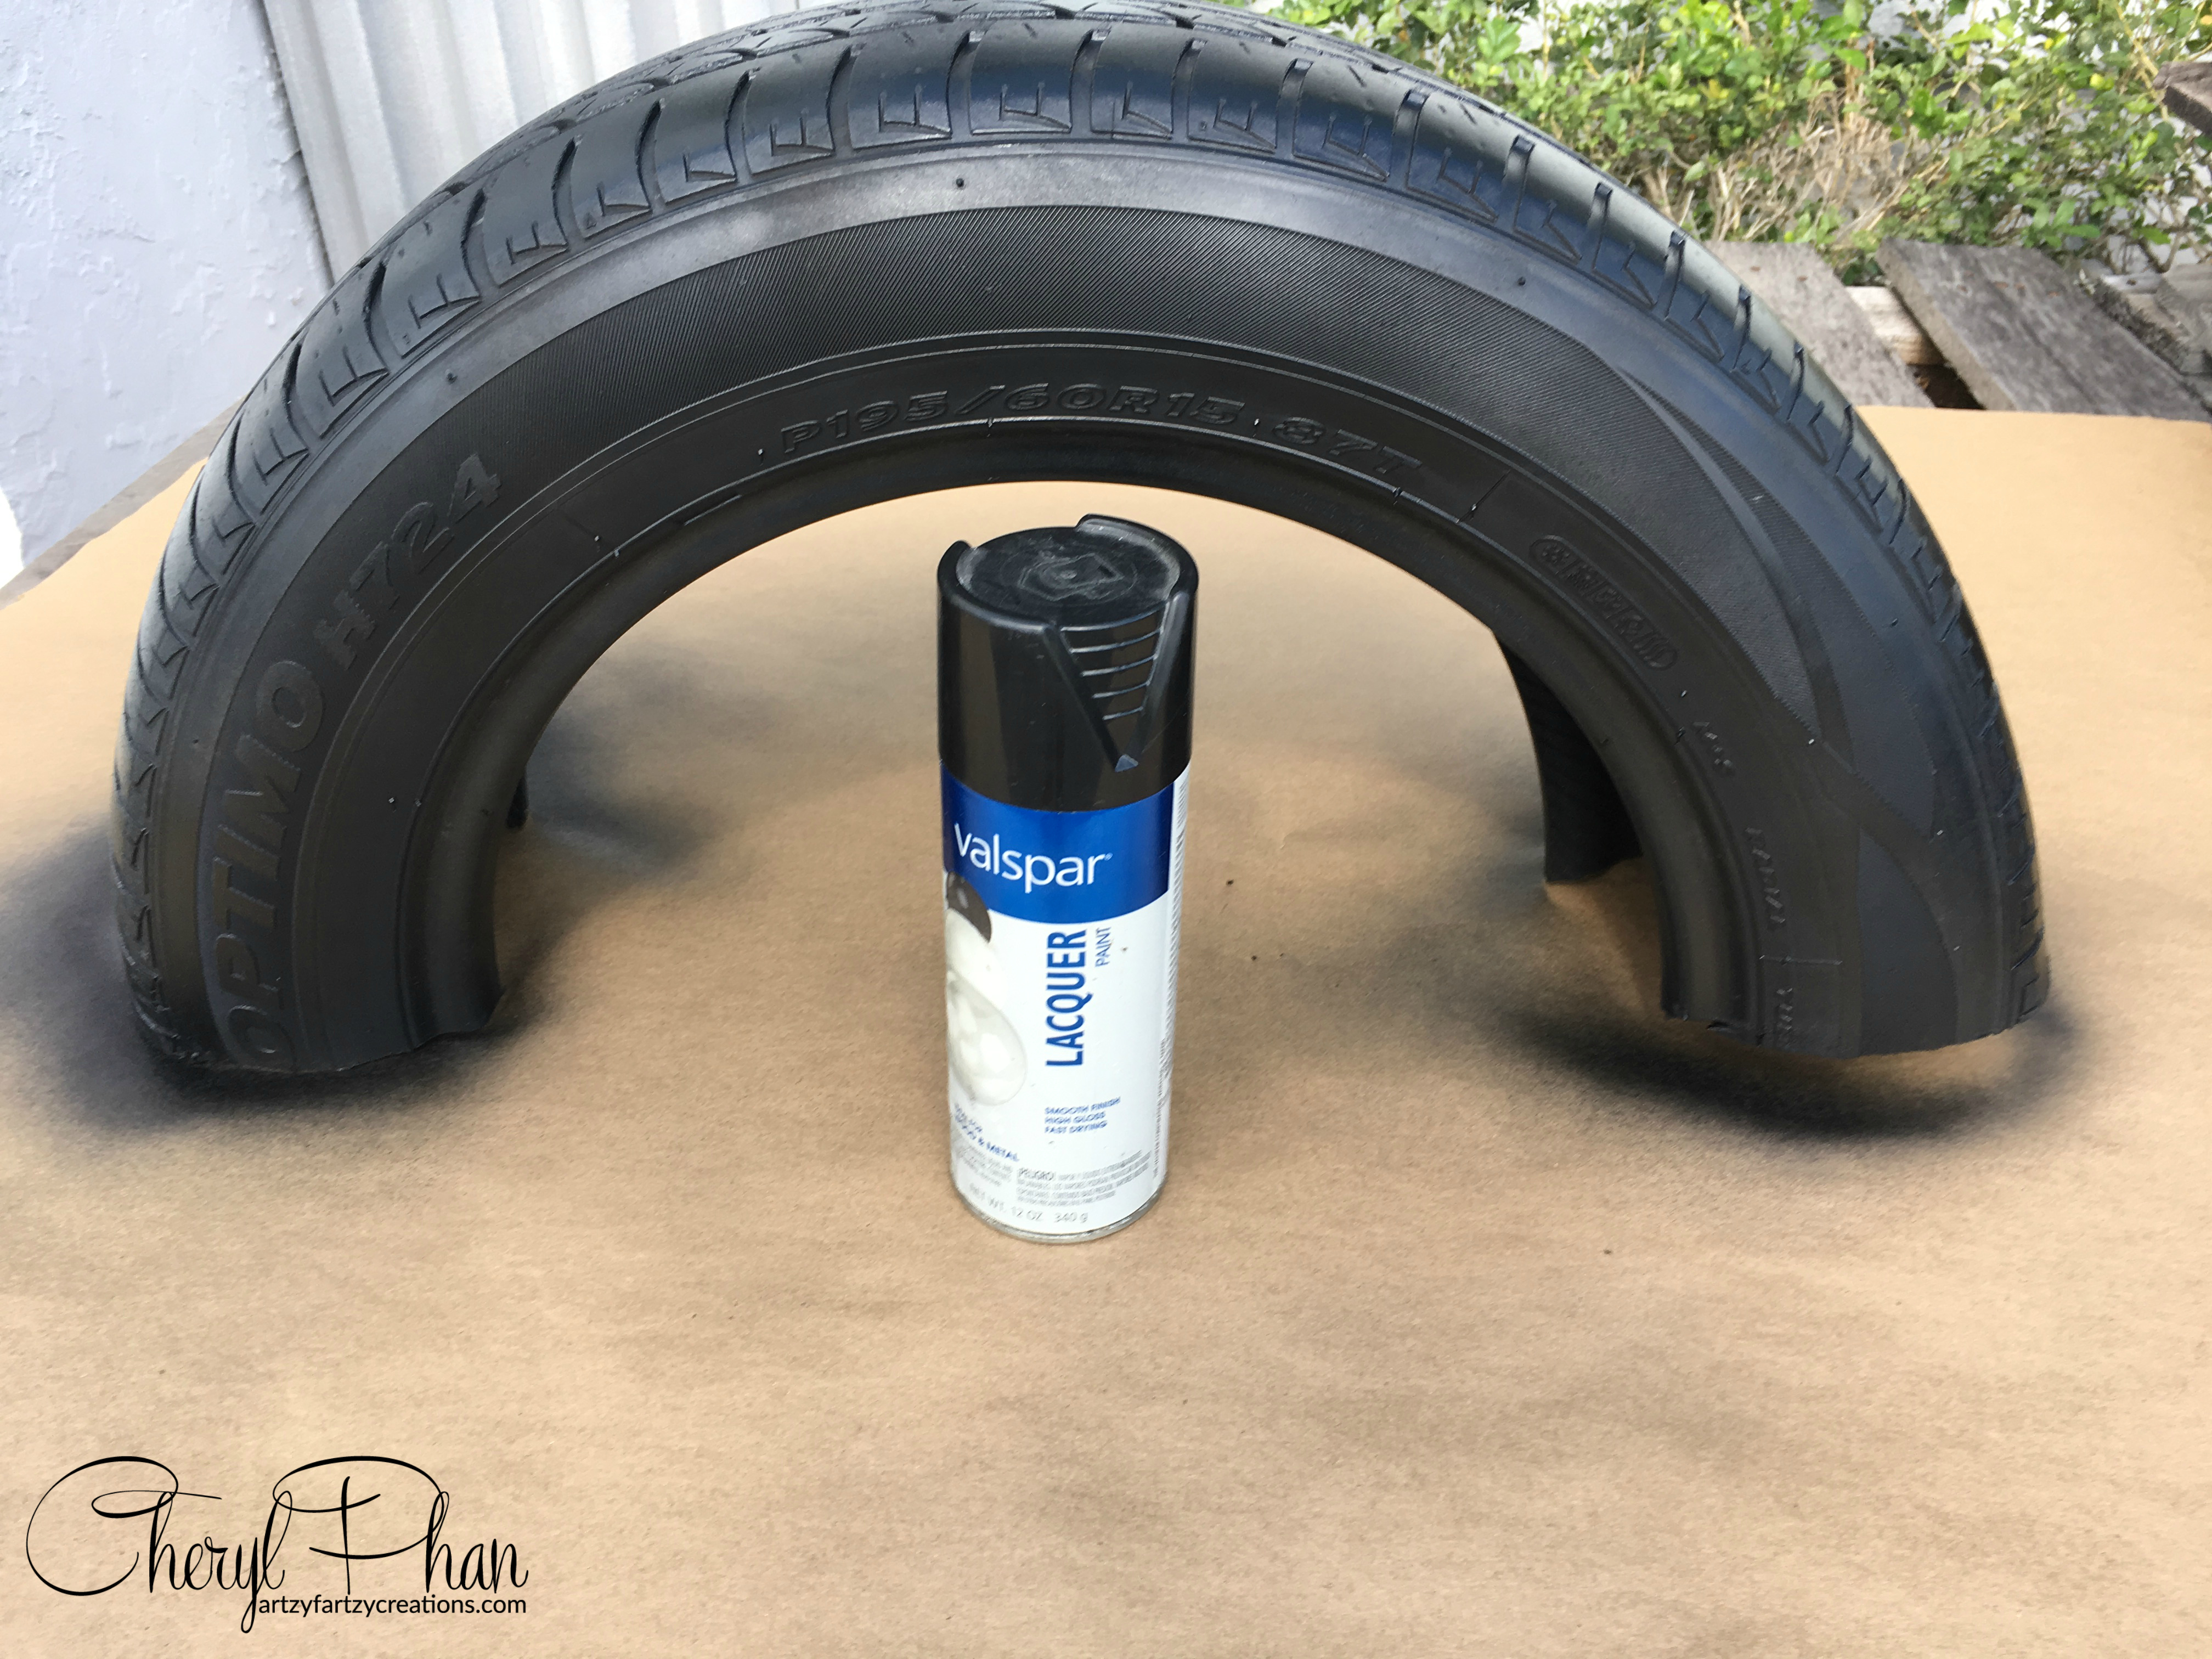
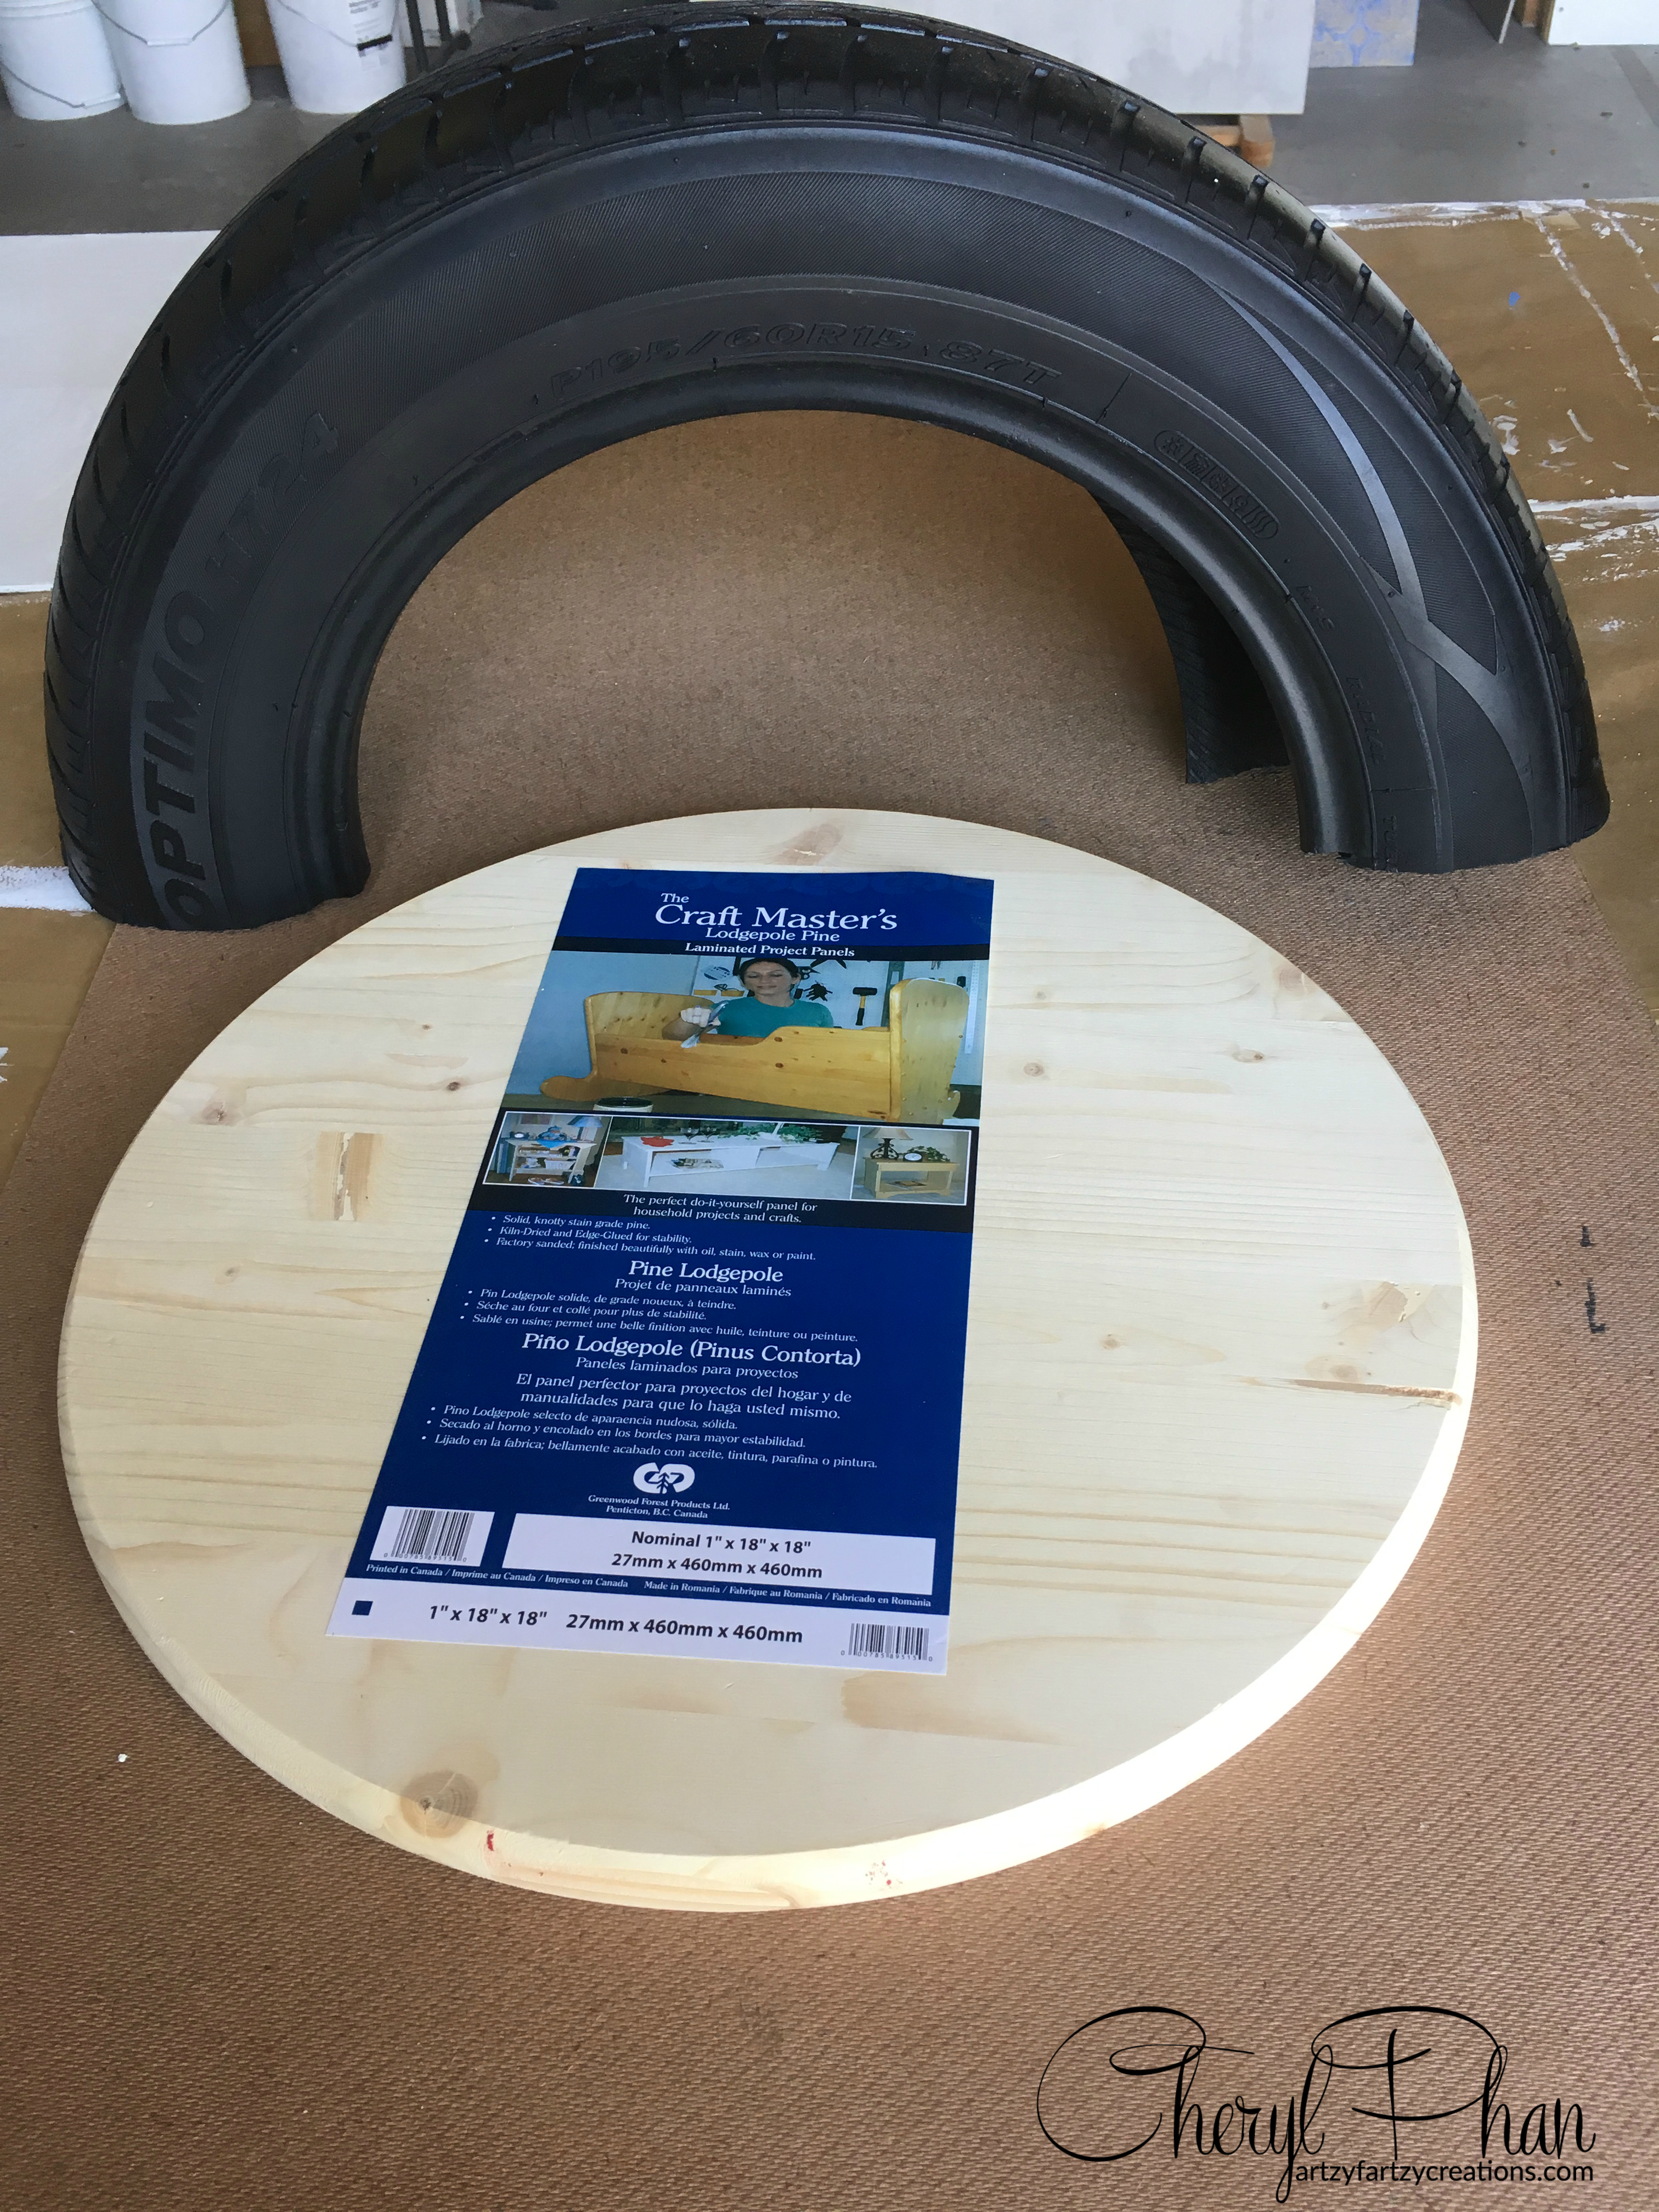
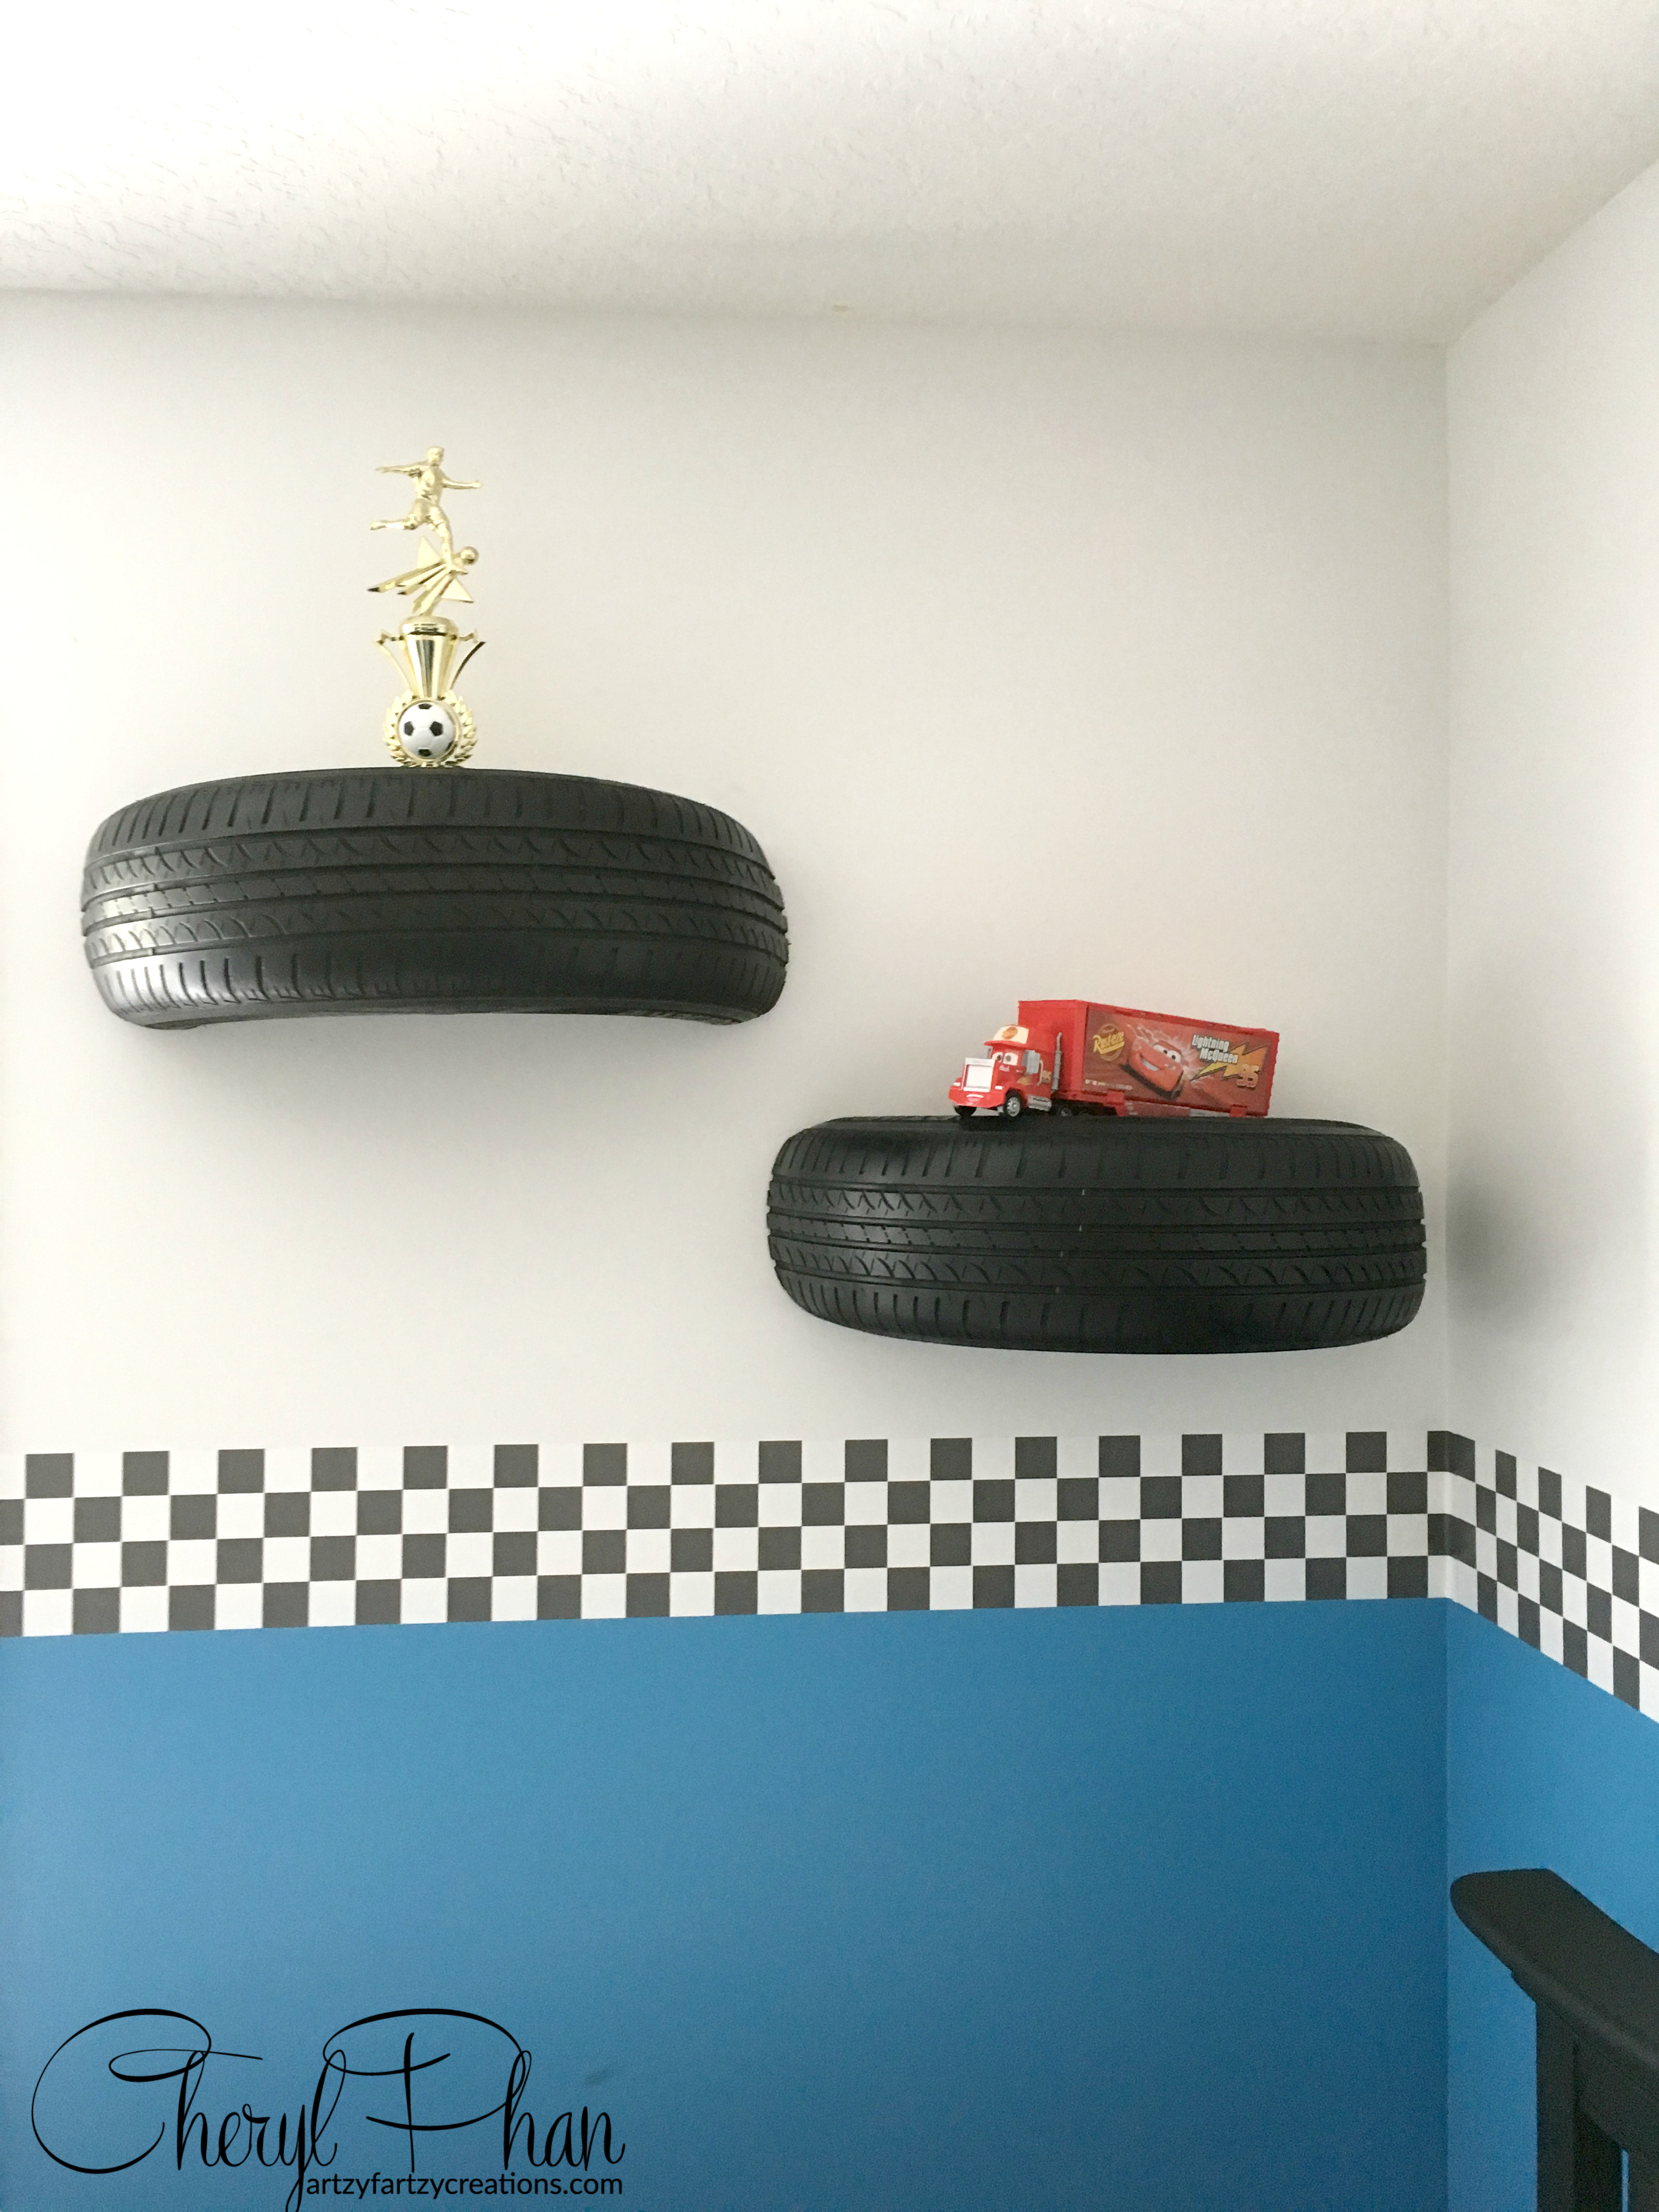
This was probably the most creative feature in the room. J.B Salvage Yard donated this golf cart tire and my mechanic at Tell A Friend Automotive cut it in half so we could mount it on the wall and make shelves out of them. This is a golf cart tire, it seemed to be the perfect size for a shelf. They were very dirty so I cleaned them and spray painted them with a black lacquer paint to freshen them up.
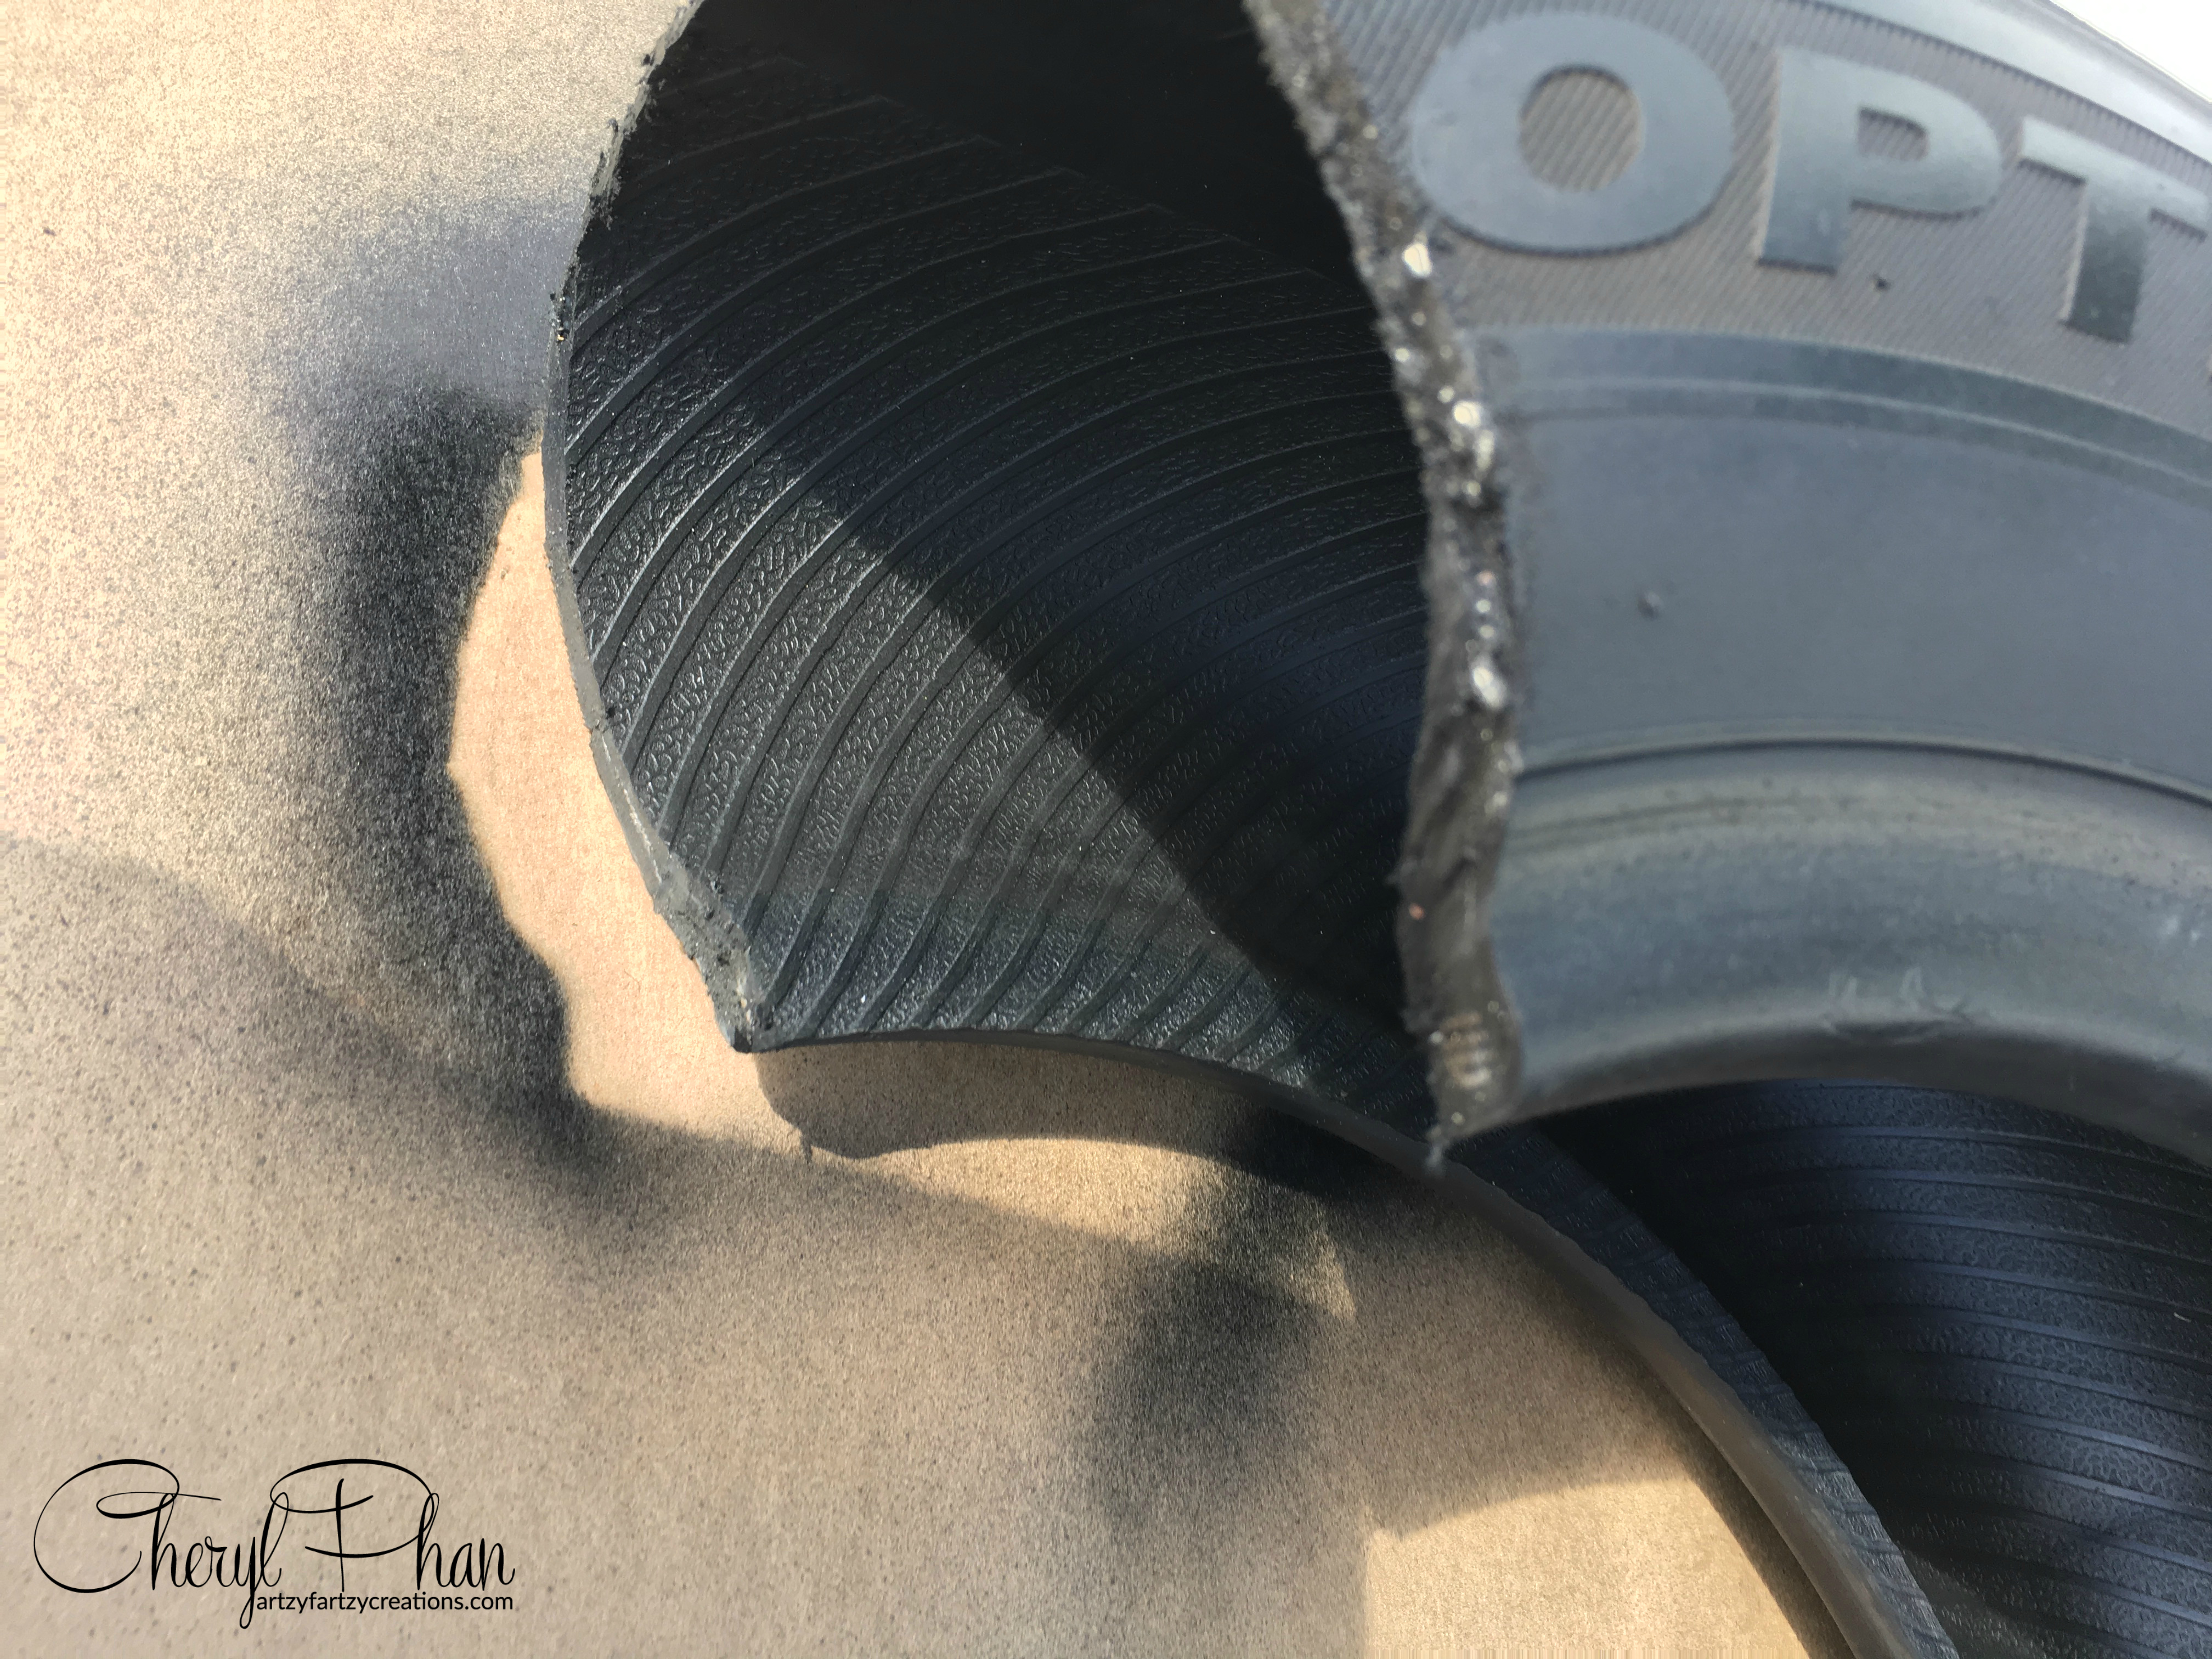
Another word of caution. When you cut the tire, there are metal threads in the tire, so make sure you don’t cut yourself and trim off the wire. I don’t know how he did it or what he used, I wasn’t there to watch him. If you decide to make one of these, do what I did: get a guy to do it.
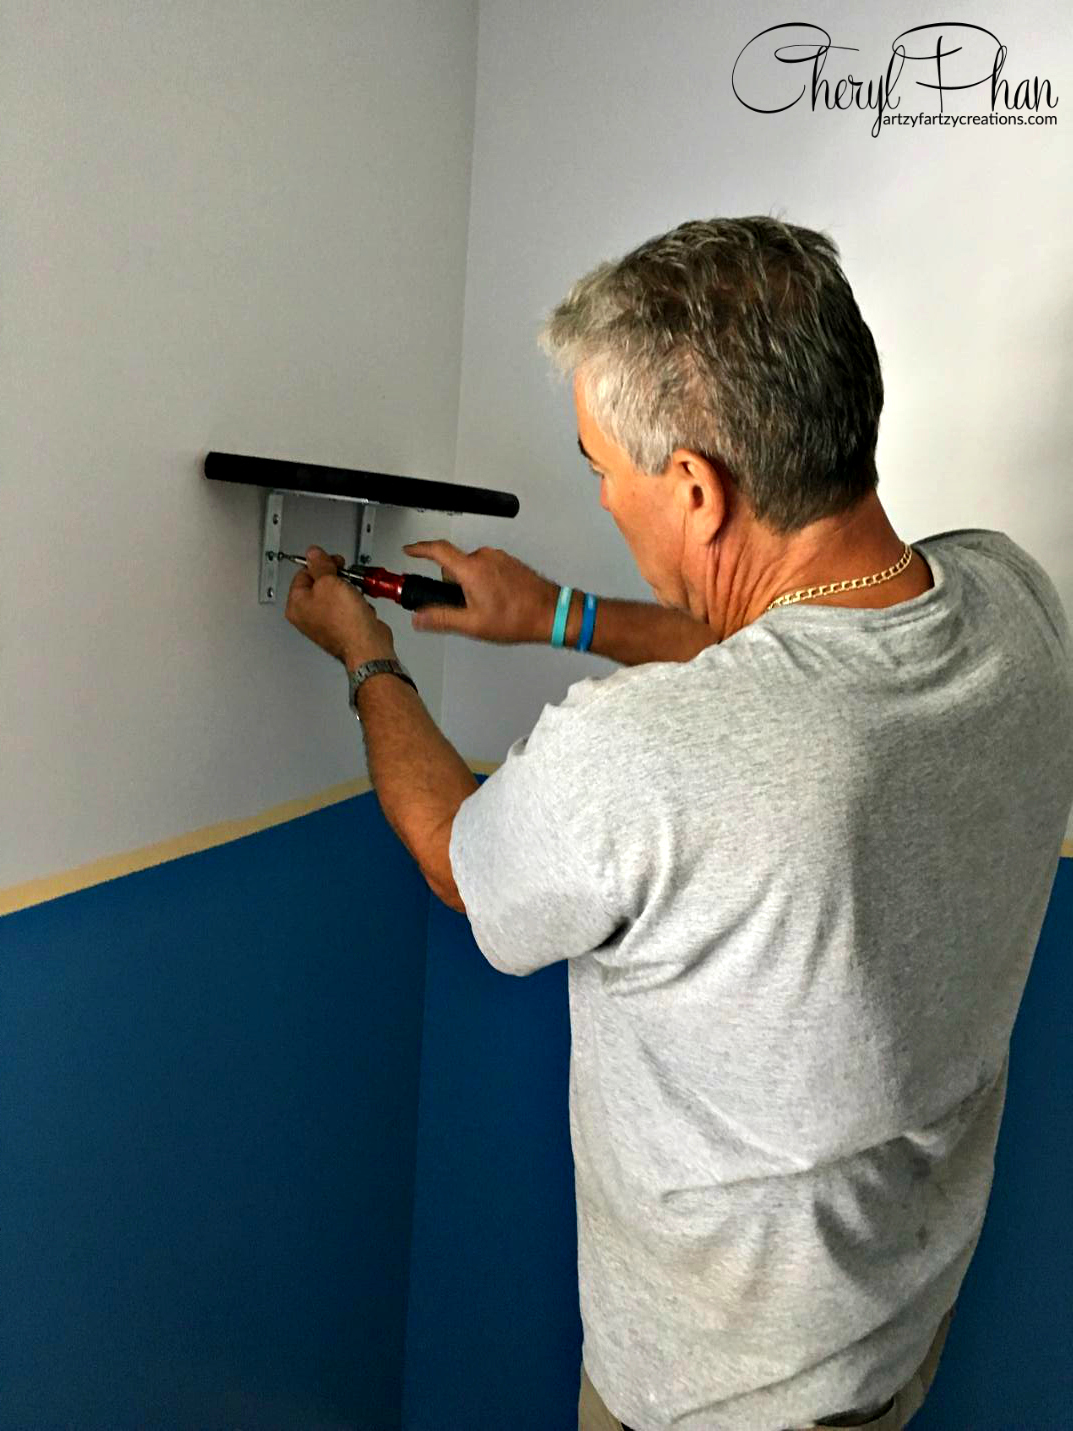
The next thing you’re going to need is wood and L-brackets. I made it easy on myself, I bought this round piece of wood and cut it in half and then painted it black. The size of this round wood was 1”x18”x18” is was the perfect size for the golf cart tire. I bought it at Home Depot. This piece of wood will be mounted to the wall with the L-brackets and then you slide the tire over it. It’s a good idea to then screw the tire into the wood so it doesn’t fall off the wall.
One of my newest friends and volunteers is Arnold. He has such a serving heart and is good with tools and assembling. What a blessing to have great people on your team.
I love these shelves. It really makes the whole race car theme come together.
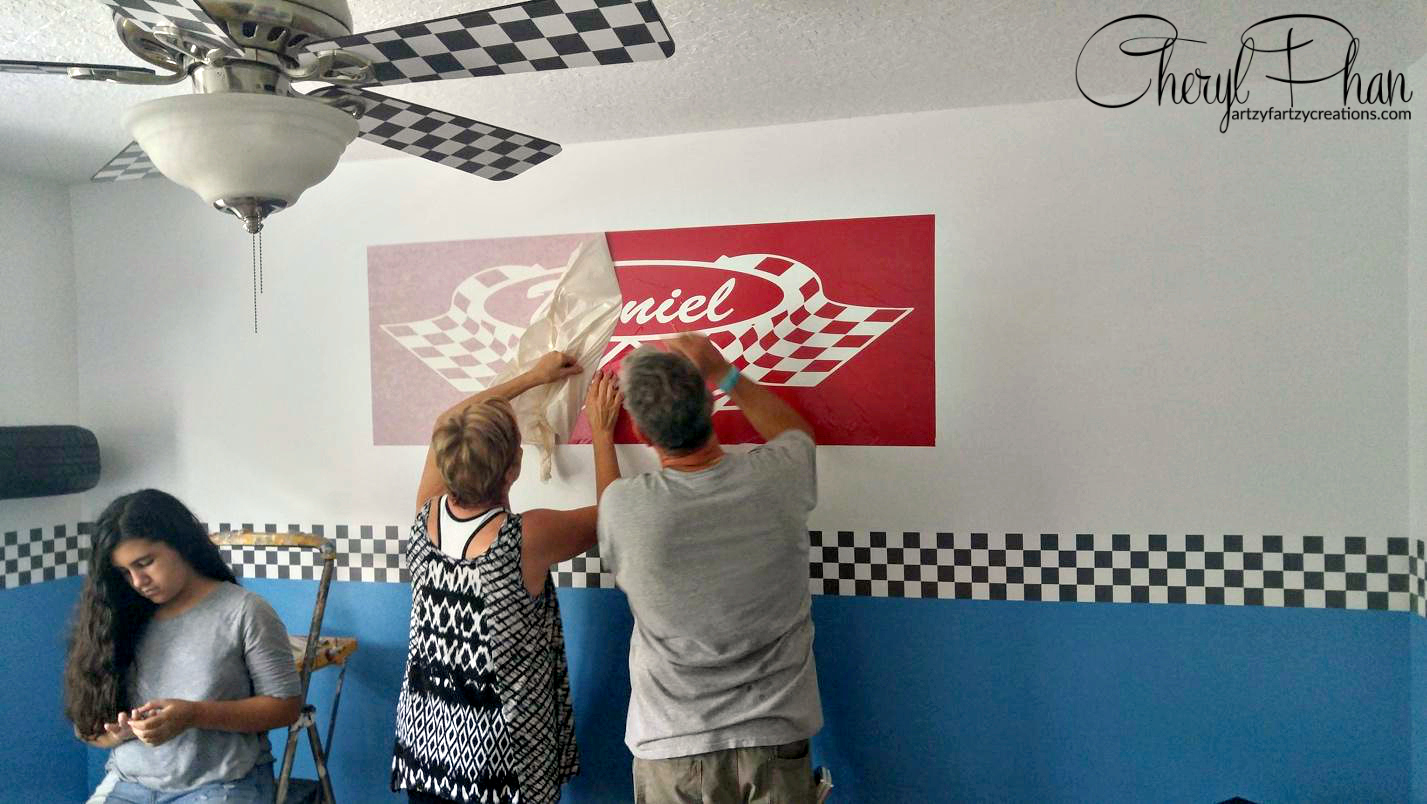
Thanks to Faux Effects for donating this amazing Stencil that personalized the entire room. Daniel was so excited to see his name on the wall. I love working with Modello’s. It’s like contact paper that sticks to the wall and is easier to work with than a large stencil. Very little or no bleed through. The key is to measure the area where you want to place it and have one or two people to help you apply it. Once it’s in place all you have to do is roll on the paint with a sponge roller.
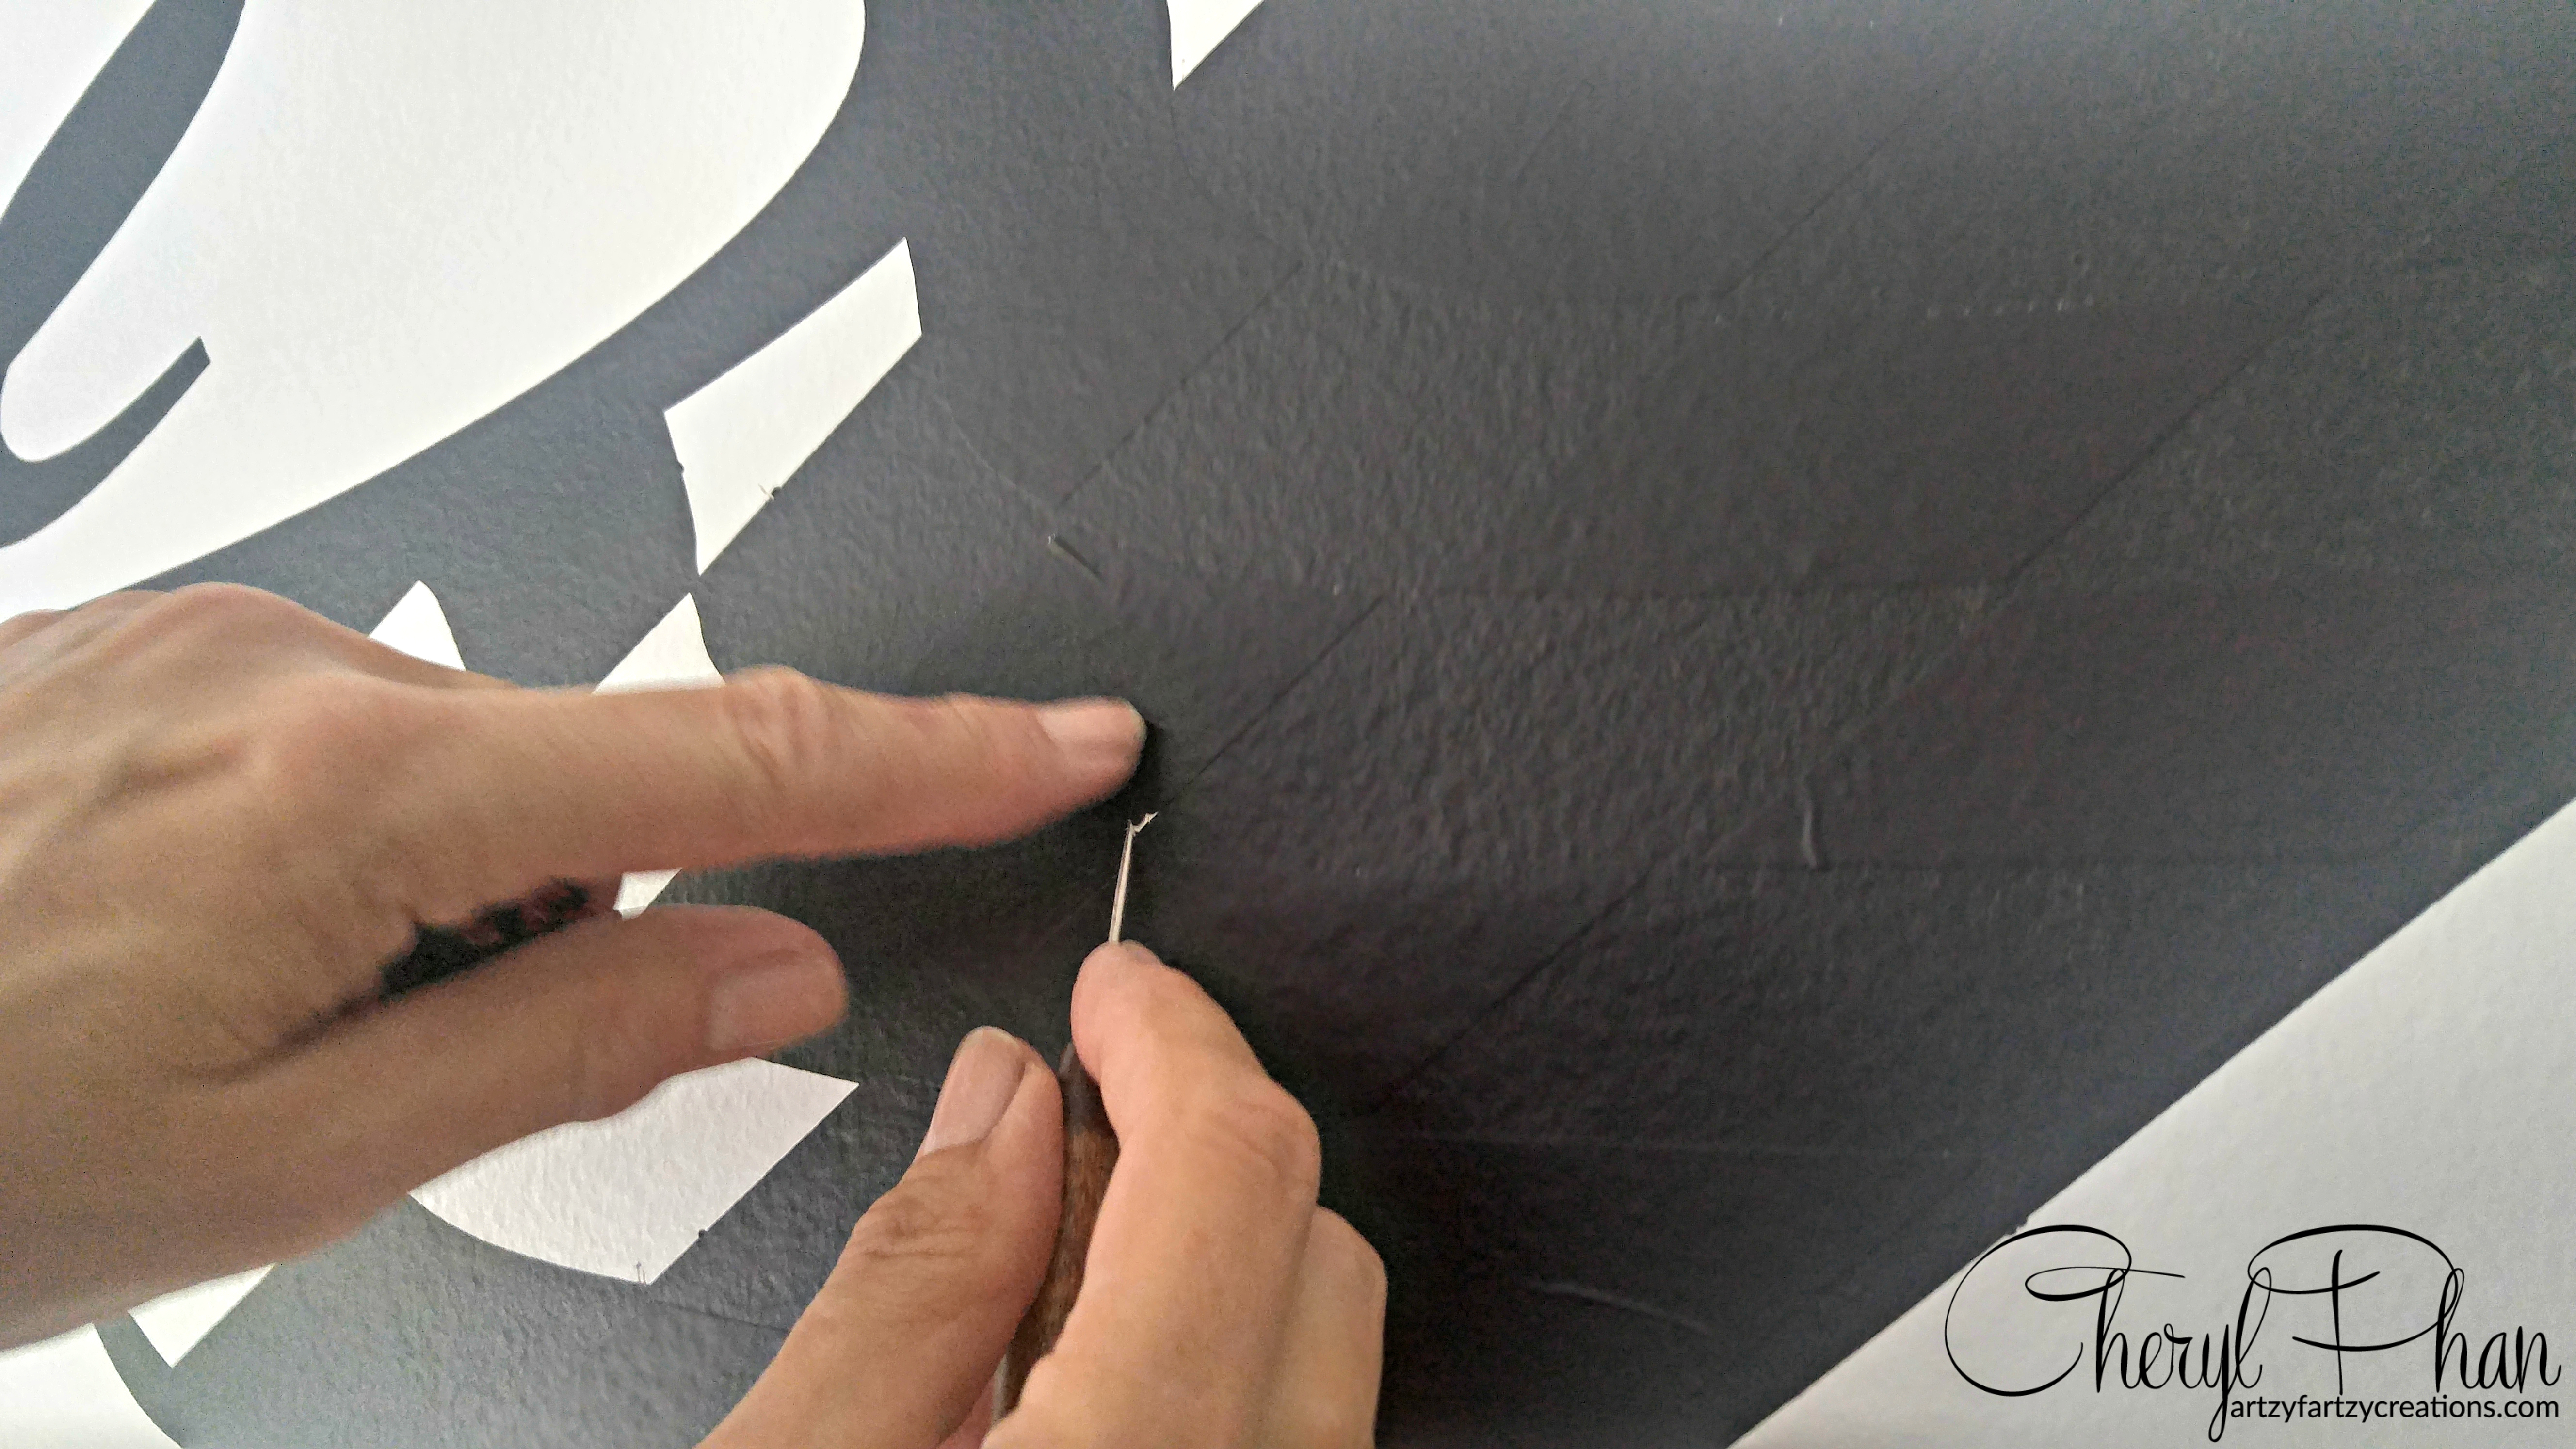
Once the paint is dry use a pick to remove the sticky areas.
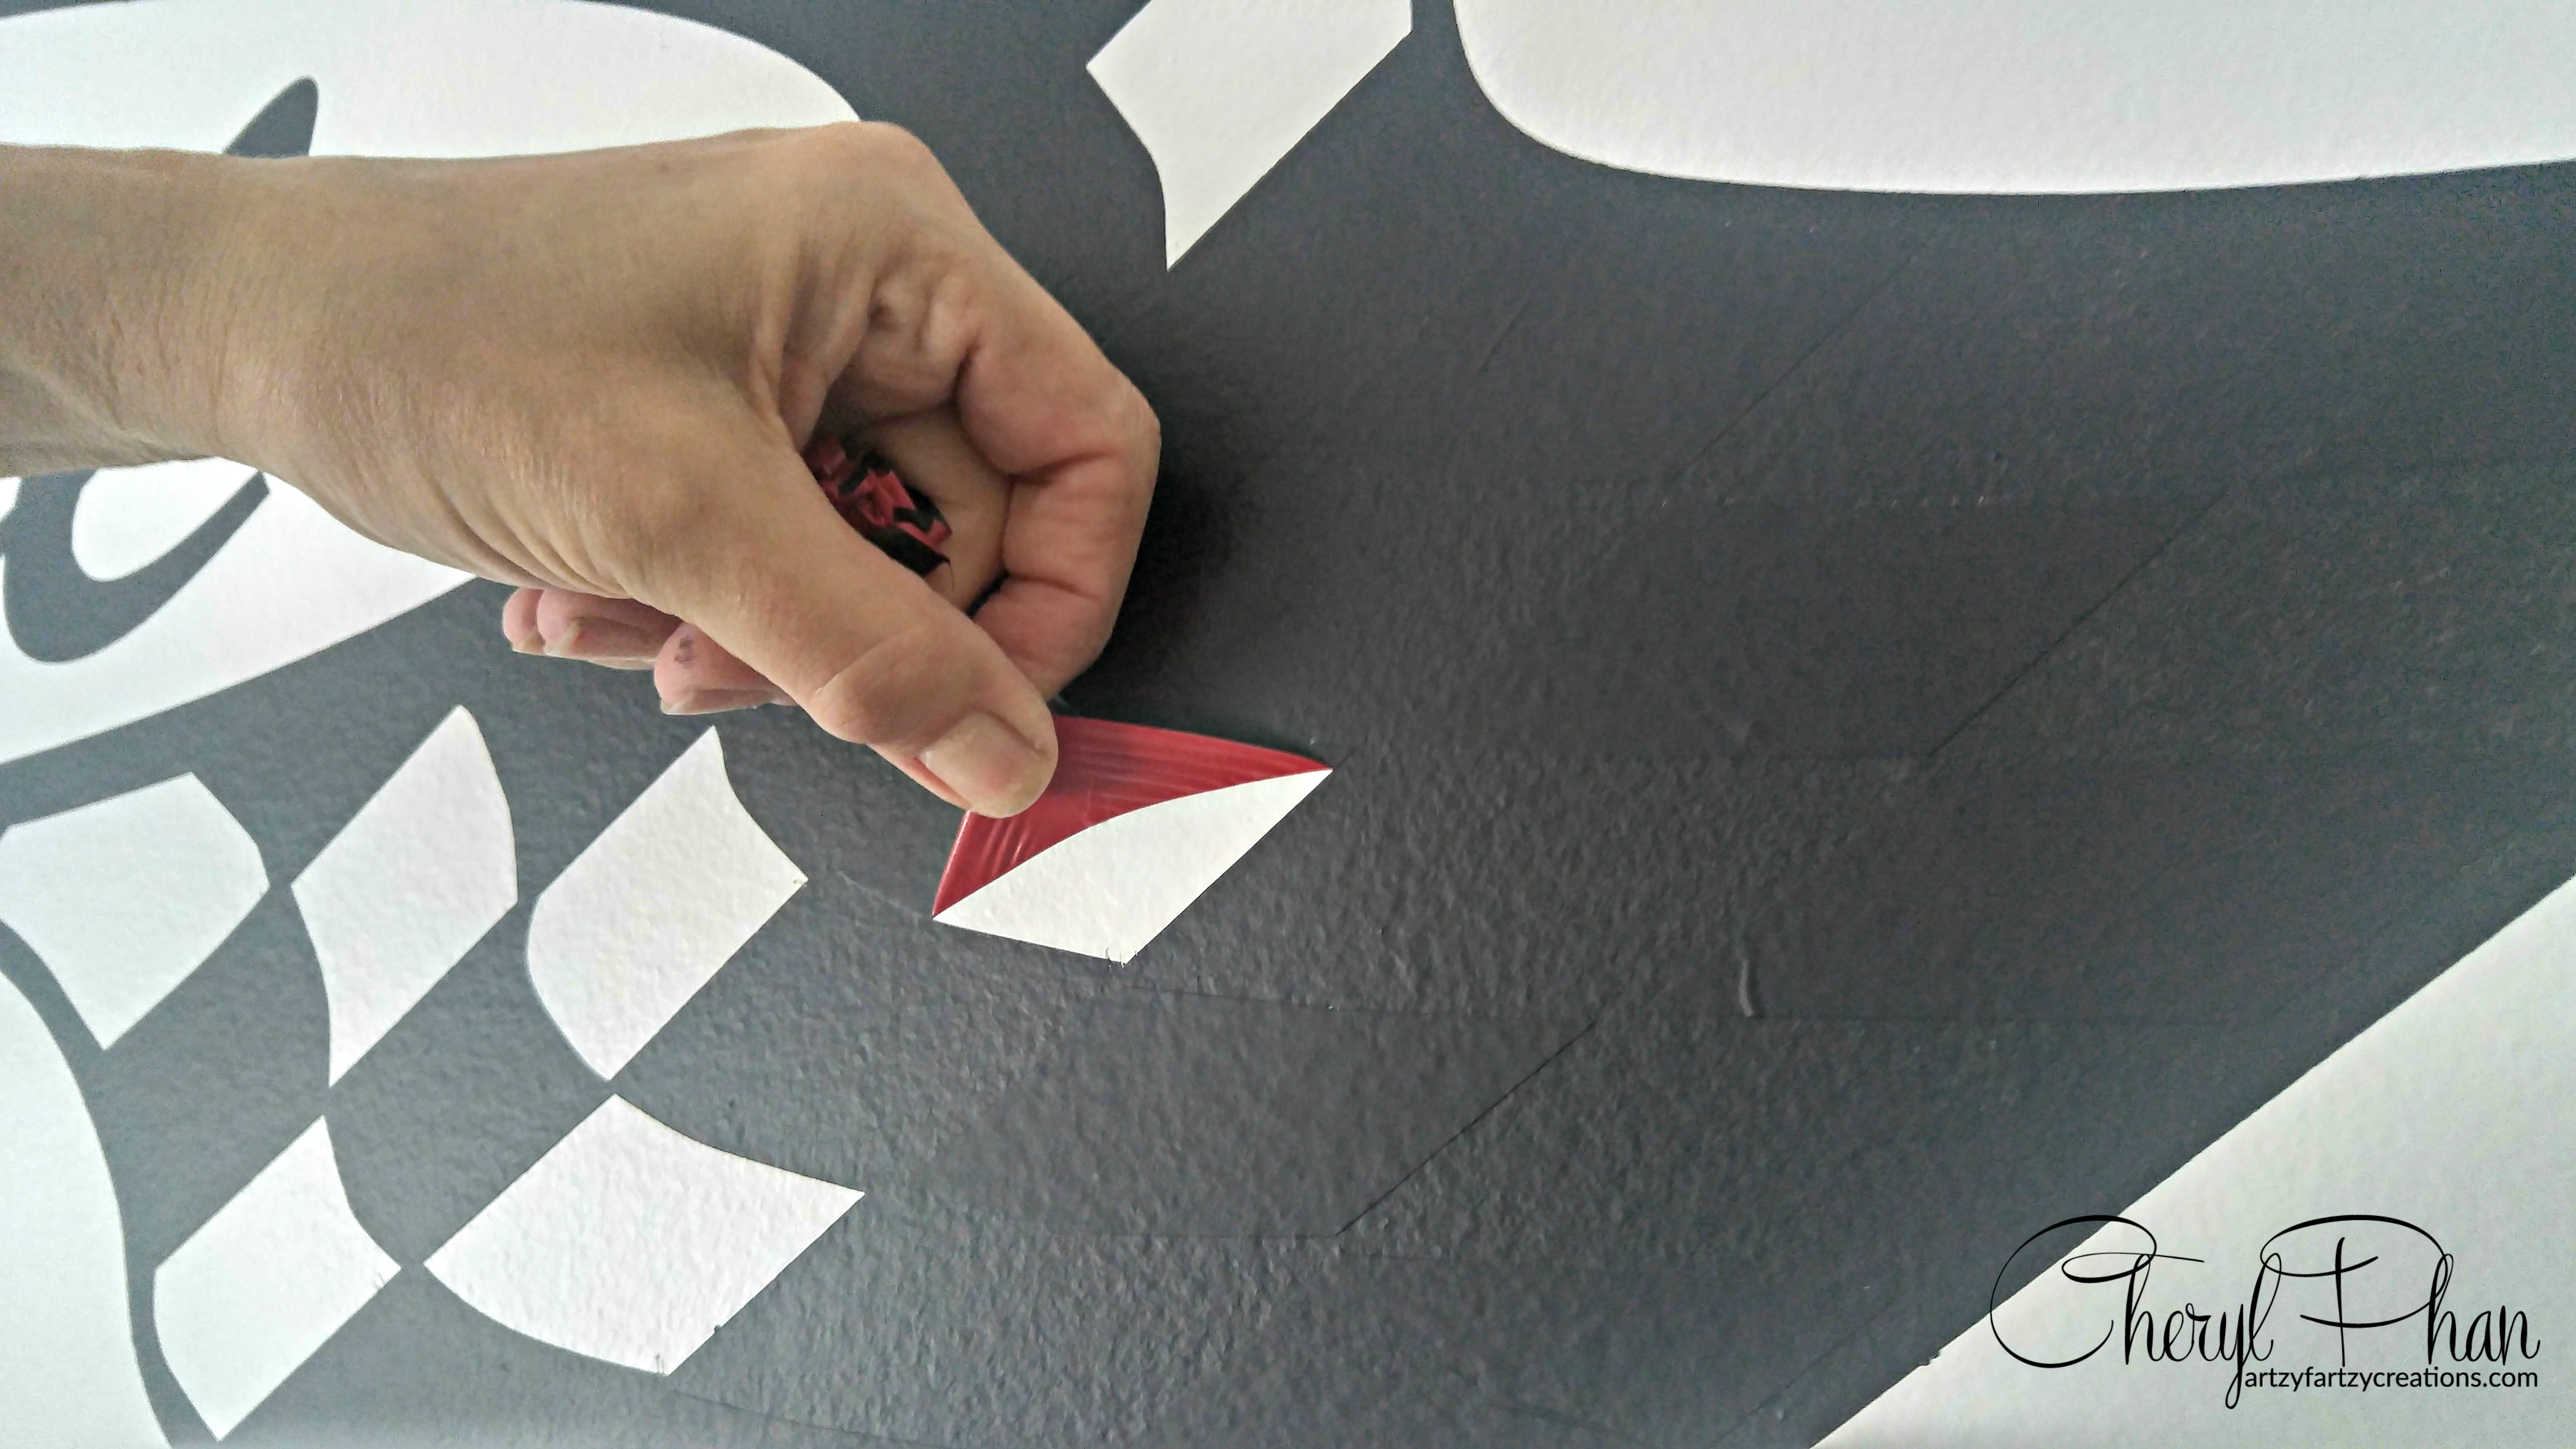
Just peel it off and your design is revealed. How awesome it that!
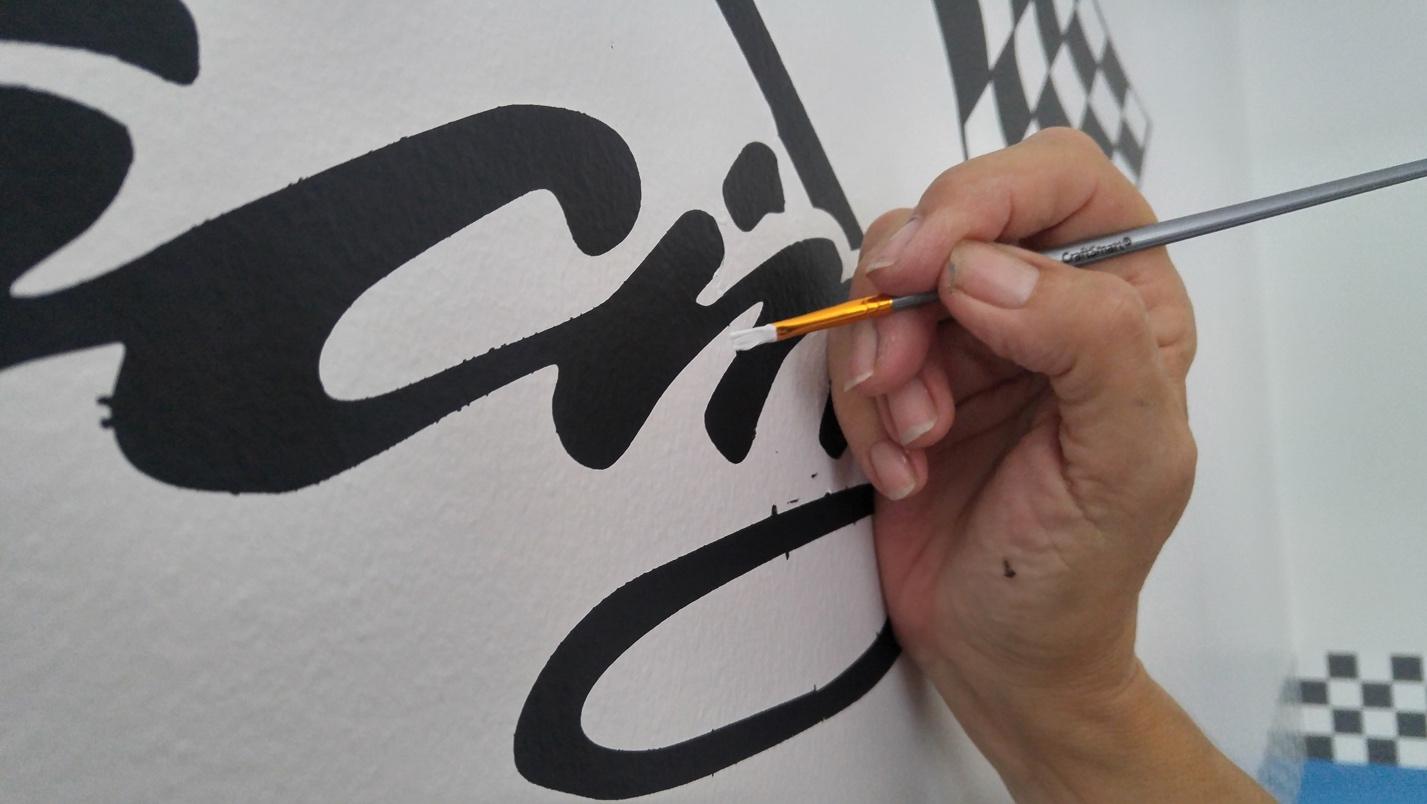
If you have some bleed through, just take you base paint and an artist brush and do your touch-ups.
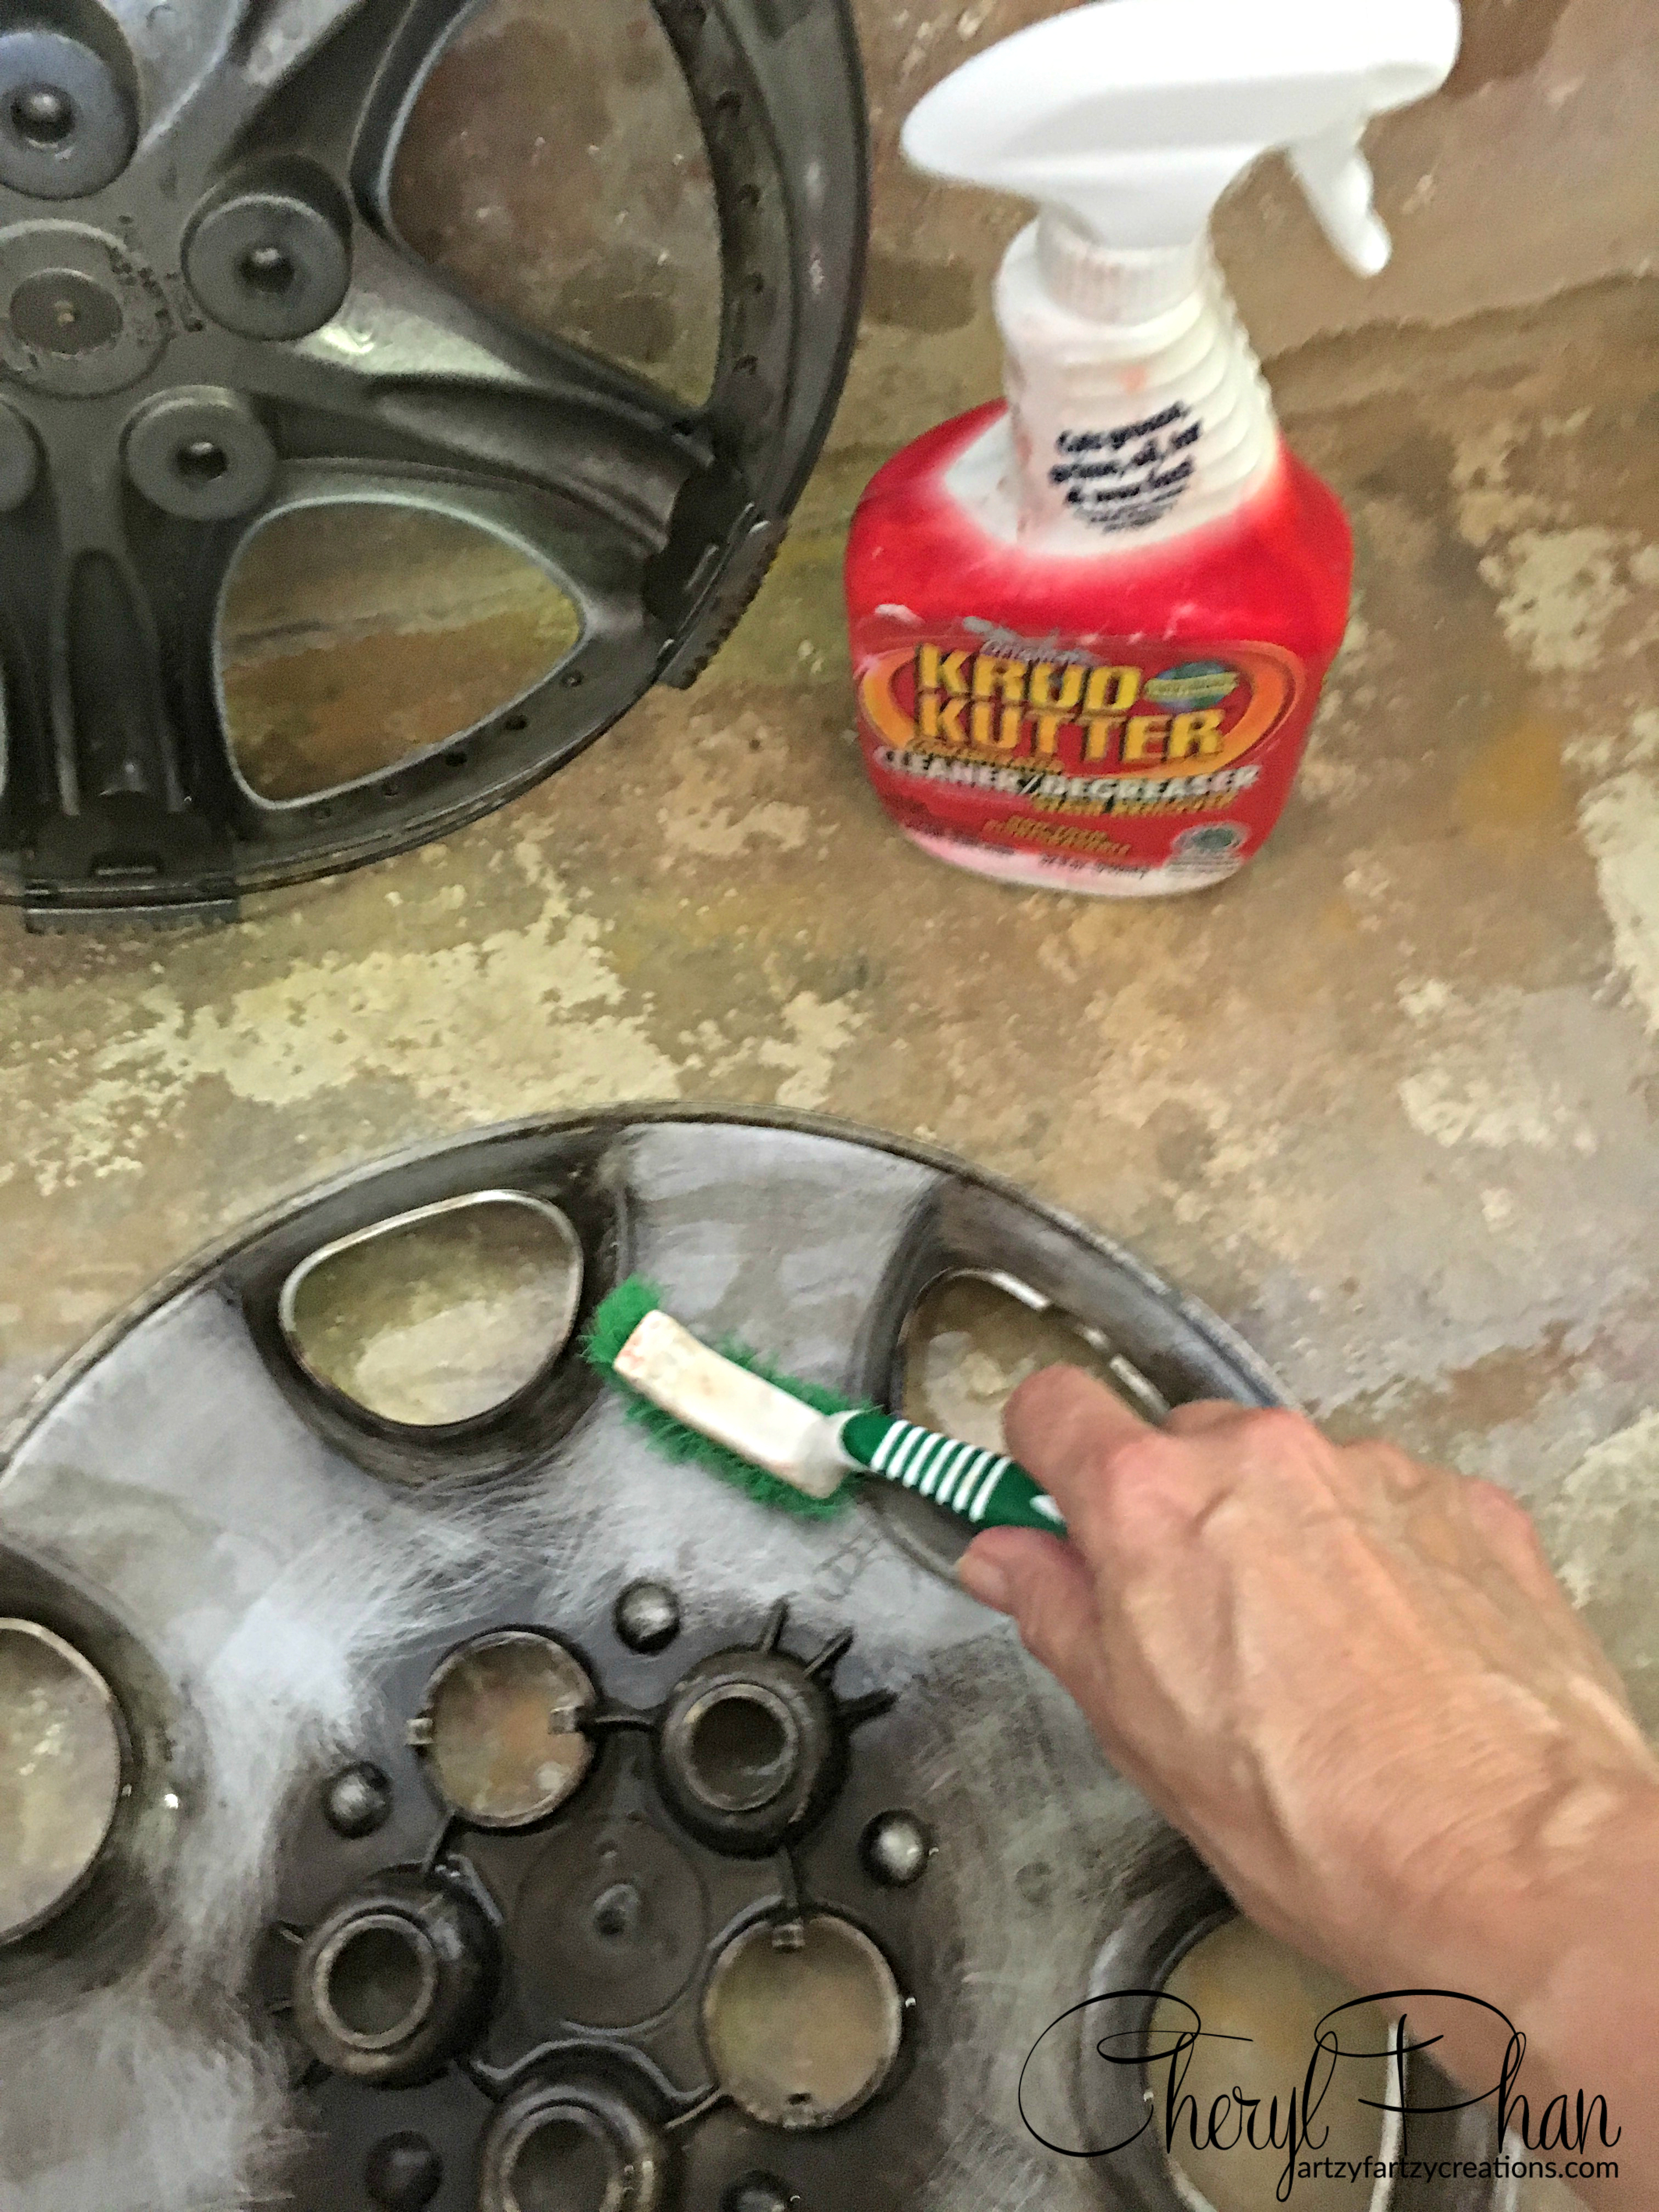
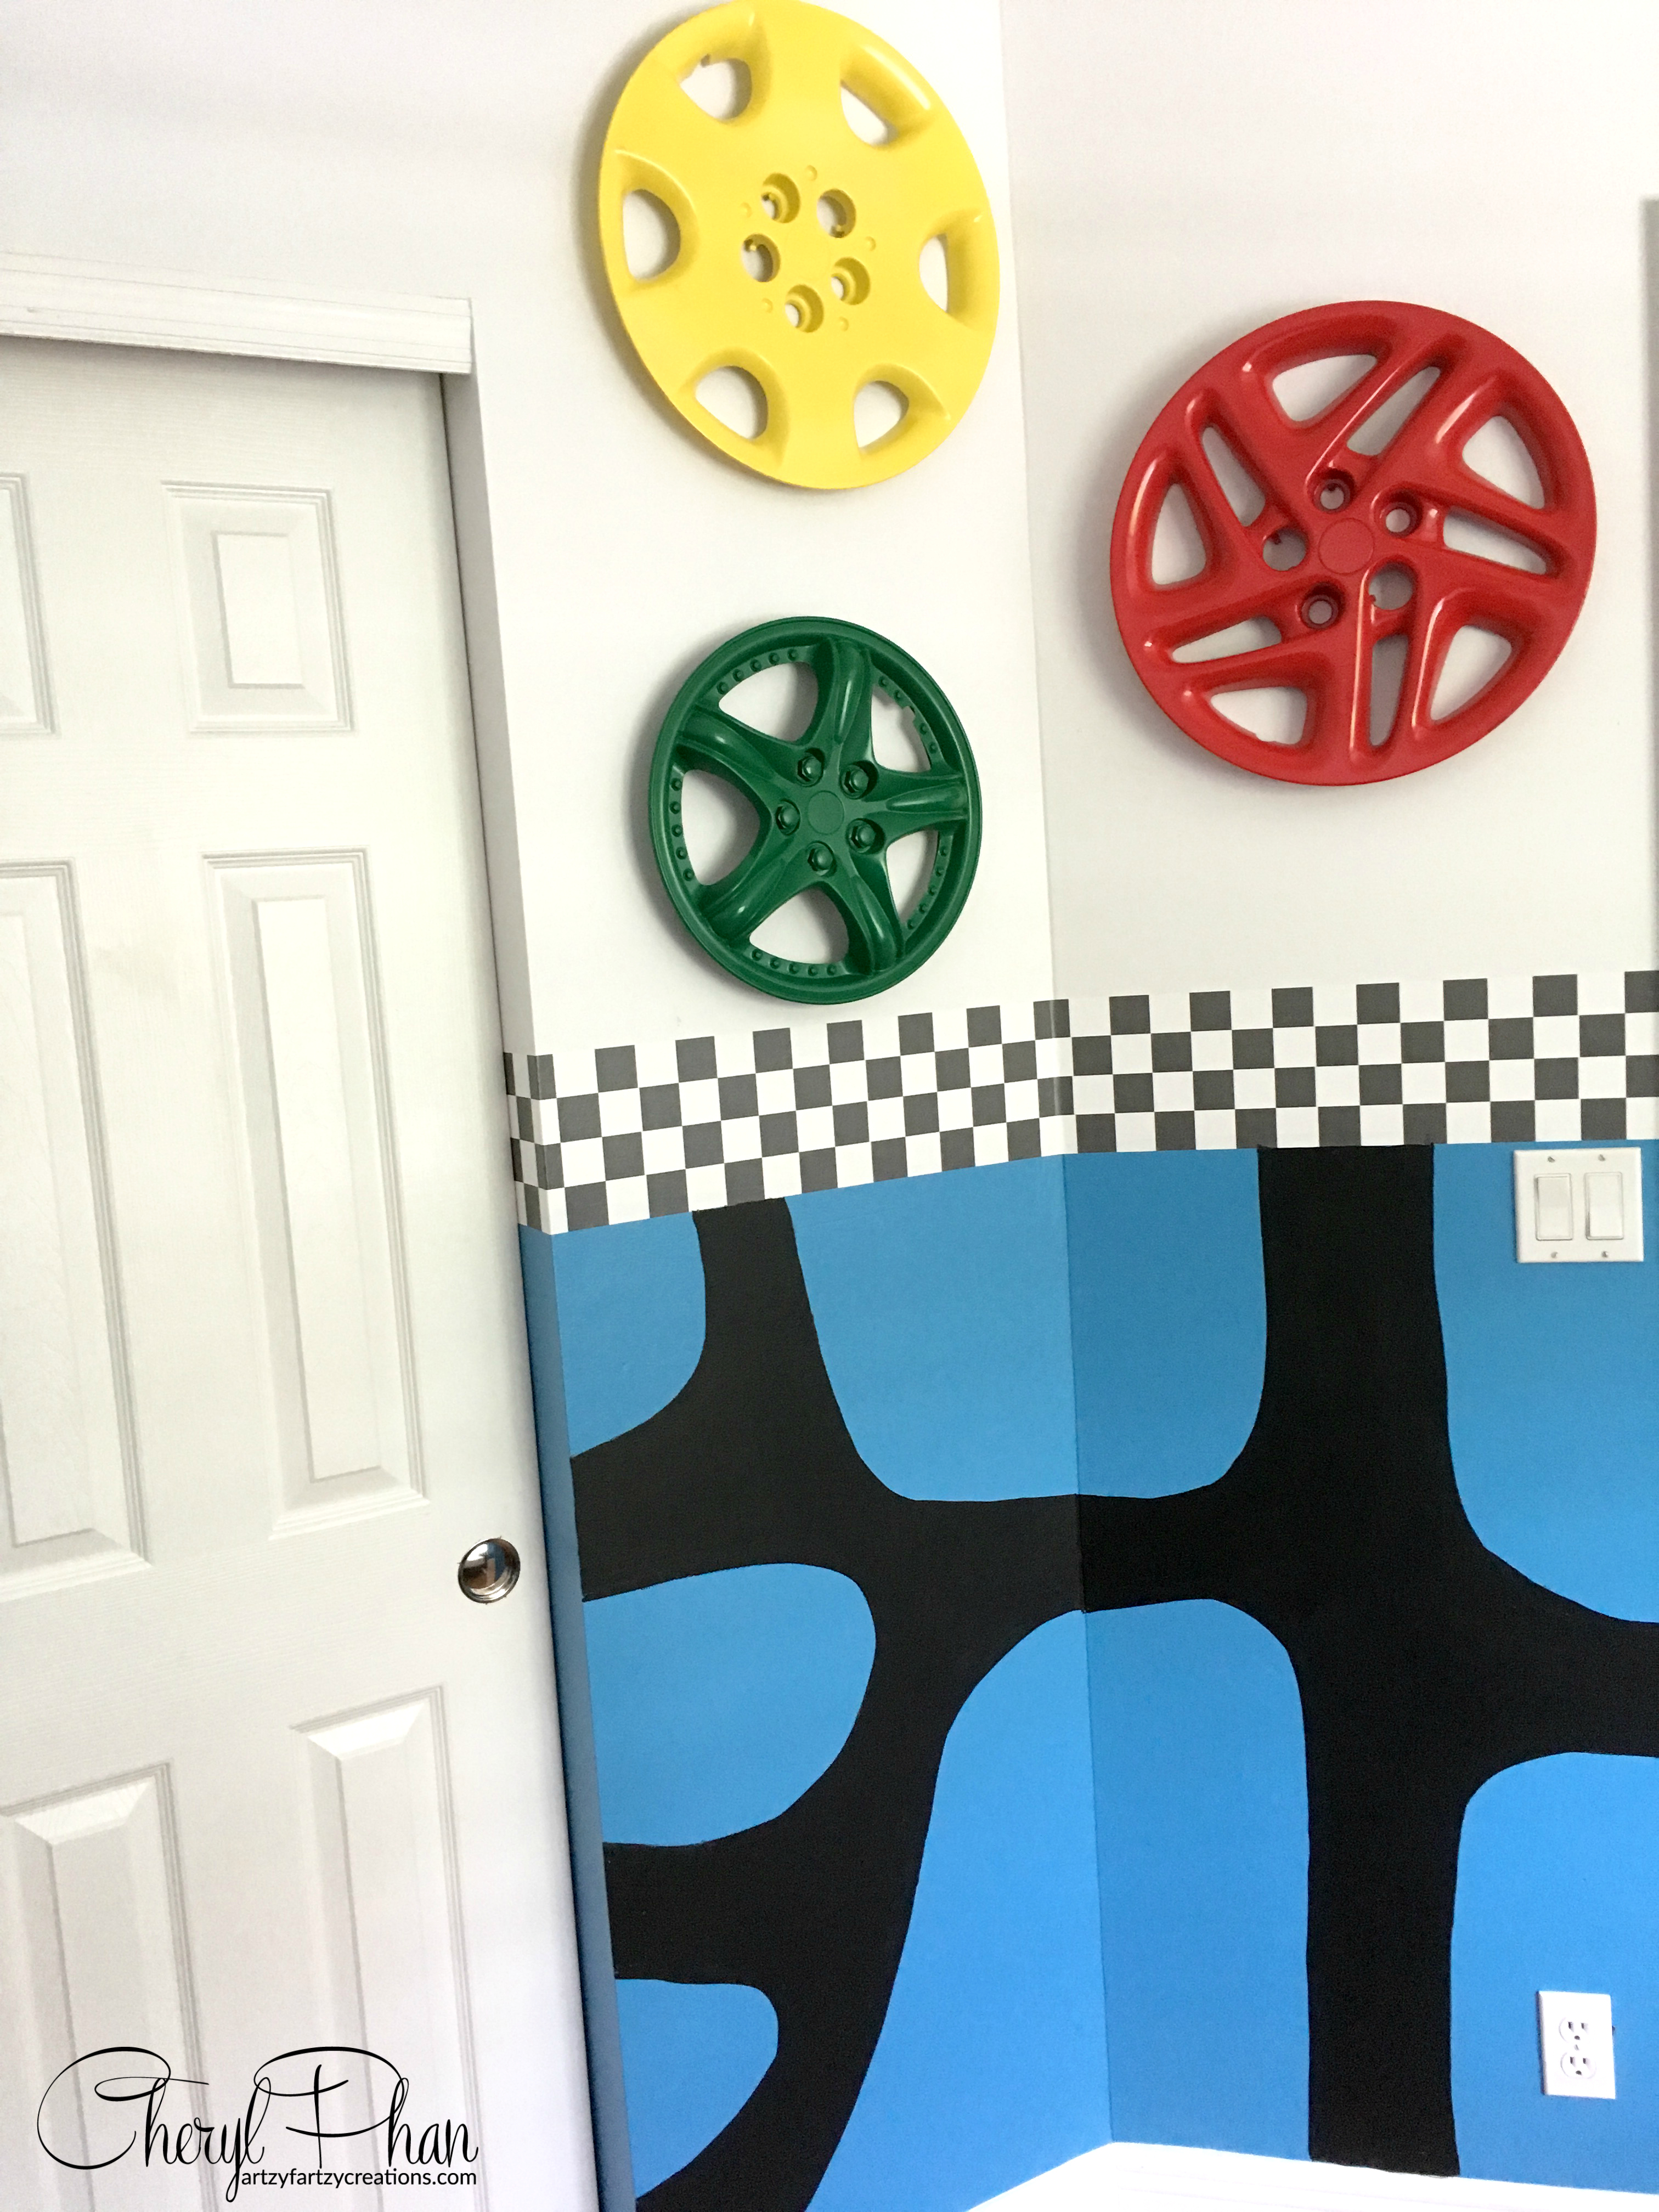
The junk yard donated the hub caps for this project. As you can see they were very dirty. Nothing a little Krud Kutter want handle. I use Krud Kutter to clean just about everything including my stencils.
Once I cleaned them I sprayed then with Primer and then with Rust Oleum spray paint.
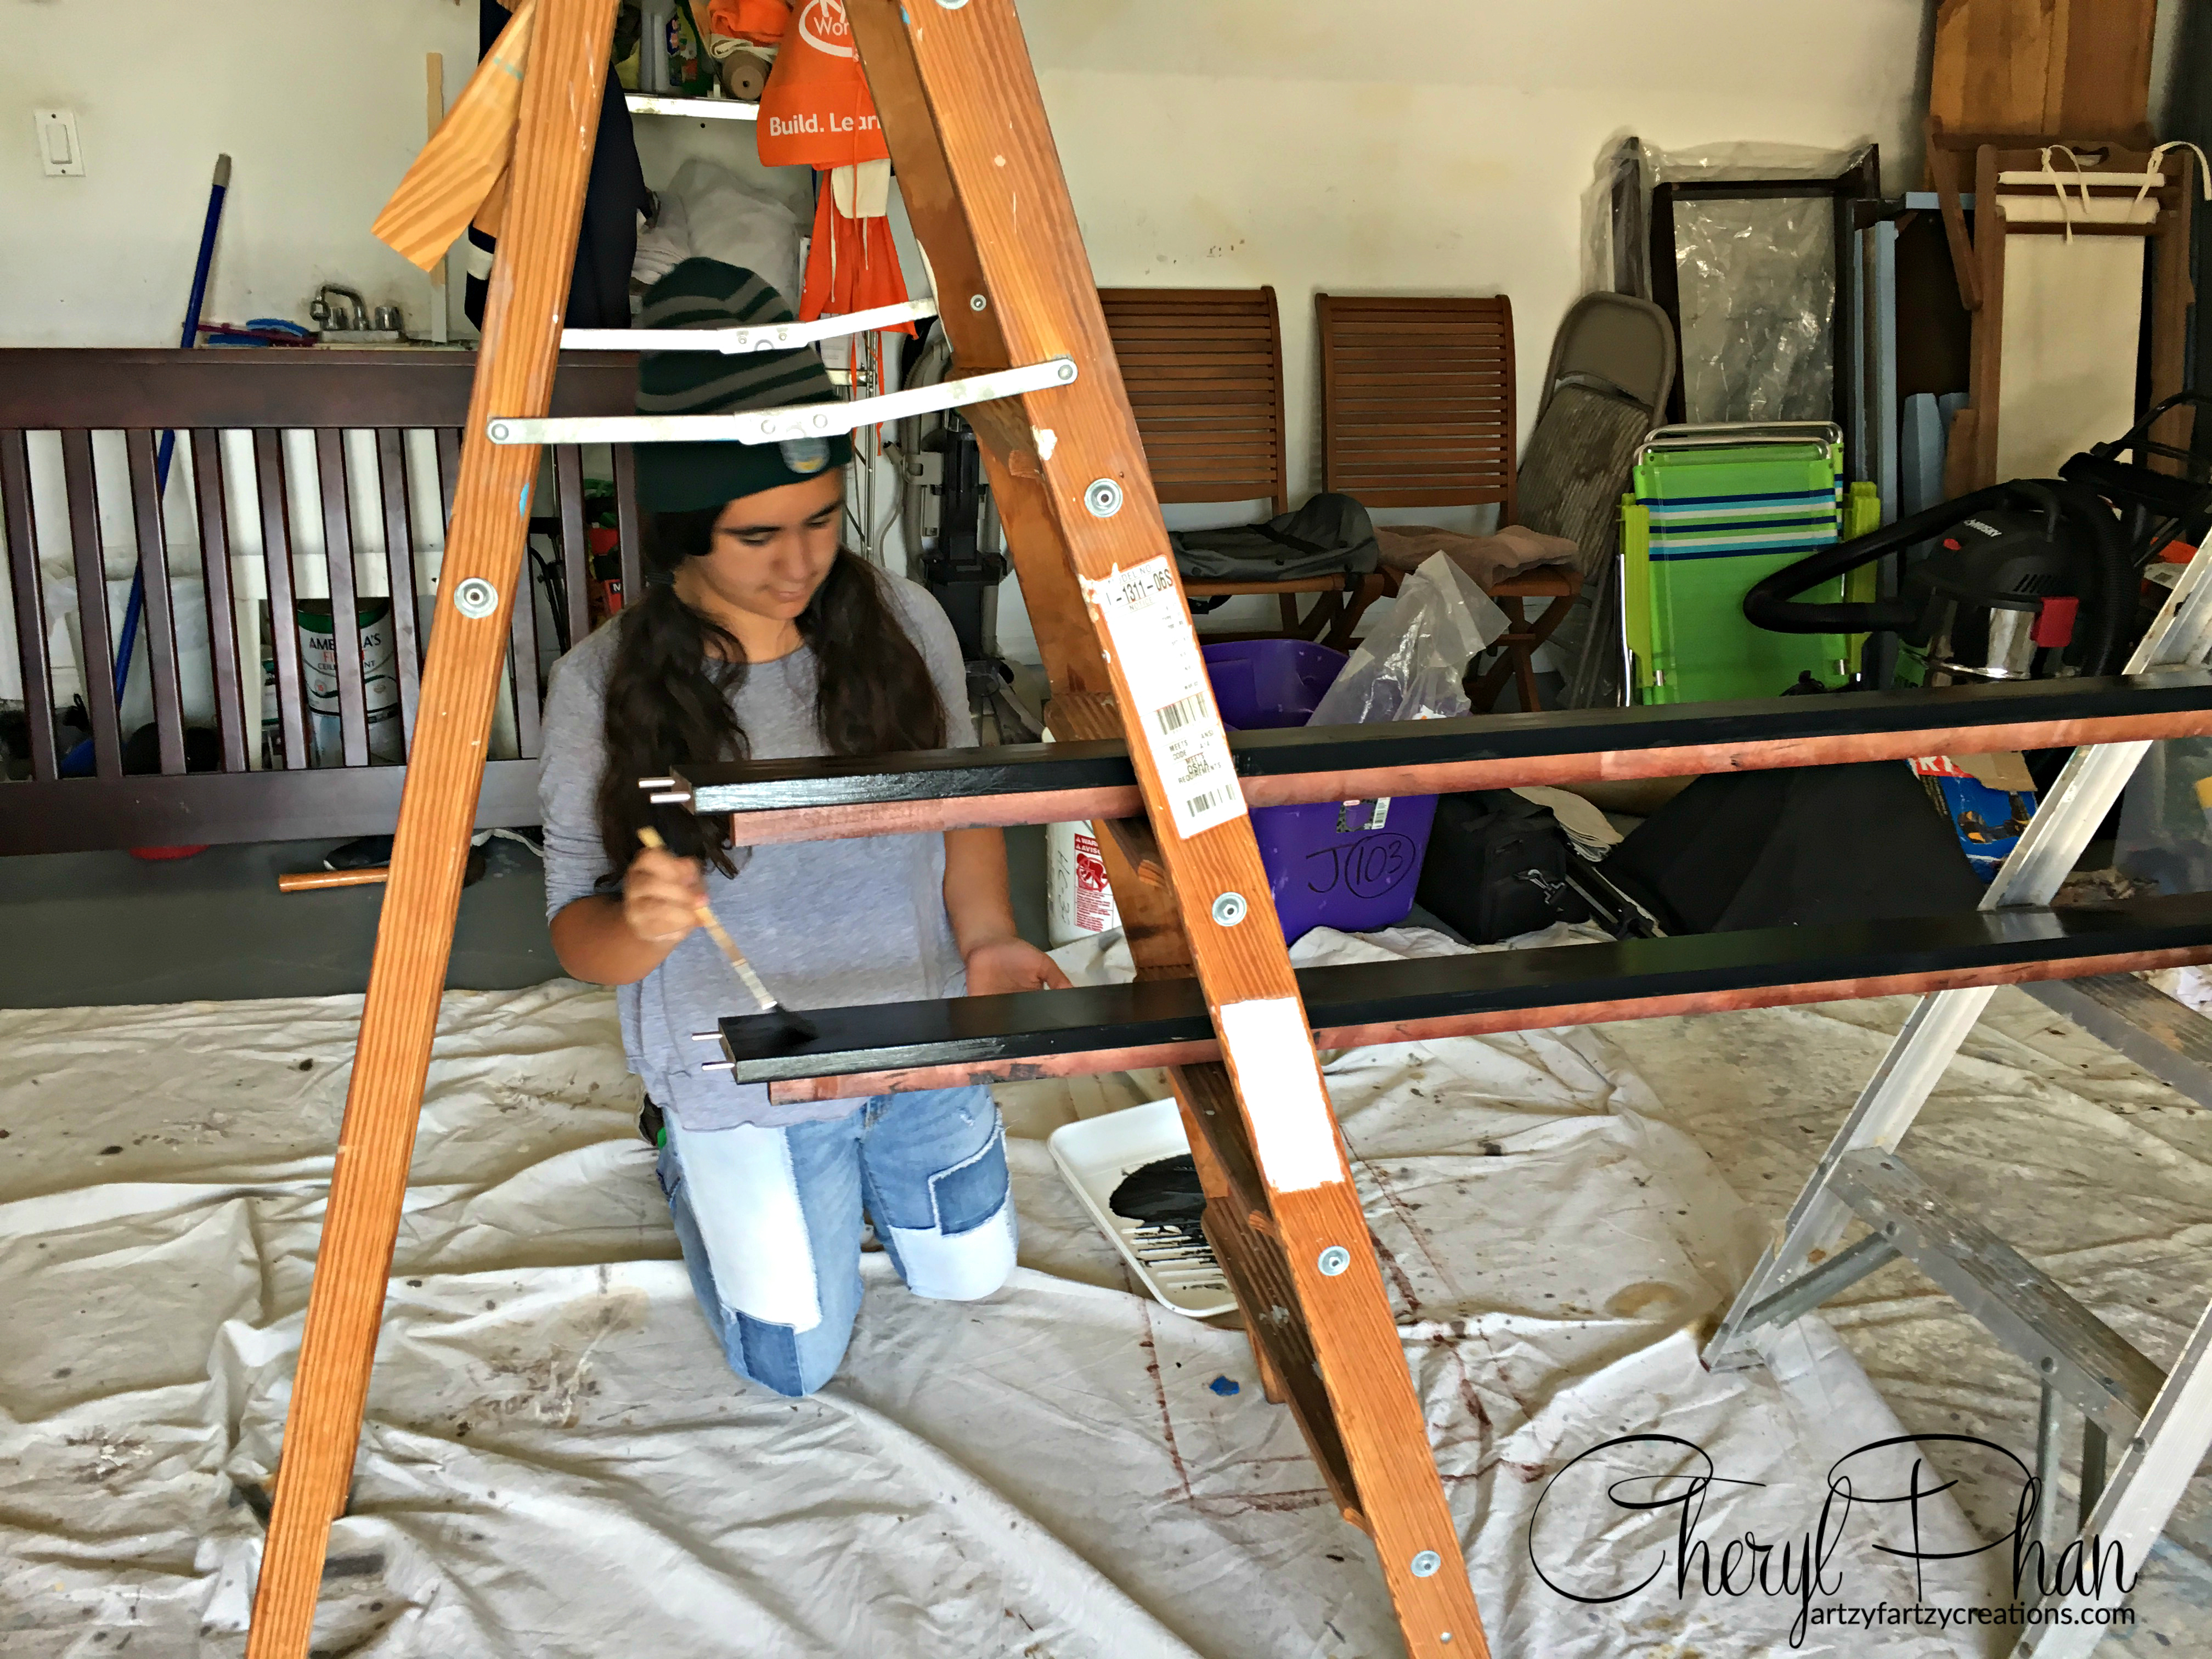
This is Christie, Arnold’s daughter who also volunteered to transform this room. Christie is only 10 years old. In fact, she is the same age as Daniel. It’s so nice to see children at such a young age paying it forward. Christie painted the entire bed with chalk paint and it looked amazing.
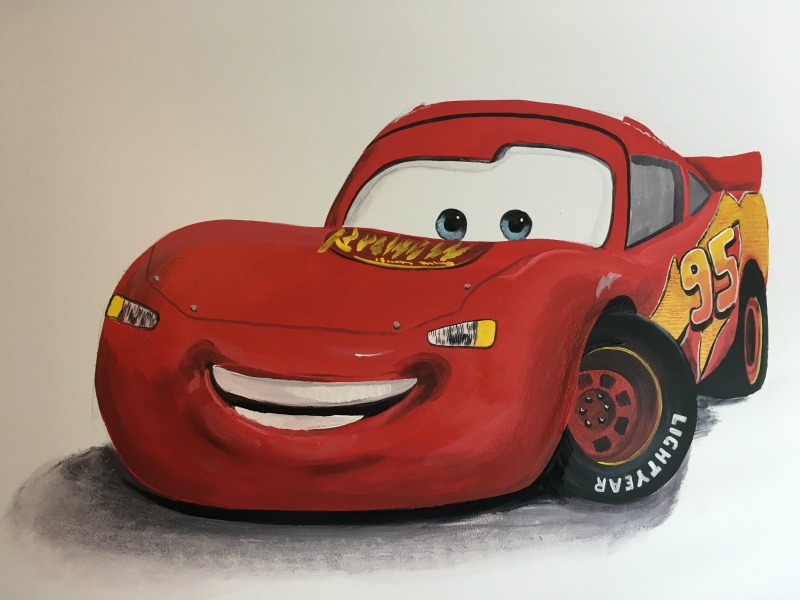
Drum Roll Please! This incredible Lighting McQueen painting was created by Ray Mayo. I am always in AWE! Watching him paint. The theme as designed around this cartoon, Daniel’s favorite car. The first thing he said when he entered the room was “McQueen” and that’s what it’s all about. “Make A Child Smile.” Thanks, Ray, for all your hard work and dedication.
Watch Ray in action!
(If you want to take a shortcut, get a Lightning McQueen wall decal instead!)
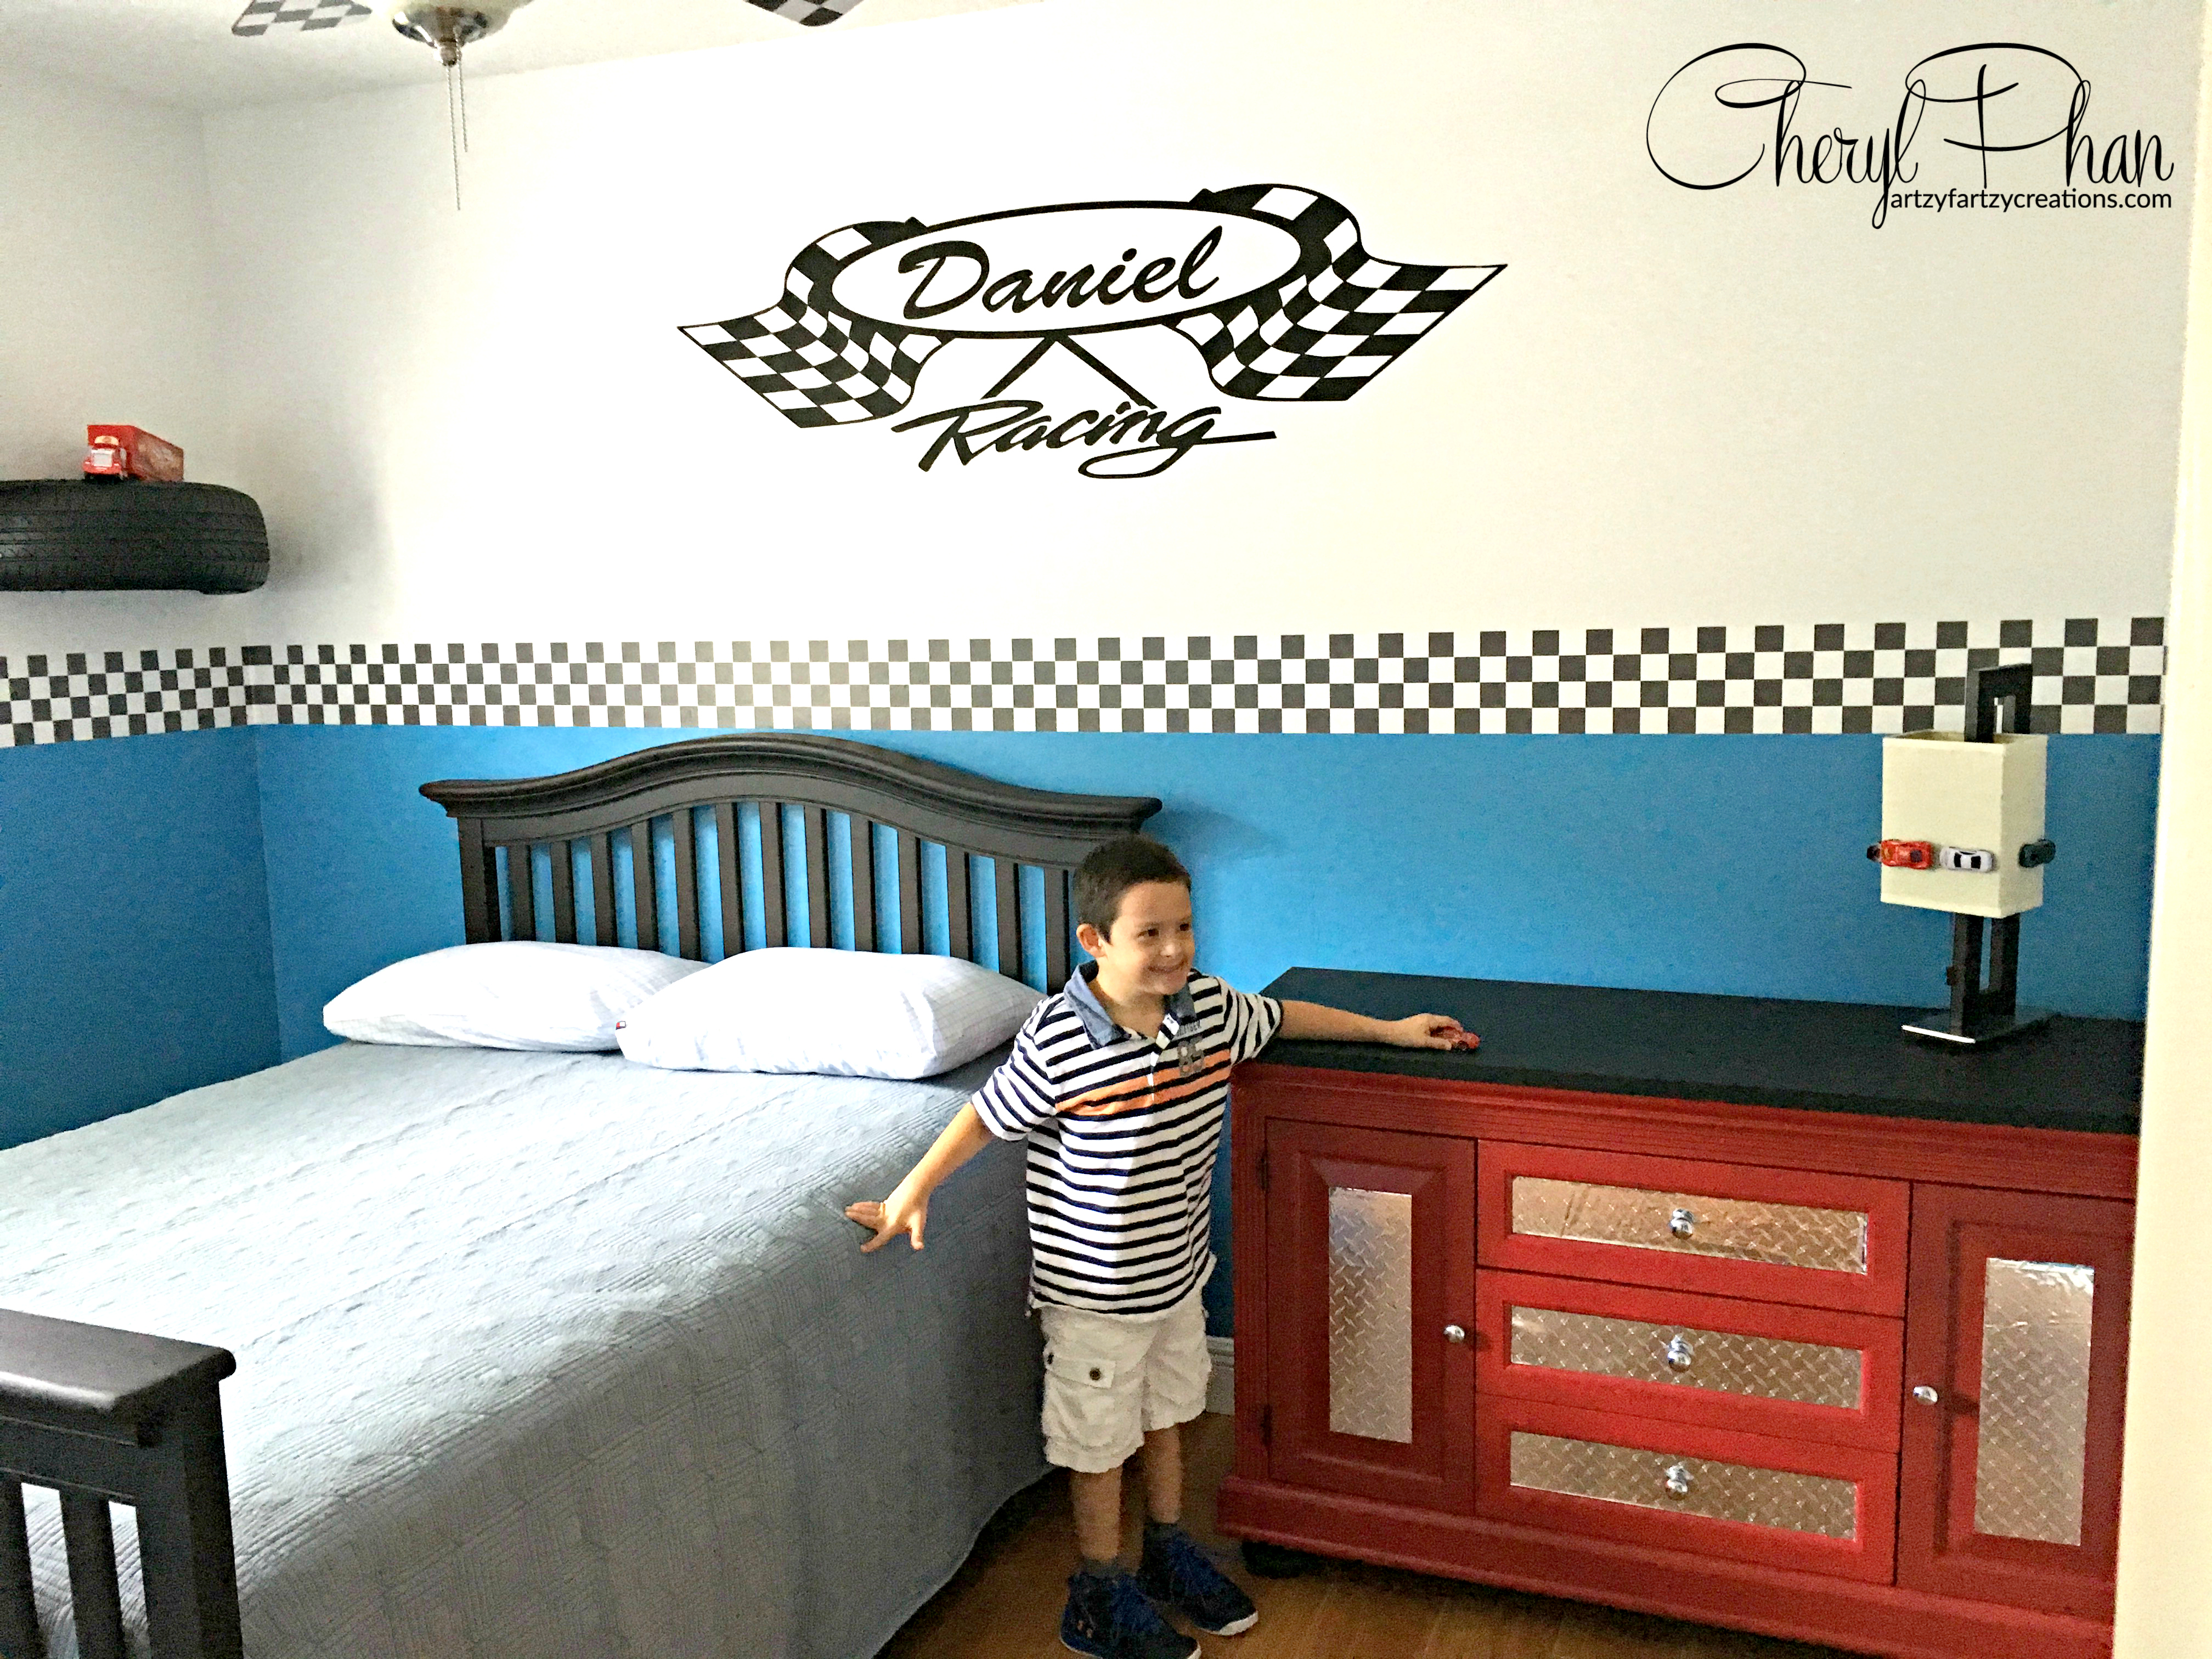
Check out the Reveal:
LOVE HIS SMILE!! Please follow our nonprofit Paint for Children to see more of the good work we are doing and the smiles we are creating room by room!
If you want to learn how to start making money with your hobby get the details HERE
If you want to learn DIY Tricks and Tips get my weekly blog HERE
HAPPY PAINTING
Artzy Fartzy Creations. Oh Yes you can DIY!
My First Furniture Painting Mistake (And What I’d Do Differently Now)
If you’ve ever picked up a paintbrush, looked at a [...]
How to Live a Purpose-Driven Life Using the Talents You Already Have
Living a Purpose-Driven Life by Using Your God-Given [...]
How to Create a Buffalo Plaid Painting Technique (That Looks High-End but Is Totally DIY)
Buffalo plaid painting technique showing layered [...]
How to Paint a Concrete Porch Floor with a Gold Metallic Border (Step-by-Step DIY Guide)
If you’ve been Googling how to paint a concrete [...]
Popular 2026 Paint Colors
Popular 2026 paint colors are shaping up to [...]
Contents
Recent Reads
How to Live a Purpose-Driven Life Using the Talents You Already Have
Living a Purpose-Driven Life by Using Your God-Given [...]
How to Create a Buffalo Plaid Painting Technique (That Looks High-End but Is Totally DIY)
Buffalo plaid painting technique showing layered [...]


