Thank you for requesting my free tutorial!

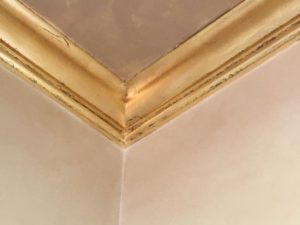
If you want a little glam on your ceilings, you might consider applying silver leaf or gold leaf. It never goes out of style and makes a dramatic statement. Although this looks expensive it is a budget friendly way to give your ceilings into a high-end look.
The term gilding or leafing covers a number of decorative techniques for applying fine gold leaf or powder to solid surfaces such as wood, stone, or metal to give a thin coating of gold. A gilded object is also described as “gilt” or silver/gold leafing.
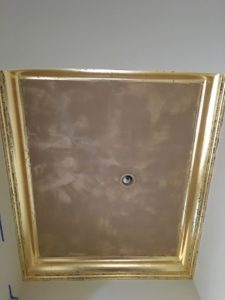
Almost all objects can be leafed: metal, frames, accessories, plates; just about anything you can think of.
Many homeowners paint their ceilings white. But, what they don’t realize is, the ceiling is a fifth wall. This is an excellent place to add drama to a space. Gilded ceilings transform foyers, powder rooms, master baths, and dining rooms.
Four steps are required: a basecoat, a sizing medium, the gold leaf, and then sealer.
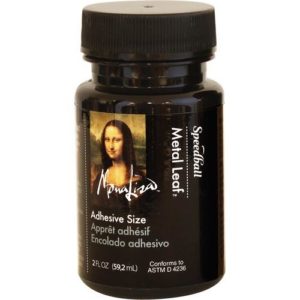
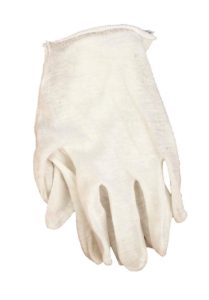
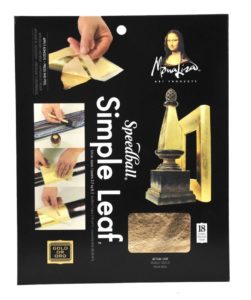
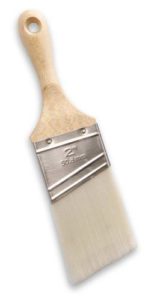
You’ll need Mohair Roller, Adhesive Size, Leaf Sheets, Gliding Gloves, Gliding Brush and Sealer. Here are my shopping links for your convenience. I highly recommend the brand Mona Lisa!
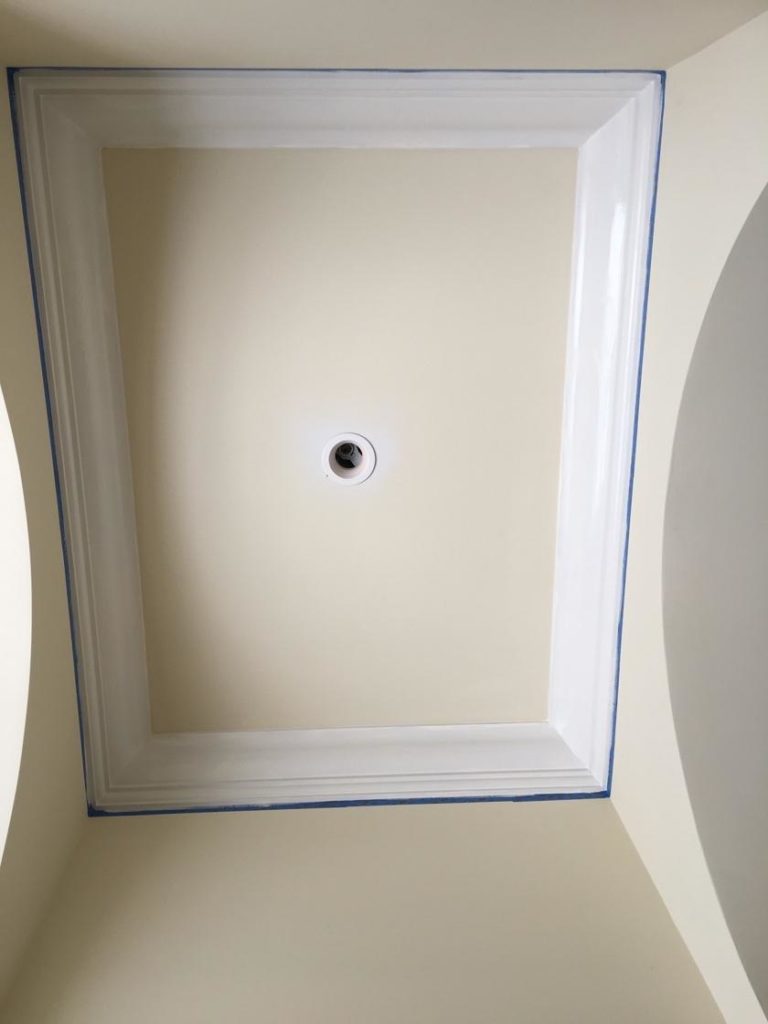
The working surface should be as smooth as possible.
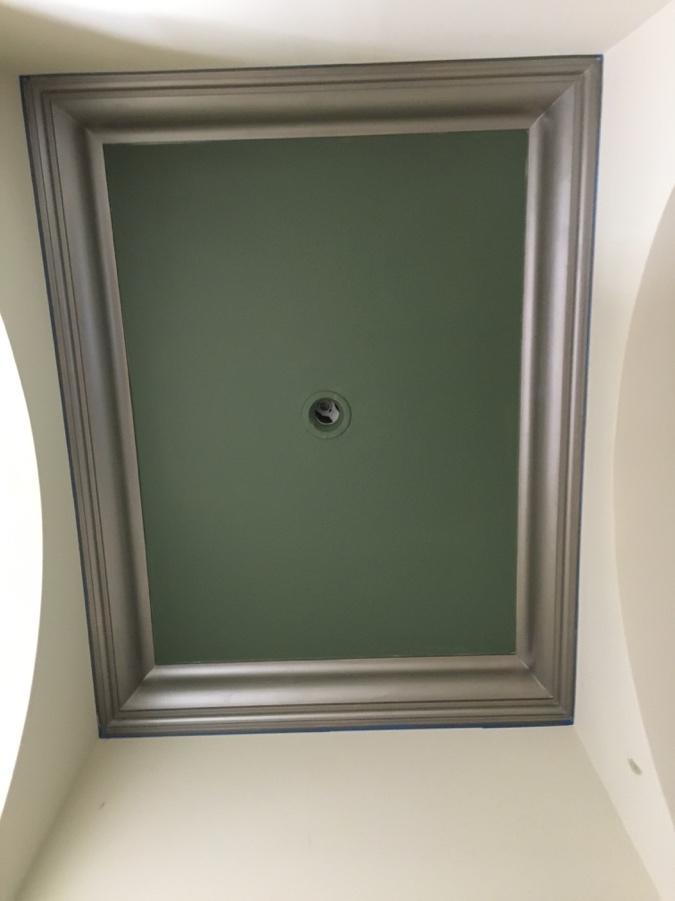
Step #1: Apply one coat of latex eggshell paint and let dry overnight. We decided to use a green color for base color of the molding.
Step #2: Apply the size with a brush and allow size to set up for at least 30 minutes before applying the leafing.
Before you start applying the leafing put on the white cotton gloves. The oil from your hands will tarnish the leafing.
Step #3: Carefully fold back the paper from the leafing about half way. Lay the leafing on the molding or ceiling.As you can see we went with a broken leaf design so that the base color would show through. If you want it to be completely covered, make sure you overlap the next piece slightly.
After applying the leaf to the size, use a soft bristle brush (I recommend the 2-inch stubby brush in my online shop) and rub over the leaf. If you have holidays (or missed areas) you can use the excess piece that fall out to fill it in.
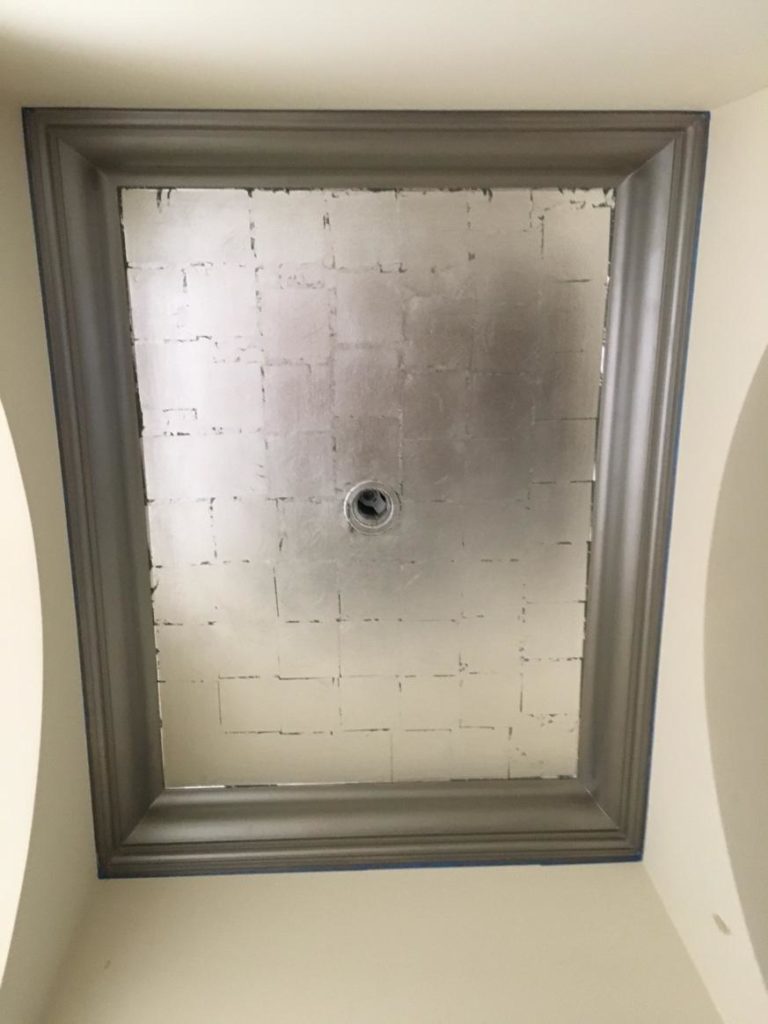
Burnish the surface to remove the excess leaf. This is known as skewing.
Step #4: Apply water based sealer with a mohair roller. While it’s still wet soften it with a quality brush.
Soften the varnish using a quality brush. Brush in a criss-cross pattern to smooth surface evenly.
You can also apply it to molding. Adding a dark paint color under the gold leaf adds contrast and interest.
I hope you found this tutorial helpful and have the courage to try your own gold or silver leafing!
Please let your friends know that you’re ready to go DIY crazy and show off your project!
Just click the icons below to share instantly!
THANK YOU!
[/vc_column_text][/vc_column][/vc_row][vc_row][vc_column width=”1/1″][service][/vc_column][/vc_row][vc_row][vc_column width=”1/1″][vc_column_text text_columns=”col-text-1″ text_color=”text-normal” margin_top=”20″ margin_bottom=”20″ scroll_animation=”none” scroll_animation_delay=”0″] [/vc_column_text][/vc_column][/vc_row]

