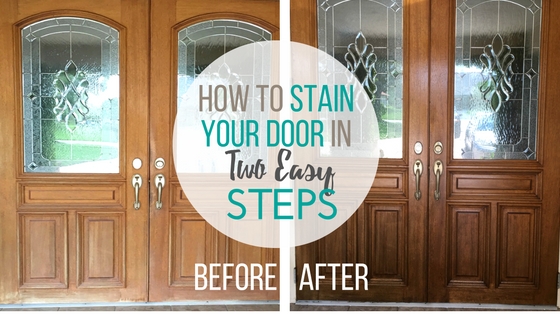

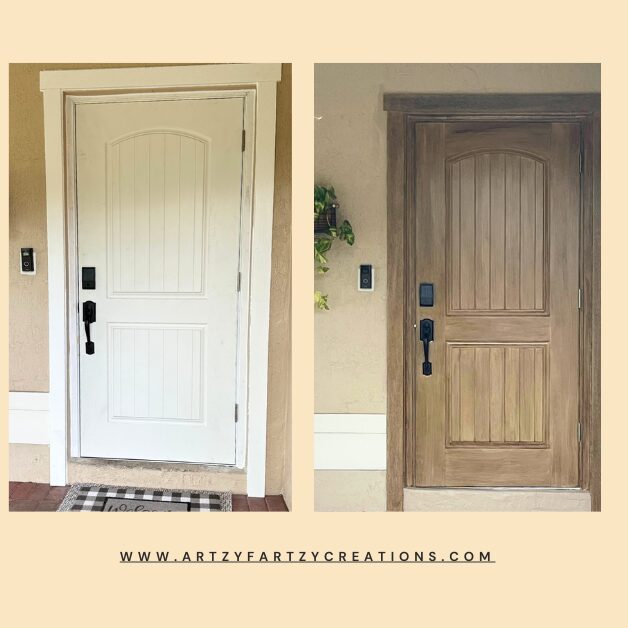
Turn your wood door from DRAB to FAB! Did you know that your front door is the most important door in your house? Why? Well, for one everyone one can see it from the road …. this is the door your company uses when they come to visit……. the front door gives your house instant curb appeal and this is the door that says WELCOME come on in.
Let me show you how to take your wood doors from Drab to Fab in Two Easy Steps.
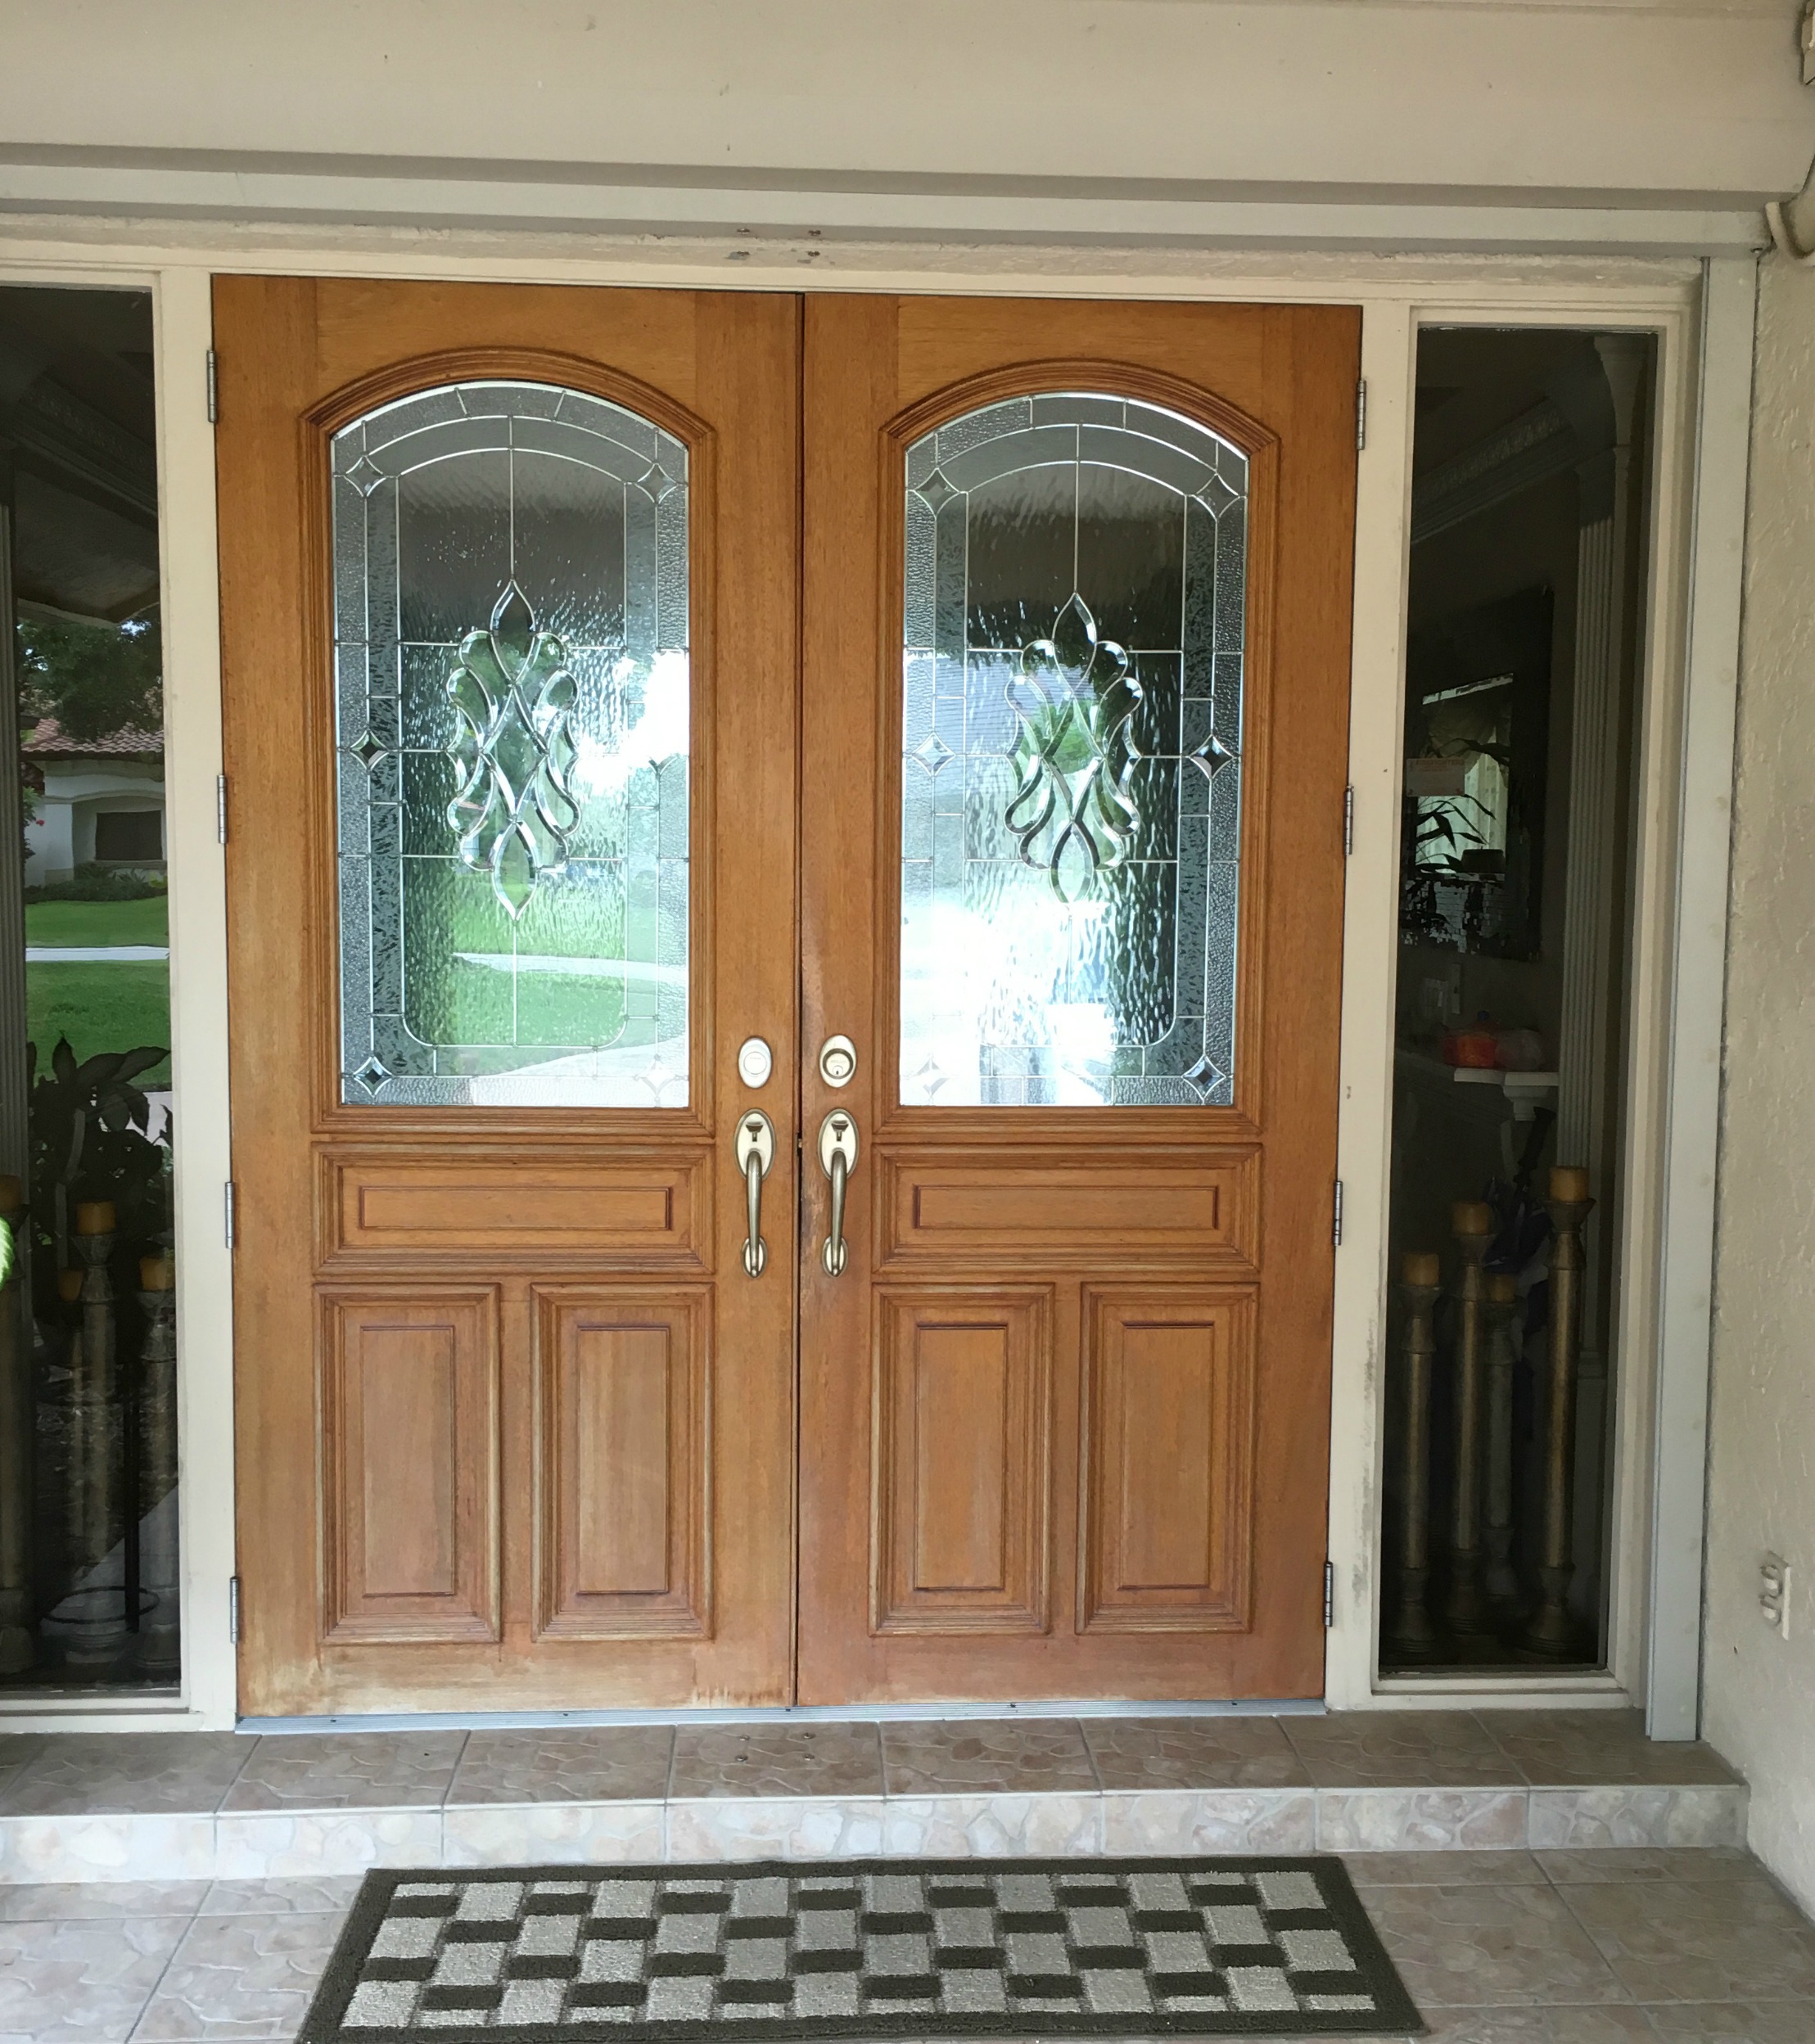
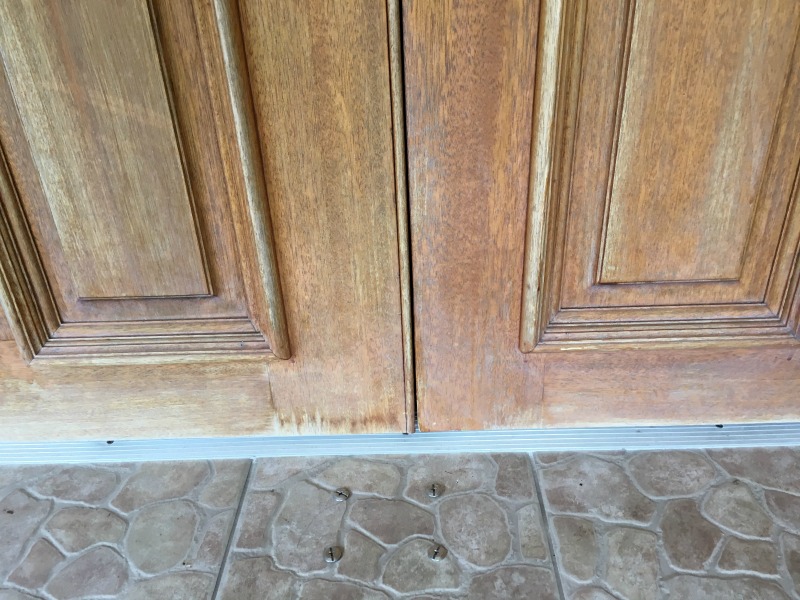
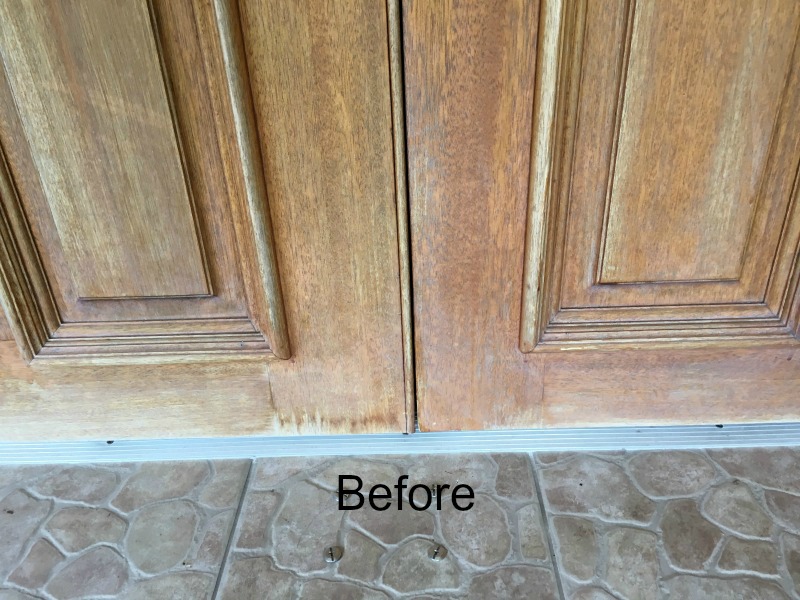
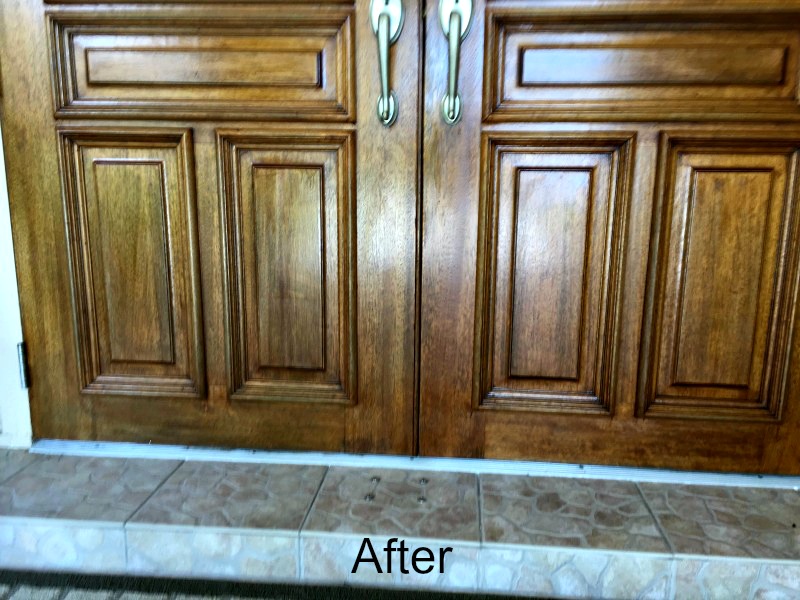
As you can see in this close up picture the door was really weather and dull. It defiantly needed some TLC. Before you get started the first thing you should do is take a sanding block and lightly sand the entire door and then wipe off the dust with a damp rag.
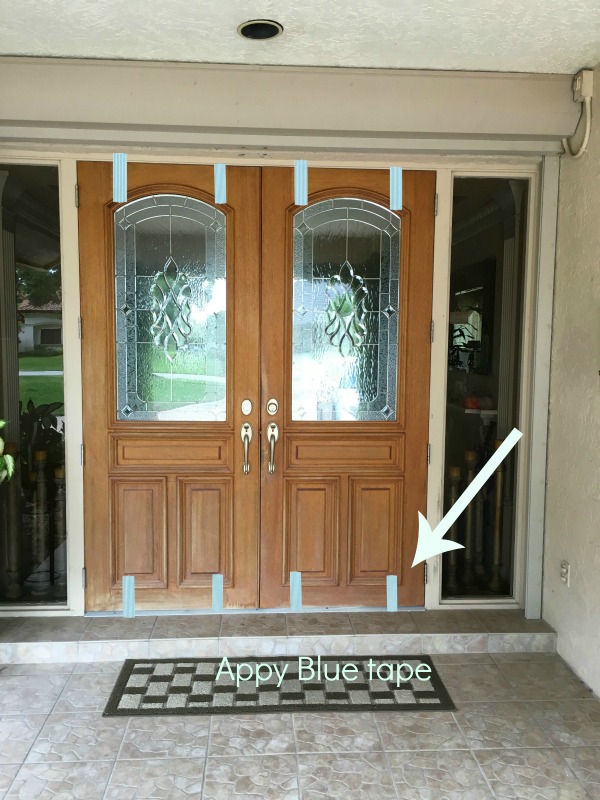
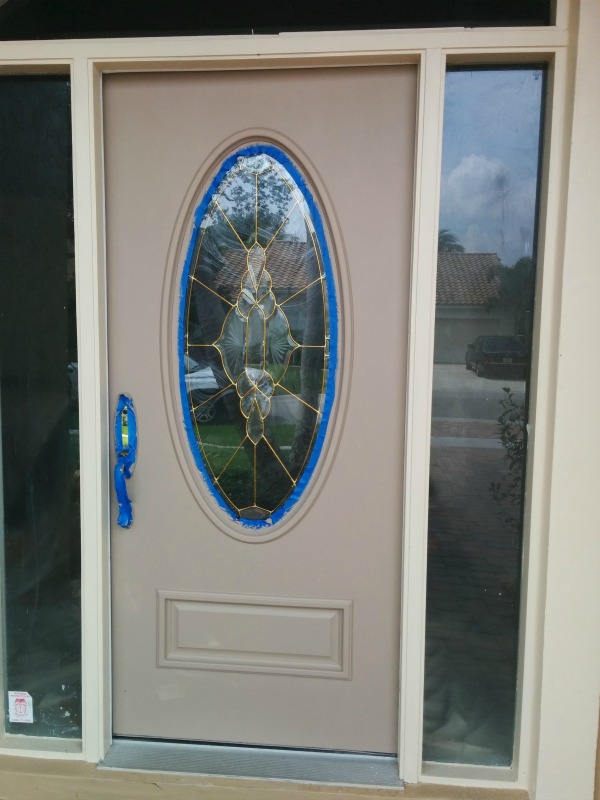
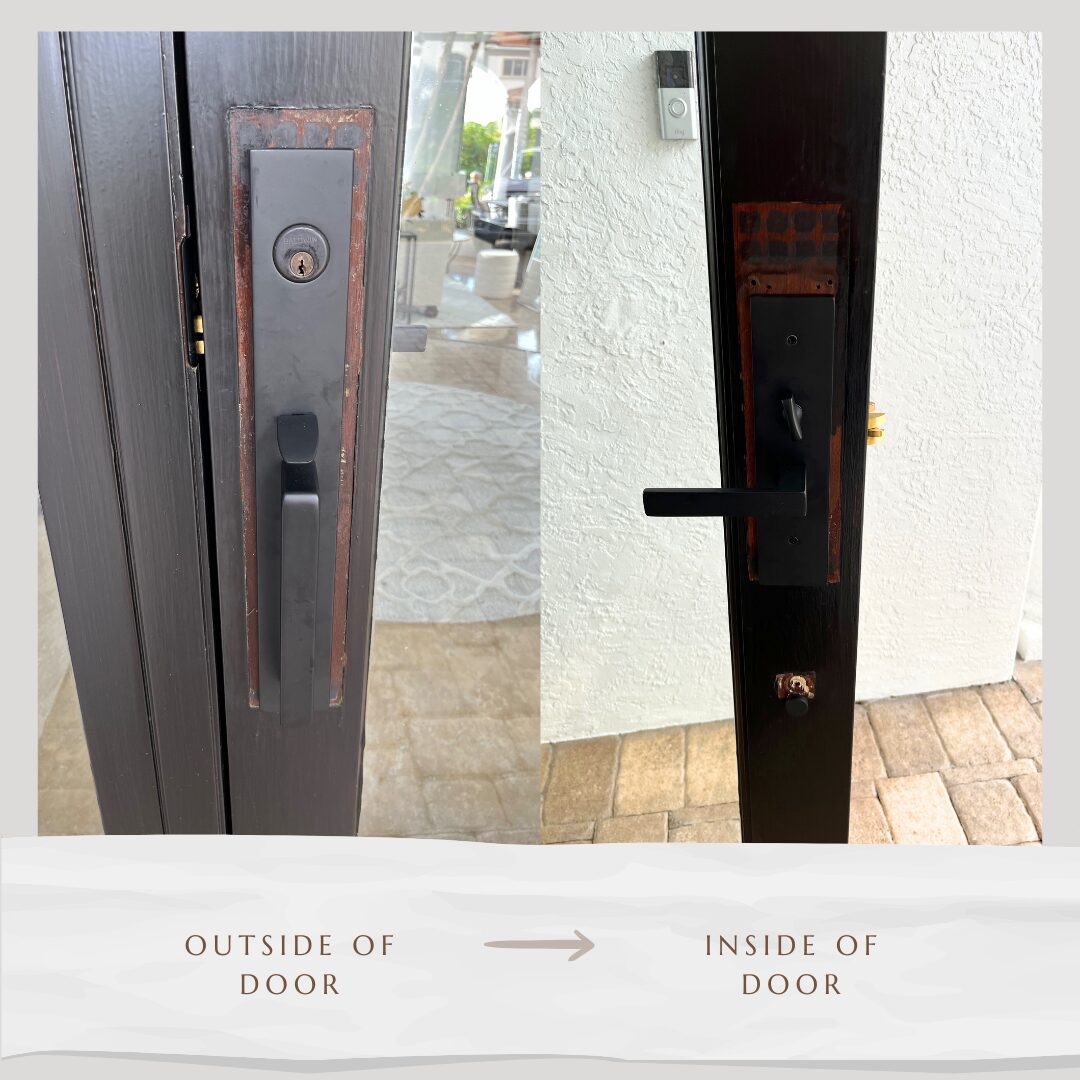
I forgot to take a picture of the door when I tapped off the hardware so i’m showing you another door I did so you can see the steps. If your door has a glass window make sure you tape it off, you will also want to tape the hardware and the areas that the arrow is pointing to create the joints.
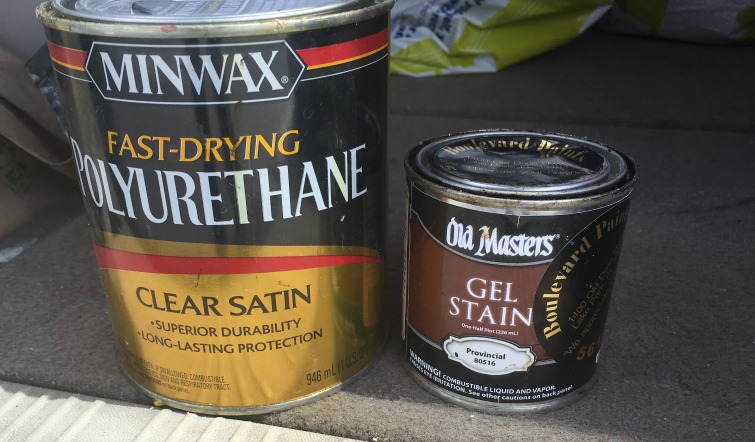
So here are the products I used to stain this door. As you can see I used two different products that’s because I used what I had on hand. With that said, you can use the Min Wax Gel stain and their Polyurethane if you want. You can buy it at Home Depot or you can also use the Modern Masters Gel Stain and their clear coat, you can buy that at Benjamin Moore. Both products will do the trick.
OK, so here’s your two-step process, it’s so easy my ten-year-old grandson could do this.
Step 1
All you have to do is brush on a tiny amount of stain in the direction of the grain (use a chip brush). It goes on very dark and thick. Brush about a 12inch area then wiped it lightly with a cotton rag in the direction of the grain. If it’s a little to light the first time you can always add more. Let it dry. Check direction on the can for manufactures instructions.
Step 2
It doesn’t get any simpler than this. Use a brush and apply the clear coat in the direction of the grain. Here’s a little tip, DON”T apply a heavy coat. It will start to drip and once it hardens it will be difficult to remove.
It’s best to go thin and apply two coats if needed.
Oh, one more tip, apply a clear coat to your door once a year to keep it protected from harsh weather conditions. Especially if your door is facing the direct sun light.
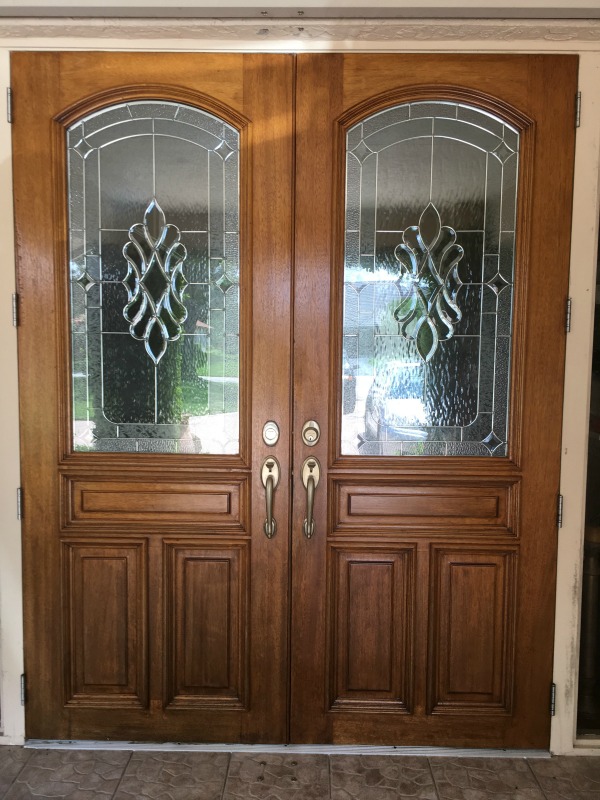
See, what did I tell you? Wasn’t that easy!
Don’t you deserve a special sanctuary of your very own?
If you want to learn how to start making money with your hobby get the details HERE
If you want to learn DIY Tricks and Tips get my weekly blog HERE


Artzy Fartzy Creations. Oh Yes you can DIY!
A Budget-Friendly Luxury Bedroom Makeover
The Affordable Elegance Quest of a Luxury Bedroom Makeover In [...]

Mastering Social Media
Trying to manage multiple social media platforms can be time-consuming [...]
Faux Granite Painting: DIY Kitchen Countertop Makeover
Introduction to Faux Granite Painting Faux granite painting offers a [...]
RV Kitchen Makeover: A Budget-Friendly Guide Using Adhesive Tiles
A friend of mine recently asked me to help her [...]
Drawer Wallpaper Transformation: A Stylish DIY Home Decor Upgrade
Drawer Wallpaper Transformation: A Creative DIY Hack Are you a [...]

The #1 Secret to Success After Age 50
Have you ever wondered how some people are successful [...]
Contents
Recent Reads
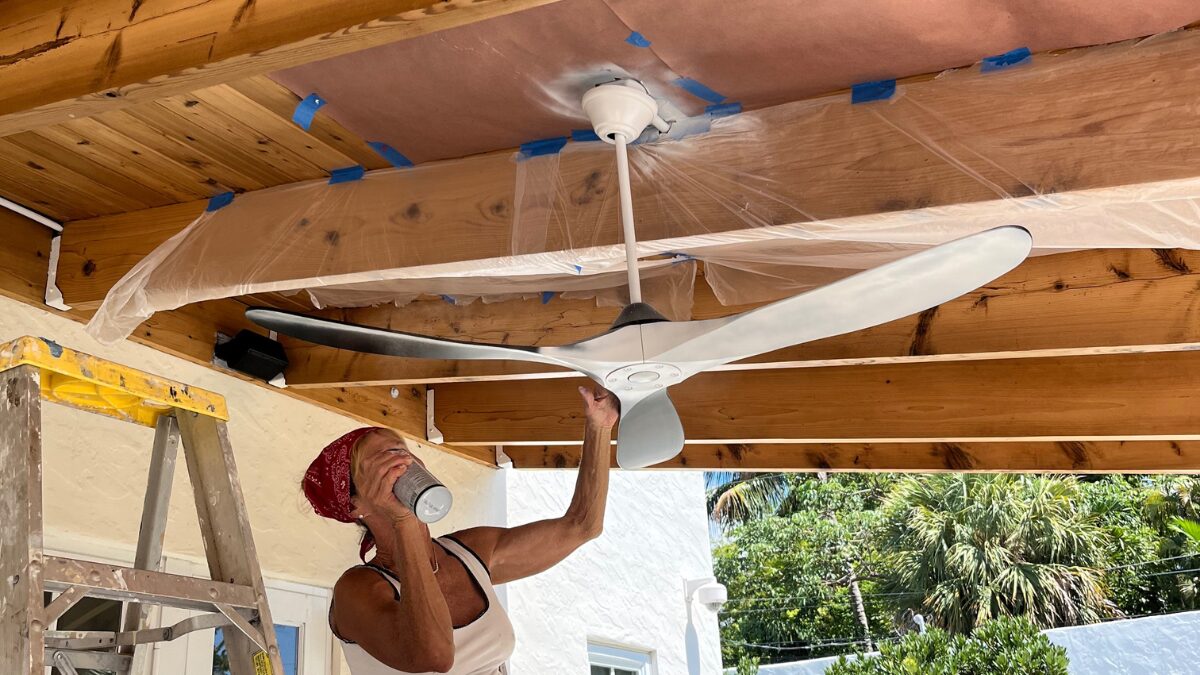
Easy Way To Paint a Ceiling Fan Without Removal
Are you looking for an easy way to paint a [...]
2 Easy Steps to Repair Door Stain After Changing Hardware
If you’ve recently updated the hardware on your [...]
Master How To Paint A Door To Look Faux Wood Grain
Would you like to learn how to paint a door [...]