How to apply the perfect caulk line
Inevitably, when you apply molding of any kind to a wall you will end up with gaps. This is because the wall isn’t completely flat. The best way to give it that finished look is to apply a caulk line. The problem is, when you add the caulking it may come out thick and when you use your finger to smooth it out it will smudge on the wall and make a mess.
But I have the perfect solution.
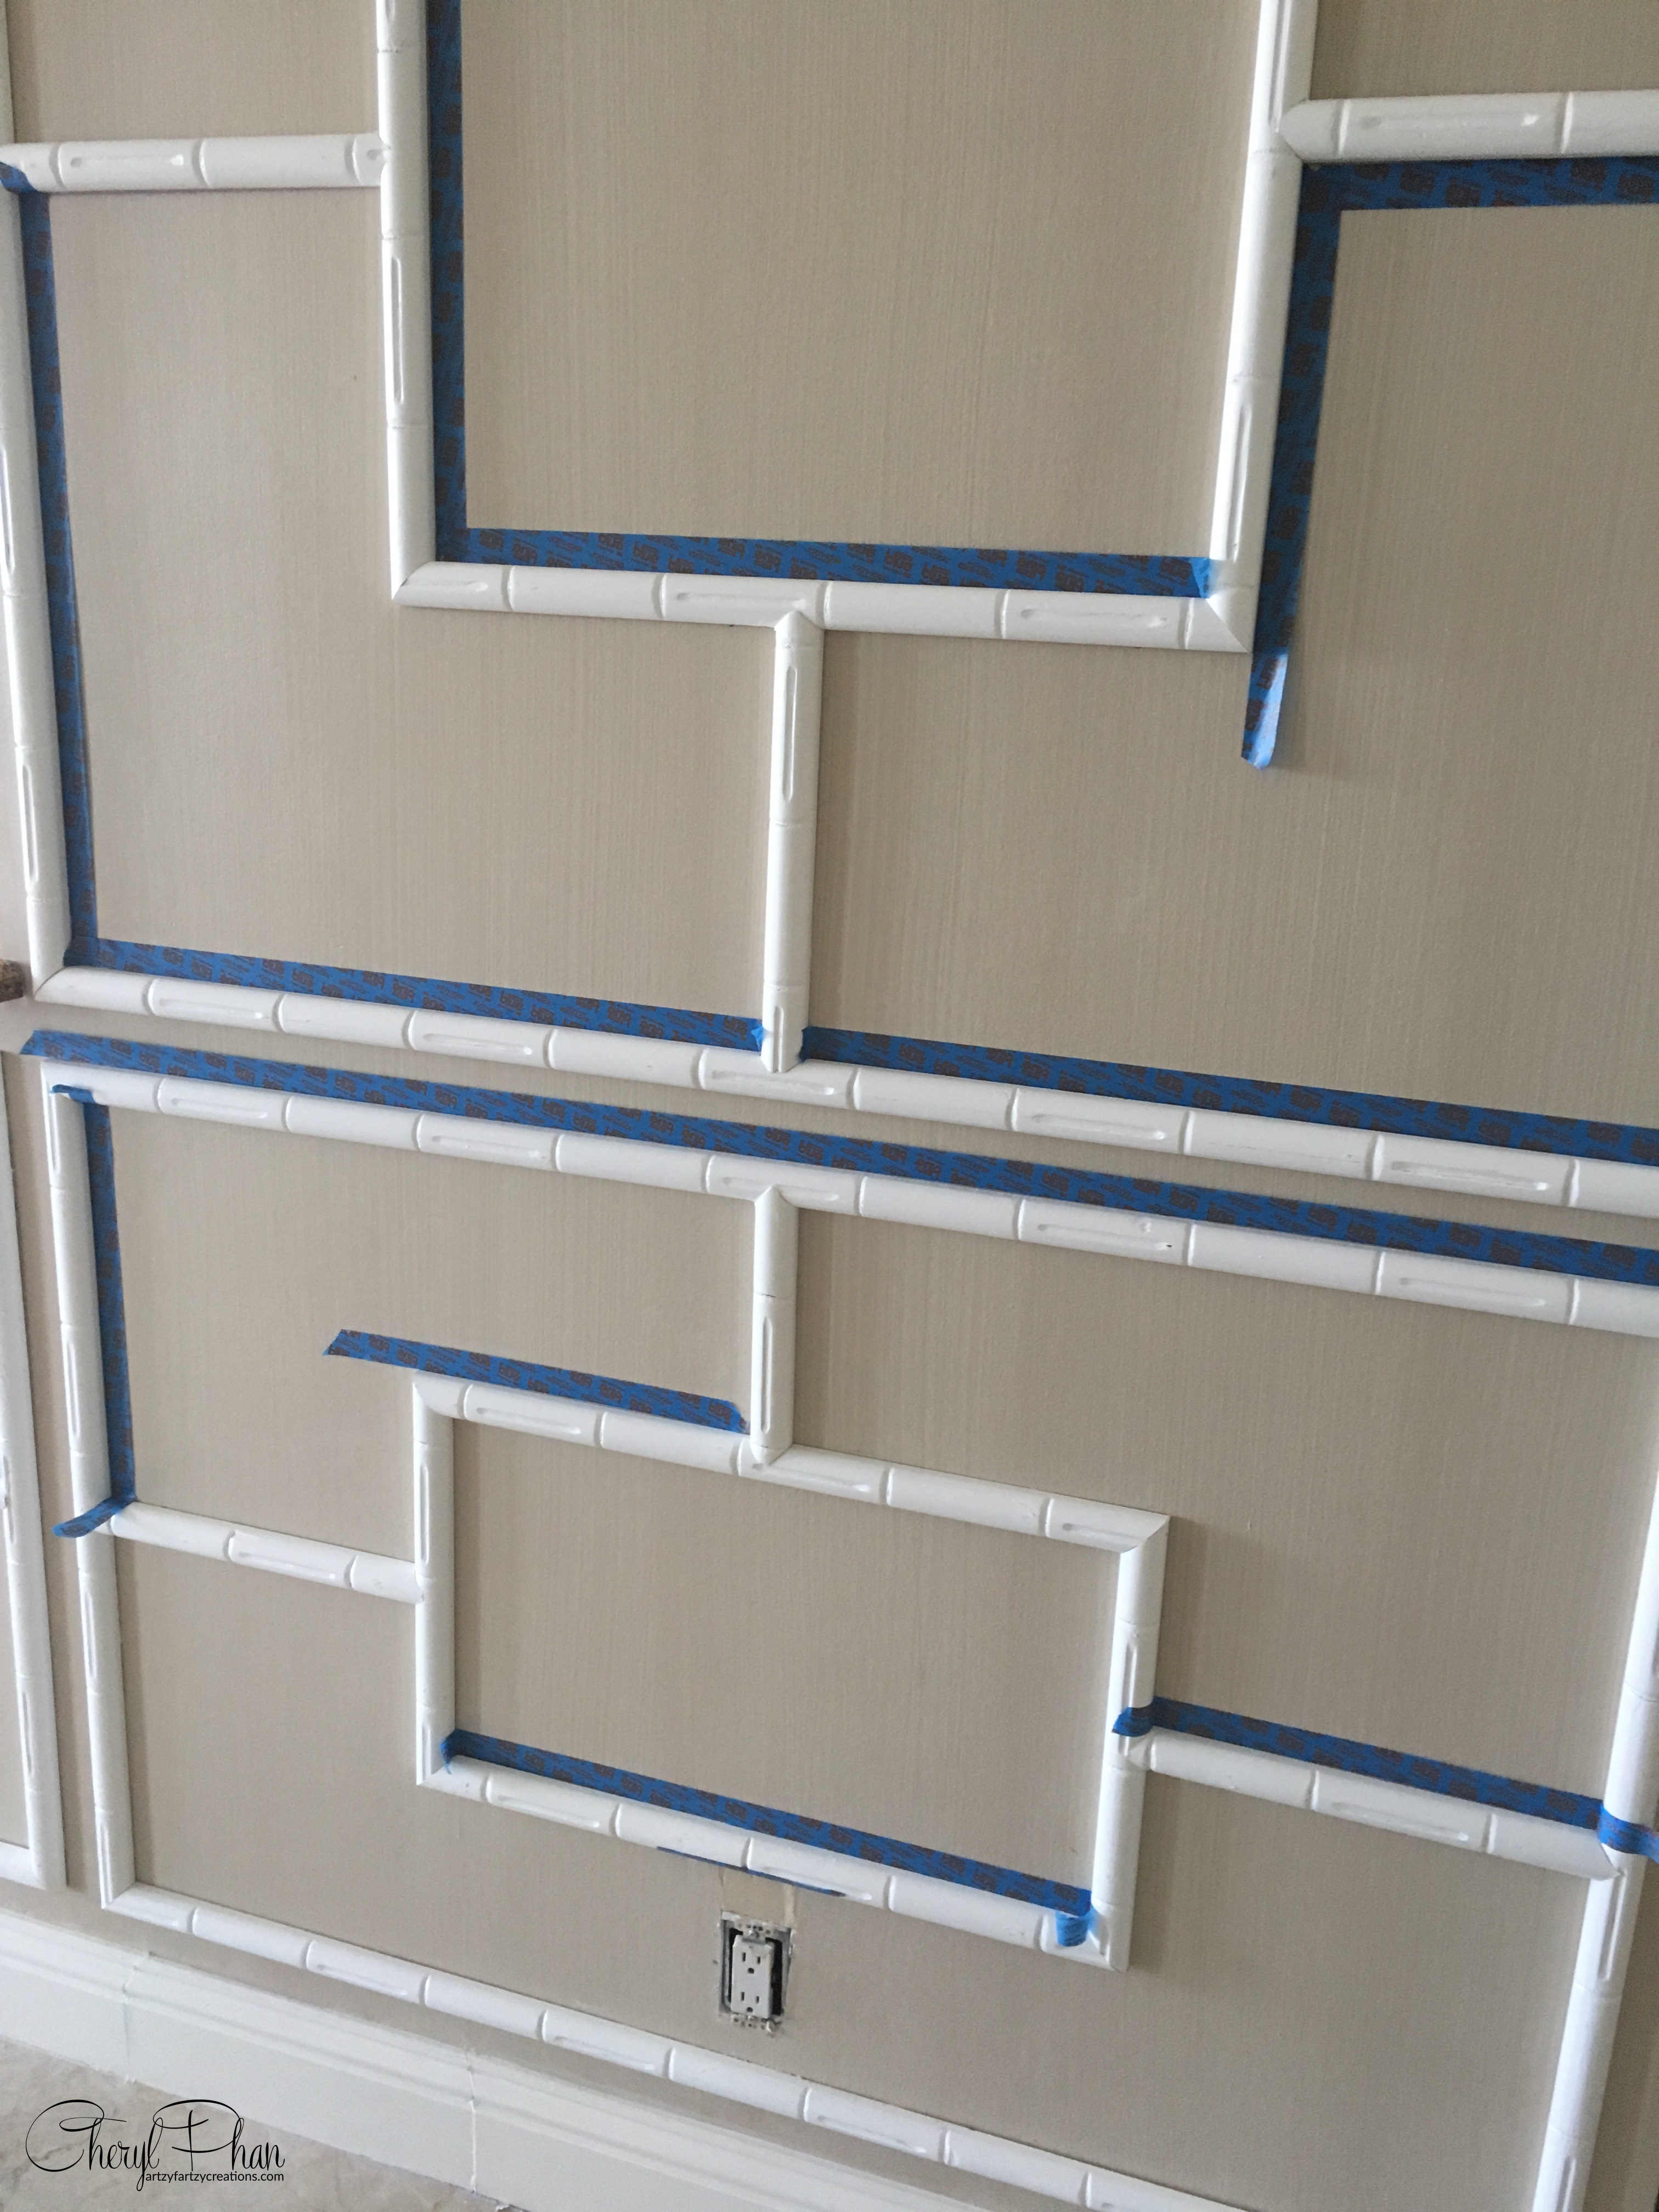
Here’s a great hack I learned a long time ago. Run a piece of tape along the edge of the molding. It may be an extra step, but it is well worth the extra time.
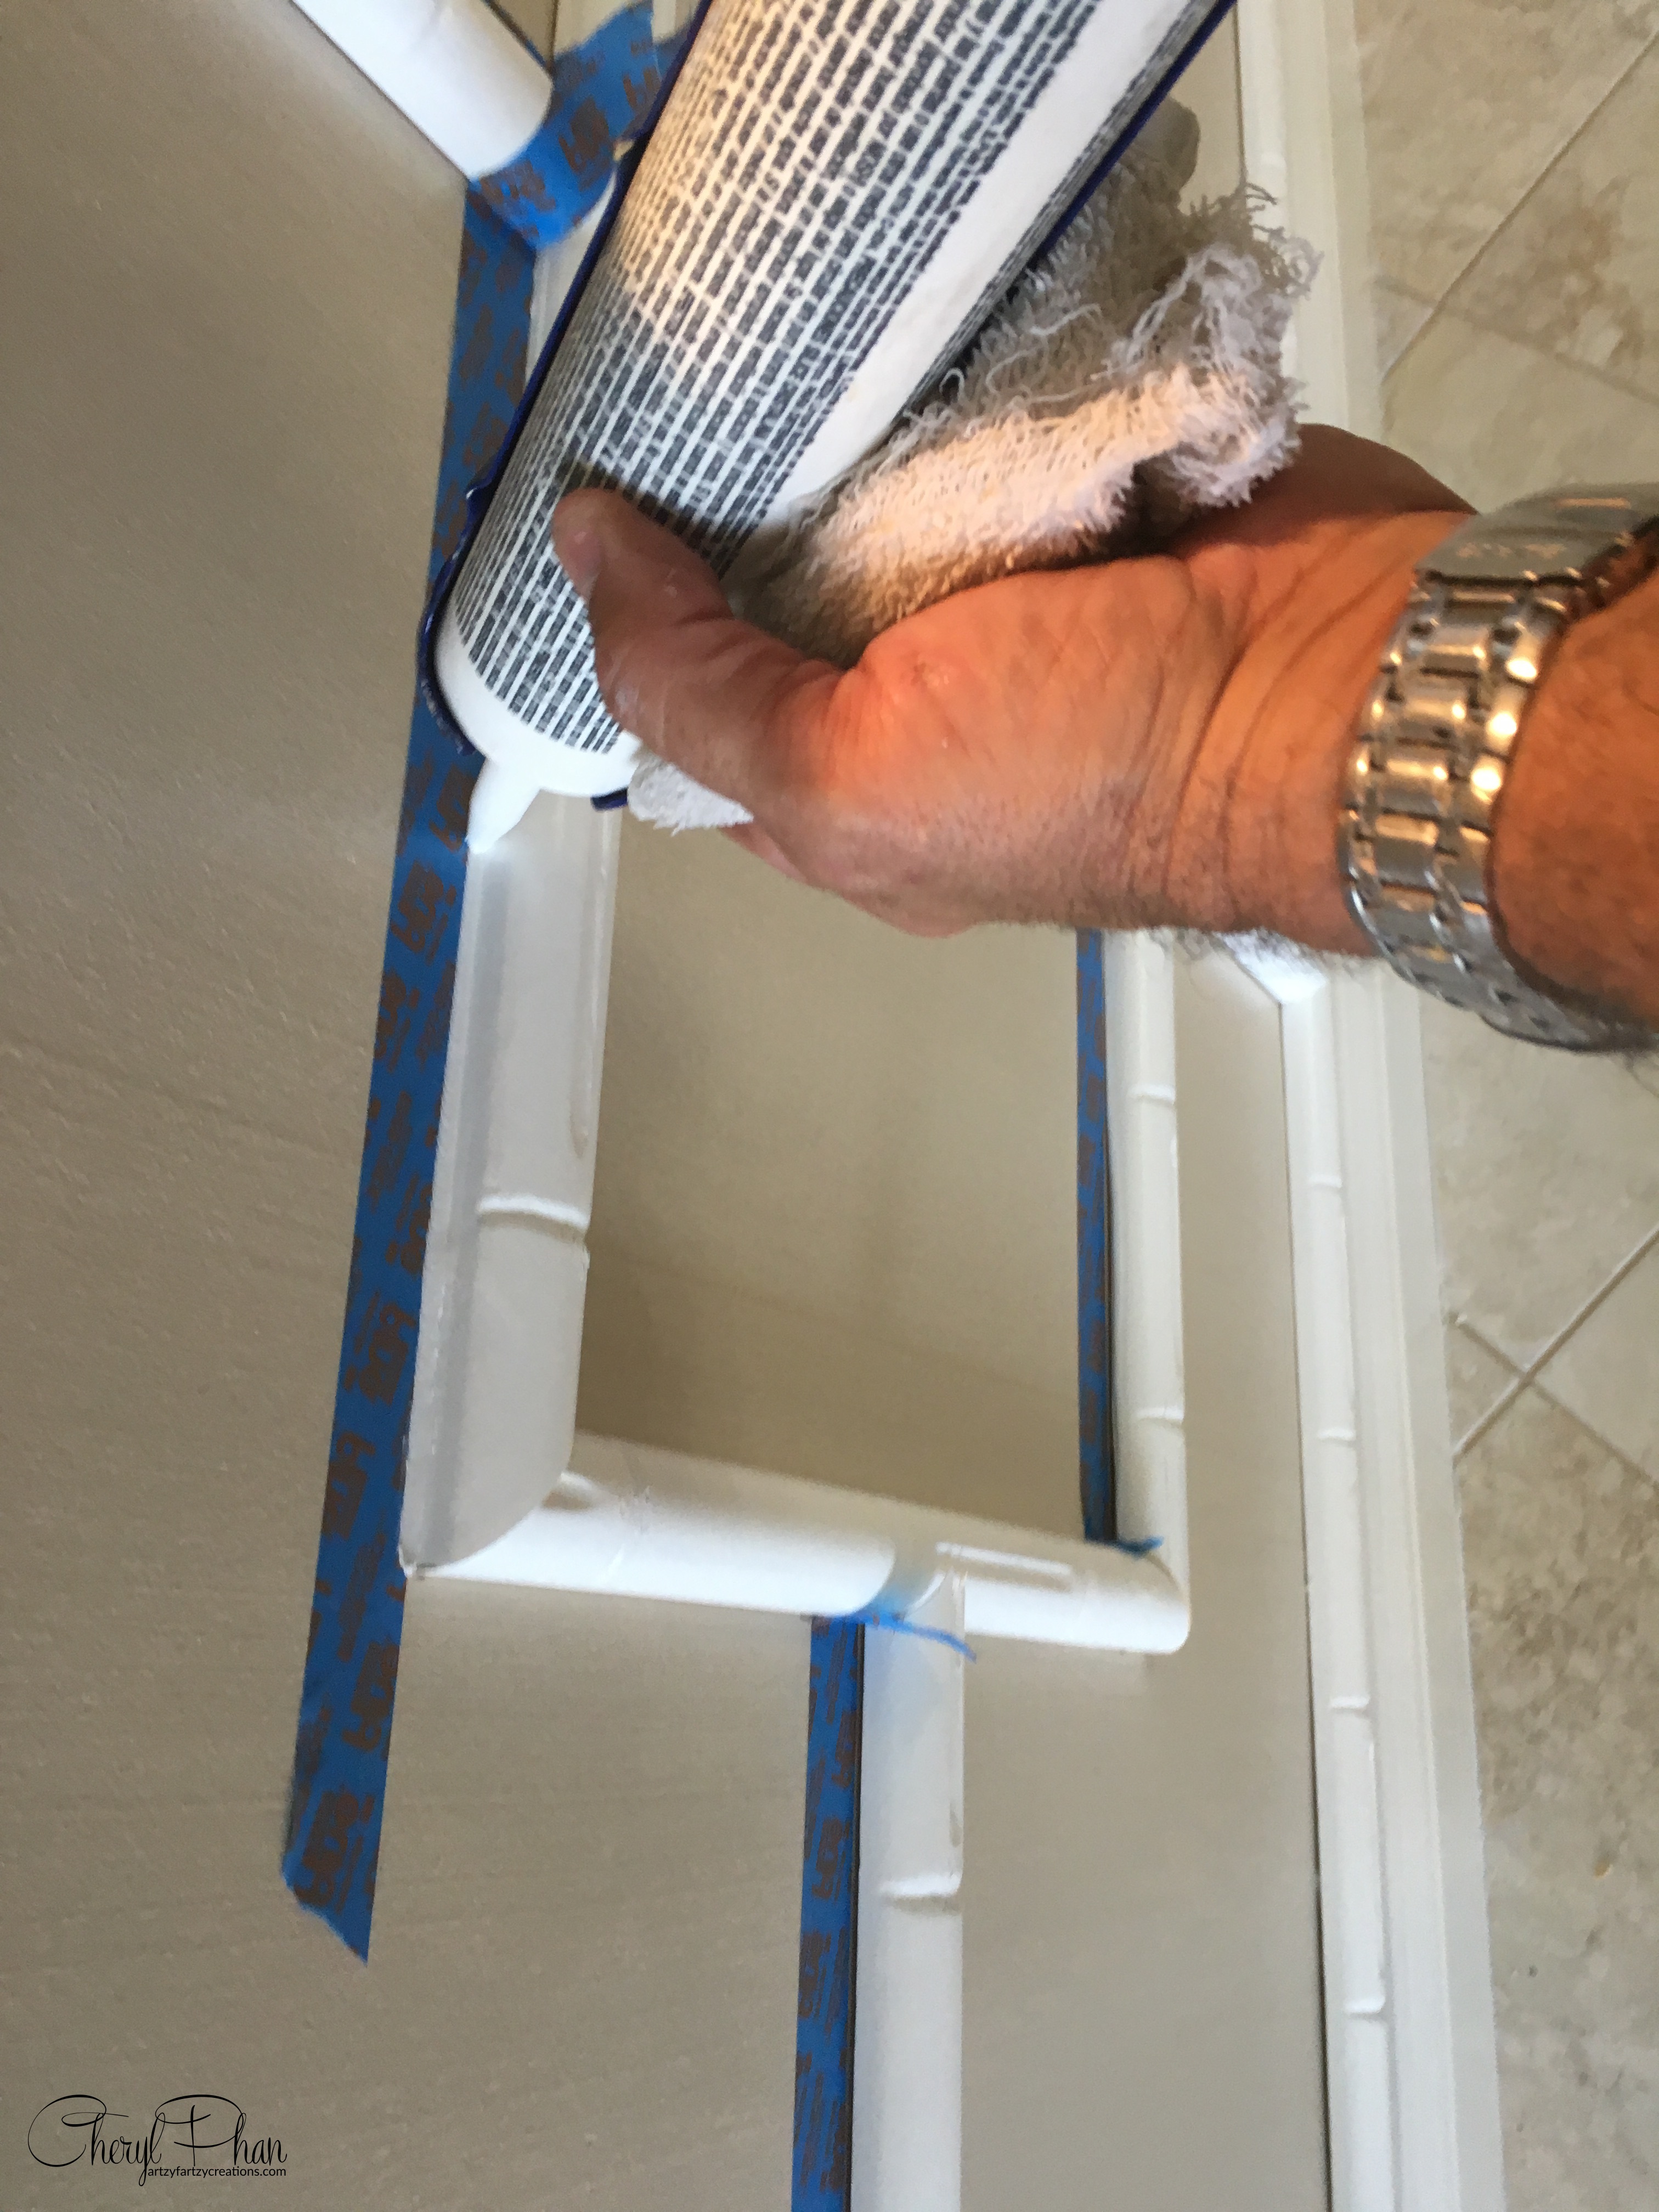
Then apply a small amount of caulking along the edge. Use a damp rag or your finger to smooth it out.
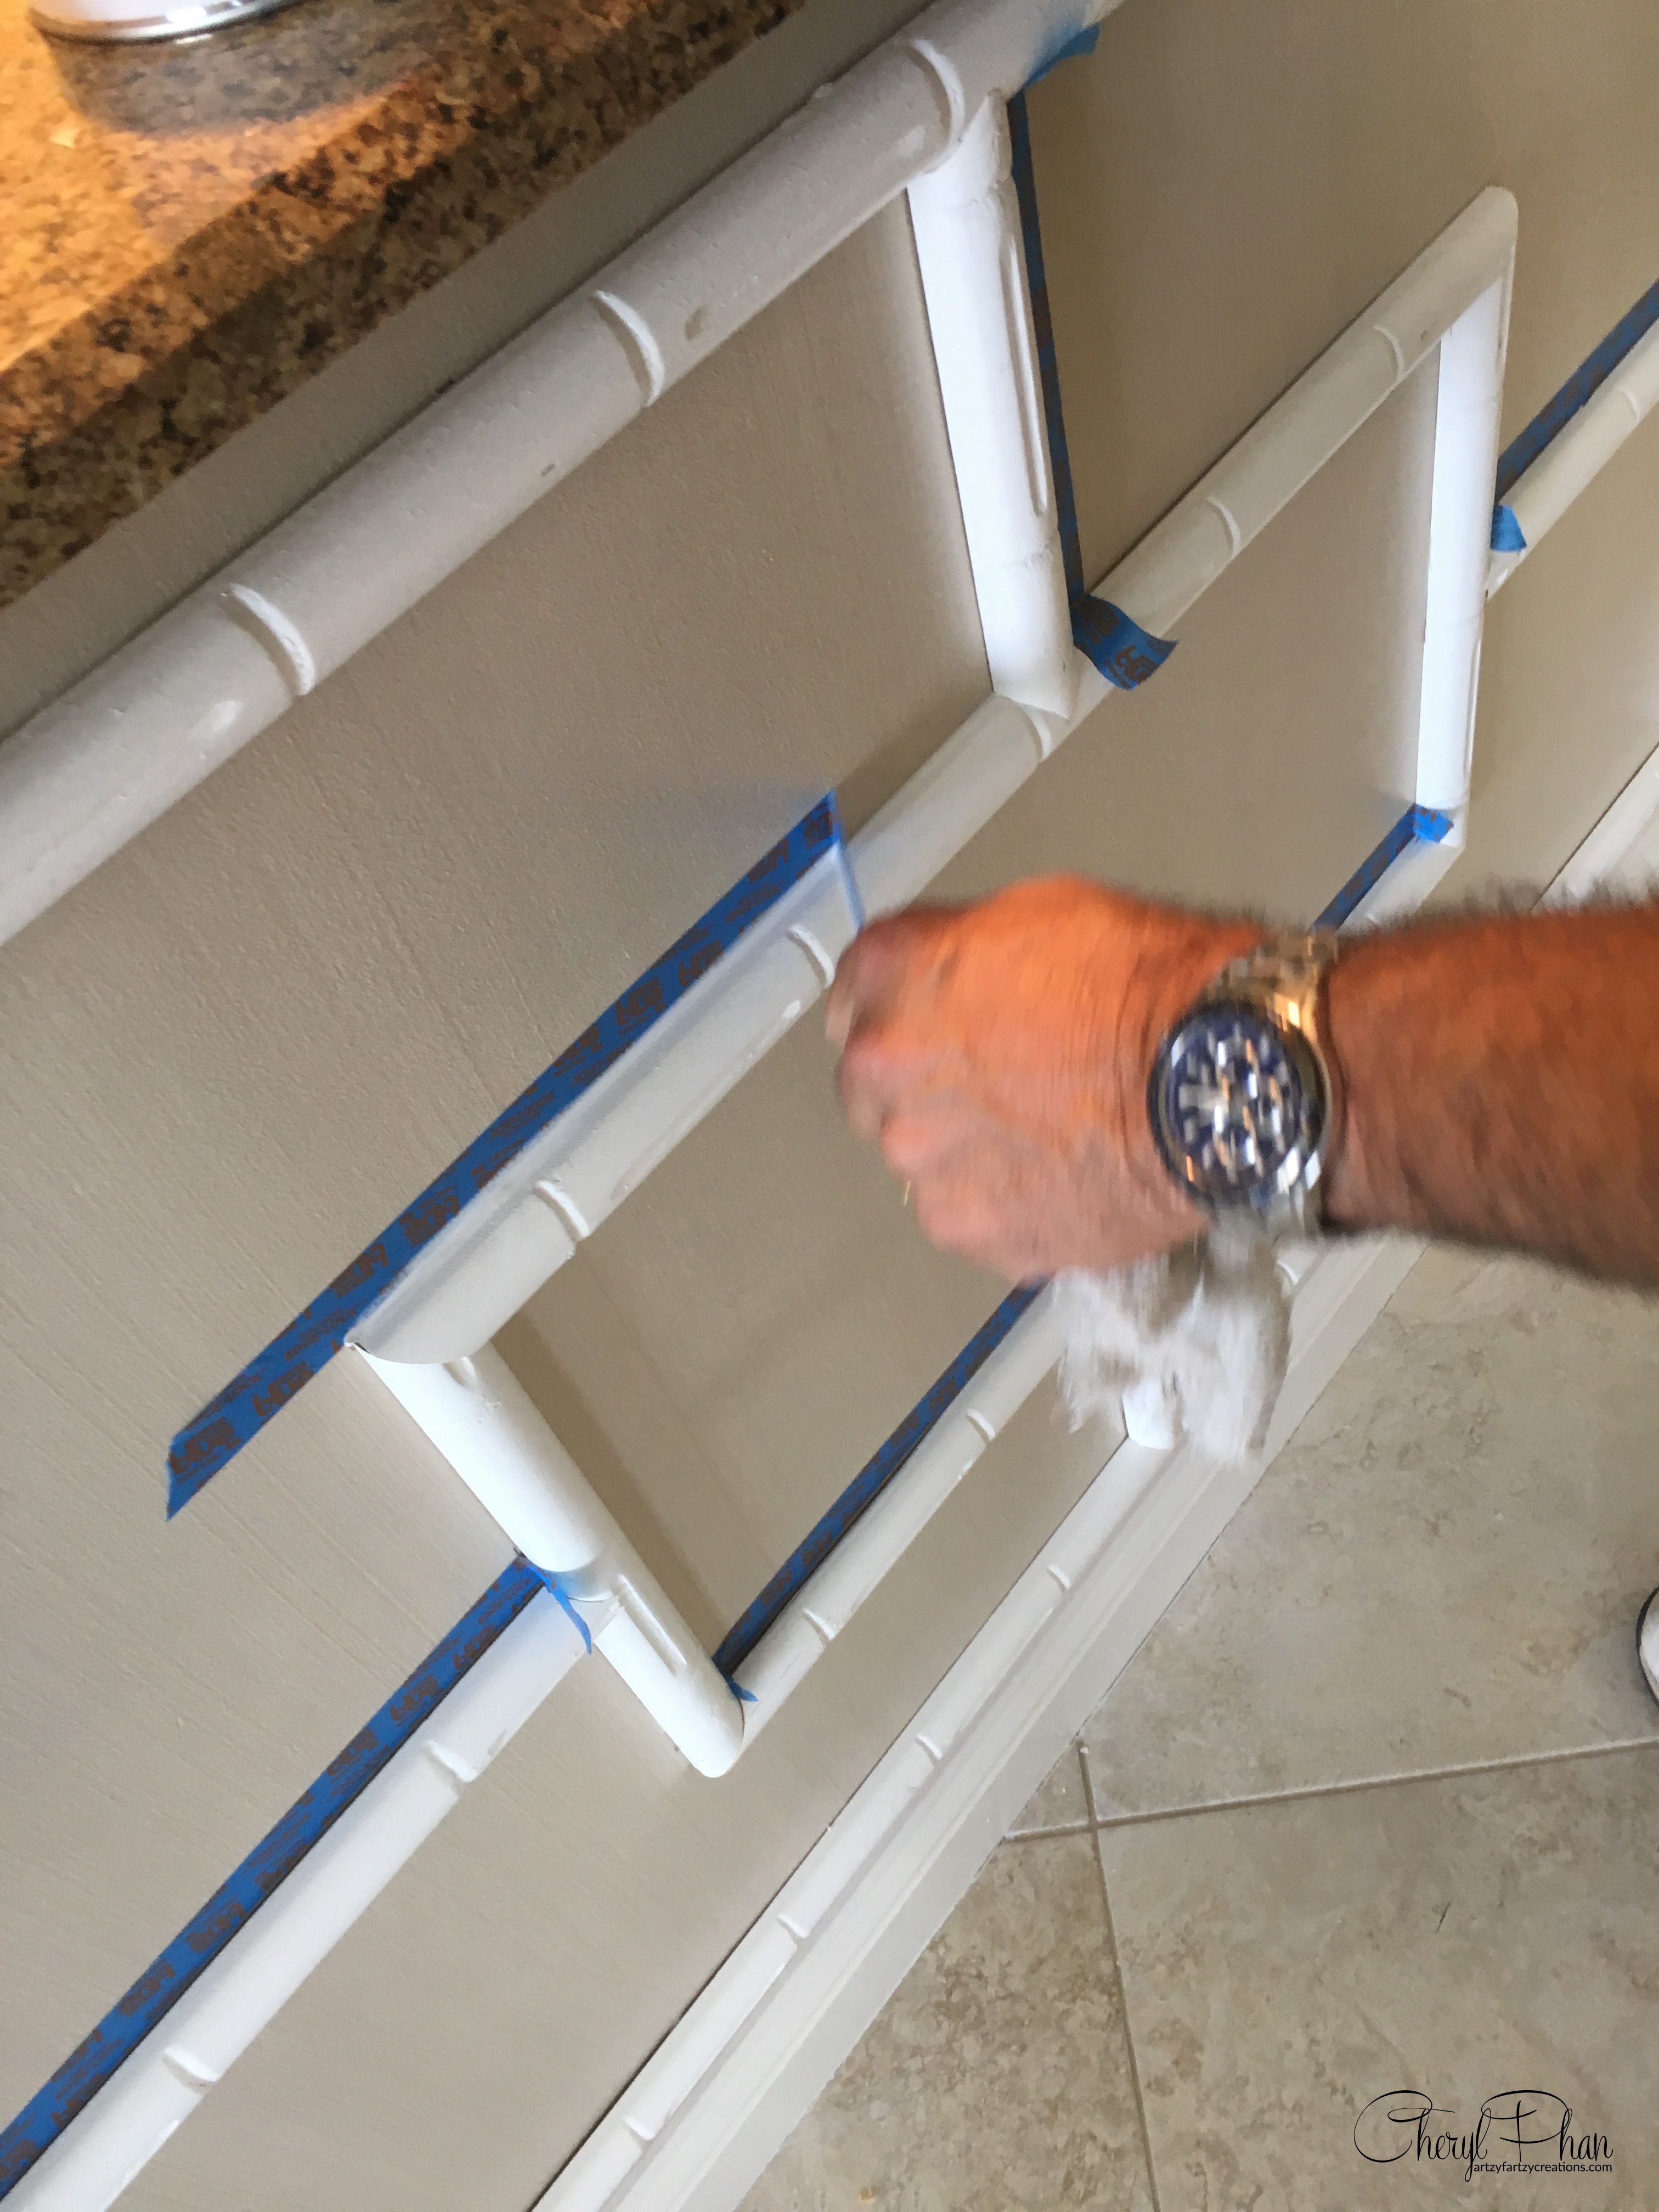
Remove the tape immediately.
There you have it, a perfect line without the smudgy mess. This works well on bathtubs and sinks as well.

Perfect caulk line. No smudging, no mess.
If you want to learn how to start making money with your hobby get the details HERE
If you want to learn DIY Tricks and Tips get my weekly blog HERE


Artzy Fartzy Creations. Oh Yes you can DIY!

DIY Kitchen Cabinet Makeover: Budget-Friendly Transformation You Can Do Yourself
DIY Kitchen Cabinet Makeover: Budget-Friendly Transformation You Can [...]

DIY Metallic Molding Technique: Add Old-World Charm to Your Home
Looking to add a little extra drama and [...]

How to Repair Holes in Wooden Furniture – Fast, Easy, and Budget-Friendly!
hand applying wood filler to a hole in [...]

How To Paint A Brick Fireplace In One Easy Step
Is your outdated brick fireplace dragging down your room? If [...]

DIY Magic: Create a Raised Cherry Blossom Stencil Design with Glitter That Pops!
Raised cherry blossom stencil with glitter on a [...]

How to Repurpose Old Furniture Into a Cozy Dog Bed
DIY Small Dog Bed Tutorial -How to [...]
Contents
Recent Reads

Easy DIY Cabinet Makeover with Gel Stain
The one-step gel stain process gave these cabinets a [...]

Polycrylic vs Polyurethane: Clear Coat Comparison
Polycrylic vs Polyurethane clear coat — choosing between these two [...]

Best Cordless Spray Gun Ever: My Go-To Painting Tool for a Smooth, Flawless Finish
Cordless paint spray gun lovers, this one’s for [...]