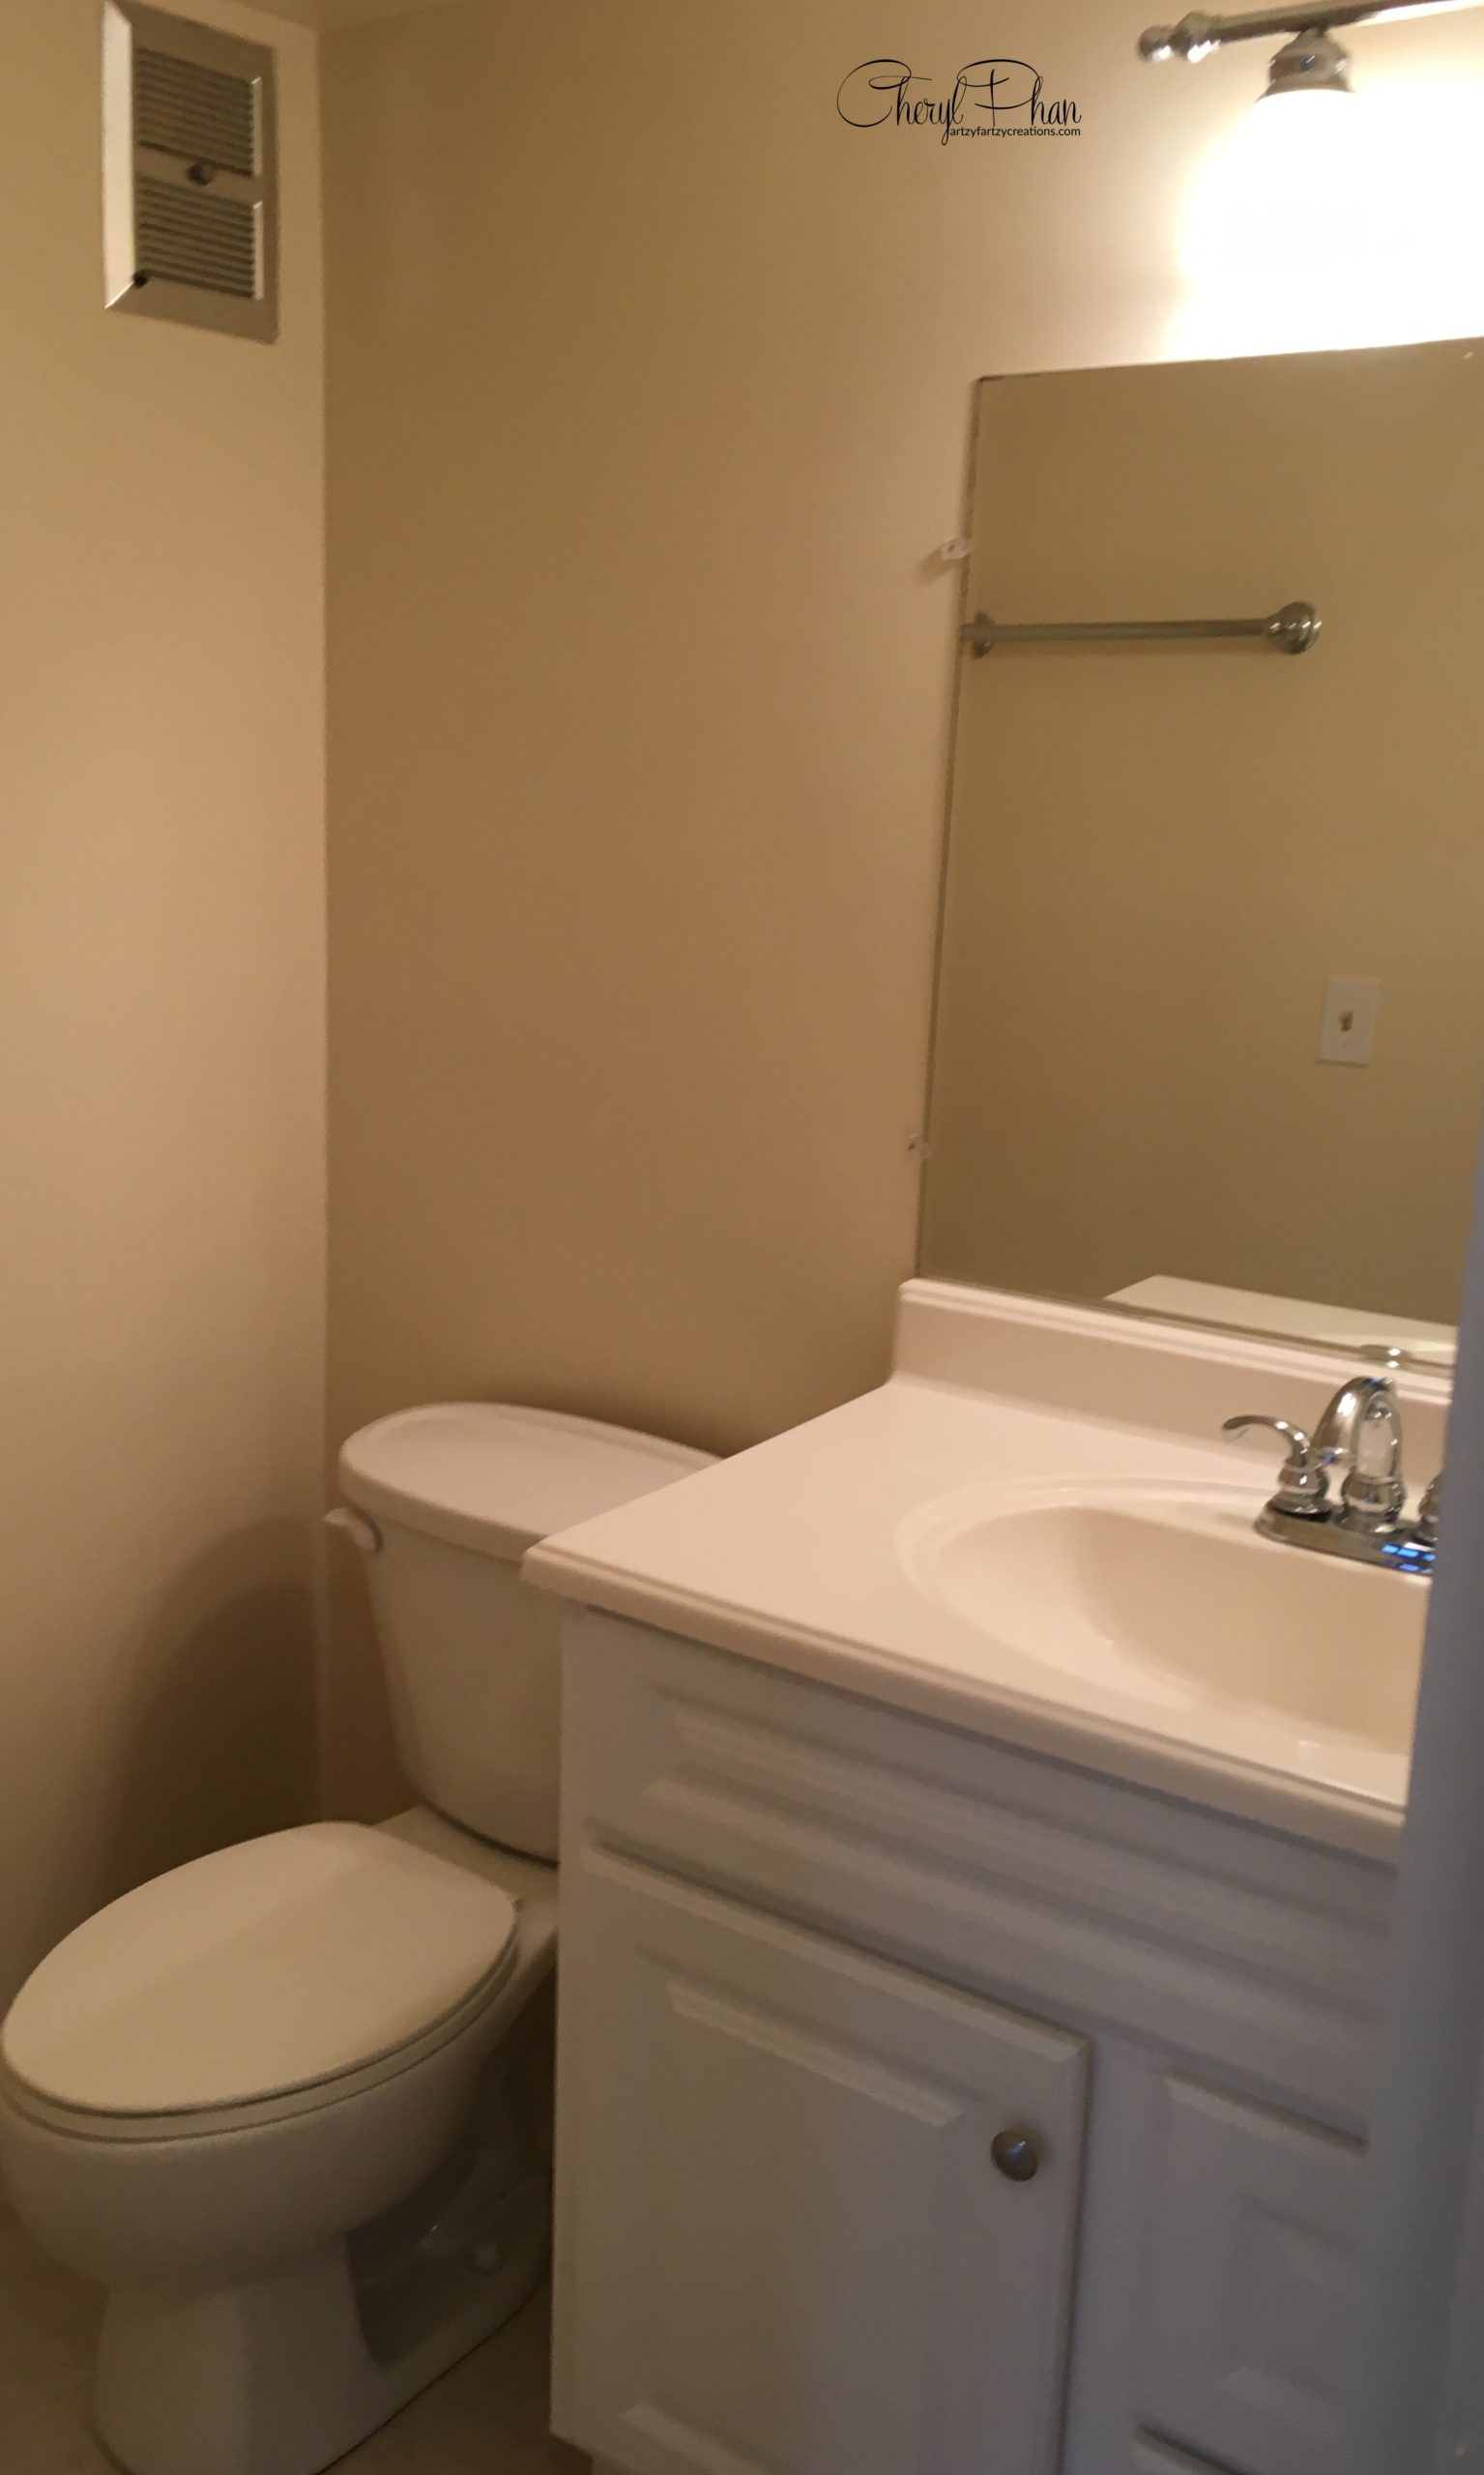
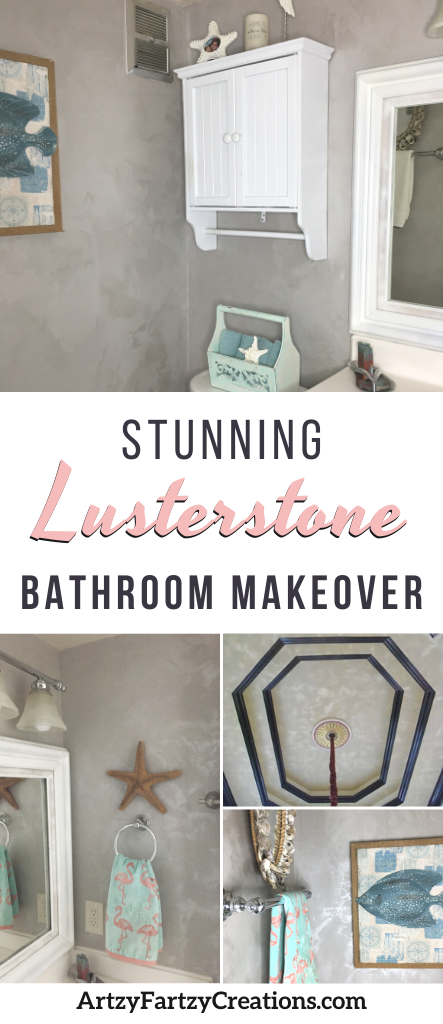
There are lots of techniques that I like, but this one is my favorite finishes. It’s so beautiful, you’re going to want to do this is your house. What I like most about LusterStone is the movement and the shimmer it creates and when the light hits it. This high-end bathroom makeover is well worth the time it takes to create the look.
OH, and BTW; the lusterStone finish is especially beautiful on ceilings.

Check out this ceiling, WOW, right?
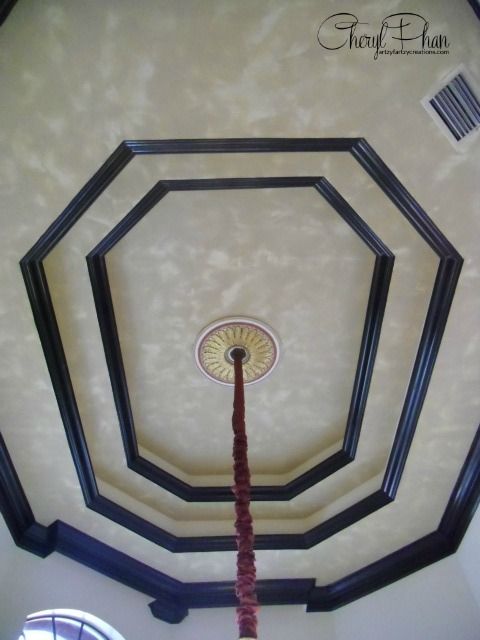
Go to the gallery on my website to see more designs using Luster Stone. You’ll get some great ideas.
Tools and supplies you will need
Joint Compound: Hardware store
Flat or Eggshell paint (Tinted): Paint store
PREP
Tape off the ceiling, floorboards, around any cabinets, hardware, etc. Also, cover your floor, cabinets, toilet (if you in the bathroom working) all surfaces you don’t want paint on.
Step #1
Apply joint compound to the wall using a trowel to create a light-textured design. (see video)
Here’s what I mean by Butter marks. Do this sporadically around the room will create the highs and lows and give the wall more interest.
Let it dry overnight

Step #2
Lightly sand down the entire wall to remove peaks and rough areas
Then paint the wall with tinted (flat or eggshell) latex paint to match the Luster Stone color you selected. Ask someone at the hardware store to color match it as close as the can. It’s ok to go a little lighter.
Let the paint dry for at least 4 hours before going to the next step.
Step #3
Apply a skim coat of Luster Stone on the wall. Apply in a random fashion and in different directions. (See Video)
A couple of quick tips
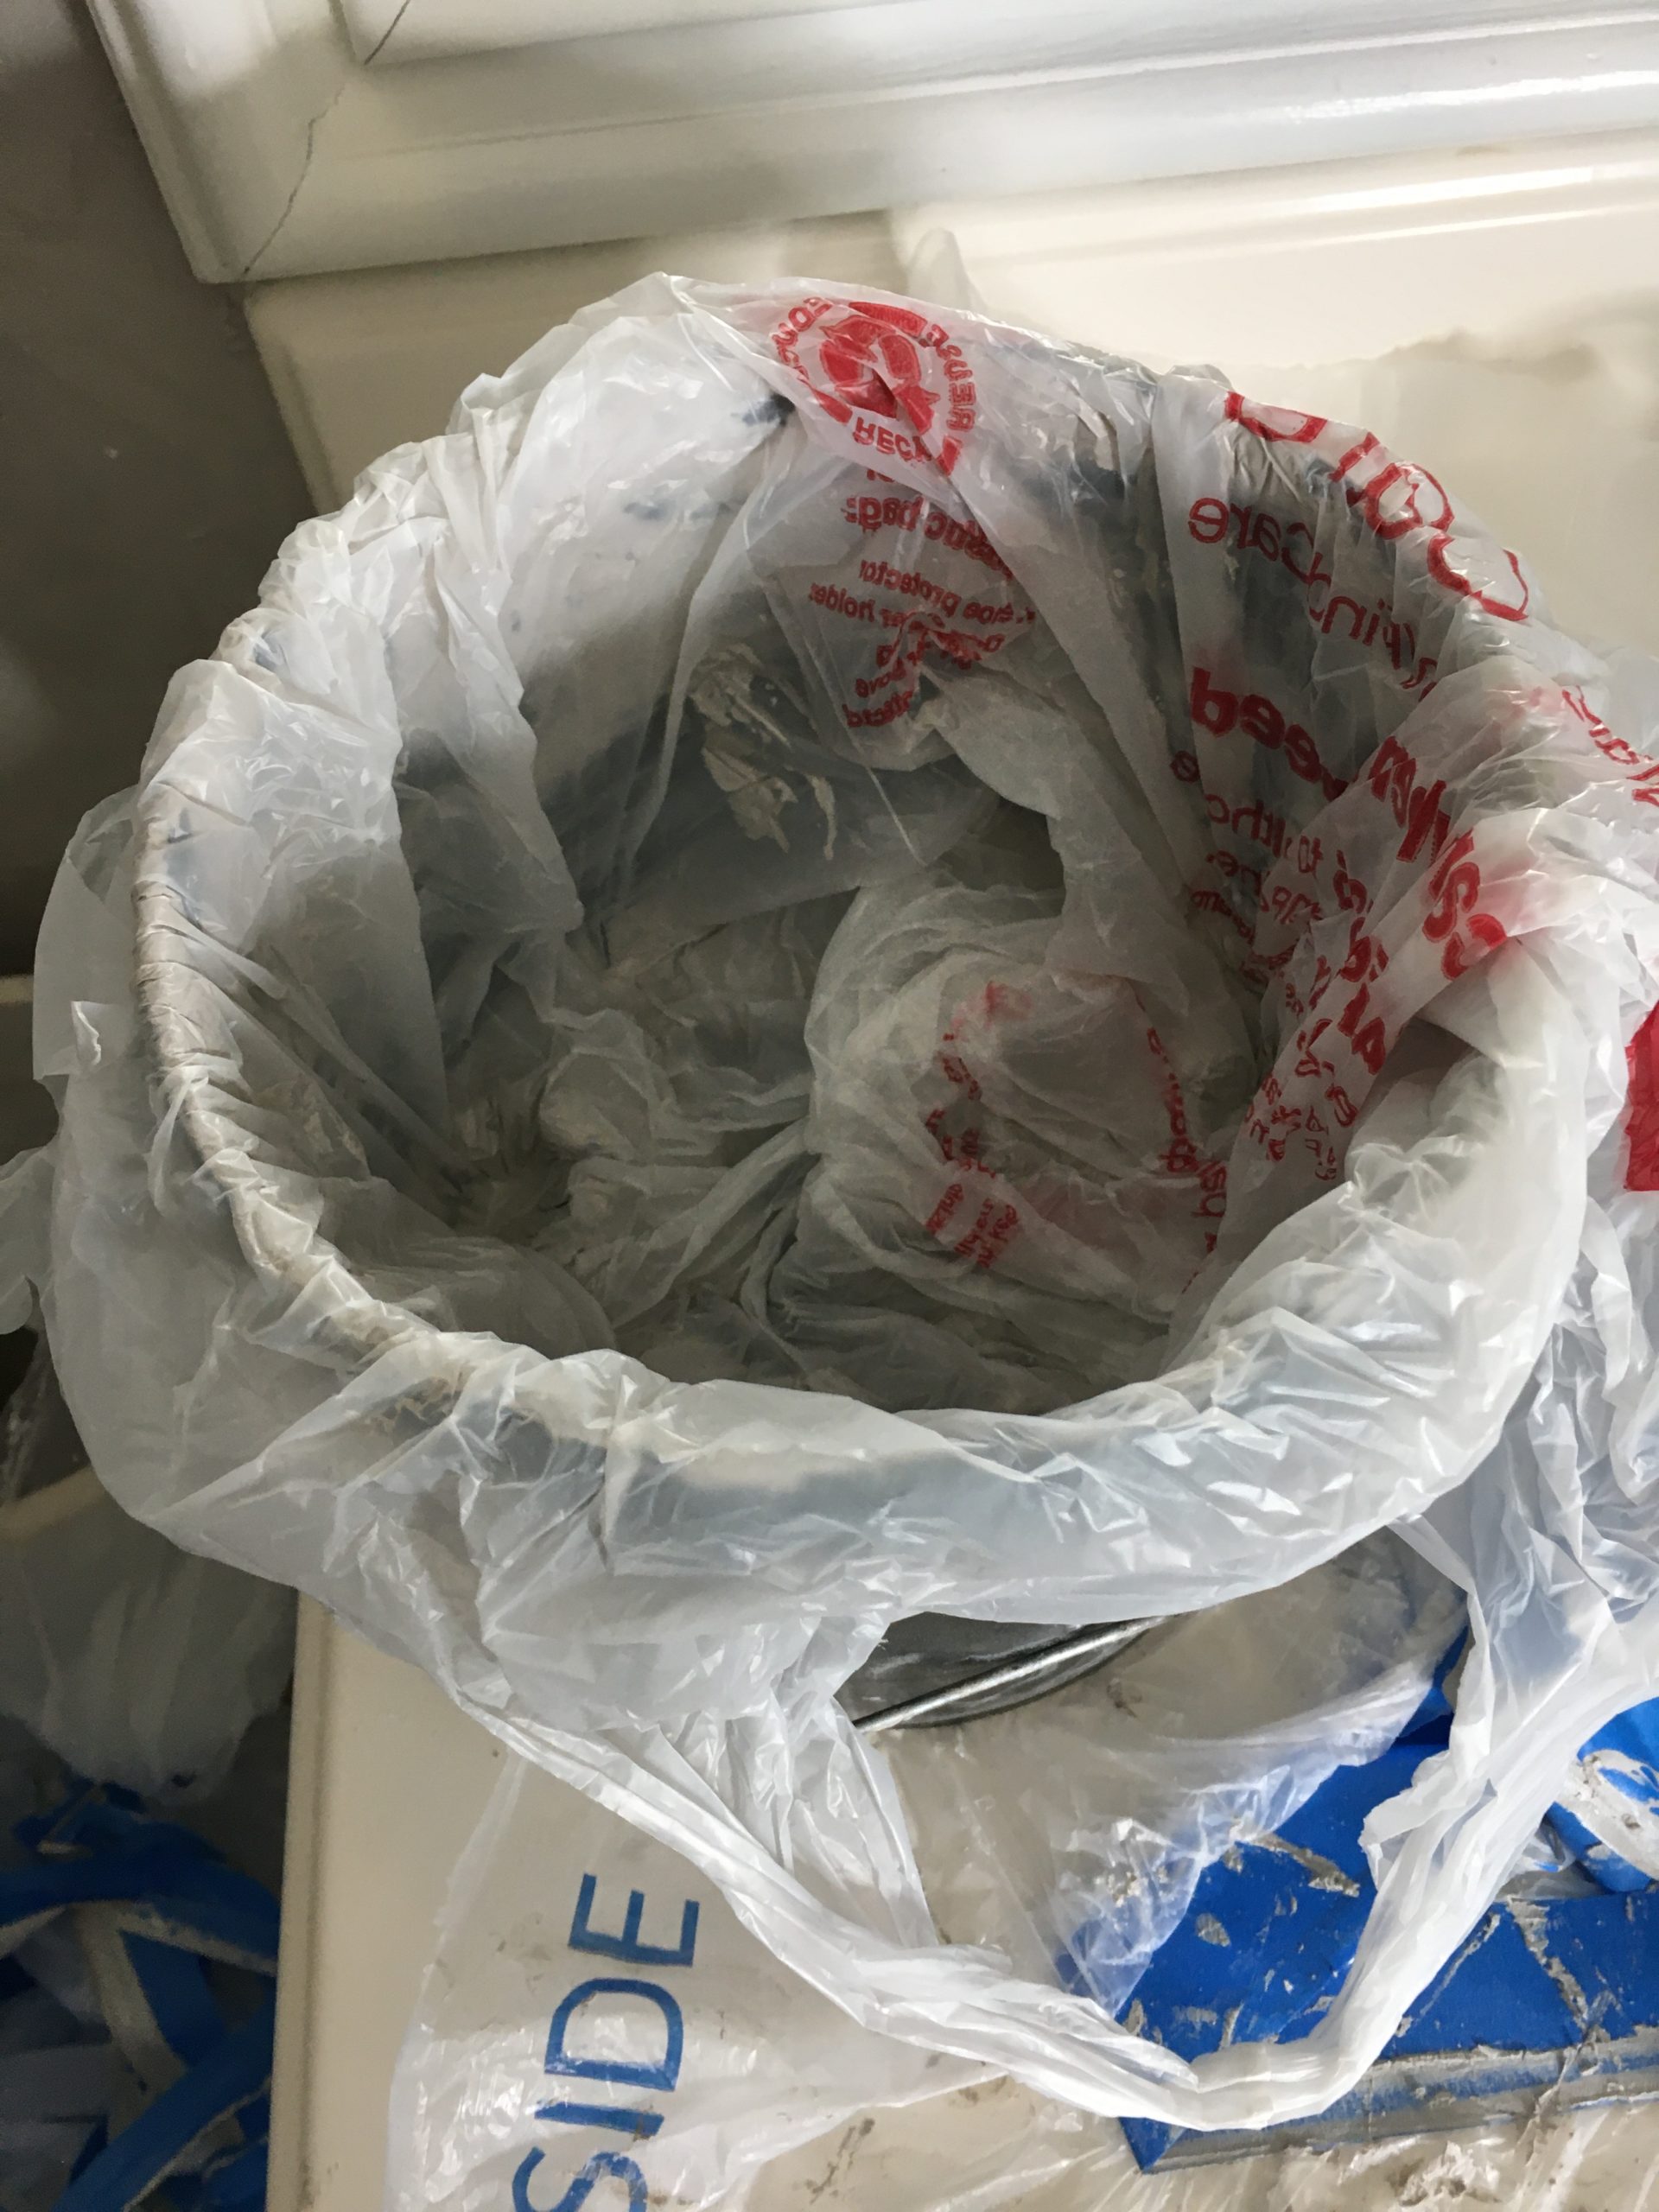
TIP #1
Press a grocery bag or plastic over the plaster before storing it way. You want to keep it airtight, so it doesn’t dry out
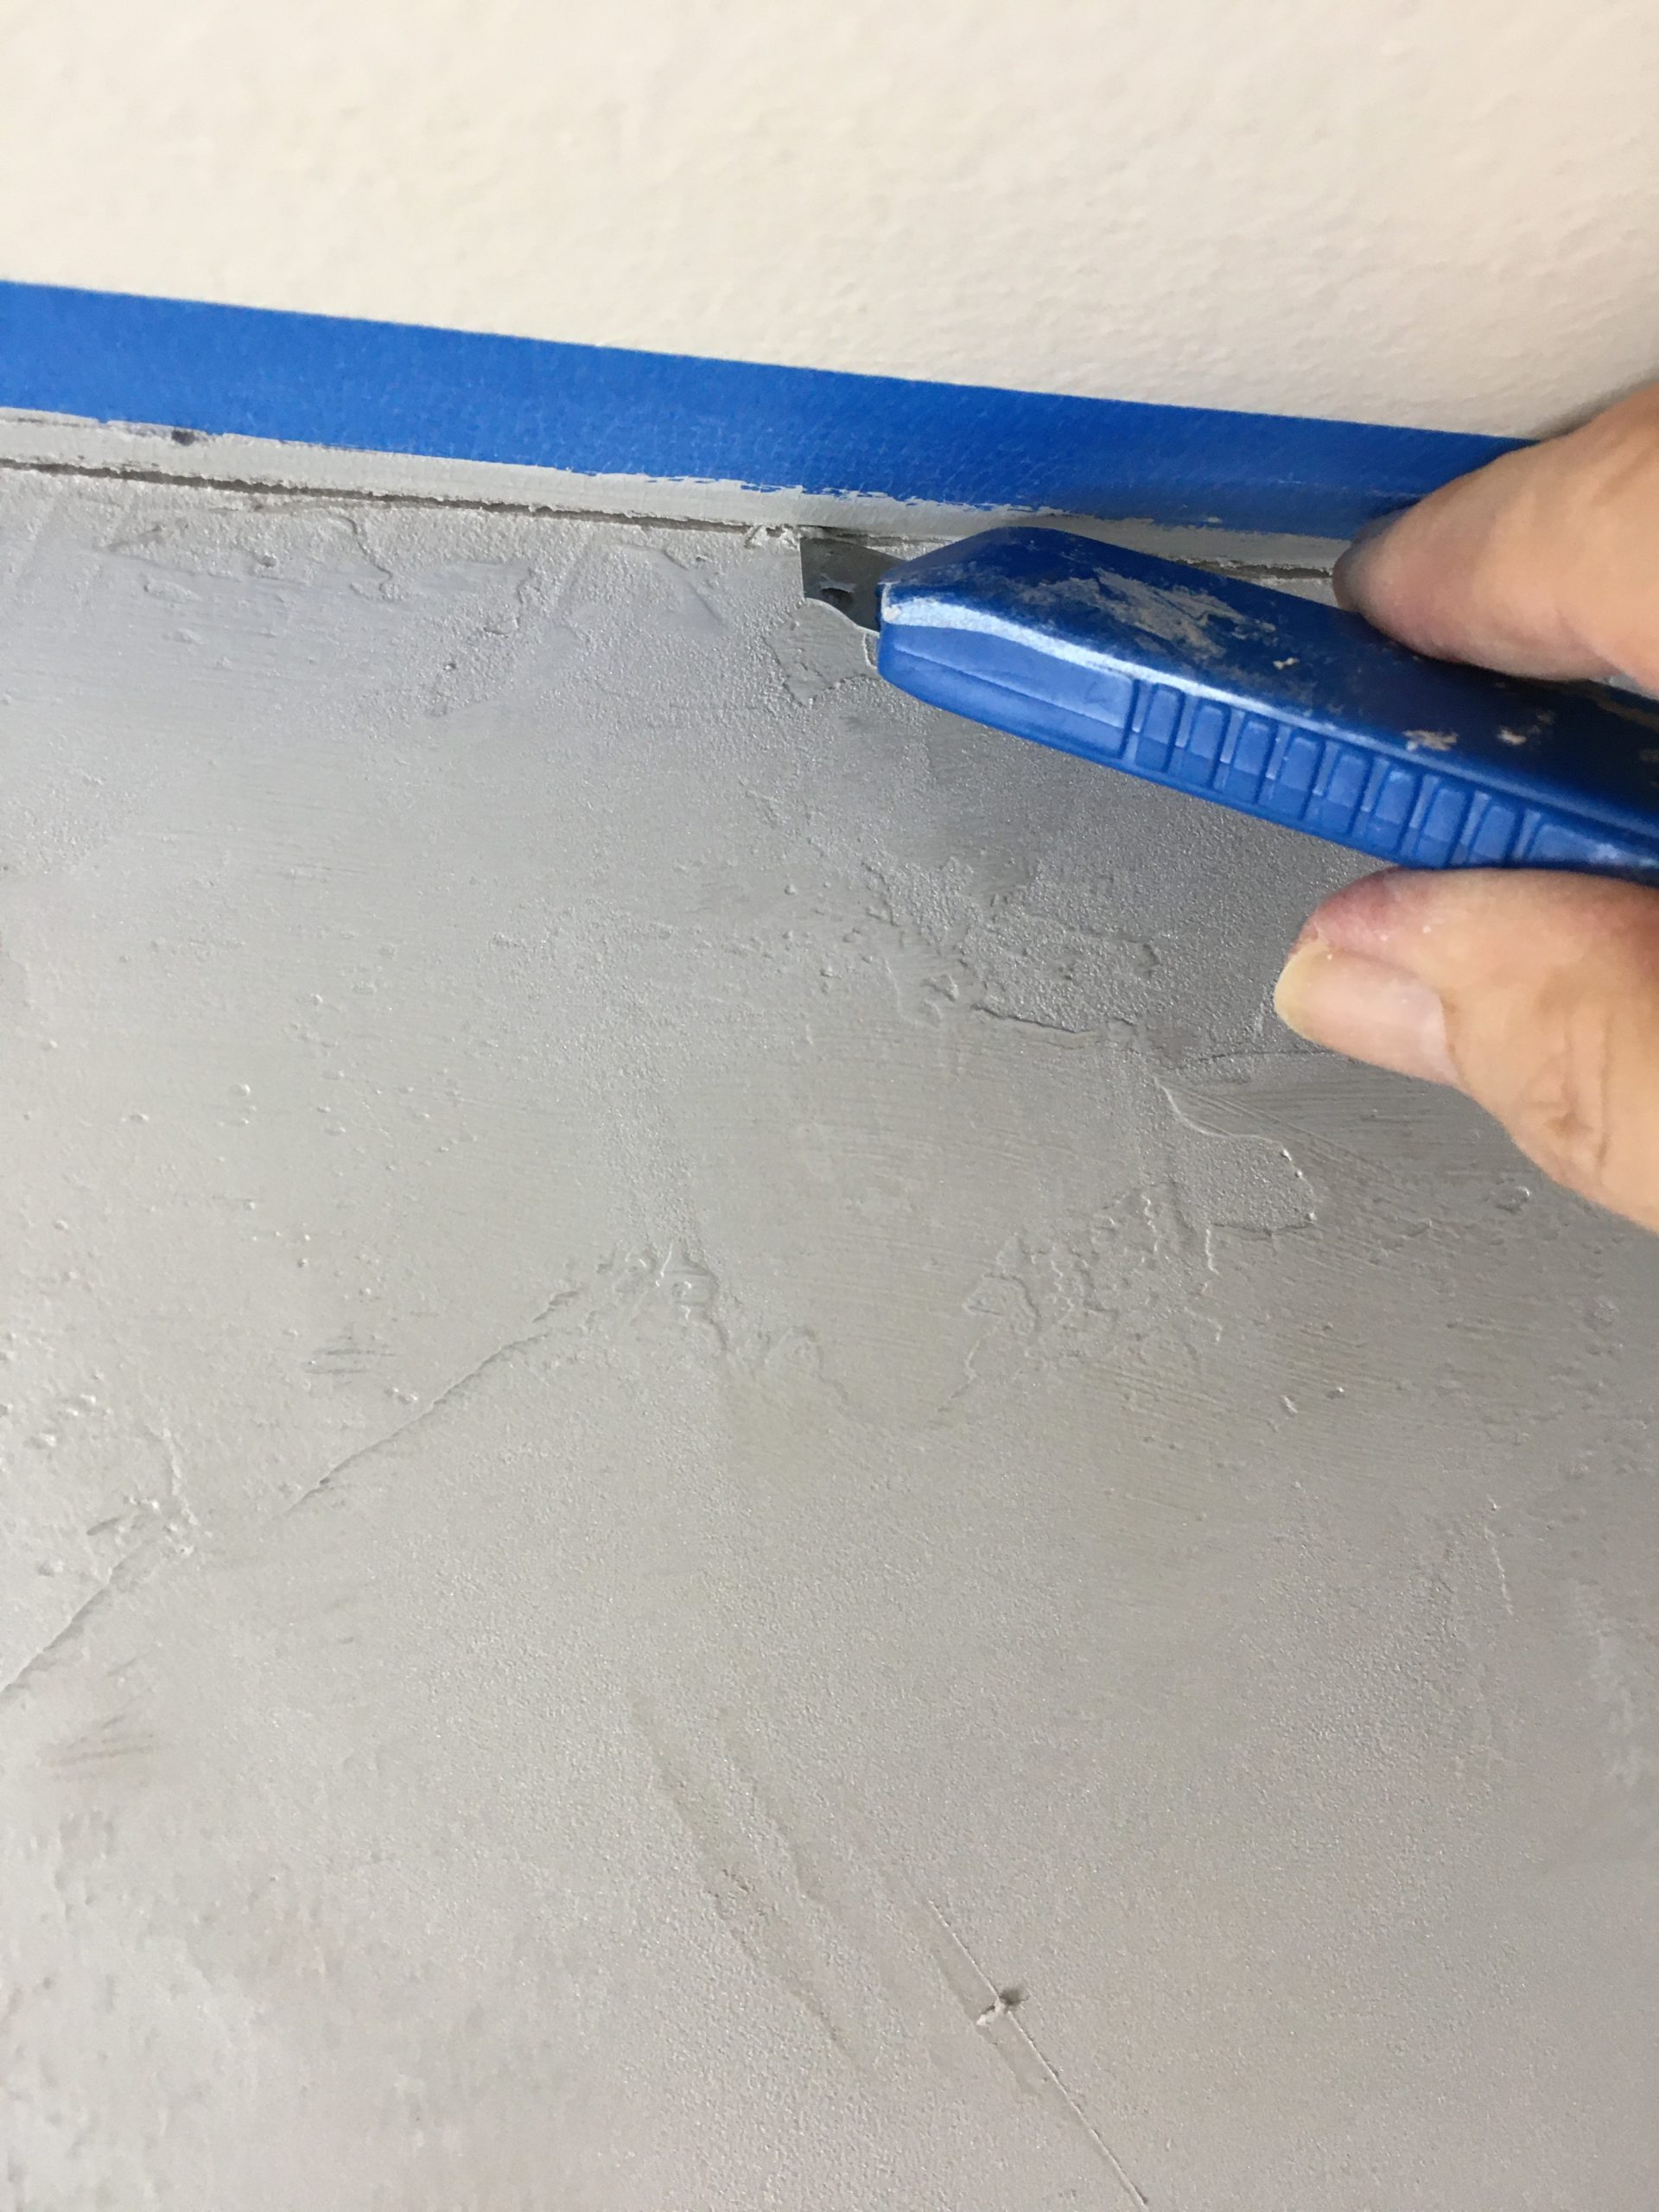
TIP #2
Make sure you score the tape before trying to remove it. Believe me, it’s a lot easier and you will get a nice straight line.
Isn’t this beautiful? It looks even nicer in person.

See how it shimmers when the light bounces off it.

Also, don’t throw away your old frames do this instead
Are you following me on YouTube? Don’t miss out on future projects – get my weekly blog sent to your inbox.
If you want to learn how to start making money with your hobby get the details HERE.

Artzy Fartzy Creations. Oh Yes you can DIY!

Create Faux Driftwood Cabinets In 3 Easy Steps
Dreaming of beautiful faux driftwood cabinets to give [...]

5 Amazing Race Car Themed Bedroom Ideas
Are you looking to create a race car-themed bedroom that [...]

Easily Repurpose Old Hubcaps Into Wall Decor
Have you ever thought you could repurpose old [...]

Creative Way To Turn a Golf Cart Tire Into a Shelf
Transforming a child’s room into a space that sparks imagination [...]

Transform a Dresser Into a Kids Race Car Tool Chest in 3 Easy Steps
Are you looking for a creative way to upcycle old [...]

Easy Peel and Stick Border For Kids Room
How to use an easy peel-and-stick border for kids' room [...]
Contents
Recent Reads

Quick Fix: How to Repair a Cracked Tile Floor (Without Replacing Everything)
How to Repair a Tile Floor and Make [...]
How to Create Budget-Friendly Stenciled Door Panels That Look Custom and High-End
DIY Textured Stencil Design – Door Tutorial Want to transform [...]

Ultimate Guide: How to Paint Stripes on Fabric Chairs Without Bleed-Through
How to Paint Stripes on Fabric Chair [...]