Introduction to Faux Granite Painting
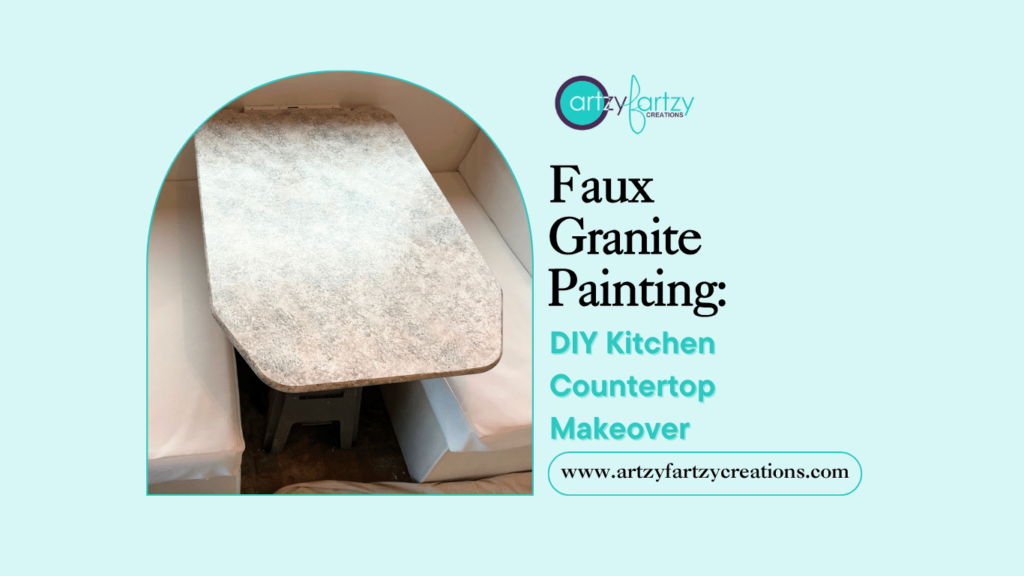
Faux granite painting offers a cost-effective solution for updating your countertops, especially when compared to the expense of installing real granite. Real granite countertops can be quite pricey, factoring in both material costs and professional installation. In contrast, faux granite painting provides an affordable option that allows you to achieve a similar aesthetic without straining your budget. The beauty of faux granite painting lies in its customization potential. It opens up a world of design possibilities, breaking free from the natural patterns of real granite. This means you have the creative freedom to select colors and patterns that perfectly match your kitchen’s style, adding a personal touch that reflects your unique taste and personality. Whether you have a specific color scheme or theme in your kitchen, faux granite painting can be tailored to seamlessly integrate with your existing decor.
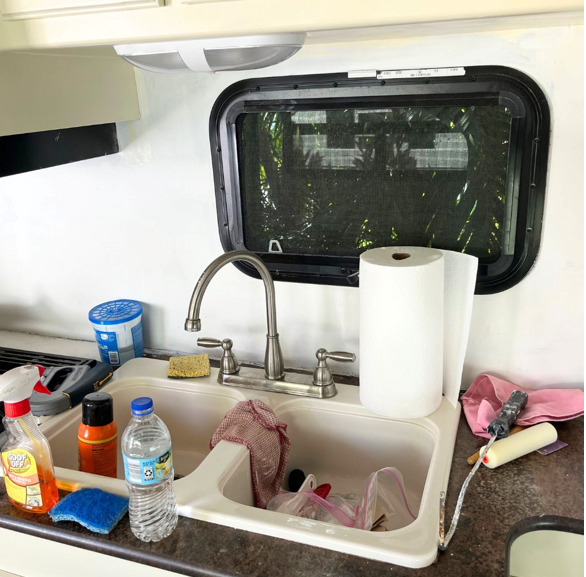
Excuse the mess, I should have cleaned it up before I took this picture. LOL!
Advantages of Faux Granite Painting
The best part? You can enjoy these benefits without the need for a full-scale renovation, as faux granite painting involves minimal disruption. Unlike extensive kitchen overhauls that entail tearing out existing countertops and enduring extended construction, this method is a quicker project that you can complete over a weekend or a few days, allowing you to relish your newly upgraded kitchen sooner. It’s a practical choice for those looking to refresh their kitchen’s appearance without the hassle of a full renovation.
Step-by-Step Guide to Faux Granite Painting
OK, are you ready? Let me walk you through the steps.
Step 1: Surface Preparation
Clean the surface with TSP. You want to make sure you clean all the grim and grease before you start.
Step 2: Sanding
Sand the entire surface (Really Good) with a medium grit sandpaper.
Step 3: Second TSP cleaning
Clean again with TSP.
Step 4: Surface Taping
Tape off around the sink, stove, walls, etc. and anywhere you don’t want paint.
Step 5: Priming
Prime the entire area 2x. Let each step dry before moving forward. My favorite primer is Stix Primer, it’s very durable.
Step 6: Paint and Glaze Preparation
You can use any latex-type paint. To make your glaze. Home Depot has sample sizes so you don’t have to buy more than what you need.
Mix 2 parts glaze to one part paint.
I use paper plates to separate each color. NOTE: You can use up to 6 different colors, but I wouldn’t go over that, it starts to look too busy.
Then take your sea sponge and break off small workable pieces. One for each color.
Step 7: Sea Sponge Application
Wet your sea sponge and wring out the water. Then lightly dab the sea sponge into the paint. I like to start with the lightest color first.
Step 8: Diagonal Paint Application
Working in a diagonal direction apply the paint to the surface. Cover the entire area before moving on to the next color.
Step 9: Gradual Color Addition
Following the same directions as above take your next color and start lightly dabbing the next darker color in the same diagonal direction next to the first color.
Continue with the rest of the colors filling in the base color. If you have heavier areas or spots you don’t like just go over it with the color of choice until you are satisfied.
Step 10: Polyacrylic Clear Coat Application
Once you’re satisfied with the way it looks, you’ll want to add a polyacrylic clear coat to protect it. I like to add 4-5 coats especially if the table is going to get used a lot.
Here’s another one of my favorite painted finishes you might like as well.
Here’s your supply list:
- Primer
- Brush
- Sponge roller & sleeve
- Sandpaper
- Rags
- Clear coat
- 4-6 different colors of latex Paint: Any left over Latex paint
- Glaze
- Sea sponge
- Gloves
- Paper plates: any paper plate
- Blue tape
- Utility knife
- TSP
- My favorite painted finish
P.S. Have you ever thought about turning your hobby into a business? Join Empowering Women.
P.S.S. Get my blog jam-packed with home decorating and DIY tips:
XOXO
Cheryl
Artzy Fartzy Creations. Oh Yes you can DIY!
Budget-Friendly Way to Lime Wash Pecky Cypress
Ready to transform your ceiling using our budget-friendly [...]
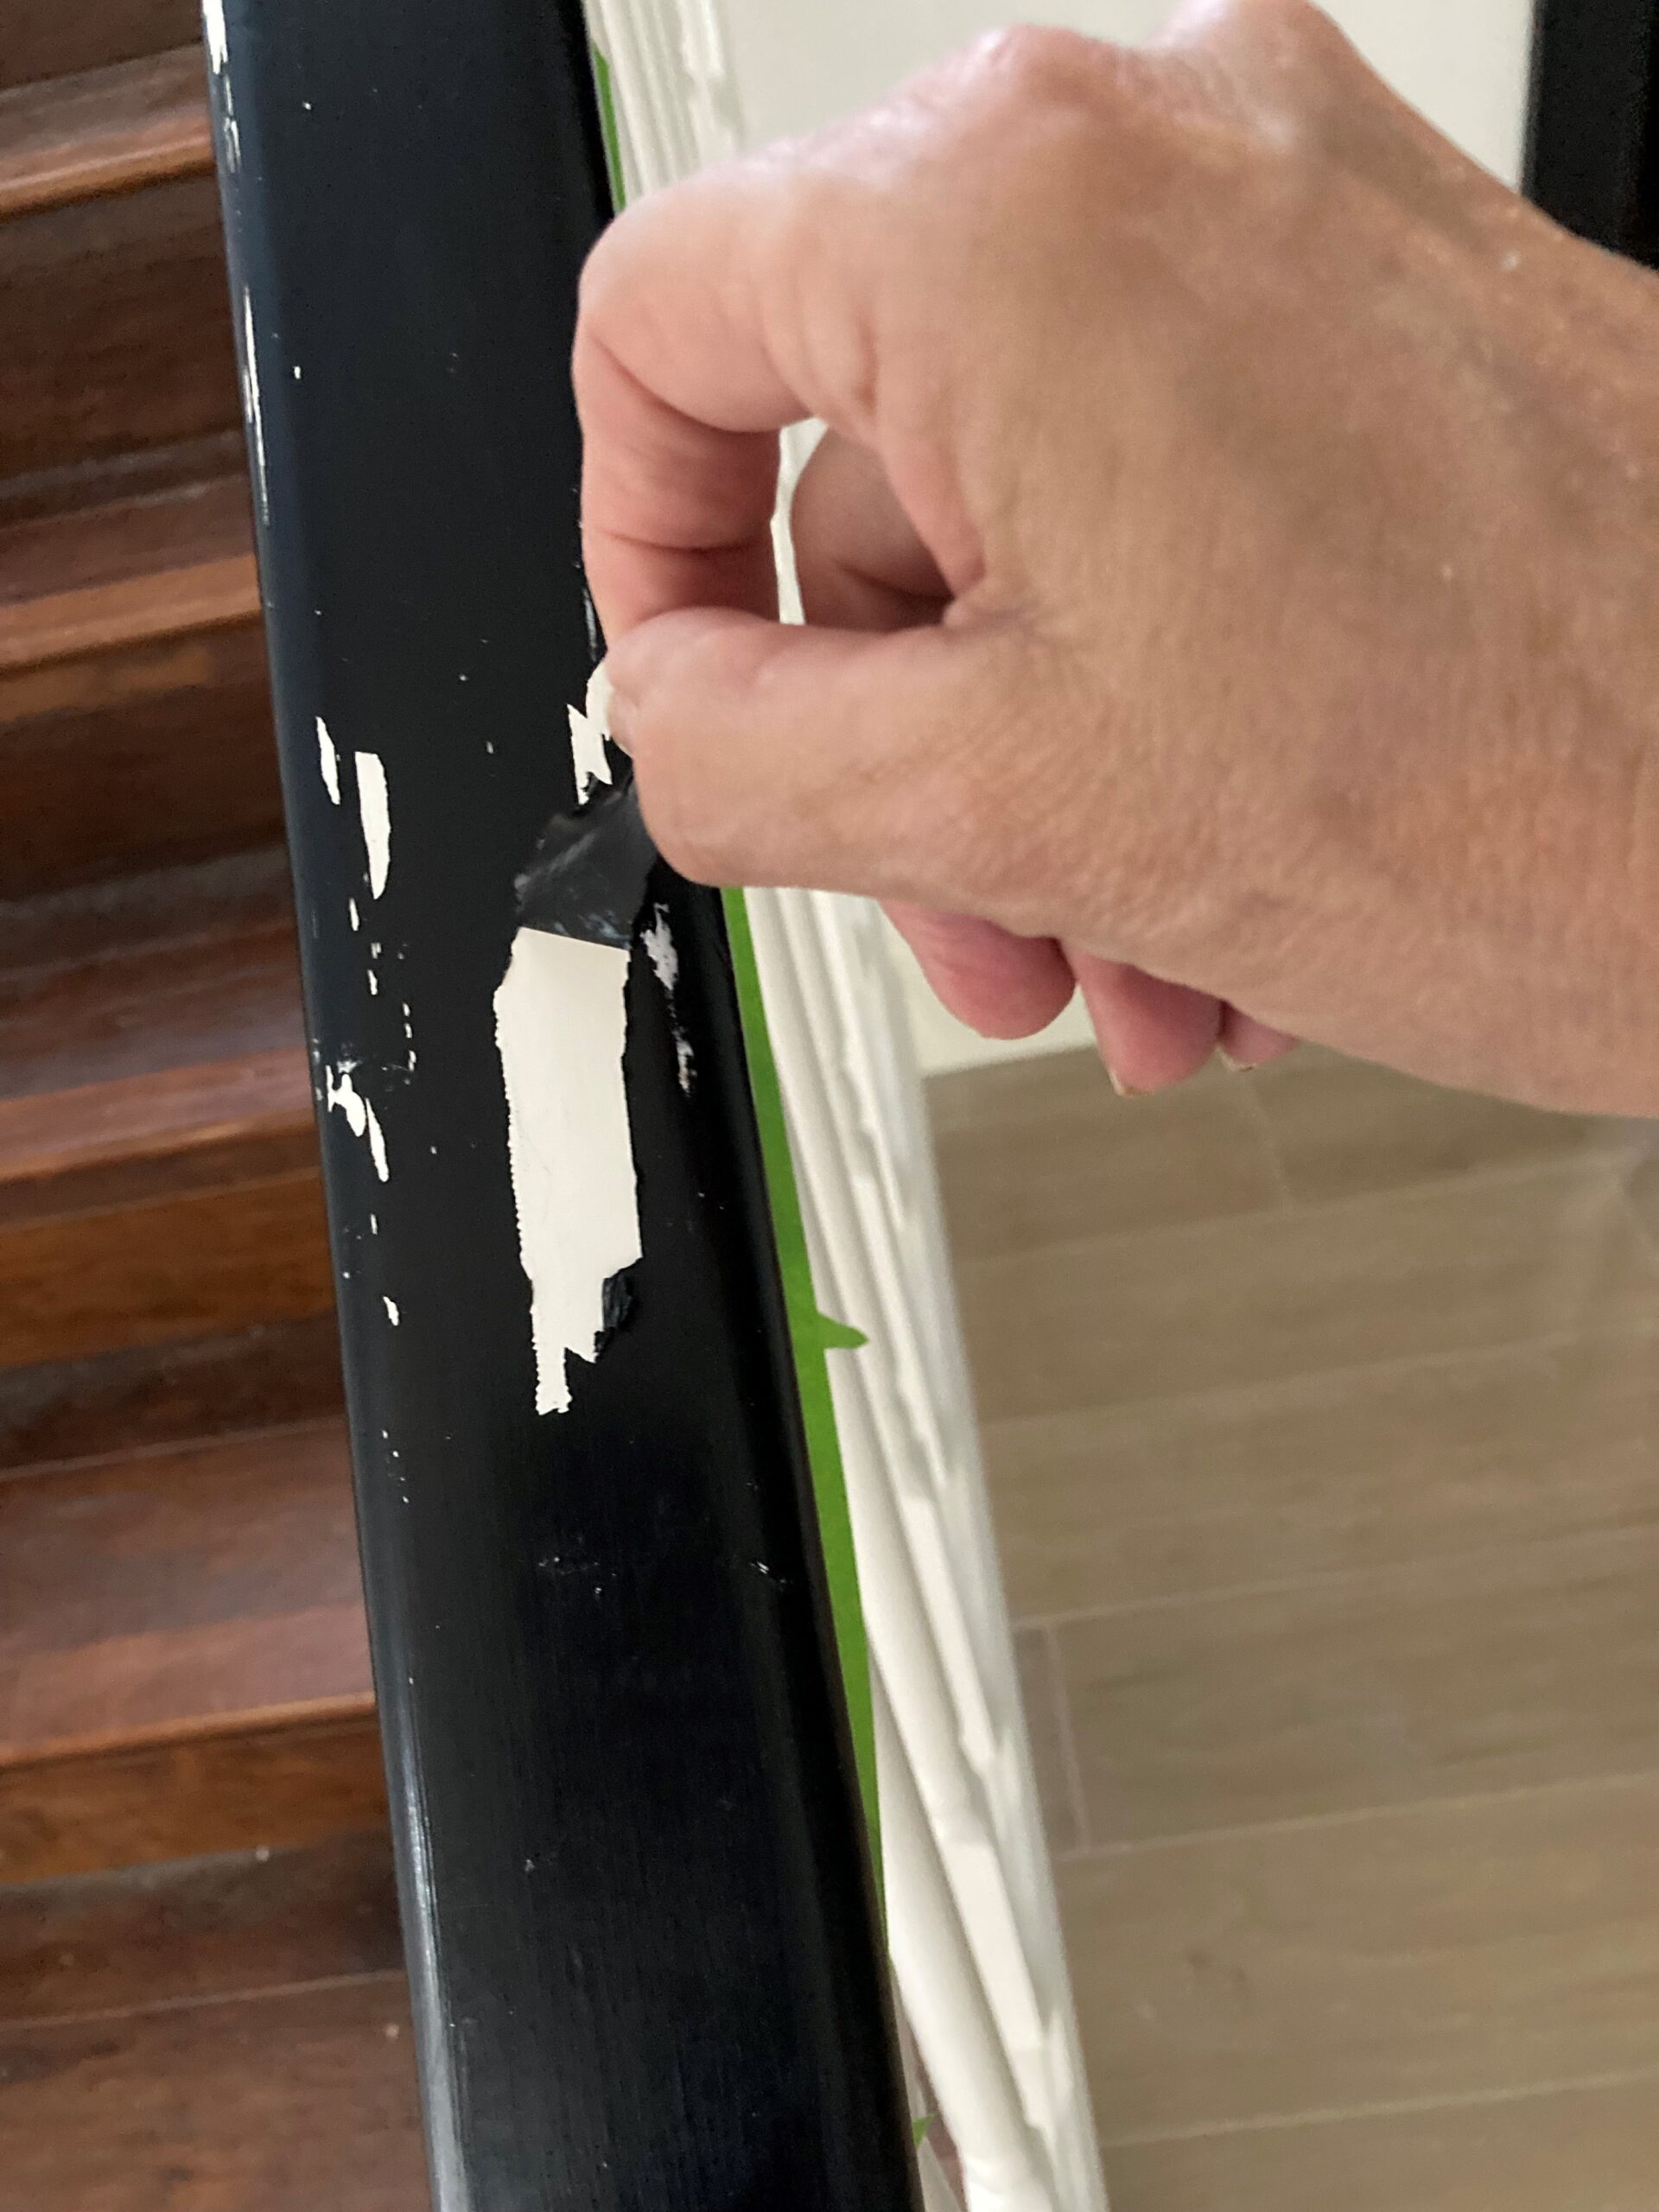
Latex Paint Not Sticking Over Oil-Based Paint: How To Fix It
Is the latex paint not sticking to your [...]
Transform your space with 3D Wall Panels for an elegant look
Picture this: You step into a room and [...]
The Best Paints for Upcycling Furniture
Have you ever stumbled upon a piece of [...]
How to Score Amazing Home Decor Finds at Thrift Stores
Are you ready to give your home a [...]
Luster Stone Finish: The Easy Guide to a DIY Ceiling Luxury
Unveiling the Fifth Wall Your ceilings are like the forgotten [...]
Contents
Recent Reads
Easily Repurpose Old Hubcaps Into Wall Decor
Have you ever thought you could repurpose old [...]
Creative Way To Turn a Golf Cart Tire Into a Shelf
Transforming a child’s room into a space that sparks imagination [...]
Transform a Dresser Into a Kids Race Car Tool Chest in 3 Easy Steps
Are you looking for a creative way to upcycle old [...]

