Looking to add a little extra drama and elegance to your space without a full renovation? One of my favorite ways to elevate a room is with this DIY metallic molding technique. It’s surprisingly simple, budget-friendly, and gives your home that timeless, old-world charm—like something out of a European estate. Whether you’re sprucing up crown molding, baseboards, or even furniture trim, this technique is the perfect way to infuse a touch of vintage glam into your home.
Let’s dive into how you can make your trim go from basic to breathtaking with just a few metallic touches!
 Choosing the Right Metallic Paint for DIY Molding Projects
The paint you choose sets the entire tone for your finish. You want something that’s not only beautiful but also easy to apply and durable over time.
Top Metallic Paints for Wood and Trim
Here are a few of my tried-and-true favorites for achieving that metallic sheen without the mess or fuss:
- Modern Masters Metallics – rich color options and great coverage.
Picking the Perfect Color for Old-World Flair
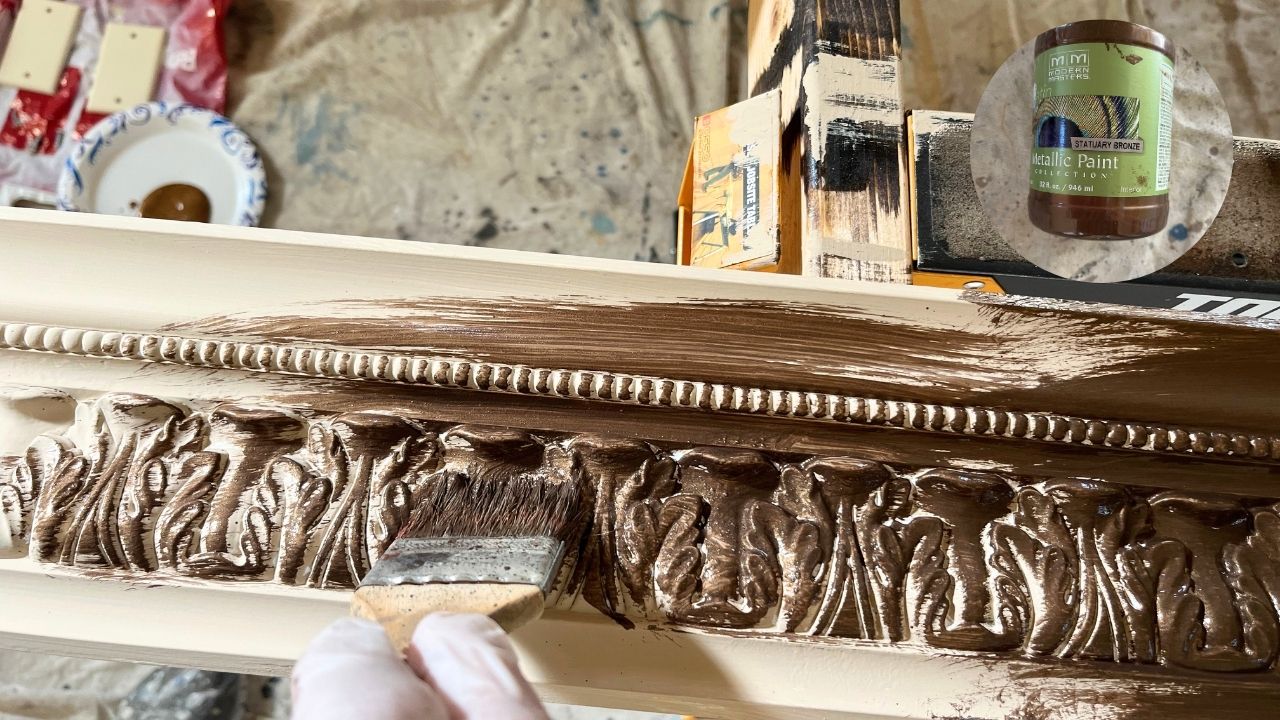
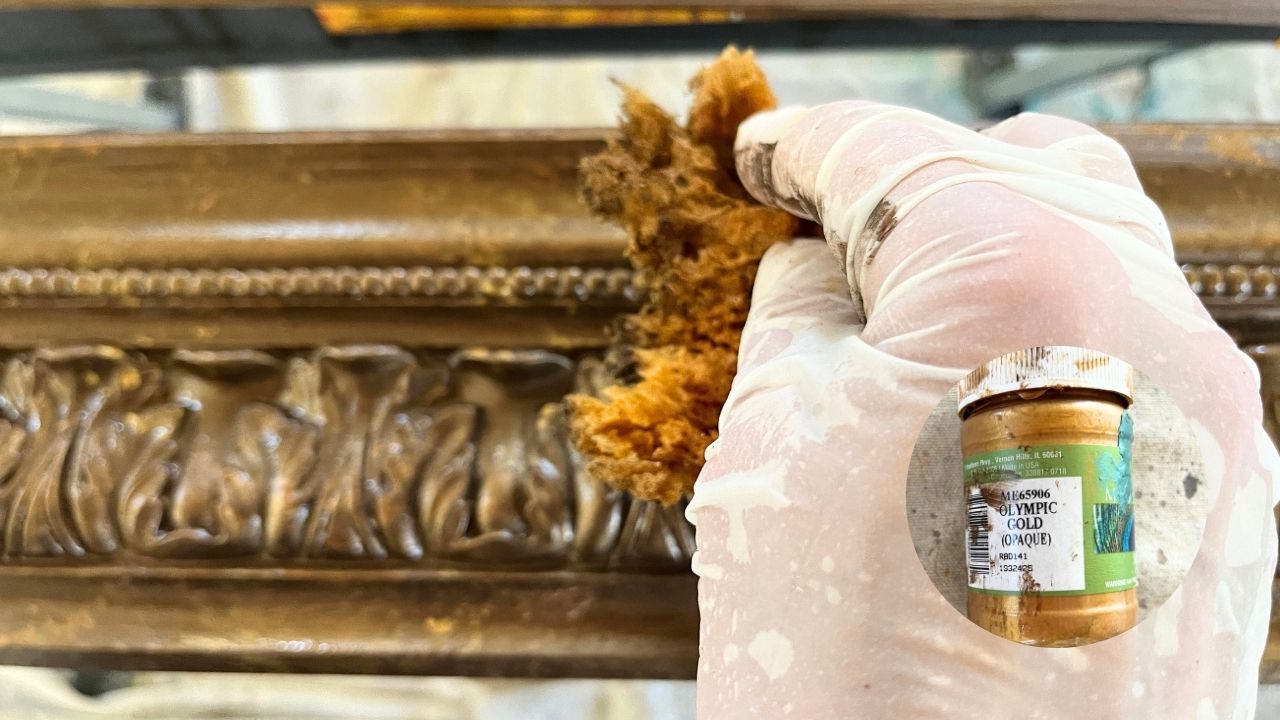
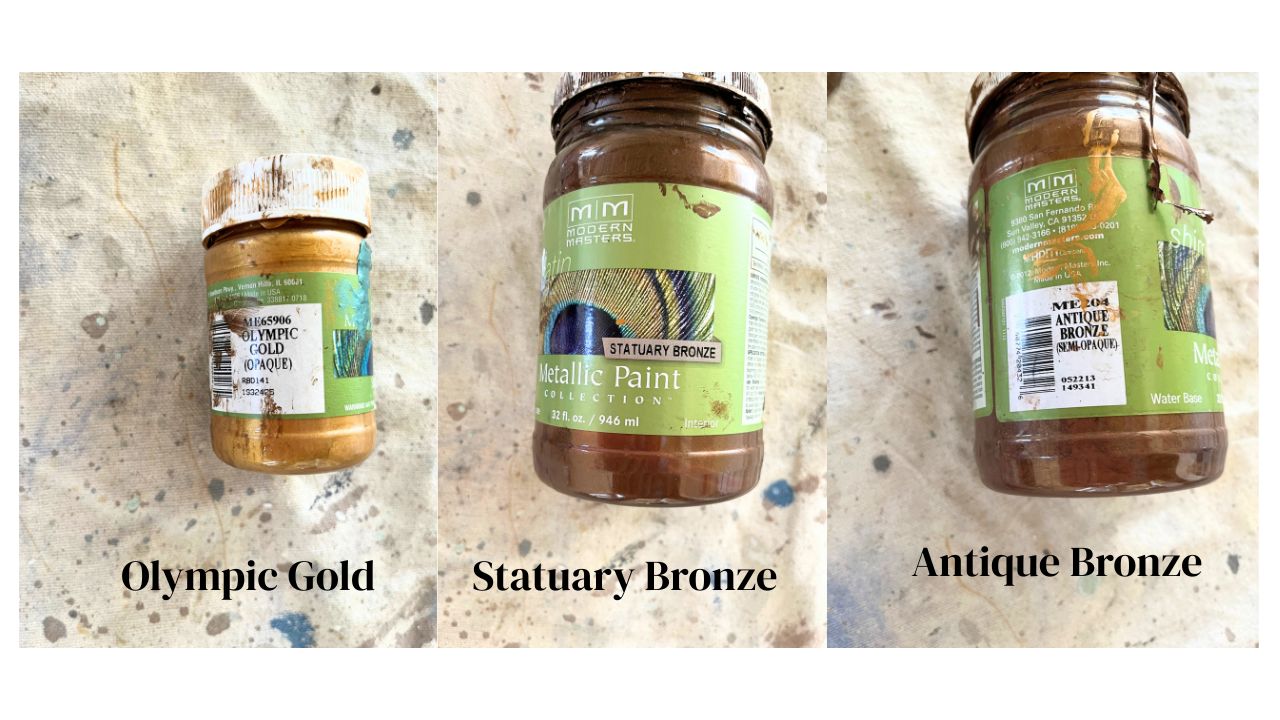
Stick with classic tones like Olympic Gold, Statuary Bronze and Antique Bronze. These colors add warmth and elegance without overpowering your space.
How to Prep for a DIY Metallic Molding Technique
As much as I love diving right into a project, proper prep work saves time (and frustration) in the long run.
Cleaning and Sanding Your Molding
Start by cleaning your trim thoroughly with a mild degreaser or vinegar and water solution. Once it’s dry, give it a light sanding if you’re working with raw wood.
DIY Metallic Molding Technique: Step-by-Step
Now for the fun part! Here’s how to create that gorgeous antique metallic finish with simple tools and a little creativity.
Step 1: Apply a Base Coat
Start with a flat or satin base color that complements your metallic. If your metallic paints are dark then use a dark base coat it will cover much better.
Step 2: Add the Metallic Layer
Once the base is dry, apply your chosen metallic paint in thin, even layers. Use a soft-bristle brush or a foam brush for the best results. Don’t worry about getting full coverage—you want a little of that base color to peek through.
Step 3: Add a Second Metallic Color for Detail
To really highlight the raised areas of your molding, take a sea sponge and lightly dab on a second metallic shade. This adds gorgeous dimension and gives your molding that timeworn, layered effect.
Step 4: Add a Third Metallic Color for Depth
Adding multiple colors will not only create details and depth it will also help tone it down and blend the colors. For instance, if you apply too much gold, you could go over, it with. one of the bronze metallic colors to make it disappear.
Step 5: Optional—Make Your Details Pop
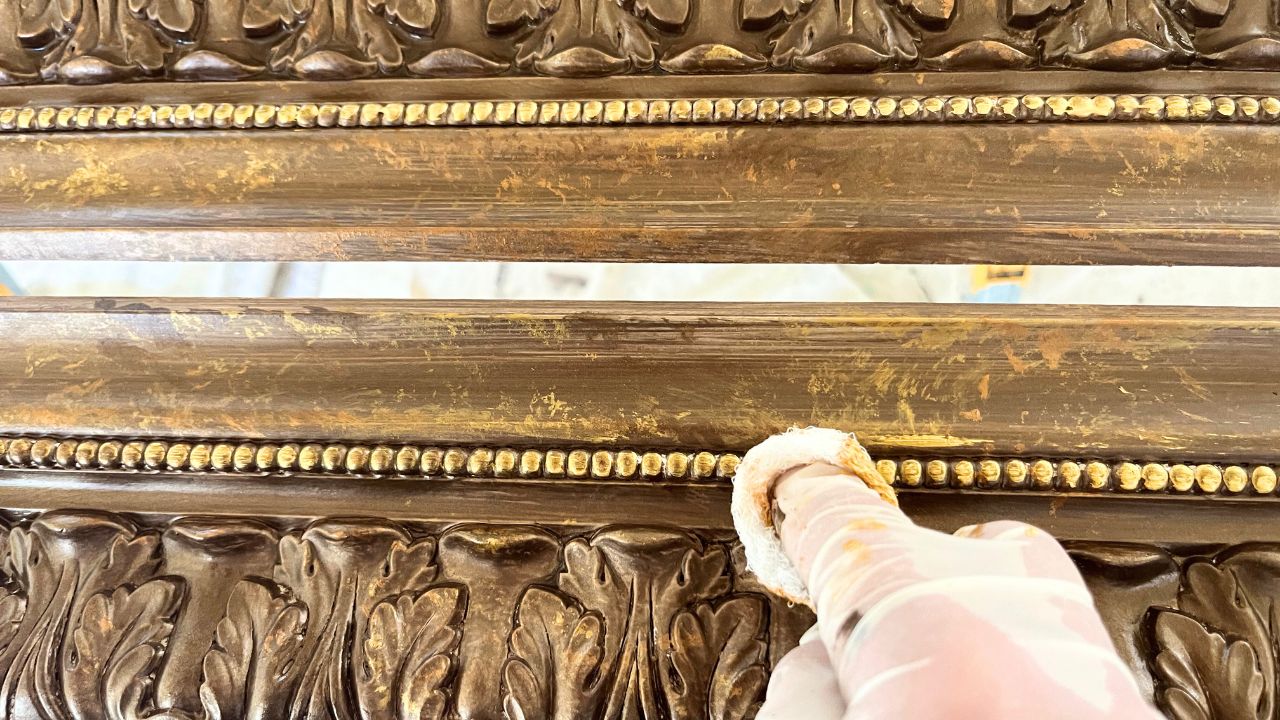
For added detail and to make your metallic finish pop. Wrap a piece of cheesecloth around your finger and add a little gold paint to it. Rub it on the detail you want to stand out.
PRO Tip: Wear rubber gloves when working with metallic paint. It can be difficult to remove.
Step 6: Optional—Seal It for Durability
If your molding is in a high-traffic area or you just want added protection, seal it with a clear satin topcoat. Just make sure your metallic paint is completely dry first!
Creative Ways to Use This DIY Metallic Molding Technique
Once you learn this method, you’ll start seeing all kinds of opportunities to use it throughout your home!
Accent Your Walls and Ceilings
Use this technique on crown molding or chair rails to give a room a polished, high-end look.
Transform Furniture with Metallic Trim
Have a plain dresser or bookshelf? Add molding and apply your metallic finish to make it look like a custom antique piece.
Enhance Doorways and Window Frames
Painted trim around windows and doors can completely change how a room feels—especially with a touch of gold or pewter.
Common Mistakes to Avoid When Painting Molding
Let’s save you a few headaches with some lessons I’ve learned the hard way!
Using Too Much Paint at Once
Metallics look best when layered. Go light and build up the finish—you’ll get a more realistic and luxe look.
Skipping the Prep Work
I know, prep isn’t the most fun part, but if you skip it, your paint might peel or go on unevenly.
Choosing the Wrong Finish
Some metallics are too shiny and can look more like craft paint than classy trim. Go for a soft satin or matte metallic for that vintage feel.
Ready to Try This Technique? Here’s What You’ll Need
- Your choice of metallic paint
- Here’s what I used, Antique Bronze,Statuary Bronze, Olympic Gold
- A base coat of paint (flat or satin)
- Gloves
- Small paint brushes
- Sea Sponge
- sealer
There you have it—your guide to mastering the DIY metallic molding technique! It’s one of those projects that looks like a million bucks but doesn’t cost much at all. Plus, it’s a fun way to express your creativity and add a little extra magic to your space.
If you try this project, I’d love to see what you create! Tag me on Instagram using #cherylphan or shoot me a message—your projects always inspire me.
And if you want more tips, tricks, and tutorials like this, be sure to subscribe to my blog. I share tons of creative ideas to help you turn your house into a home that reflects your unique style.
P.S. Make sure you don’t miss out on signing up for my blog, it’s filled to the brim with home decorating and DIY tips!
Ready to turn your hobby into a business, join Empowering Women and let me show you how.
Love working with metallic paint? You’re going to LOVE this blog
XOXO Cheryl,
Artzy Fartzy Creations. Oh Yes you can DIY!
Create Faux Driftwood Cabinets In 3 Easy Steps
Dreaming of beautiful faux driftwood cabinets to give [...]
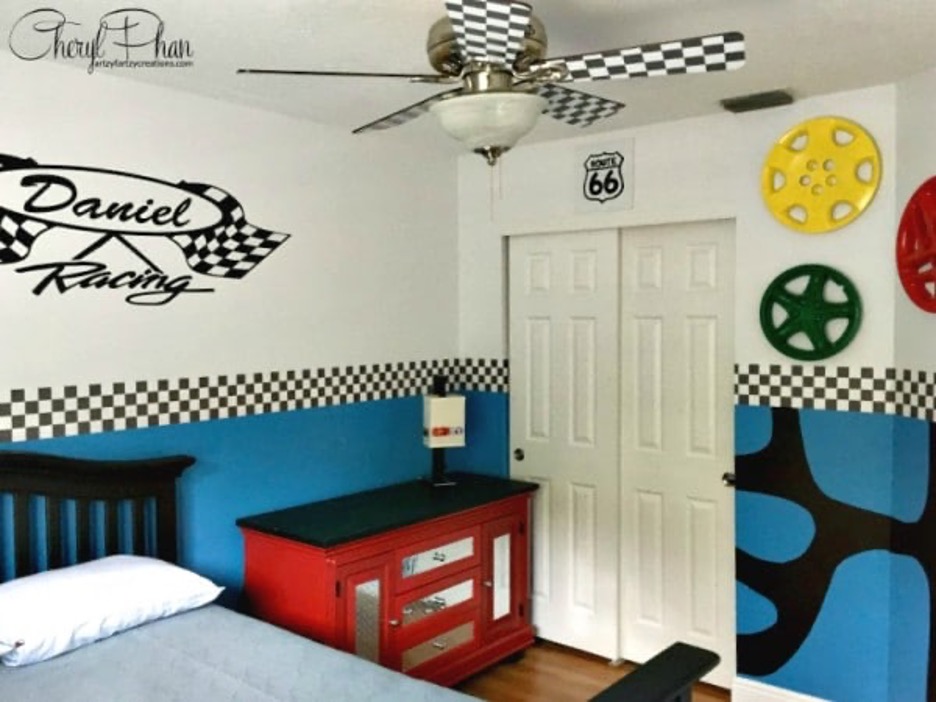
5 Amazing Race Car Themed Bedroom Ideas
Are you looking to create a race car-themed bedroom that [...]
Easily Repurpose Old Hubcaps Into Wall Decor
Have you ever thought you could repurpose old [...]
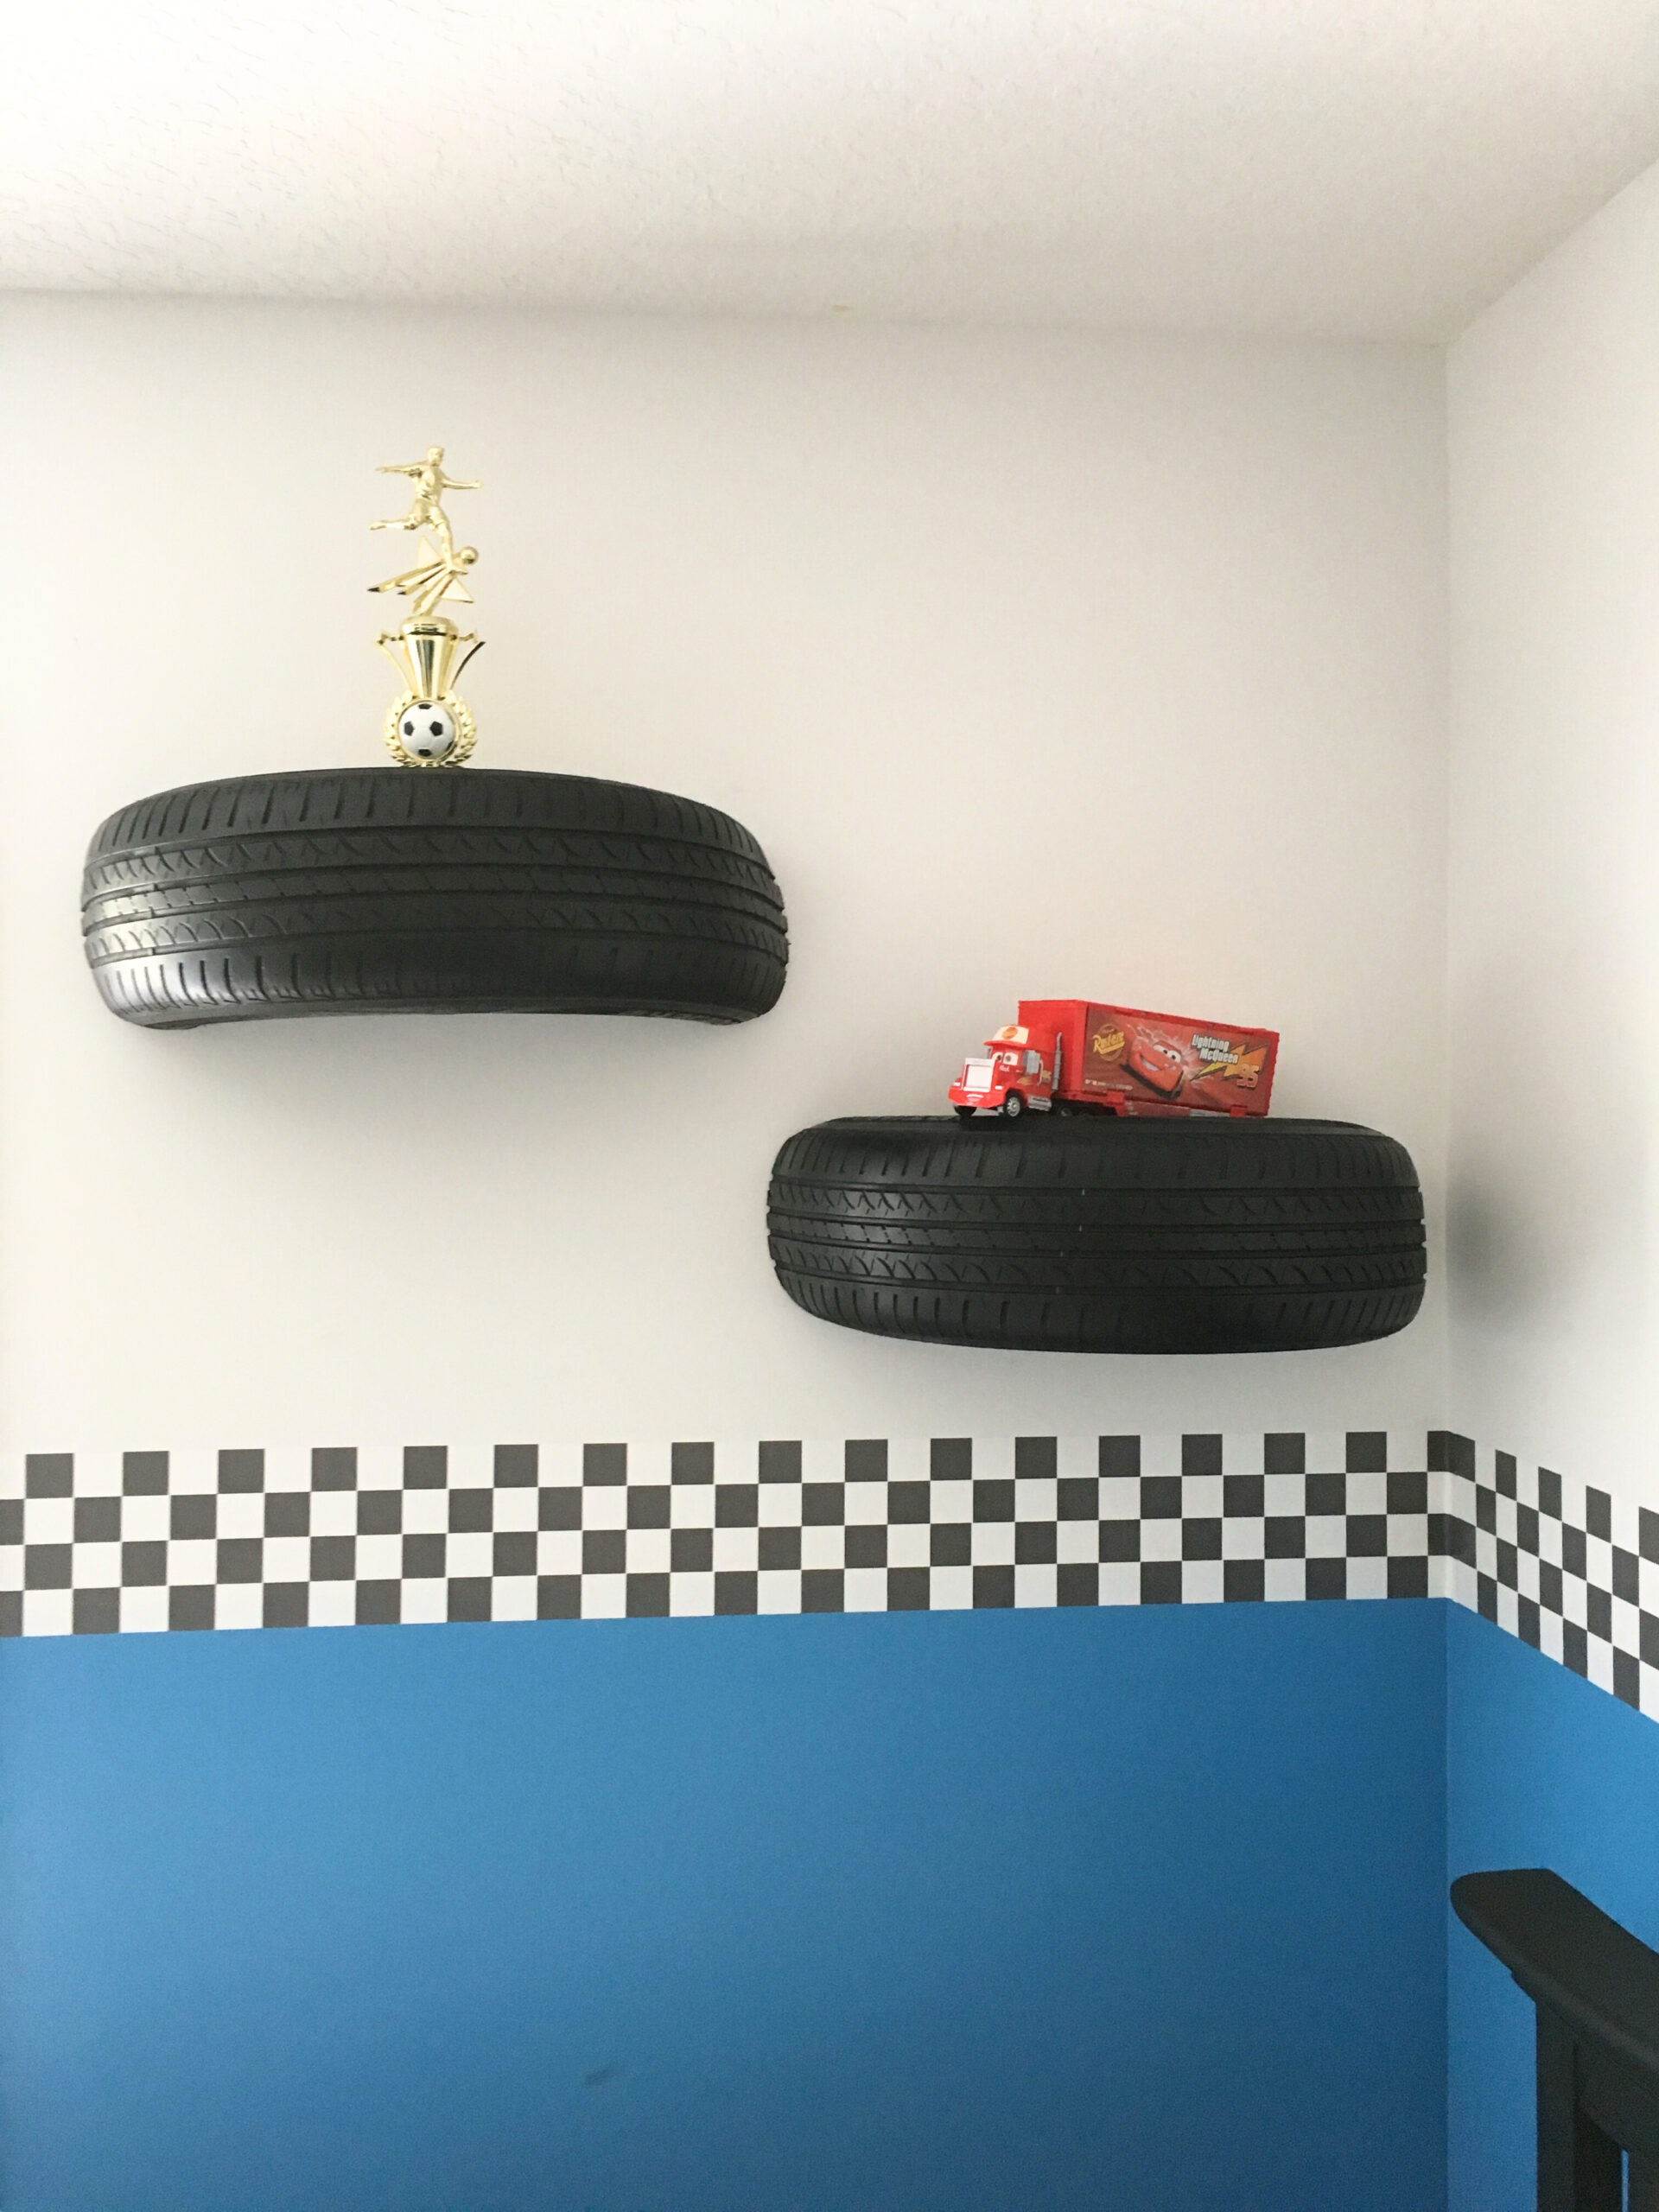
Creative Way To Turn a Golf Cart Tire Into a Shelf
Transforming a child’s room into a space that sparks imagination [...]
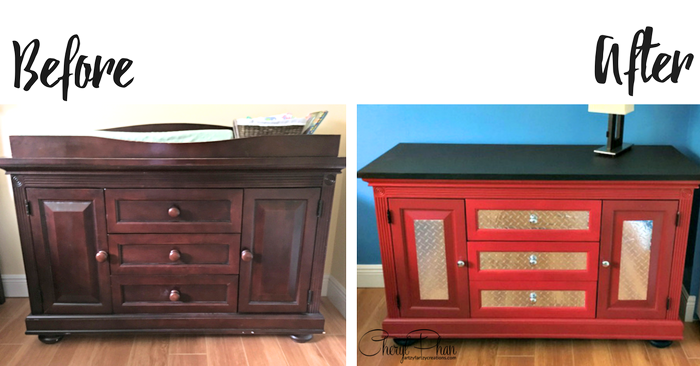
Transform a Dresser Into a Kids Race Car Tool Chest in 3 Easy Steps
Are you looking for a creative way to upcycle old [...]
Easy Peel and Stick Border For Kids Room
How to use an easy peel-and-stick border for kids' room [...]
Contents
Recent Reads
Master- How To Paint Perfect Horizontal Stripes Like a Pro
Want to know my secret pro tip to paint horizontal [...]
How to Paint Columns to Look Like Marble
Creating a marble faux finish on columns is easier than [...]

