“Paint du Coco” chalk paint
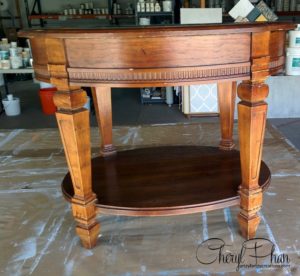
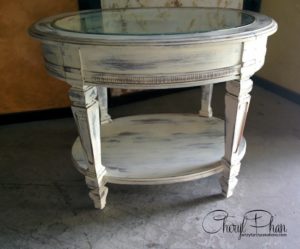
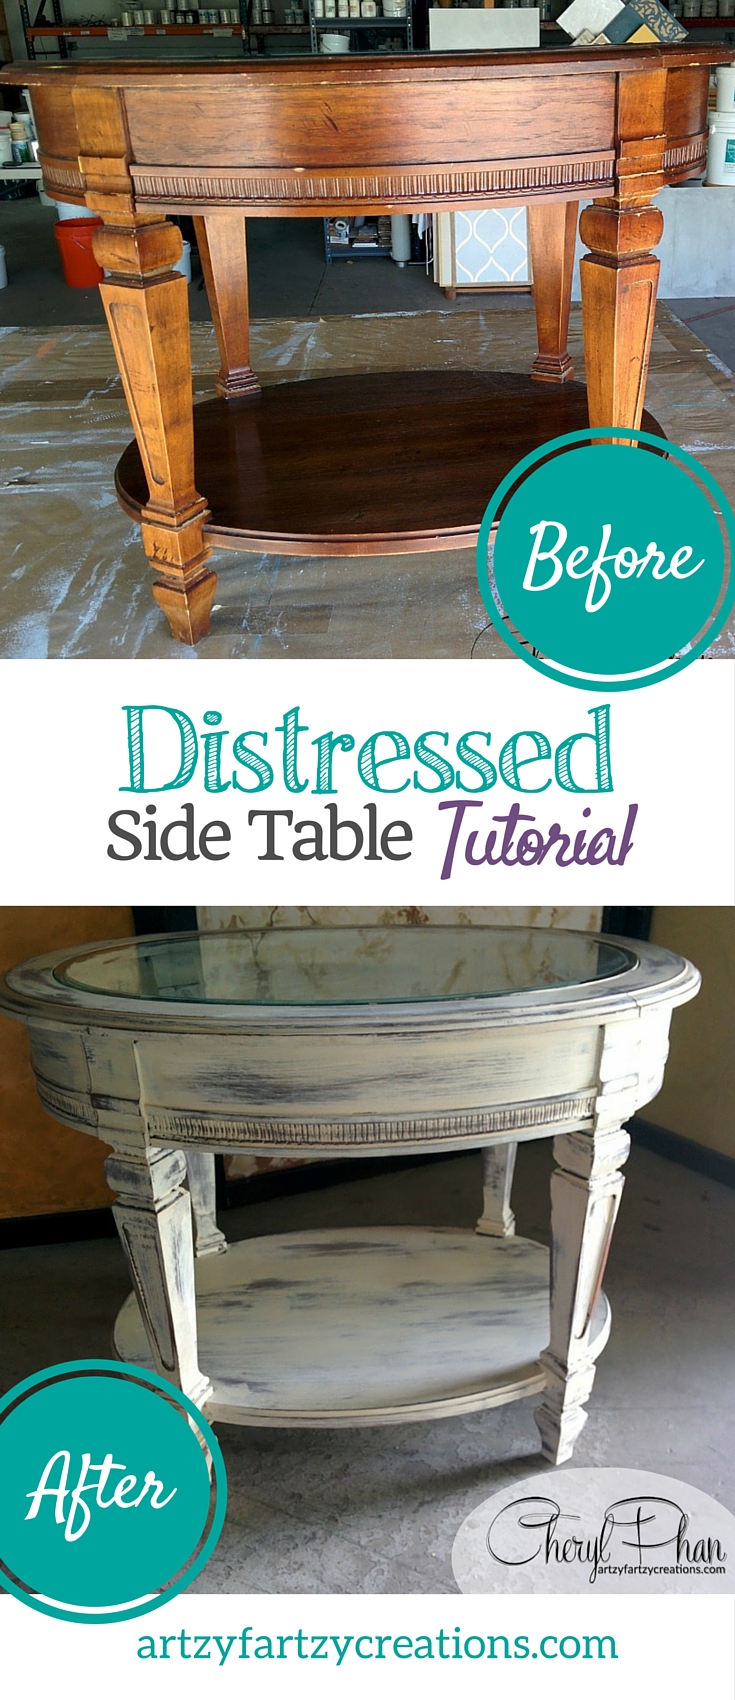
I found this old end table at a consignment shop and couldn’t resist rescuing it It’s like going to the SPCA and finding the ugliest puppy, but for some reason, you fall in love with it and know that when you take it home and give it a bath it will look beautiful. That’s how I feel when I find old furniture. I know that sooner or later I’ll find the perfect finish for it and give it a new home. If you want to know my secret to transforming old furniture Click HERE I was recently introduced to the most amazing chalk paint called “Paint Du Coco”. It’s so easy to use and looks amazing when you’re done. It took me about two hours to complete this project. Start to finish with drying time. Here’s what I used:
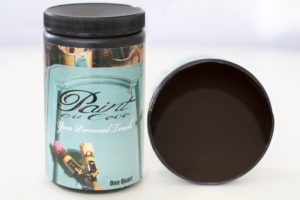
- Swiss Chocolate for the base -one Pint
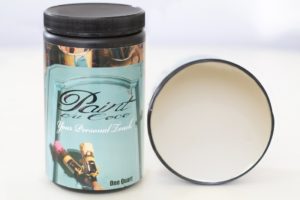
- Pure Silk for the topcoat- one pint
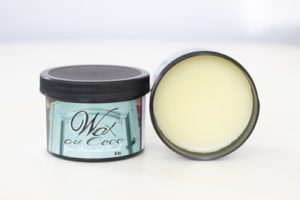
- Tuff Clear Wax over the entire table
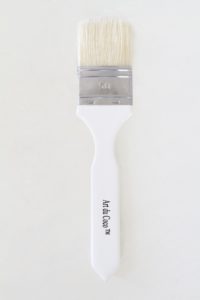
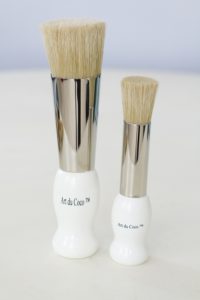
- 2″ Oval Brush & Wax Bruch
- Rags (White T-Shirt)
- Cheese Cloth
- Scrub pad
Here’s what I did
- Clean and dry the furniture before painting (TSP) works well
- Using your 2″ Oval Brush paint the entire piece of furniture with your base color (I used Swiss Chocolate) Let it Dry
- Using your 2″ Oval Brush paint the entire piece of furniture with your top color (I used Pure Silk) Let dry
- Wet your scrub pad and lightly rub an area on your project (The water will start to remove the paint) Remove the water with a clean cloth and lightly rub until the paint starts to come off, try to remove the paint in natural areas that get worn with age, like around the edges and raised areas. You can take off as much or as little as you want.
- Last step: Using your wax brush Tap the brush into your wax. (DO NOT OVERLOAD WITH WAX) Press the brush into the furniture piece and apply wax in a circular motion. Buff out before it dries (while it’s still wet) with the cheesecloth.
If you love this piece, I’d love for you to use the “Pin it” button and save it to Pinterest. If you aren’t yet following me on Pinterest, you can find me HERE. Thanks for visiting me and learning more about distressing furniture. I’m always posting new decorating ideas and trendy faux-finishing techniques on my Facebook page visit me HERE
Have a Blessed Day! Cheryl
If you want to learn how to start making money with your hobby get the details HERE
If you want to learn DIY Tricks and Tips get my weekly blog HERE
Artzy Fartzy Creations. Oh Yes you can DIY!
Best Places to Sell Your Painted Furniture and Art (Without Relying on Social Media)
Let’s Be Real—You Can Sell Art Without Social [...]
DIY Kitchen Cabinet Makeover: Budget-Friendly Transformation You Can Do Yourself
DIY Kitchen Cabinet Makeover: Budget-Friendly Transformation You Can [...]
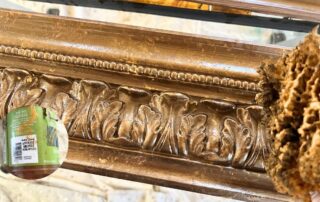
DIY Metallic Molding Technique: Add Old-World Charm to Your Home
Looking to add a little extra drama and [...]
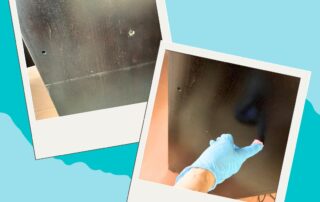
How to Repair Holes in Wooden Furniture – Fast, Easy, and Budget-Friendly!
hand applying wood filler to a hole in [...]
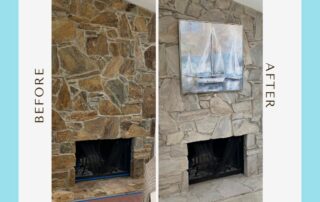
How To Paint A Brick Fireplace In One Easy Step
Is your outdated brick fireplace dragging down your room? If [...]
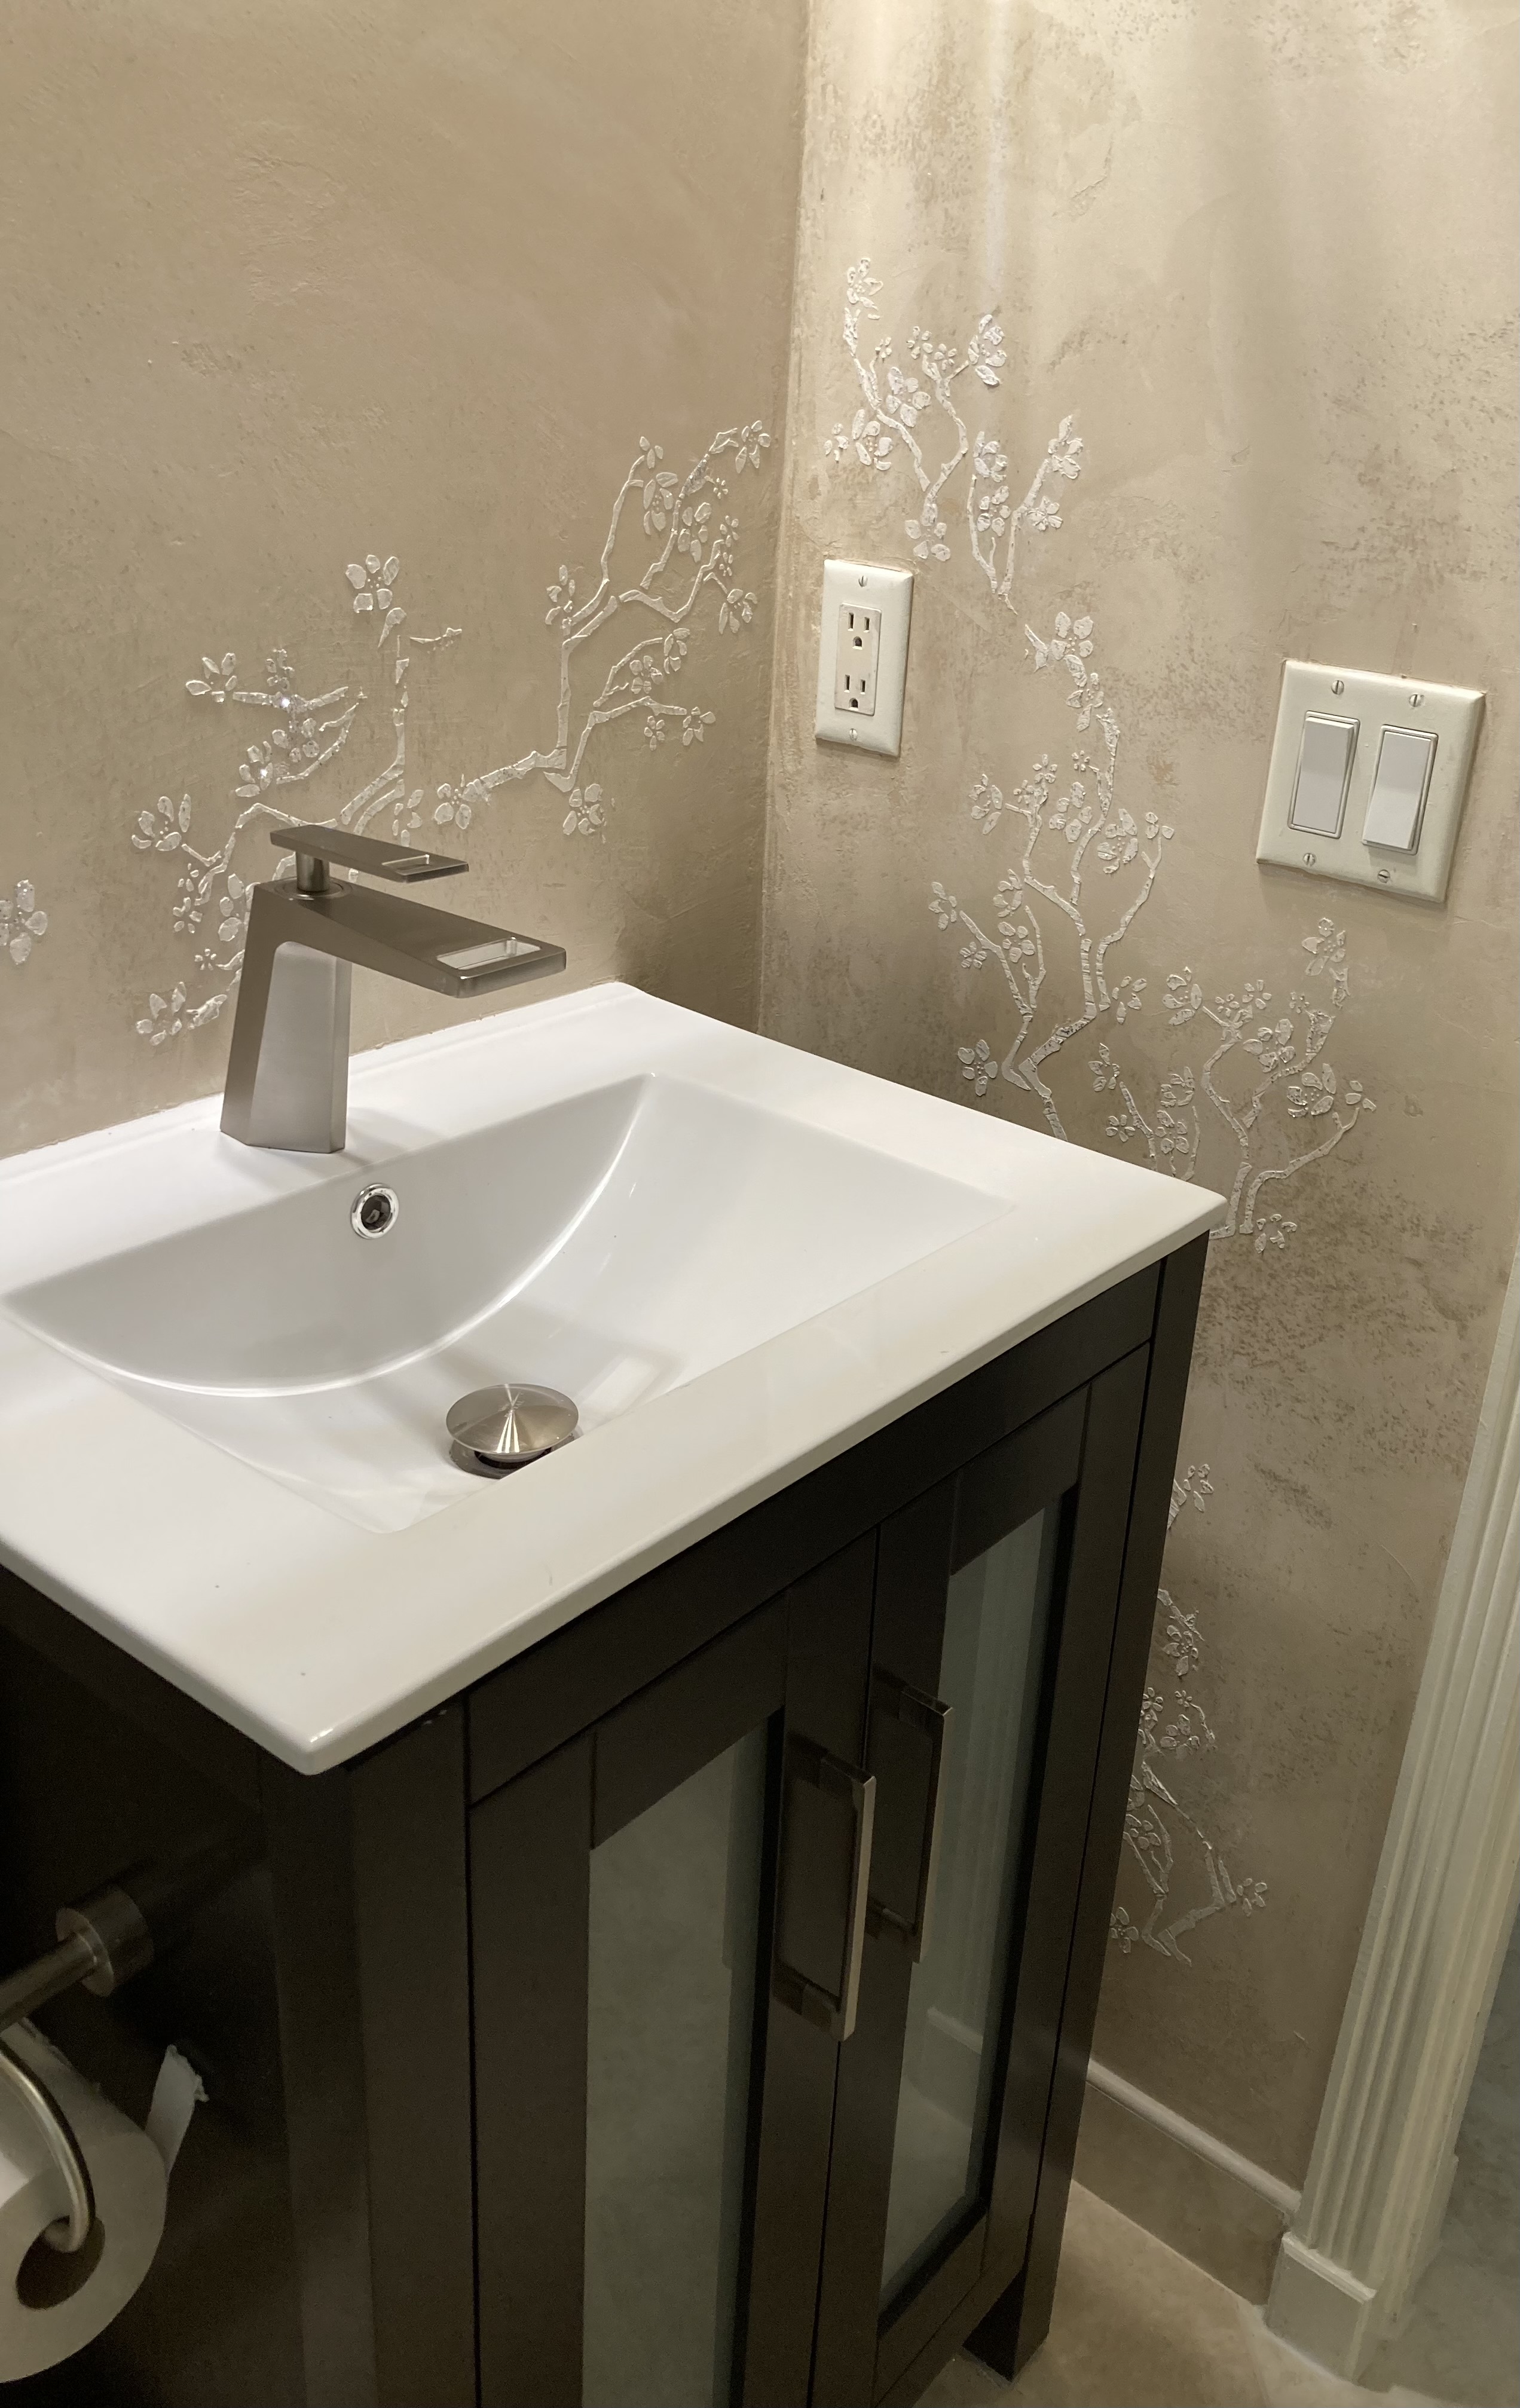
DIY Magic: Create a Raised Cherry Blossom Stencil Design with Glitter That Pops!
Raised cherry blossom stencil with glitter on a painted [...]
Contents
Recent Reads
DIY Kitchen Cabinet Makeover: Budget-Friendly Transformation You Can Do Yourself
DIY Kitchen Cabinet Makeover: Budget-Friendly Transformation You Can [...]
DIY Metallic Molding Technique: Add Old-World Charm to Your Home
Looking to add a little extra drama and [...]
How to Repair Holes in Wooden Furniture – Fast, Easy, and Budget-Friendly!
hand applying wood filler to a hole in [...]

