This such an amazing technique. No two are ever alike.
You can create this on any flat surface. I did this on a plate charger that I bought in a thrift store for 99 cents. I have also seen them in the Dollar Store. They also work well on framed canvas, lazy Susie’s, and small tabletops.
This post may contain affiliate links from Amazon. I will make a small commission if you purchase these items from my blog. You will not be charged extra! Thank you.
Dirty Pour Supplies


- Gloves
- Primer
- Floetrol
- Elmer’s Glue
- Latex or acrylic paint
- 100% Silicone
- Clear coat
- stir sticks
- Soft paintbrush
- plastic cups
- water
- Painters Pyramids
Dirty Pour Steps
Watch this video for step-by-step instructions how to make your own dirty pour.
- Prime the surface you are going to paint. This will ensure the paint with a stick
2. Depending on the size of your project, mix an equal amount of floetrol and Elmer’s glue. For a small plate, I used about 1/8 cup of each. Mix well.
3. Then pour a small amount of paint into each cup. If you are using 4 different colors then you will need 5 cups. One for each color and the last one for the dump. Mix each one. If it to thick, you can add a few drops of water.
4. Add 3 drops of silicone to each cup. Mix lightly. This is what makes the cells in the design.
5. Once you have all the colors mixed (separately) you want to pour small amounts of each color into one larger cup, starting with white. DO NOT mix the last cup.
6. Place your project on the Painters Pyramids and dump the cup of paint in the middle of your project. Let it set for about 15-20 seconds, then lift the cup so the paint flows. Make sure you are wearing gloves; this can get a little messy. Slightly tip your project so the paint runs in different directions and flows over the sides. Use the heat gun to move the paint around and create the cells. Let it dry for a few days. Then clear coat with the polyacrylic with a brush or roller. Use a soft brush like this so you don’t get brush marks.
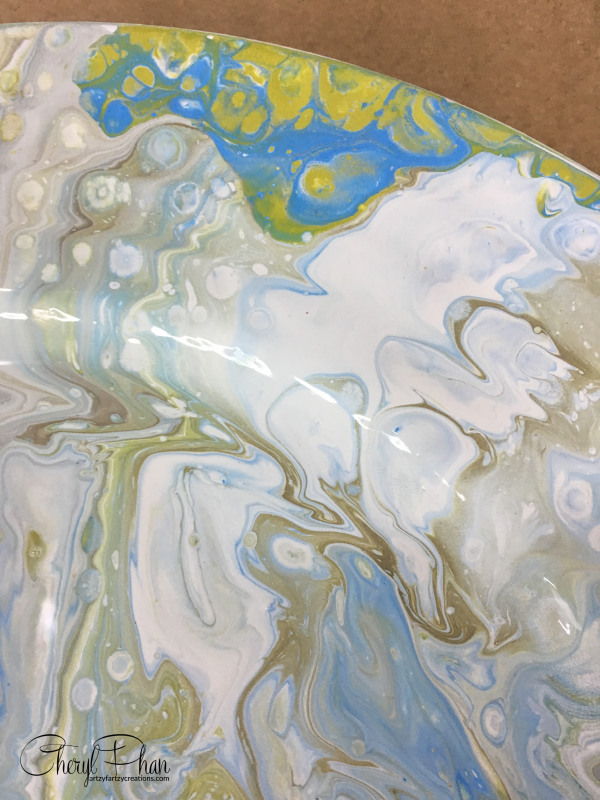
The cells are the burst of circles you see.
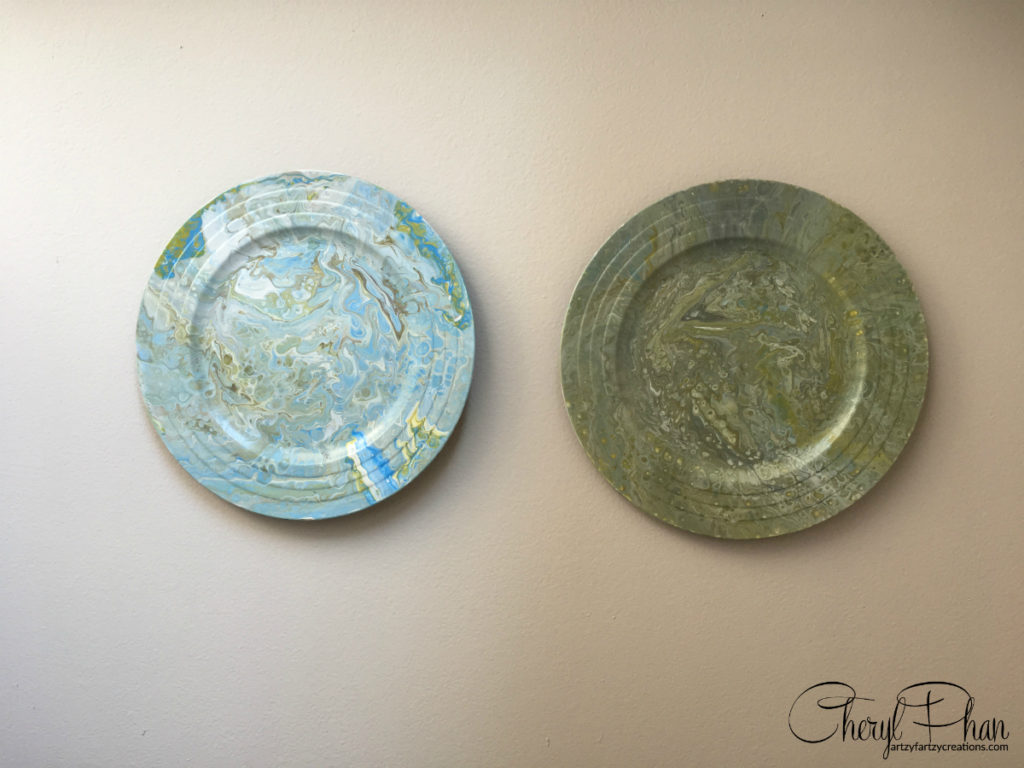
As you can see, you can create different colors with a dirty pour. I used the same colors for both plates. I used more of the blue and white on one and more, green and gray on the other. Every plate will look different.
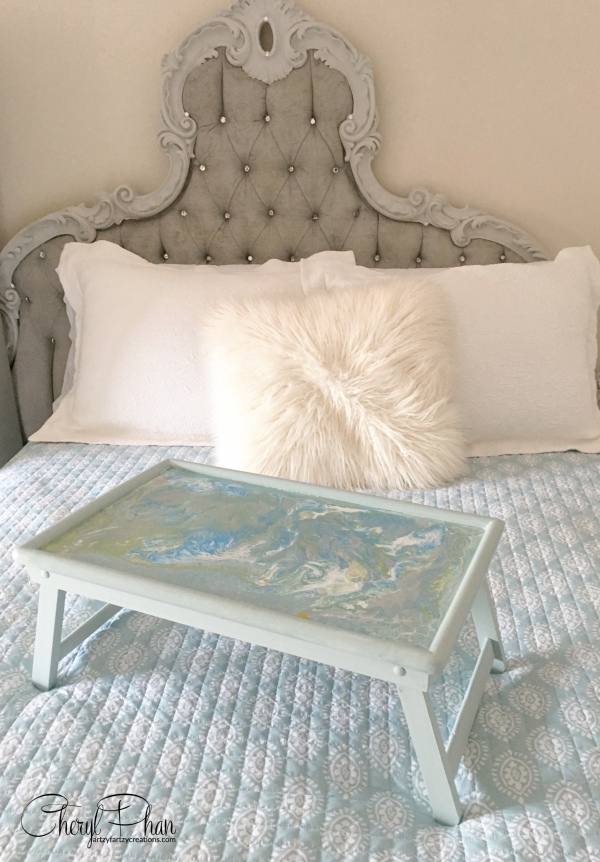
I also did a dirty pour on a TV tray.
If you want to learn how to start making money with your hobby get the details HERE
If you want to learn DIY Tricks and Tips get my weekly blog HERE

Artzy Fartzy Creations. Oh Yes you can DIY!

10 Common Painting Mistakes Beginners Make (And How to Fix Them Like a Pro)
10 Painting Mistakes Beginners Make (And Pros Never [...]

How to Stencil (Without Bleed-Through or Fuzzy Edges)
How to Stencil Without Bleed Through If you’ve ever pulled [...]

How to Create a DIY Textured Accent Wall Using Joint Compound (Step-by-Step Tutorial)
I wasn’t standing in a paint store flipping through swatches [...]

Ultimate Guide: What’s the Best Paint Finish for Your Interior Walls
Best paint finish for interior walls What do [...]

How to Paint a Ceiling with Metallic Paint (Step-by-Step for a Luxury Finish)
Most people never think twice about their ceilings, [...]

How to Glaze Walls Like a Pro: The Ultimate Guide to Open Time, Transparency, and Texture
Learning how to glaze walls like a pro. If [...]
Contents
Recent Reads

How to Stencil (Without Bleed-Through or Fuzzy Edges)
How to Stencil Without Bleed Through If you’ve ever pulled [...]

How to Create a DIY Textured Accent Wall Using Joint Compound (Step-by-Step Tutorial)
I wasn’t standing in a paint store flipping through swatches [...]

Ultimate Guide: What’s the Best Paint Finish for Your Interior Walls
Best paint finish for interior walls What do [...]