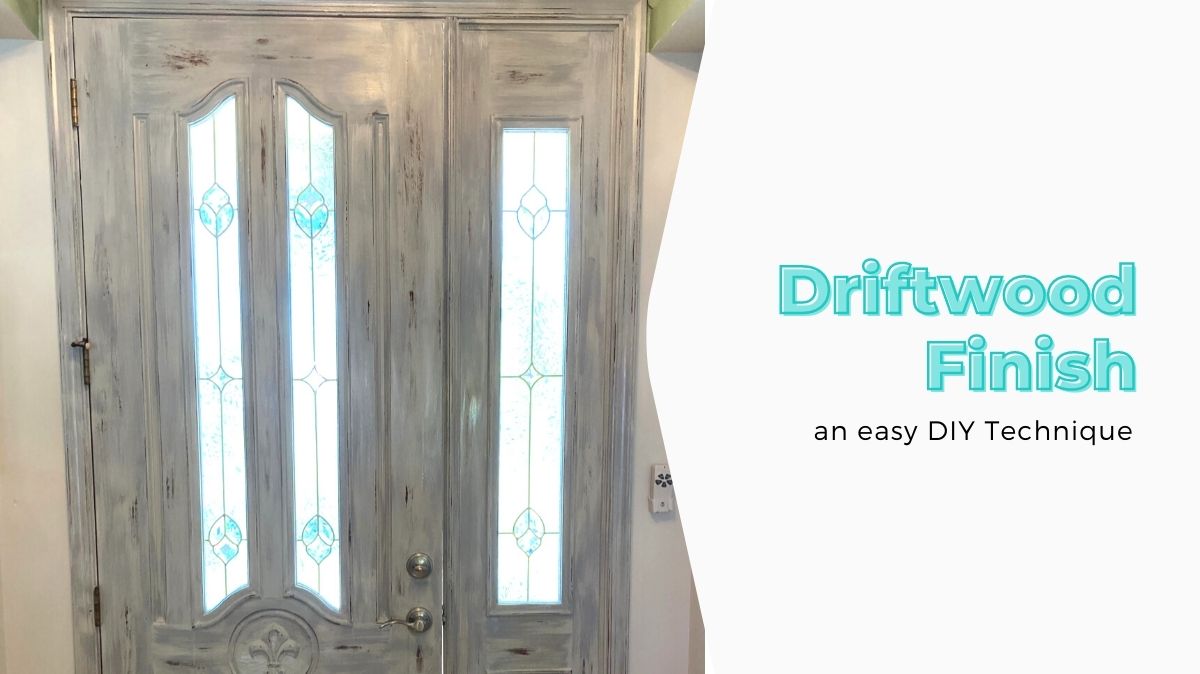
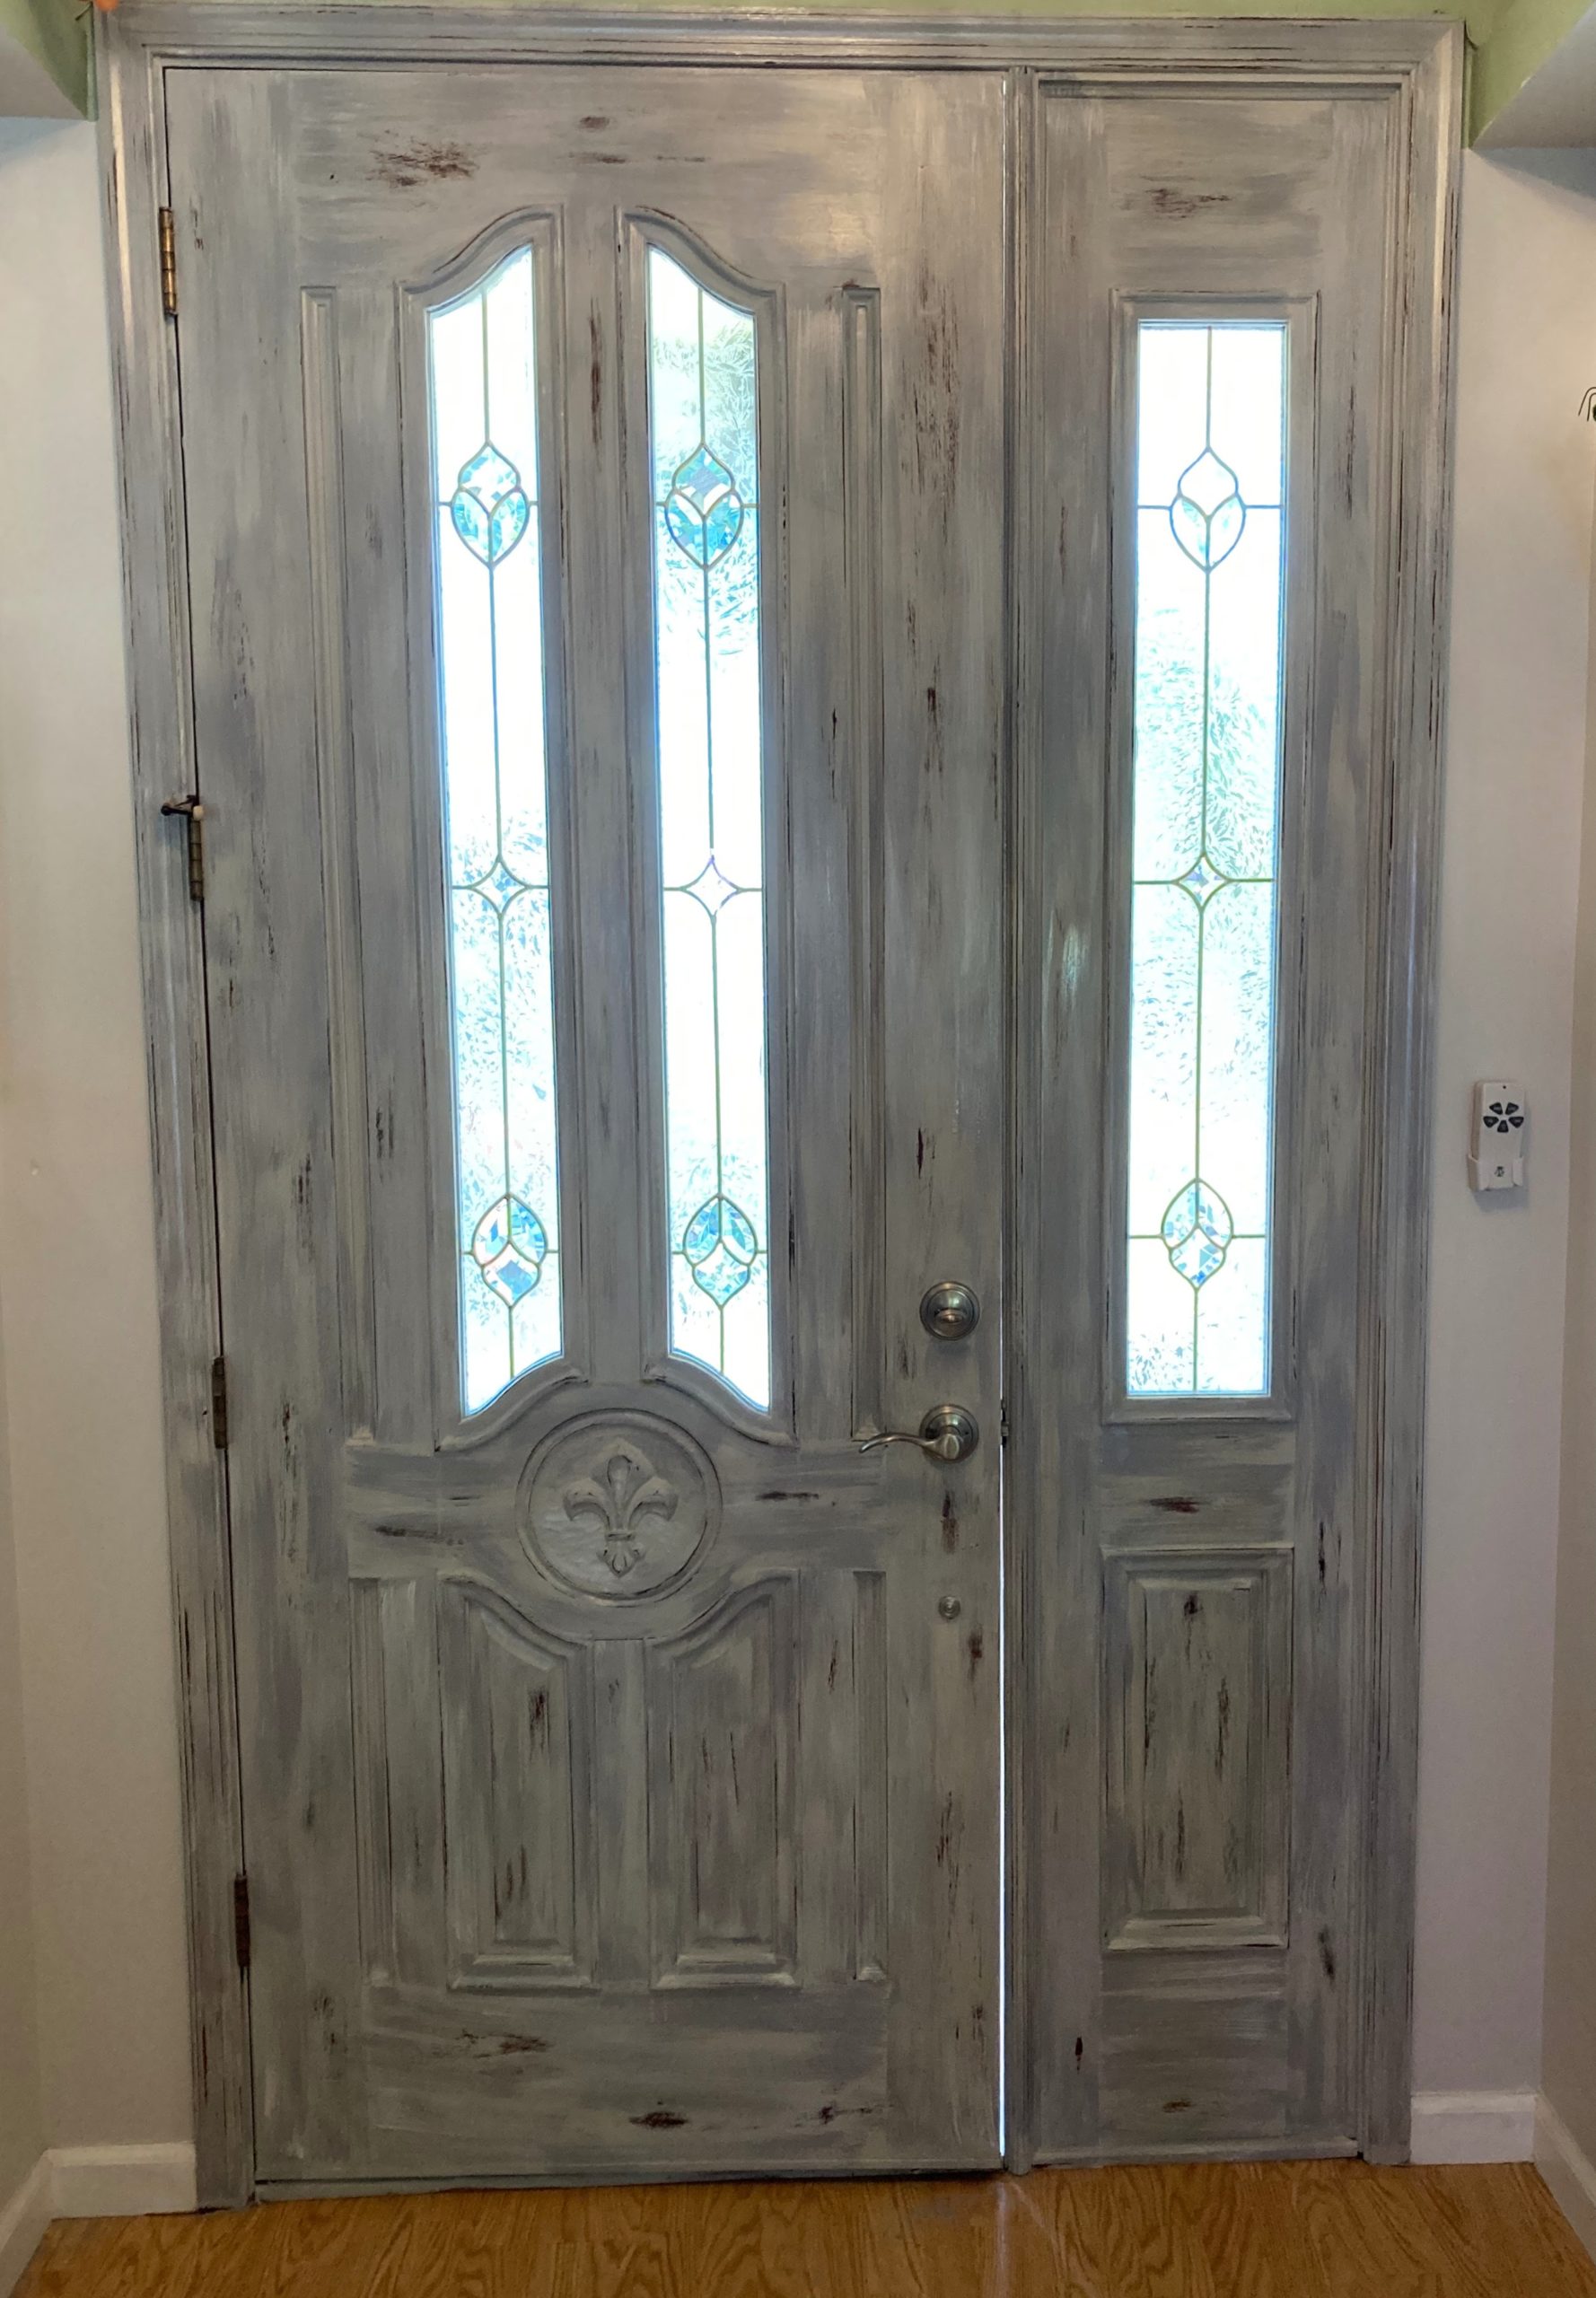
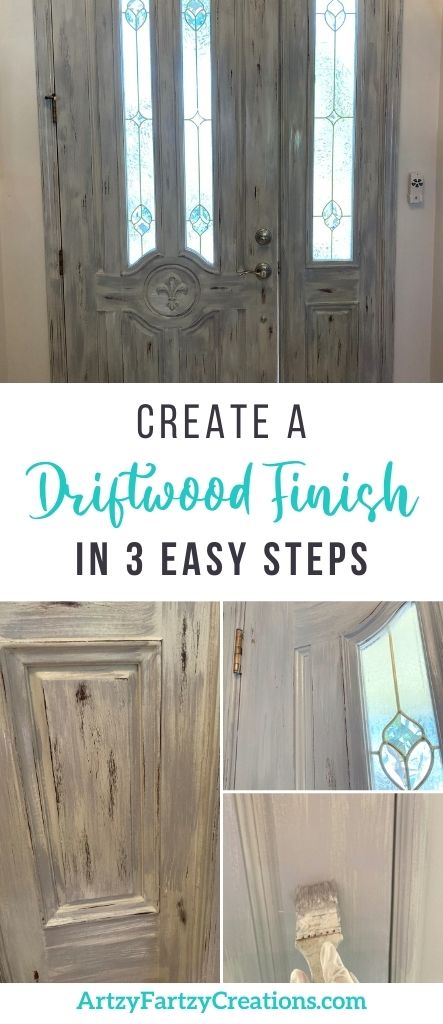
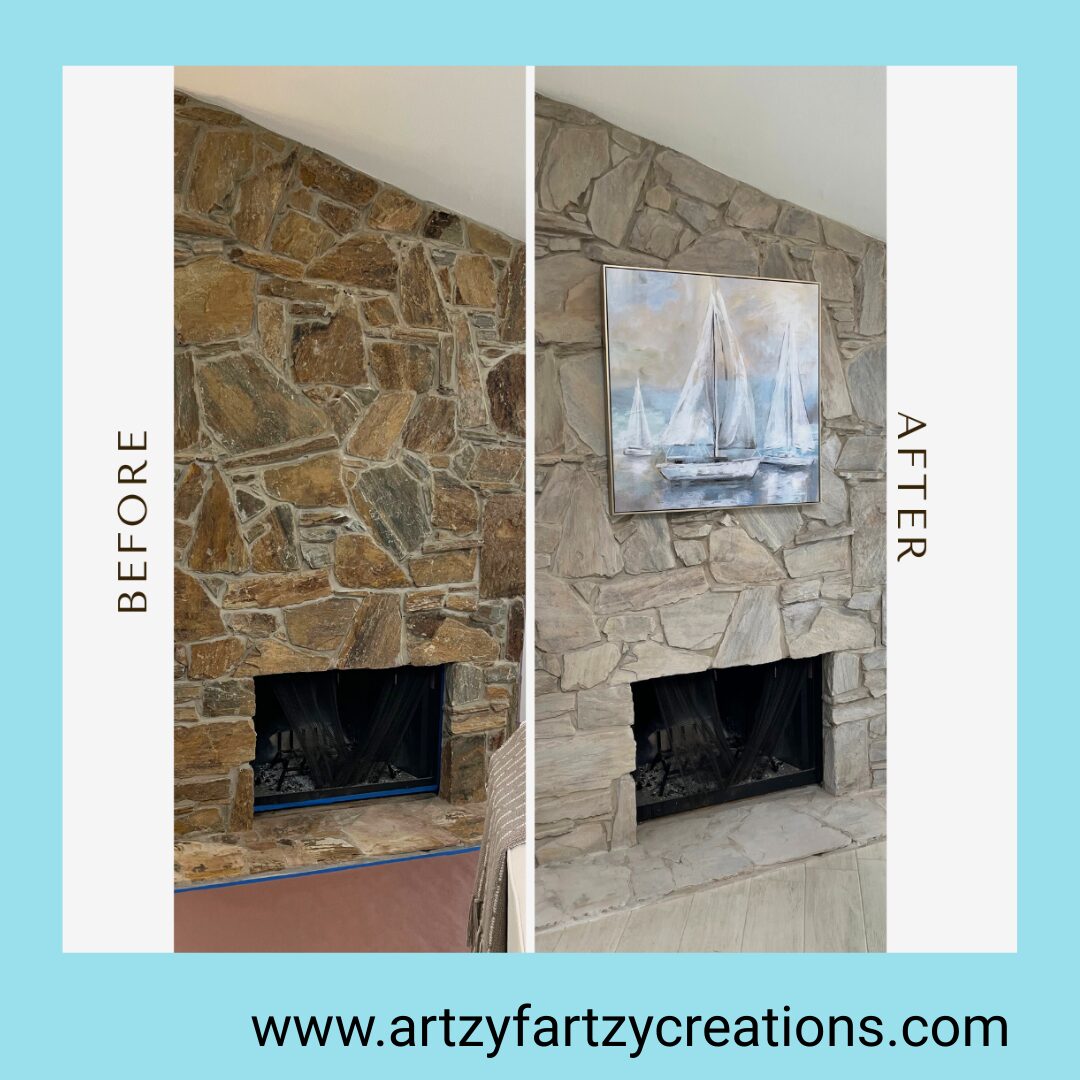
Do you like the weathered driftwood look?
Learn how you can DIY your own driftwood finish in 3 easy steps.
I’m going to show you step-by-step how easy and inexpensive it is to create this finish. Keep reading…..
Related post: Weathered Wood Finish in 3 Easy Steps
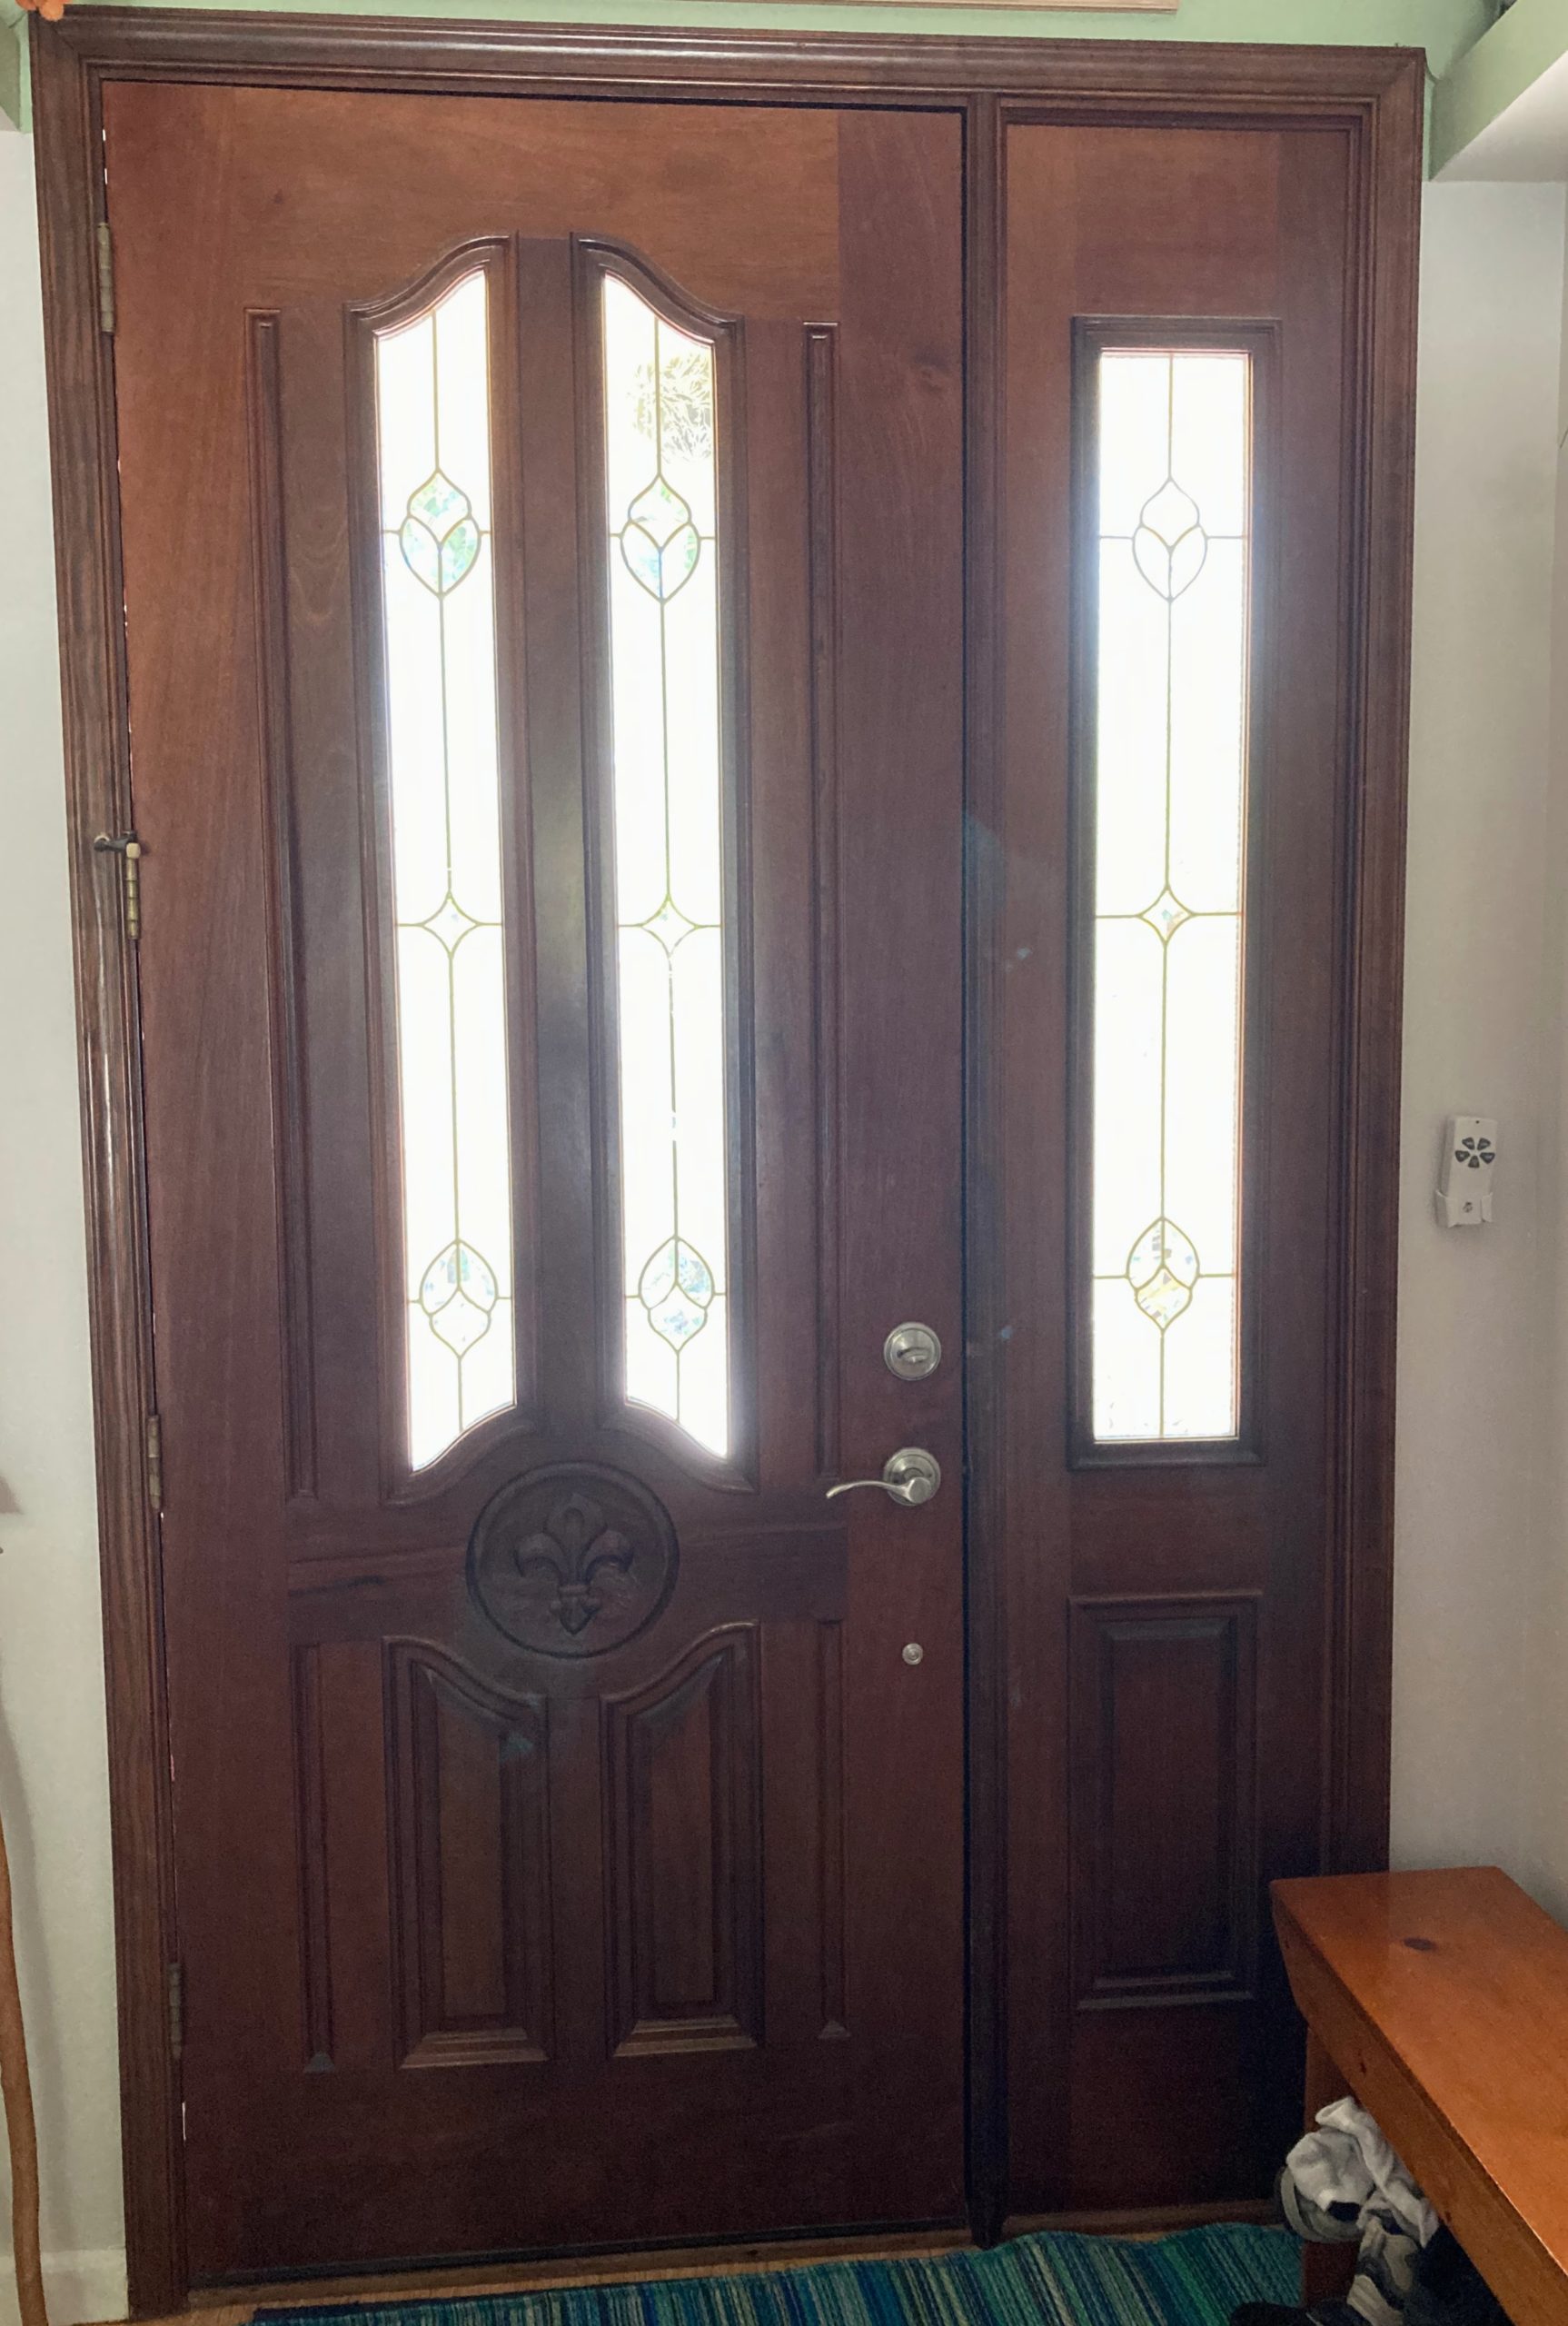
This was the door before I transformed it with the weathered finish. My client wanted a distressed beachy feel to go with the theme of their house.
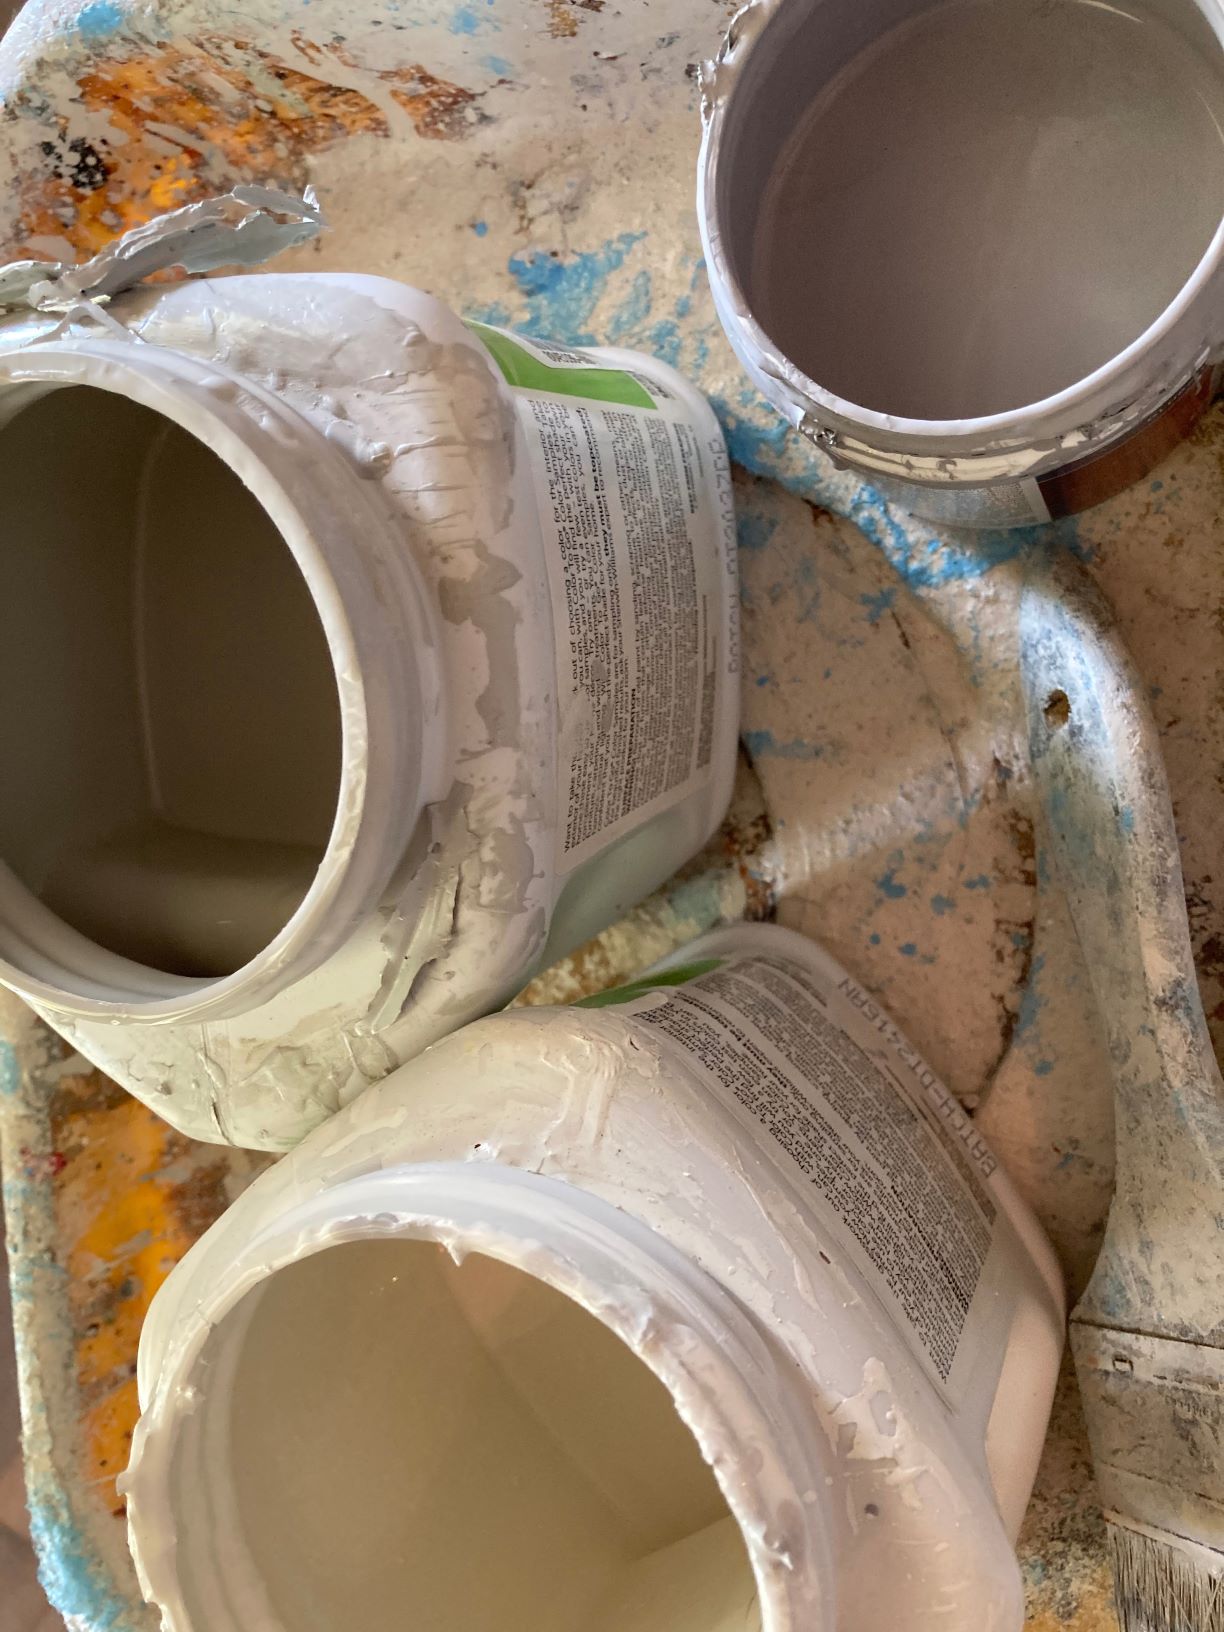
These are the colors I selected for this door.
Base color: Gray Tinted Primer
Glidden paint: Gull Wing
SW: Alabaster
SW: Medium gray (not sure of the exact color) it’s lighter than the Gullwing)
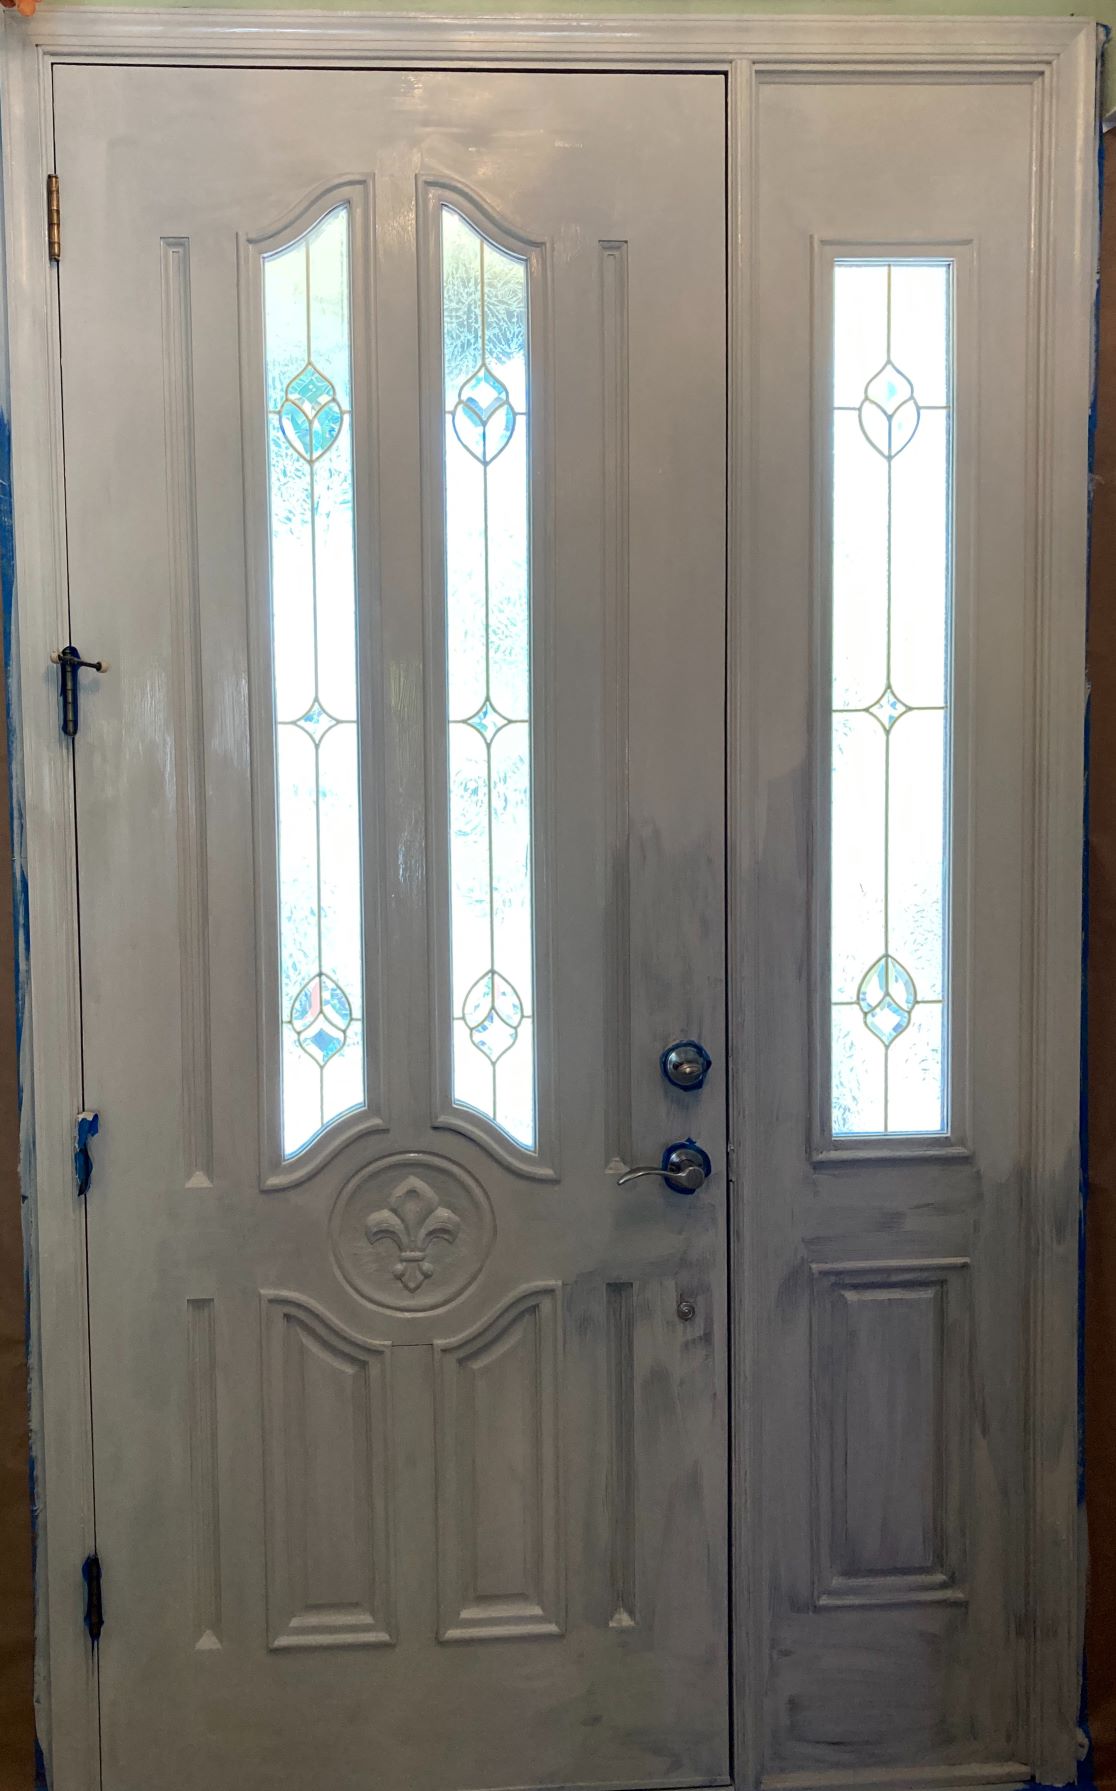
The first thing I did was prime the door with two coats of Stix primer.
As you can see, the bottom right corner only has one coat. This is why I like to apply two coats. It gives it more durability and better coverage.
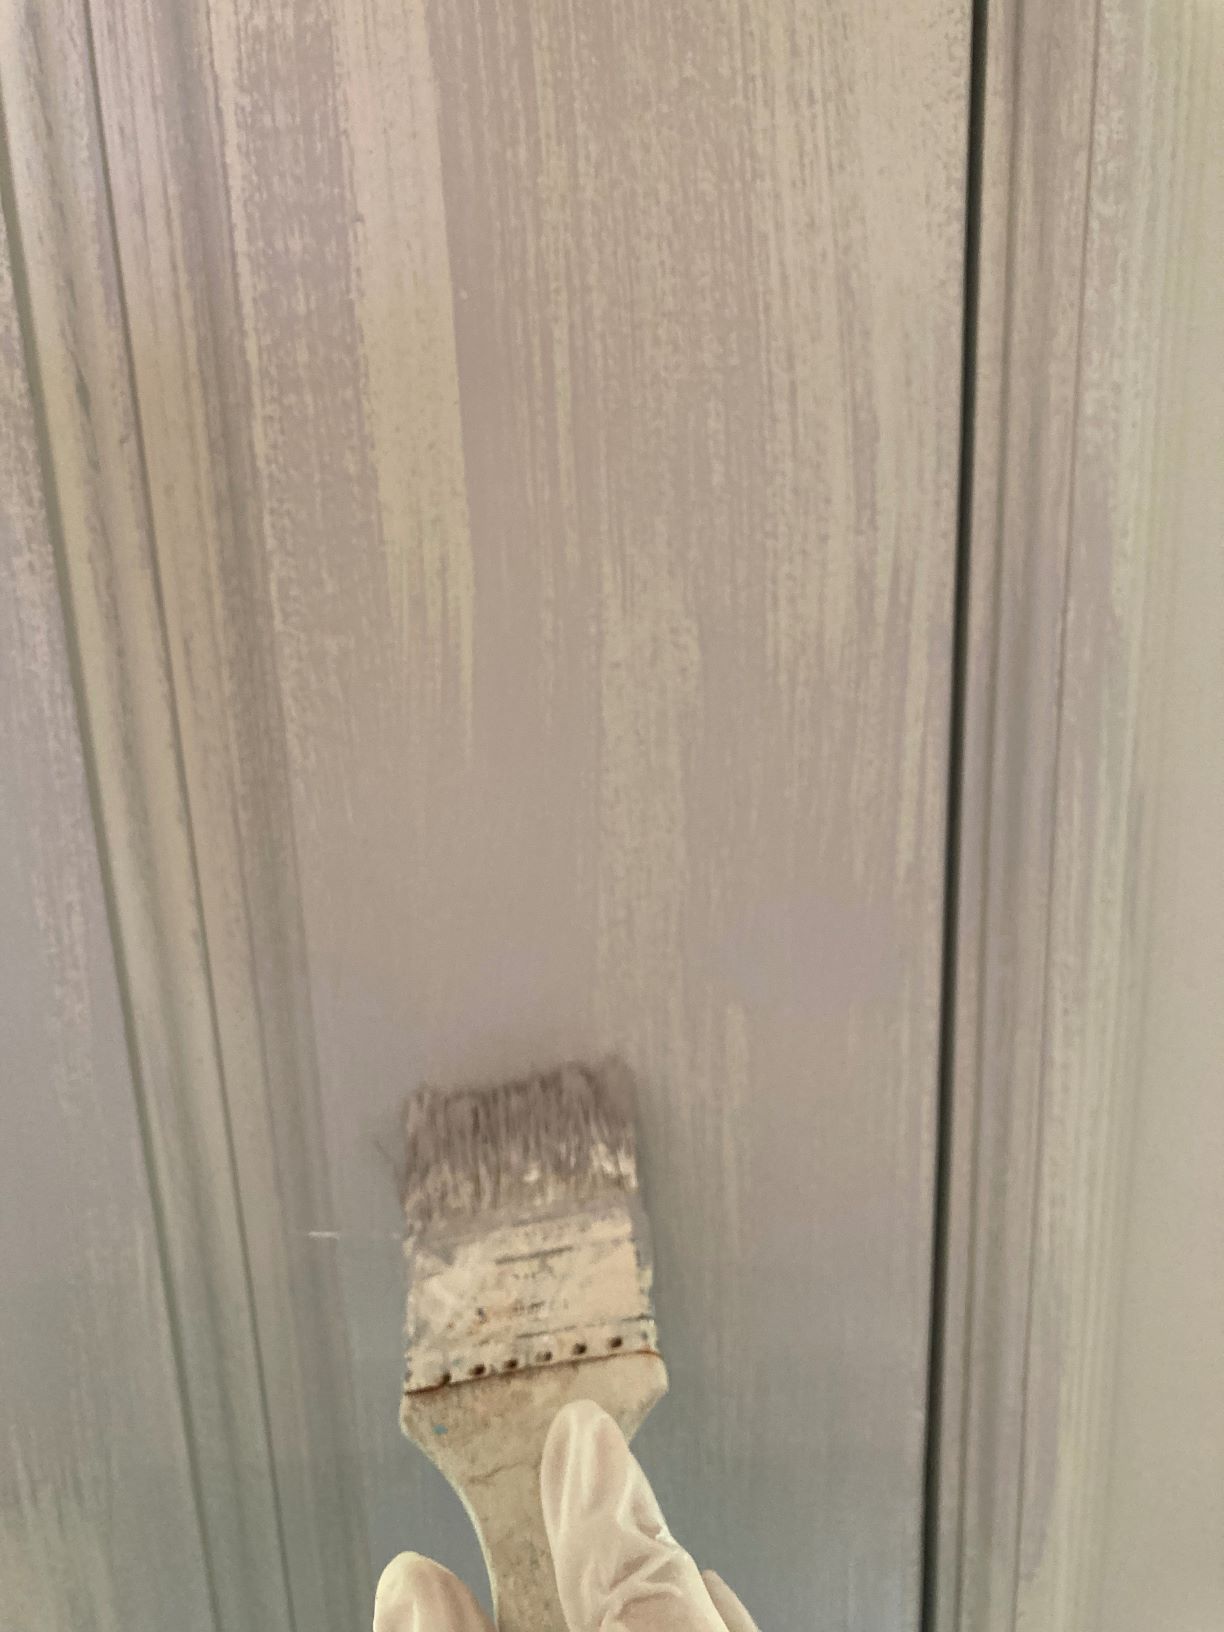
This is a really easy finish to do. I used an old chip brush to apply the paint and randomly dry brushed the door. I started out with the darkest gray first and the lighter gray and finishing with the Alabaster. All you need is a sample size of paint. You can use any paint at your local hardware store.
The nice thing about this technique is you can go over the areas that you want to fix or add another color.
Once the paint was dry, I use 320-grit sandpaper and lightly sanded areas on the door, especially the trim and high areas.
You can sand as much or a little as you want. It’s really your preference.
Once it’s dry, add a clear polyacrylic sealer with a soft brush, so you don’t get steaks. I like to use this brush.
What a difference a little paint can make. They loved the finished project. I was exactly what you had envisioned.
I hope you enjoyed this tutorial on creating a beautiful driftwood finish and found some inspiration.
If you want to learn how to start making money with your hobby get the details HERE.
If you want to learn more Tricks and Tips, get my weekly blog HERE.
See Ya on the inside!
Blessings
Cheryl
Artzy Fartzy Creations. Oh Yes you can DIY!
How to Repair Holes in Wooden Furniture – Fast, Easy, and Budget-Friendly!
hand applying wood filler to a hole in a [...]
How To Paint A Brick Fireplace In One Easy Step
Is your outdated brick fireplace dragging down your room? If [...]
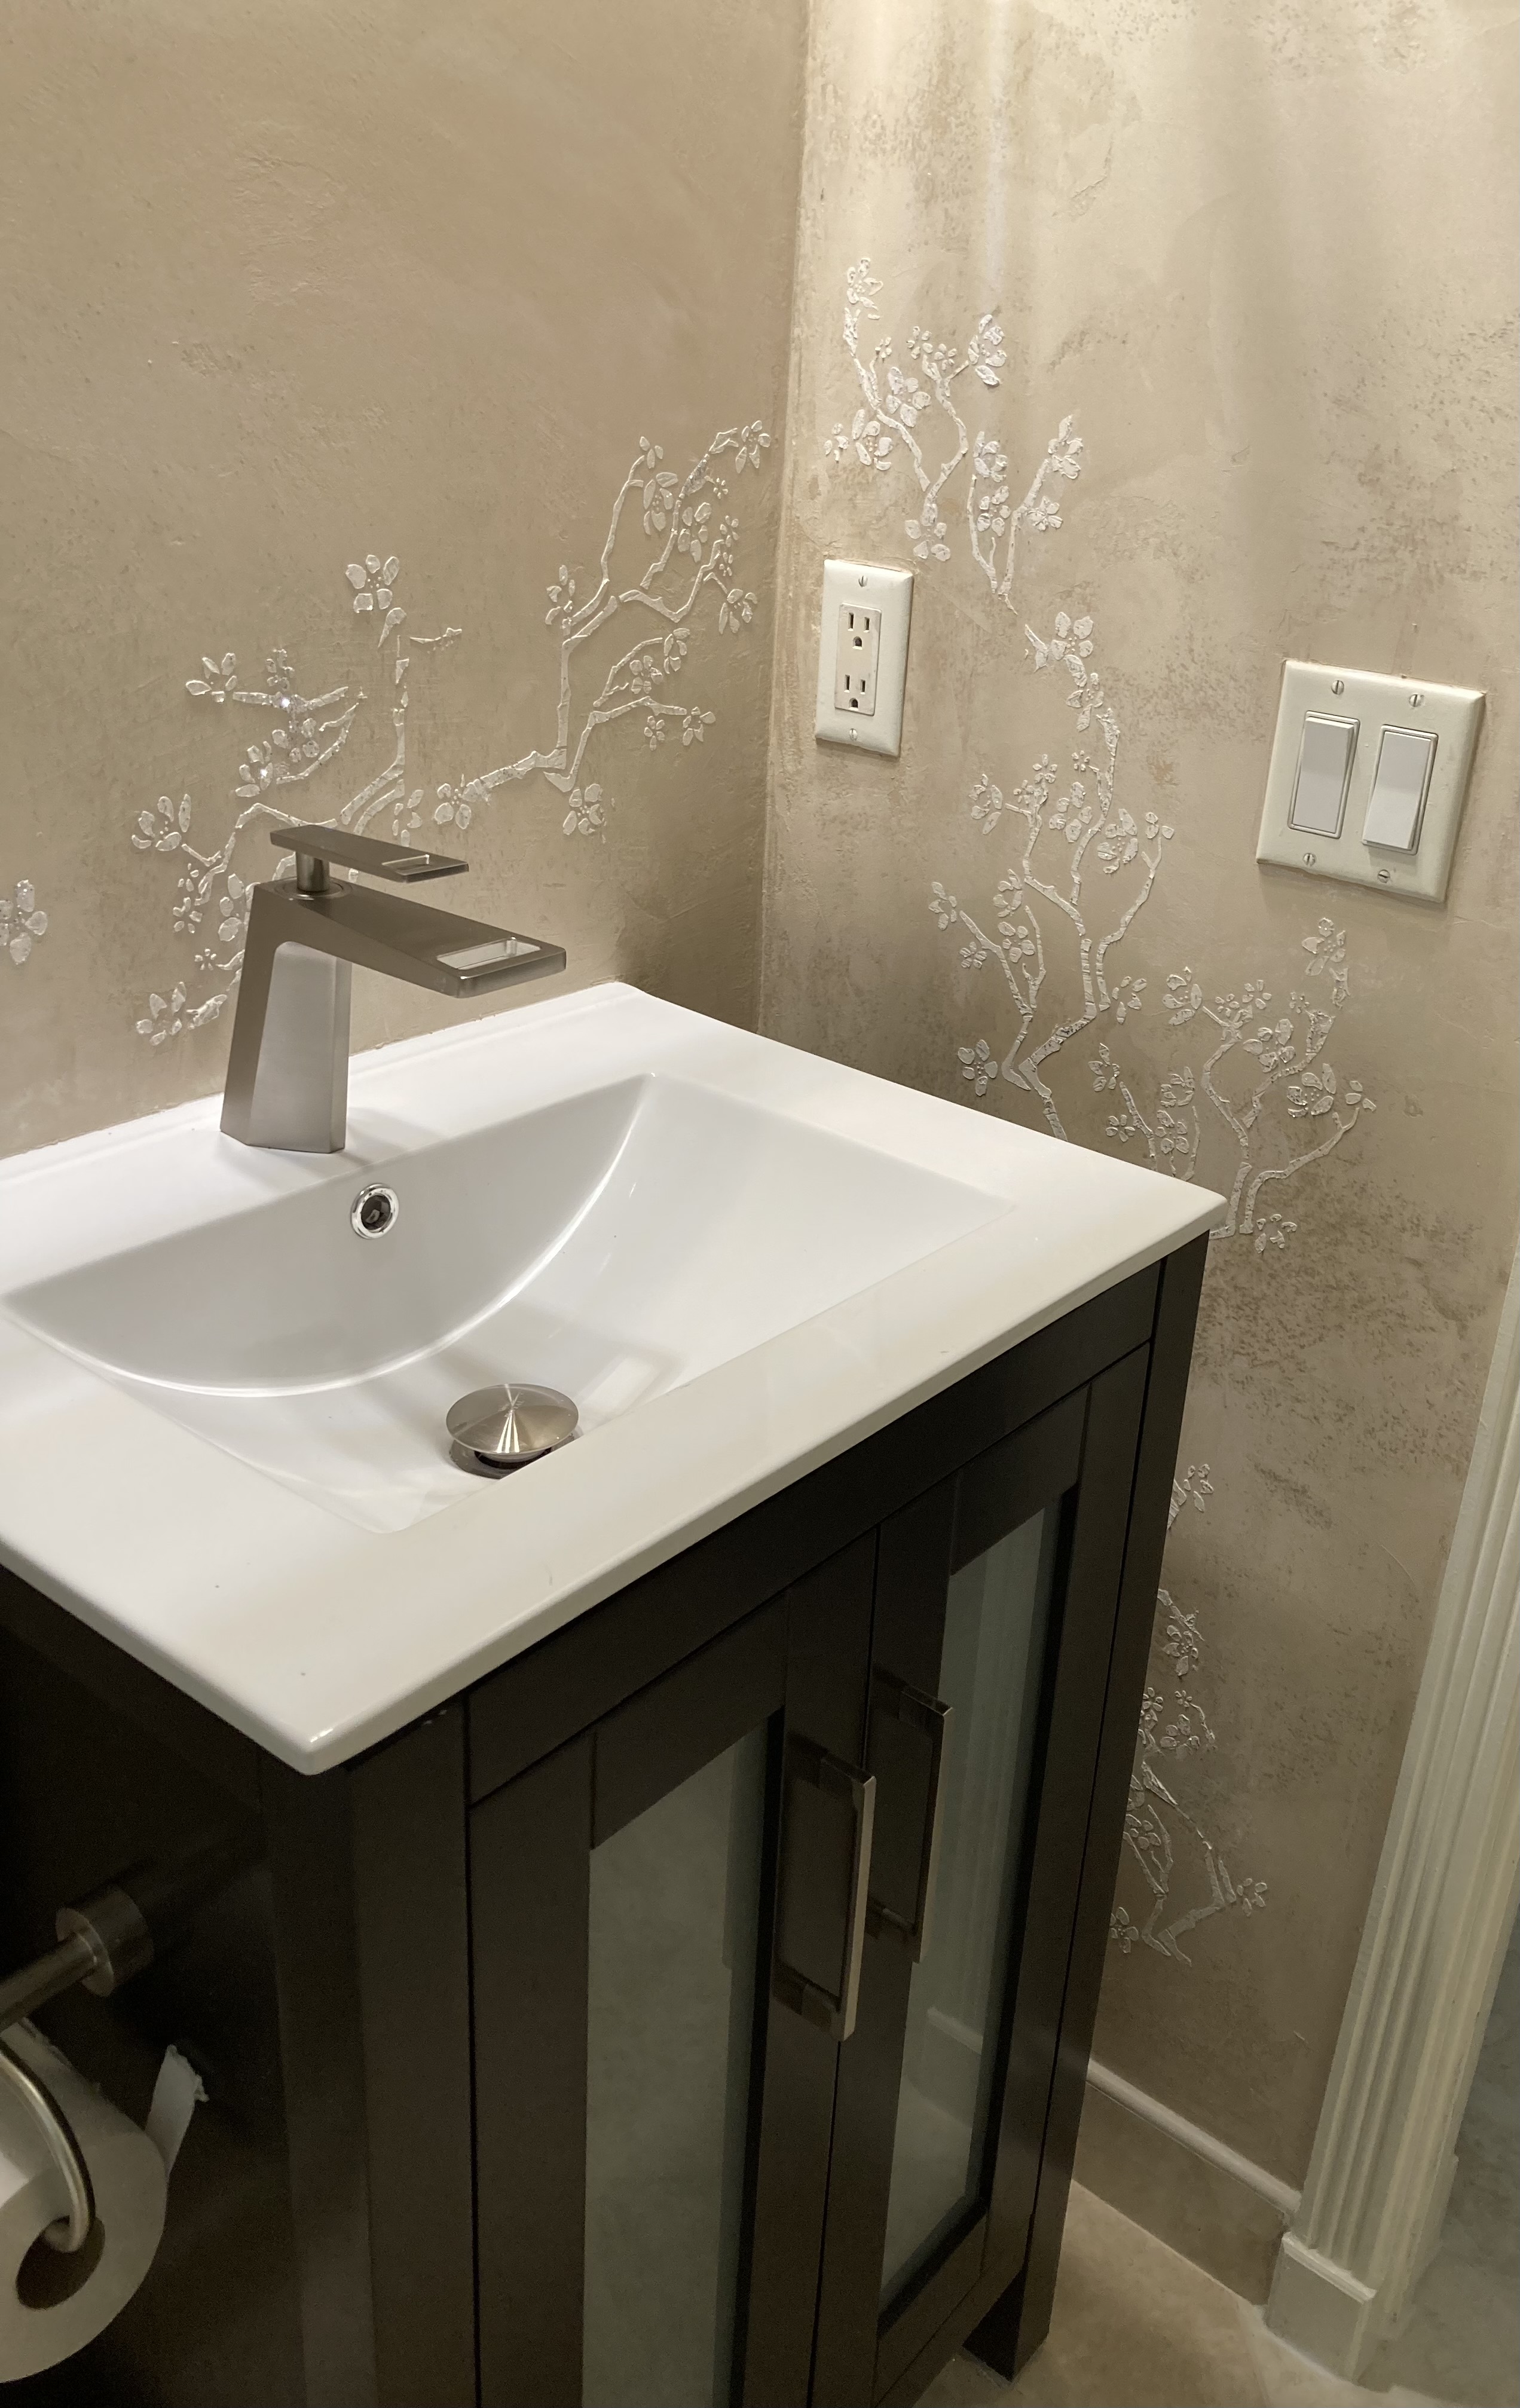
DIY Magic: Create a Raised Cherry Blossom Stencil Design with Glitter That Pops!
Raised cherry blossom stencil with glitter on a painted [...]
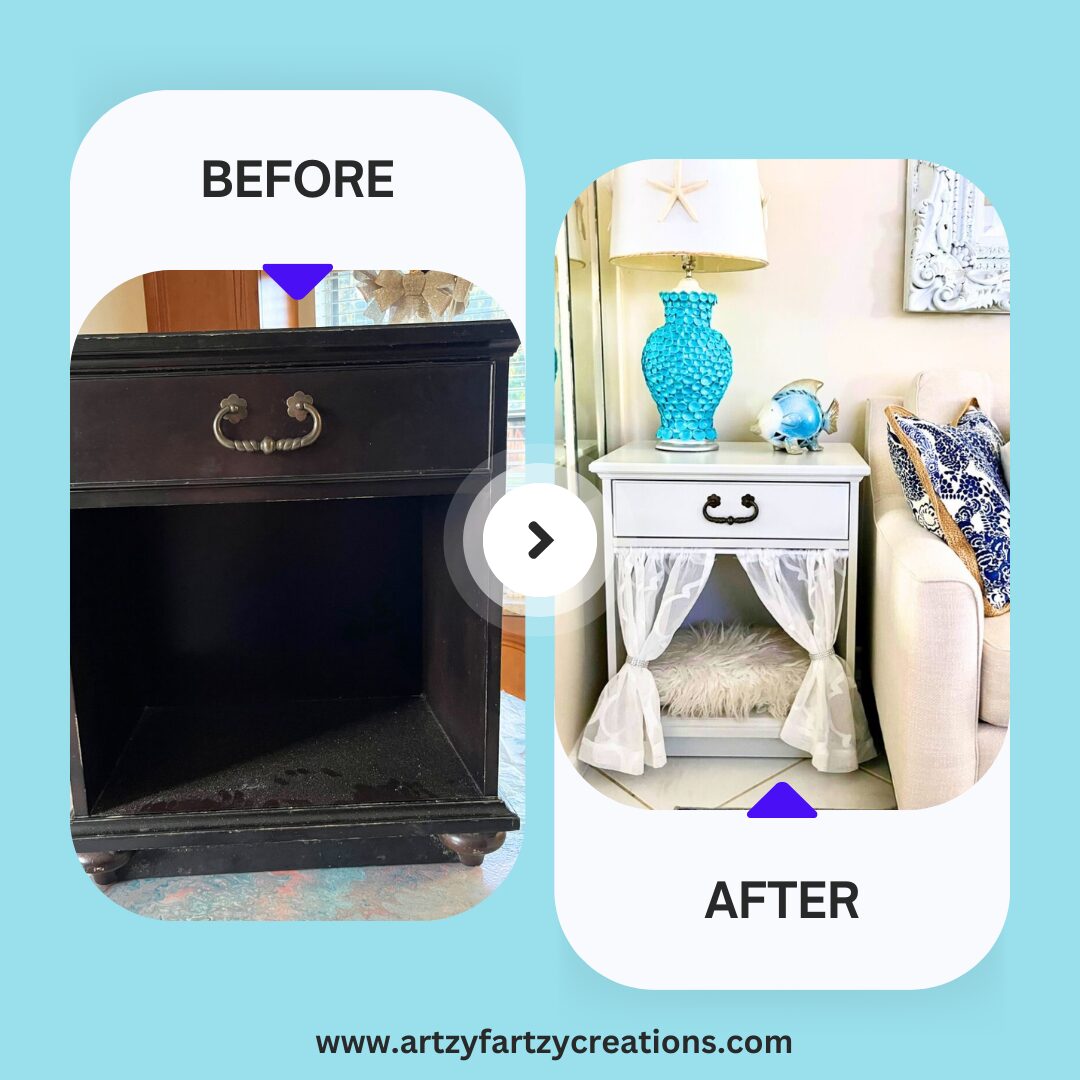
How to Repurpose Old Furniture Into a Cozy Dog Bed
DIY Small Dog Bed Tutorial -How to Make [...]
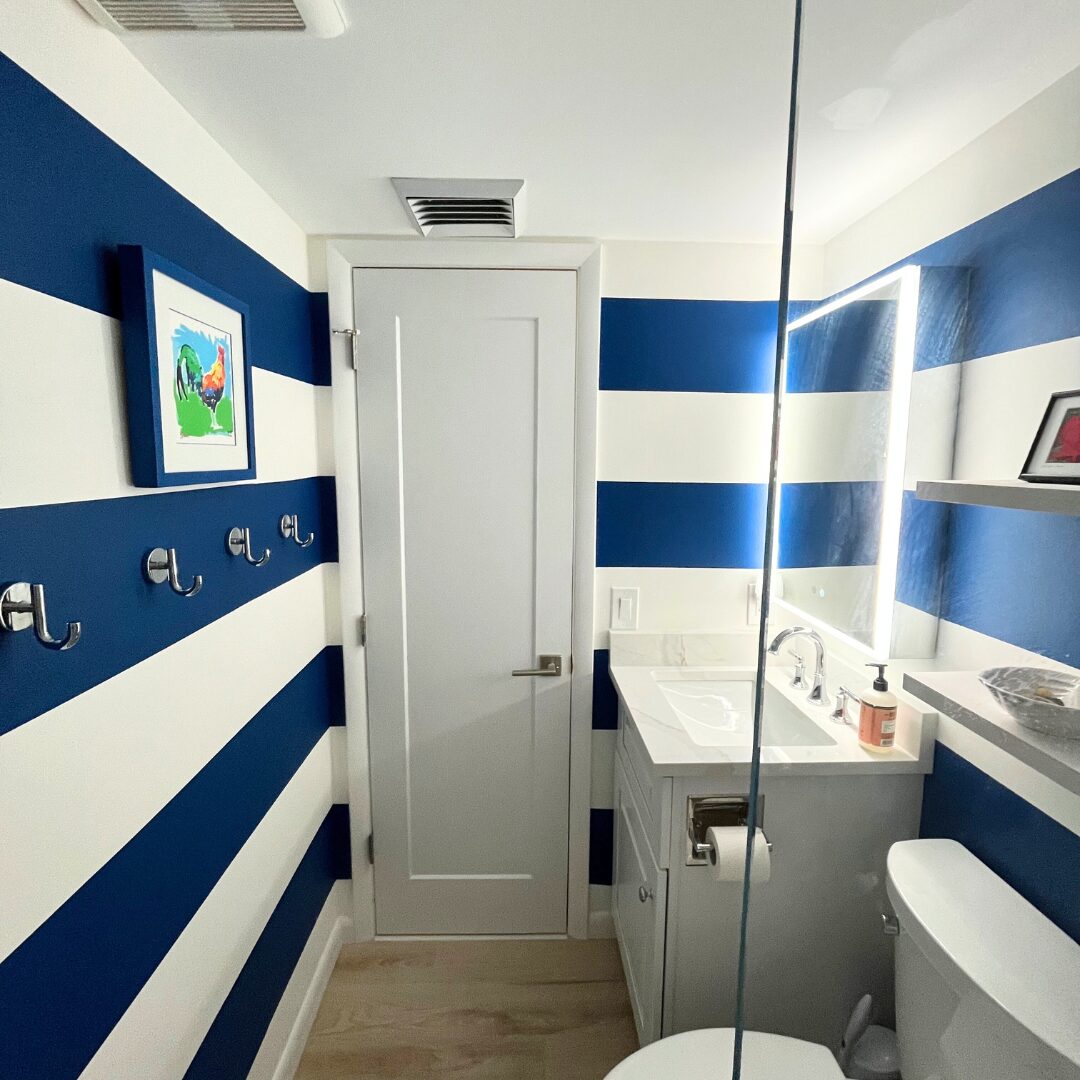
Master- How To Paint Perfect Horizontal Stripes Like a Pro
Want to know my secret pro tip to paint horizontal [...]
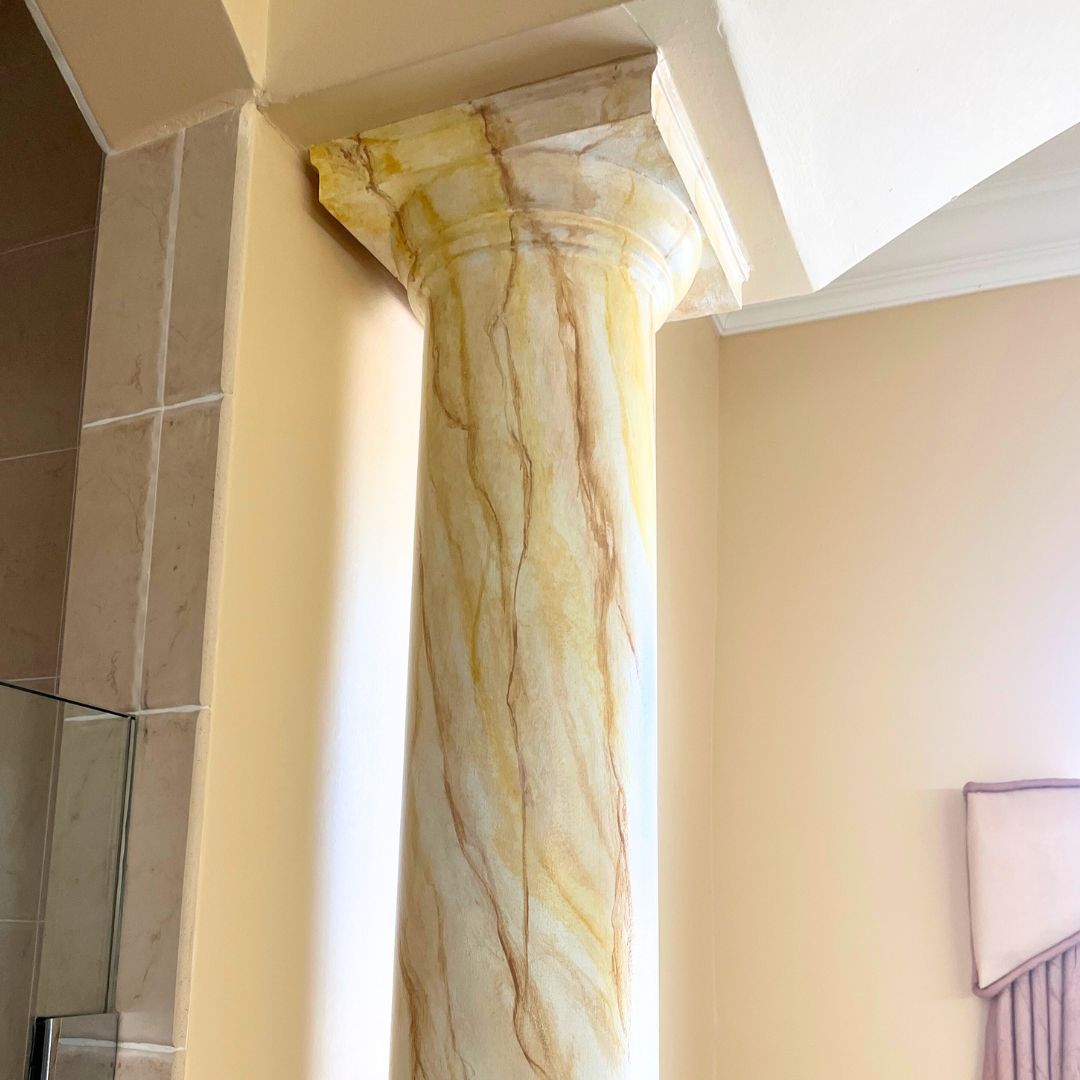
How to Paint Columns to Look Like Marble
Creating a marble faux finish on columns is easier than [...]
Contents
Recent Reads
How To Paint A Brick Fireplace In One Easy Step
Is your outdated brick fireplace dragging down your room? If [...]
DIY Magic: Create a Raised Cherry Blossom Stencil Design with Glitter That Pops!
Raised cherry blossom stencil with glitter on a painted [...]
How to Repurpose Old Furniture Into a Cozy Dog Bed
DIY Small Dog Bed Tutorial -How to Make [...]

