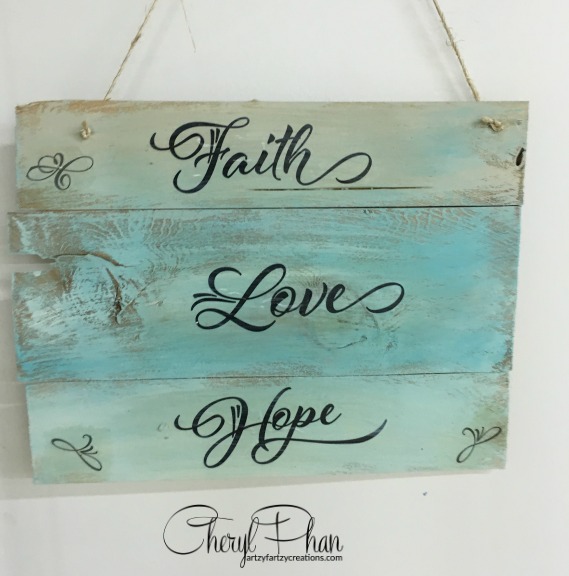
Cedar sign
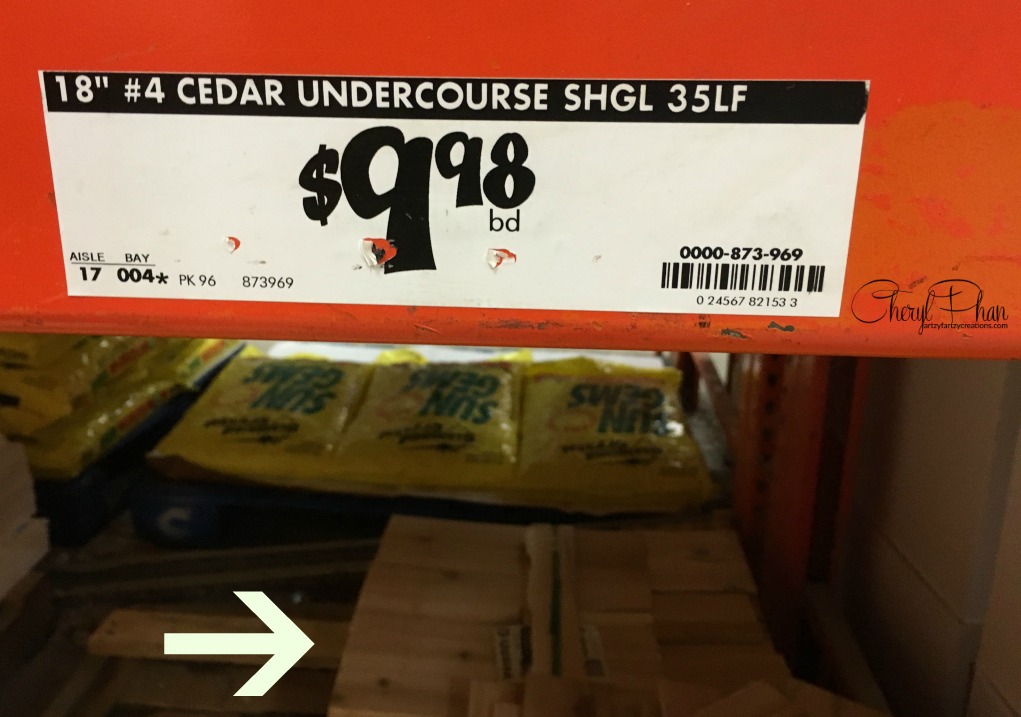
Great gift idea for under $1.00! I’m always looking for cheap craft ideas and this is just what I needed for my next project. An entire pallet of cedar shingles for only $10.00. I figured I could make at least 20 wall signs from that pallet, and that equates to about 50 cents each. Perfect little craft project if you’re on a budget.
Here’s a quick how-to video
I know that was really fast, so let me give you step-by-step instructions. This is so easy a six-year-old can do it. In fact, this would make a great gift for your kiddo’s teacher. Put the teachers name on it and and a fun quote and you have a personalized gift for less than $1.00 after you buy the supplies.
Ok let’s get started….Here’s what you will need
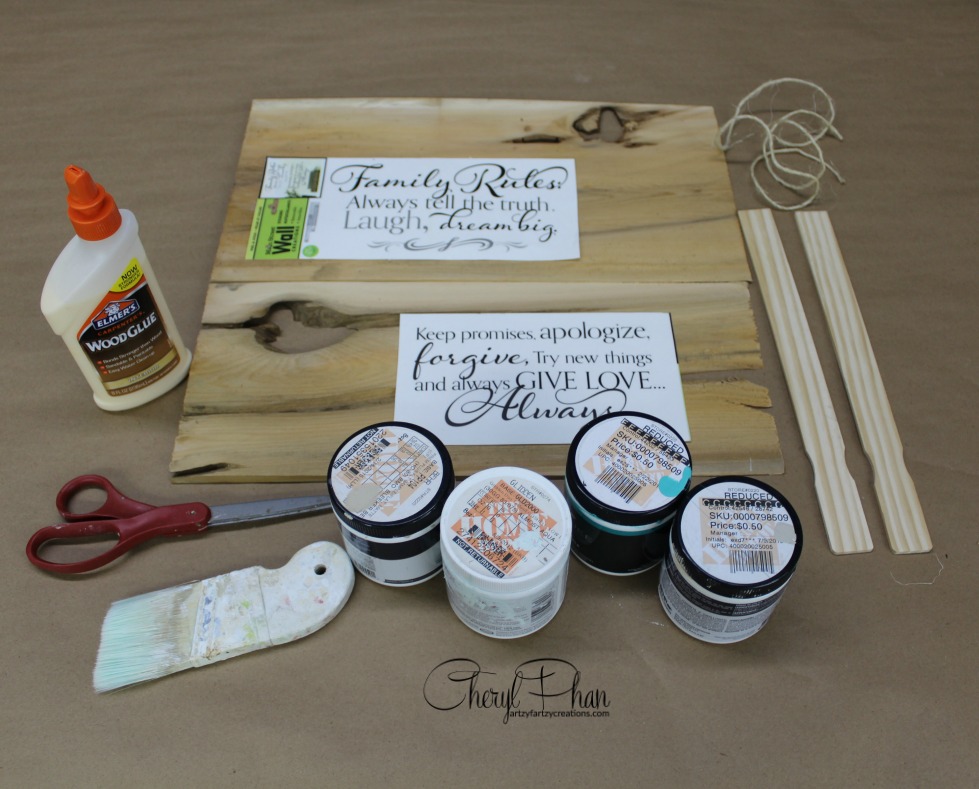
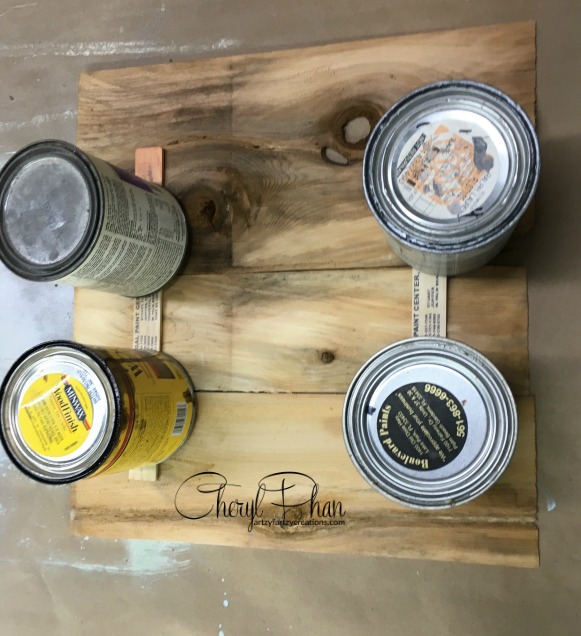
Sample size paint in a few different colors (you can buy it at Home depot or any craft store)
- Water
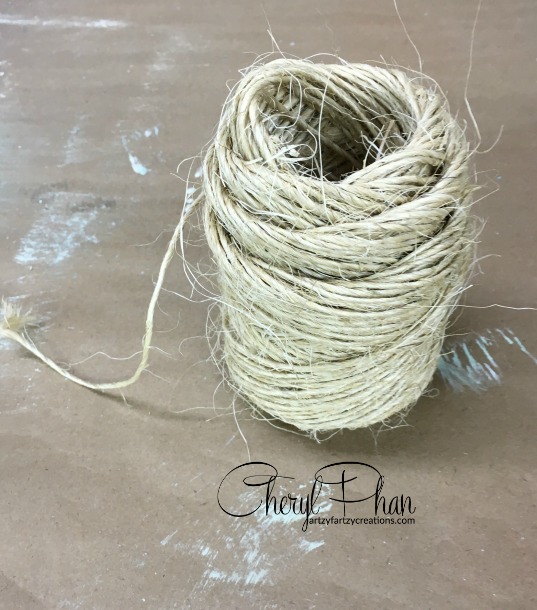
- A roll of twine
- Pallet of Cedar under course shingle (Home Depot)
- 2 paint sticks (FREE at Home Depot)
- Wood glue or a staple gun
- Scissors
- 3 chip Brushes (one for each color)
- Philip screw driver
- Hammer
- Paper towel
- Elmer’s glue (I forgot to put it in the picture)
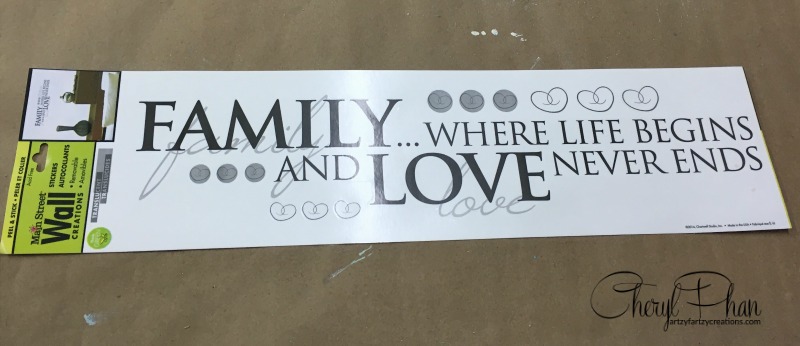
- Wall decals (I bought mine at the Dollar store)
- Optional (paint your own design on the wood)
Step 1:
Select 1 -3 piece of wood you want to use

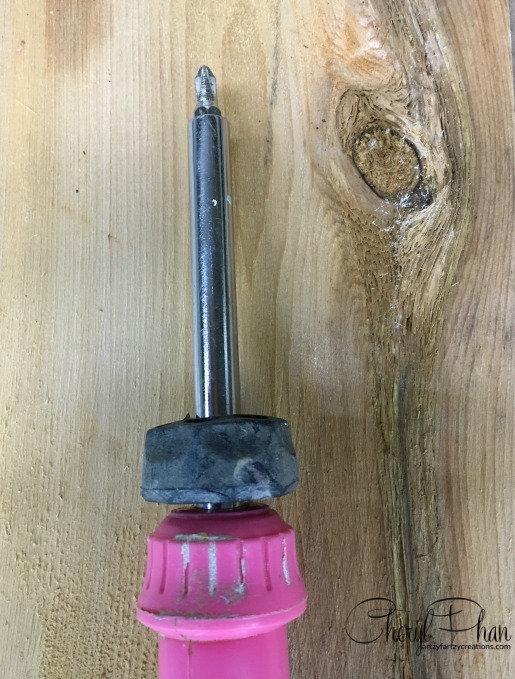
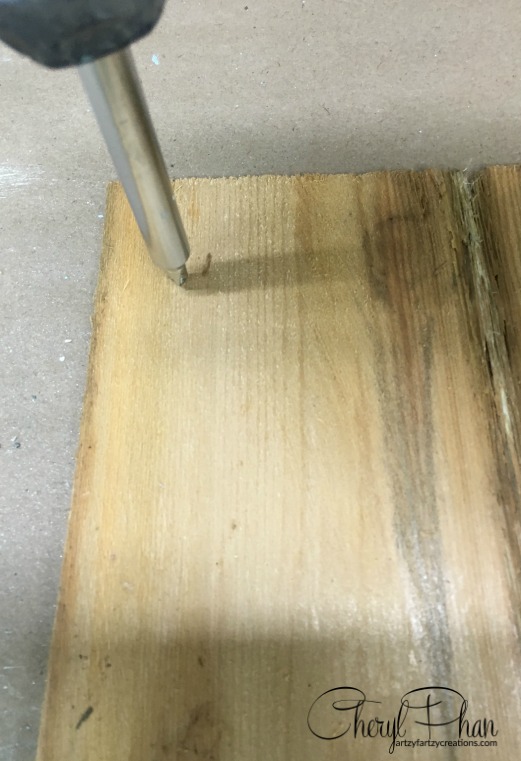
Step 2:
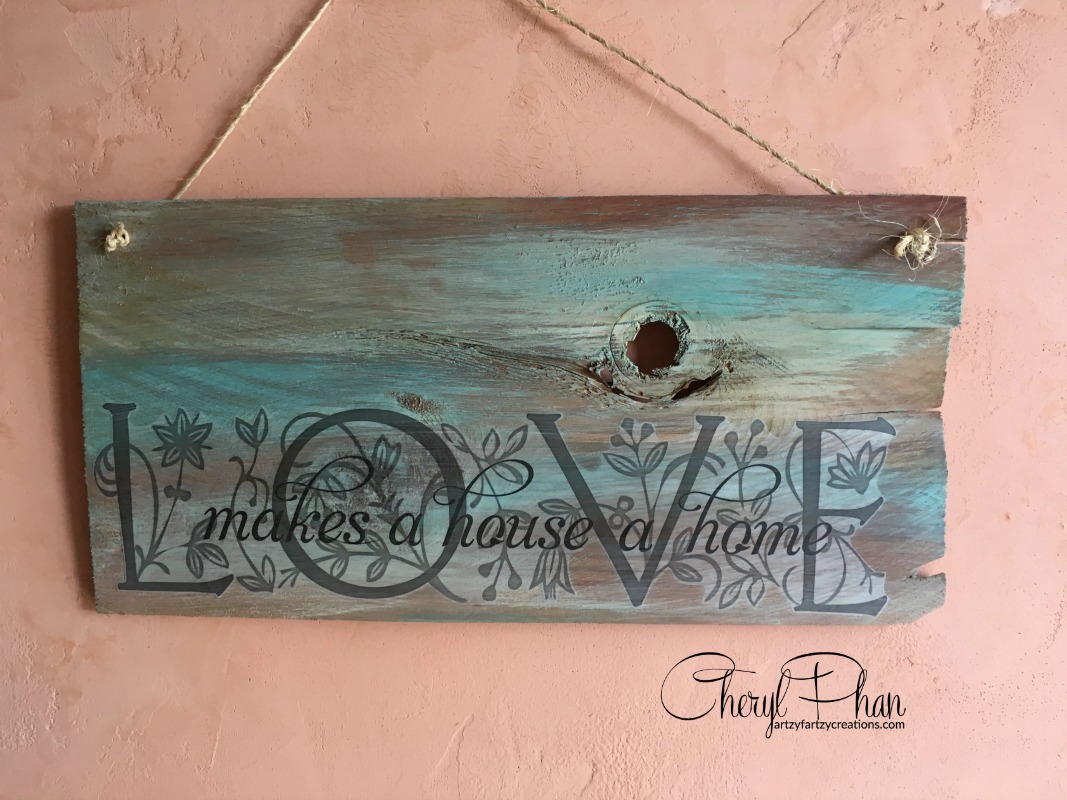
Use your screw driver and hammer (Phillip’s) and pop a hole in the corners of one piece of wood
Step 3:
Line up your wood and glue the paint stick to the back. Place something heavy on the paint sticks so it will adhere to the cedar planks and let dry. Or you can use a staple gun like I did.
Step 4:
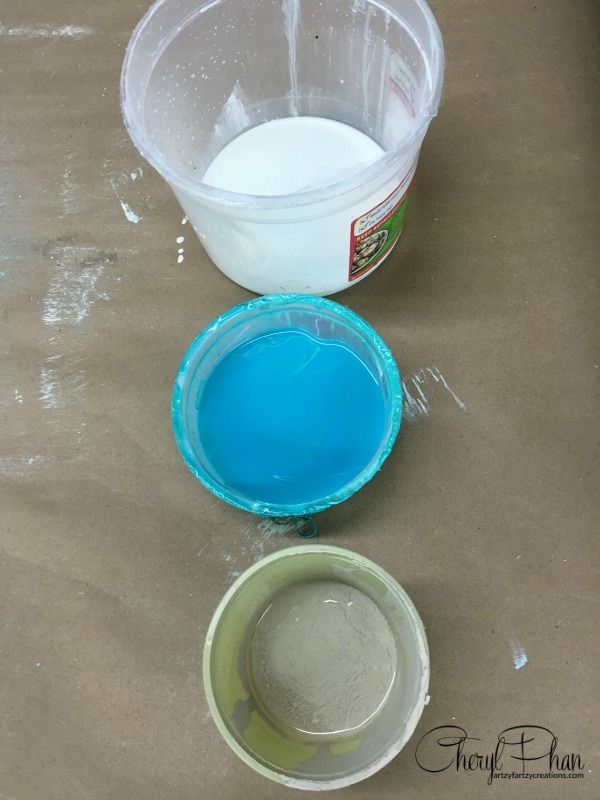
Pour a little of each color paint into separate plastic containers and add a little water if you want a weather look. Using your chip brush paint the wood leaving some open areas and heavier in other areas. You can even dry brush sporadically to give it more interest.
If you want to soften the colors and blend it in, use some paper towels and lightly remove some of the paint
Step 6:
Cut out the decals and glue them to where you want them.
Step 7:
Cut a piece of twine and pull the ends thought the holes and make two knots to hold it in place

Cheryl Phan

Artzy Fartzy Creations. Oh Yes you can DIY!

Best Race Car Themed Bedroom Makeover: Custom Stencil Design
If you have a little boy who loves cars and [...]

How to Create Mediterranean Tiles Like a Pro
If you've ever admired the timeless beauty of Mediterranean tiles [...]

Easy Way To Paint a Ceiling Fan Without Removal
Are you looking for an easy way to paint a [...]

2 Easy Steps to Repair Door Stain After Changing Hardware
If you’ve recently updated the hardware on your [...]

Master How To Paint A Door To Look Faux Wood Grain
Would you like to learn how to paint a door [...]

Important Tip for Painting Kitchen Cabinets
Are you a homeowner dreaming of a kitchen [...]
Contents
Recent Reads

Easy Harlequin Chair Tutorial For Furniture
How to paint harlequin on a chair [...]

How to Create a Metallic Wall Finish with a Sea Sponge
Sponge metallic wall technique is the secret to [...]

Simple One-Step Glaze Technique (Even If You’ve Never Picked Up a Brush)
So… you want to master the one-step wall glaze technique? [...]