Fresh Contemporary Stencil Wall design Makes a Statement
Can you guess where the inspiration for the wall design came from?
If you guessed the comforter, you’re right. When I’m looking for ideas, I look for patterns, colors, and texture. It might be in a picture, a rug or in the bedding. Sometimes it is right in front of you and you don’t even know it.
I loved the pattern on this comforter and visualized how amazing it would look on the wall.
So, I took a picture of it and sent it into Faux Effects International, my go-to stencil experts, and had a custom stencil made. They named it Ultra Link Set.
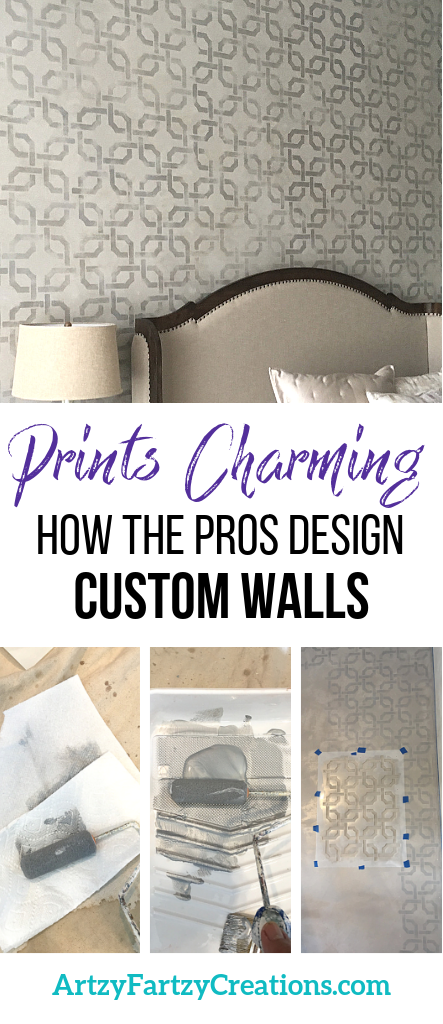
Here’s how I created a custom wall finish
#1:
I applied two skim coats of Silver Taupe Luster Stone as my base.
I LOVE, LOVE, LOVE this product. It’s not only stunning it’s easy to work with.
Here’s a link showing you how to apply Luster Stone.
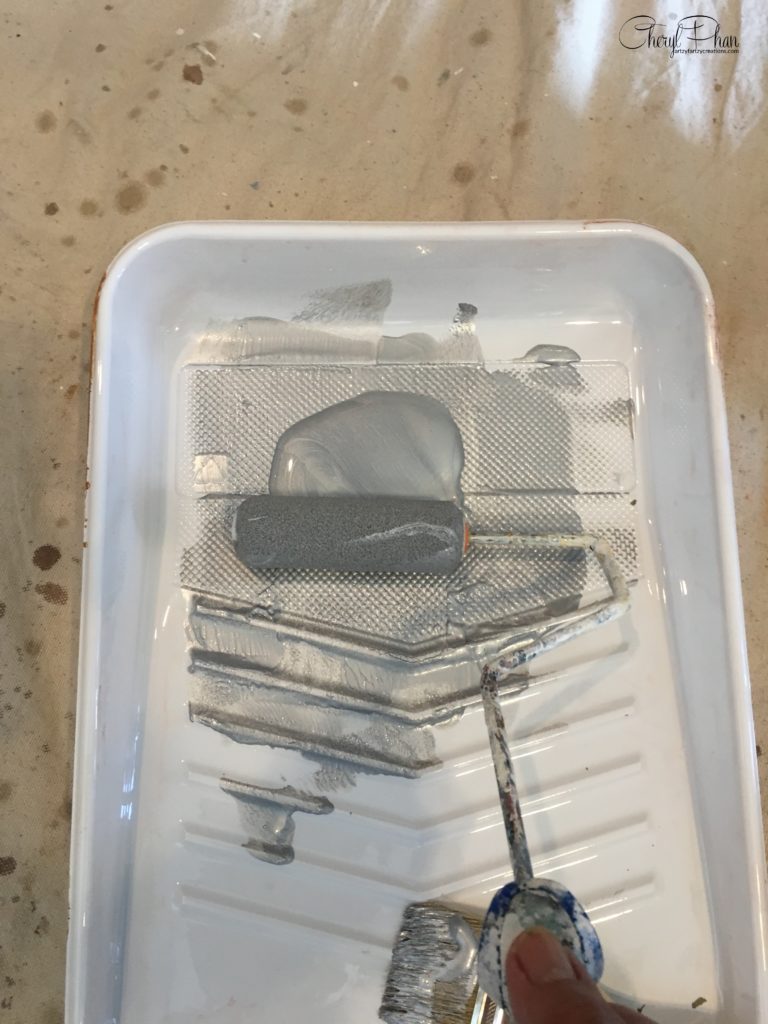
I used Silver Metallic Set Coat for the stencil. Use a firm sponge roller. Roll your sponge roller in the paint covering it completely.
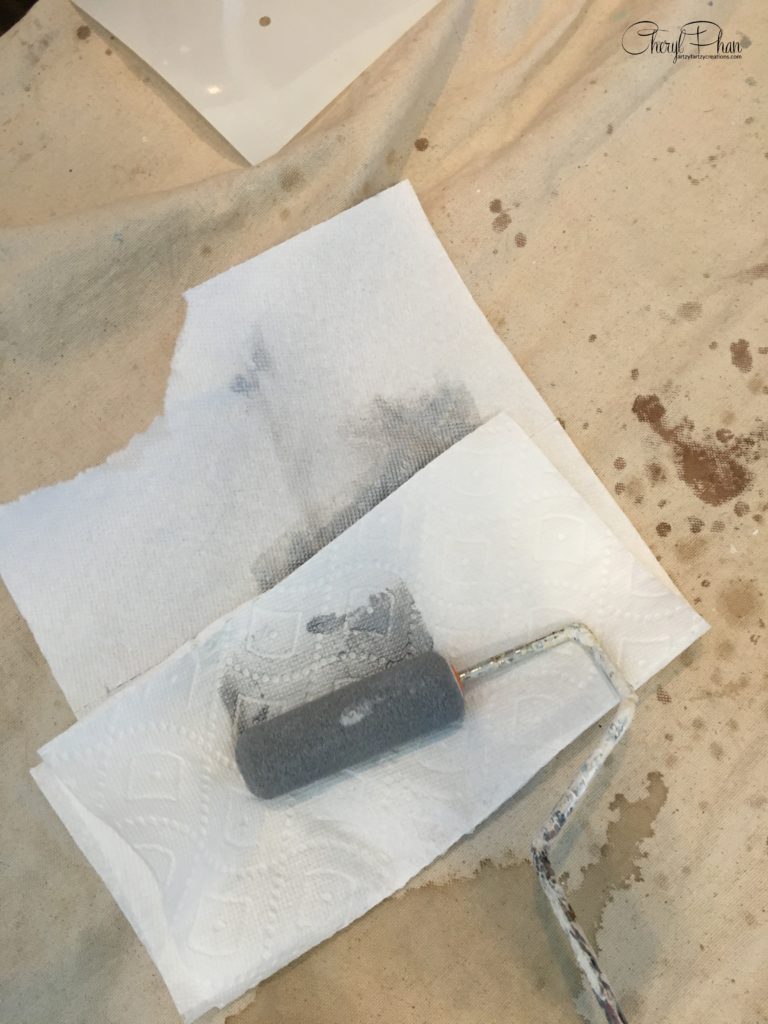
Roll most of the paint onto a paper towel. I know that sounds silly; why would you take the paint off? You’re not taking all the paint off, you are just offloading the excess. If you have to much paint on the roller it will bleed through the stencil. You want your pattern to have crisp lines.
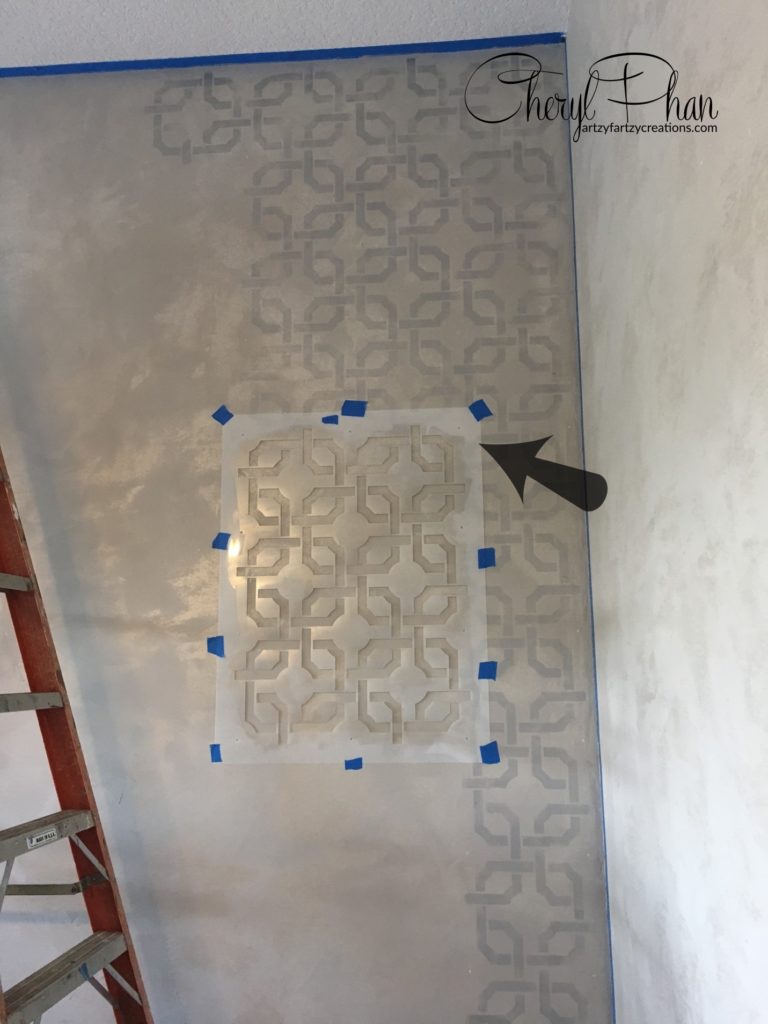
Before you start applying the paint to the stencil, make sure you line it up. There are little holes along the side of the stencil called returns. I used white chalk to mark them on the wall. The chalk is easily removed with a damp rag. If you don’t take the time to do this, your design may end up crooked. For more information on how to apply a stencil, go HERE.
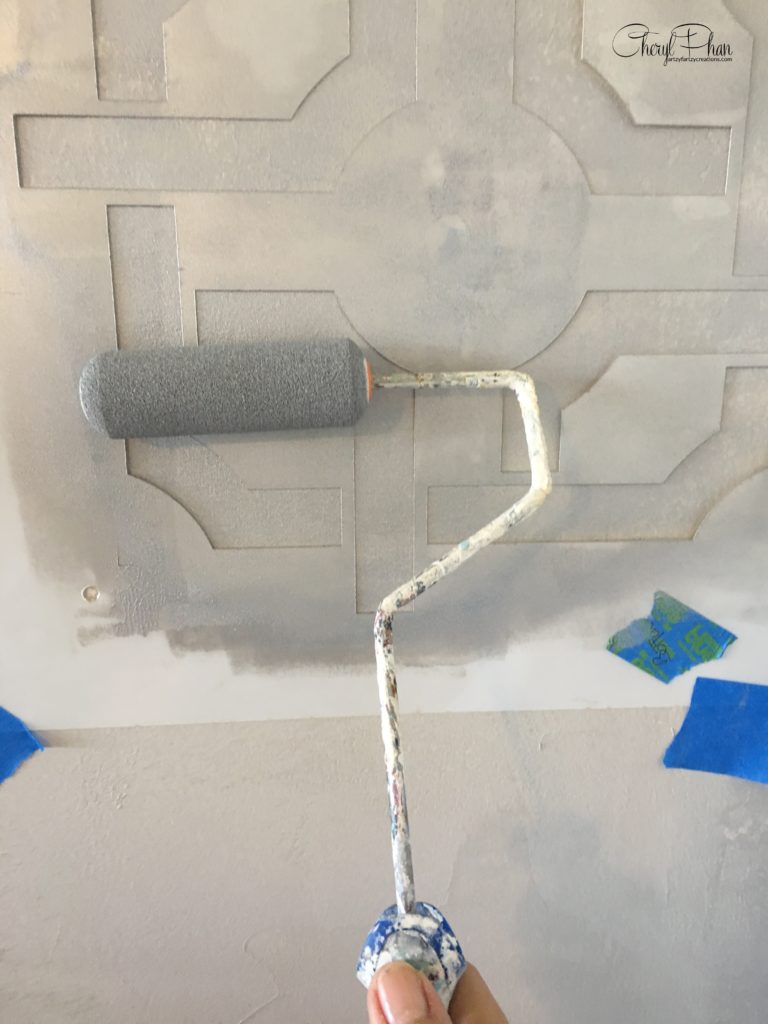
When applying the paint, press lightly going over the area 2-3 times as needed.
If you like this stencil design and would like to use it on your wall, you can get it HERE.
Want to see more? Join me on Pinterest.
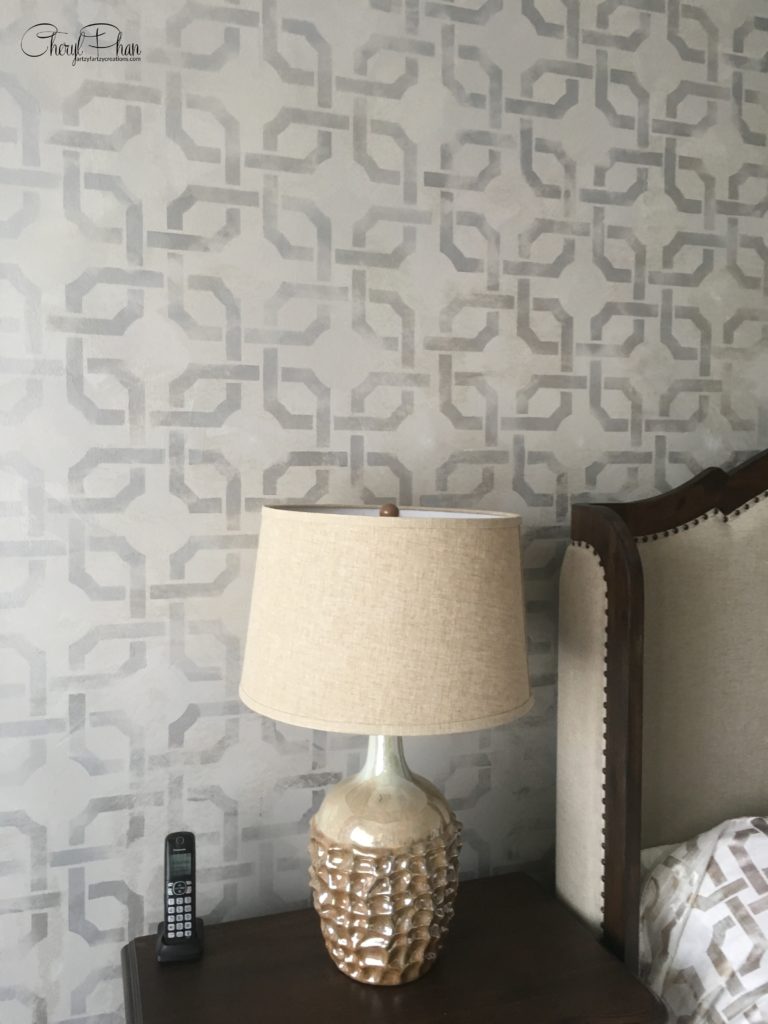
You don’t have to cover it completely. As you can see there are high and low areas on the design. I did this intentionally.
If you want to learn how to start making money with your hobby get the details HERE
If you want to learn DIY Tricks and Tips get my weekly blog HERE
Blessings
Cheryl
Artzy Fartzy Creations. Oh Yes you can DIY!
Mastering Wallpaper Transformation with Limewash Technique
Ever had that "uh-oh" moment when the wallpaper you painstakingly [...]
Staircase Makeover Magic: Transforming Your Space in 3 Easy Steps
Ever walked into a space and thought, Hmm, a [...]
A Budget-Friendly Luxury Bedroom Makeover
The Affordable Elegance Quest of a Luxury Bedroom Makeover In [...]
Mastering Social Media
Trying to manage multiple social media platforms can be time-consuming [...]
Faux Granite Painting: DIY Kitchen Countertop Makeover
Introduction to Faux Granite Painting Faux granite painting offers a [...]
RV Kitchen Makeover: A Budget-Friendly Guide Using Adhesive Tiles
A friend of mine recently asked me to help her [...]
Contents
Recent Reads
Best Race Car Themed Bedroom Makeover: Custom Stencil Design
If you have a little boy who loves cars and [...]
How to Create Mediterranean Tiles Like a Pro
If you've ever admired the timeless beauty of Mediterranean tiles [...]
Easy Way To Paint a Ceiling Fan Without Removal
Are you looking for an easy way to paint a [...]


