I’ve been wanting to do this for a while now, but I just needed to find a chair that was cheap and one that I really liked.
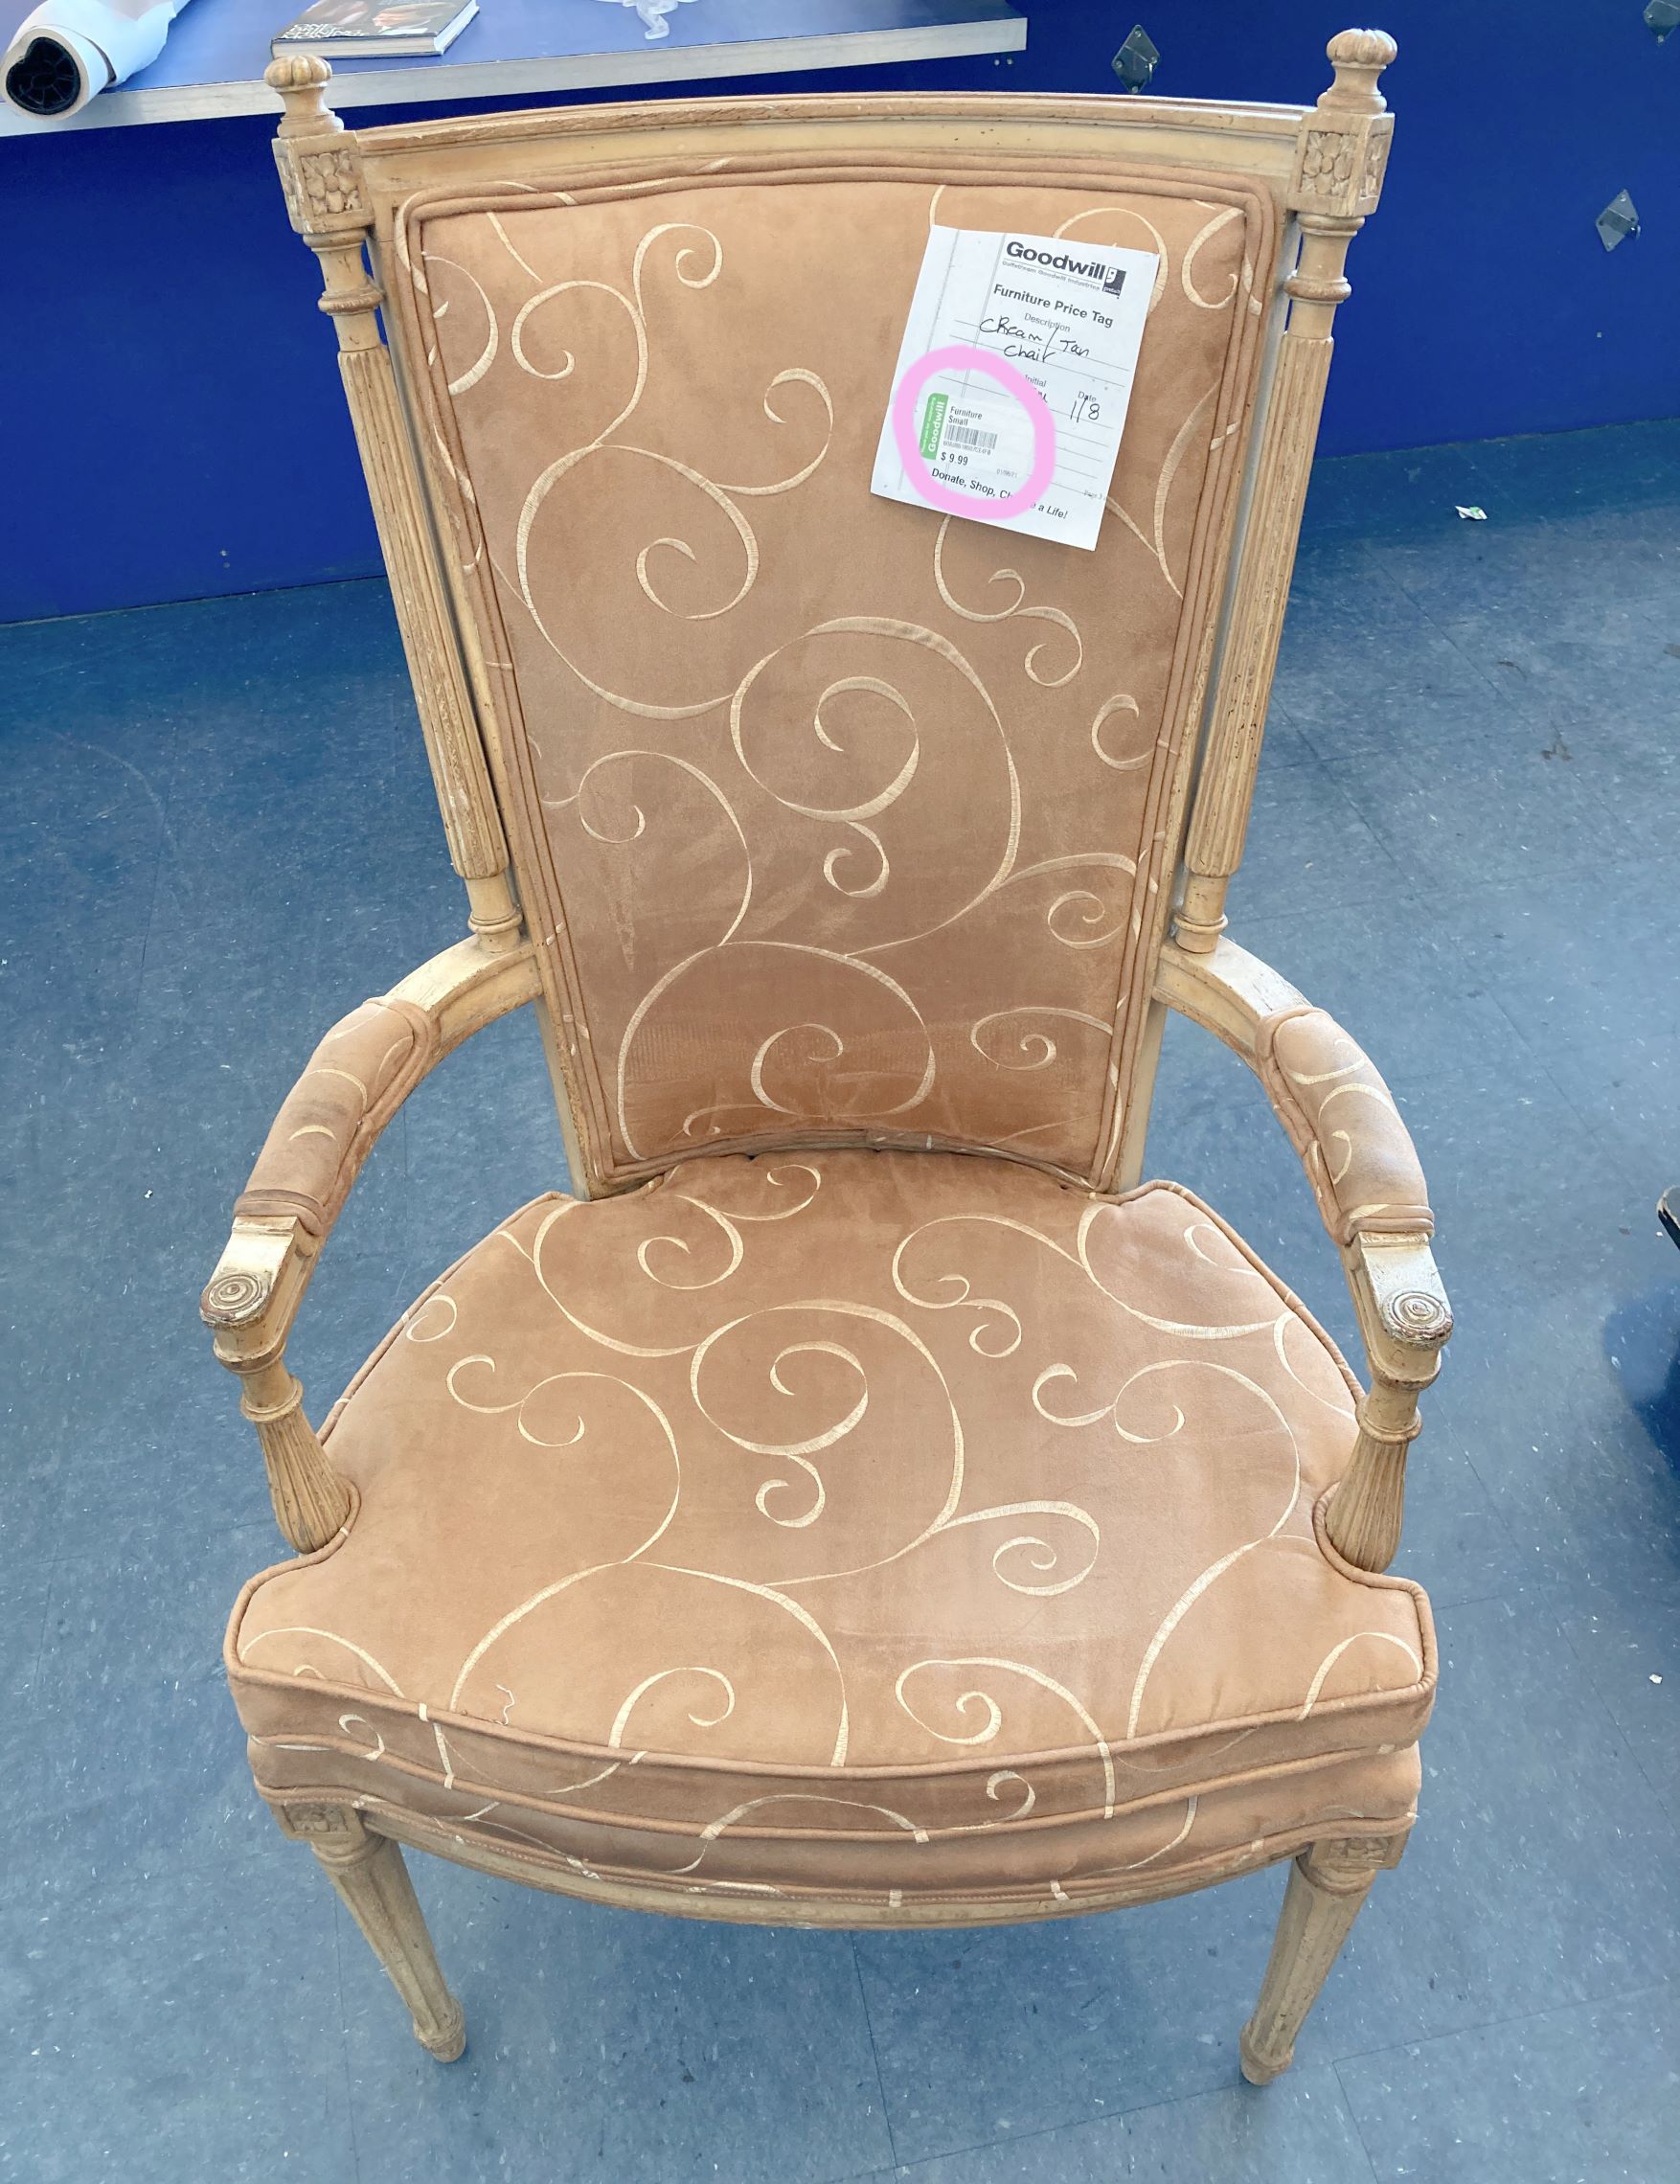
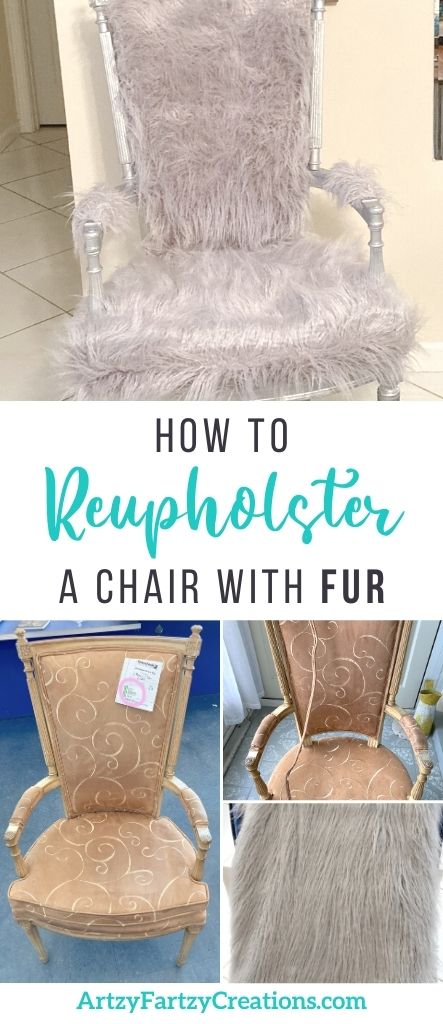
During one of my thrifting days, I came across this chair for $9.99 Cha-Ching! And it was the PERFECT size, Score!
I literally finished it in less than 3 hours.
Another one of my Goodwill finds for only $9.99 I liked that it had a wide seat, arms, and a high back. So, I decided to buy it and do my DIY magic on it.
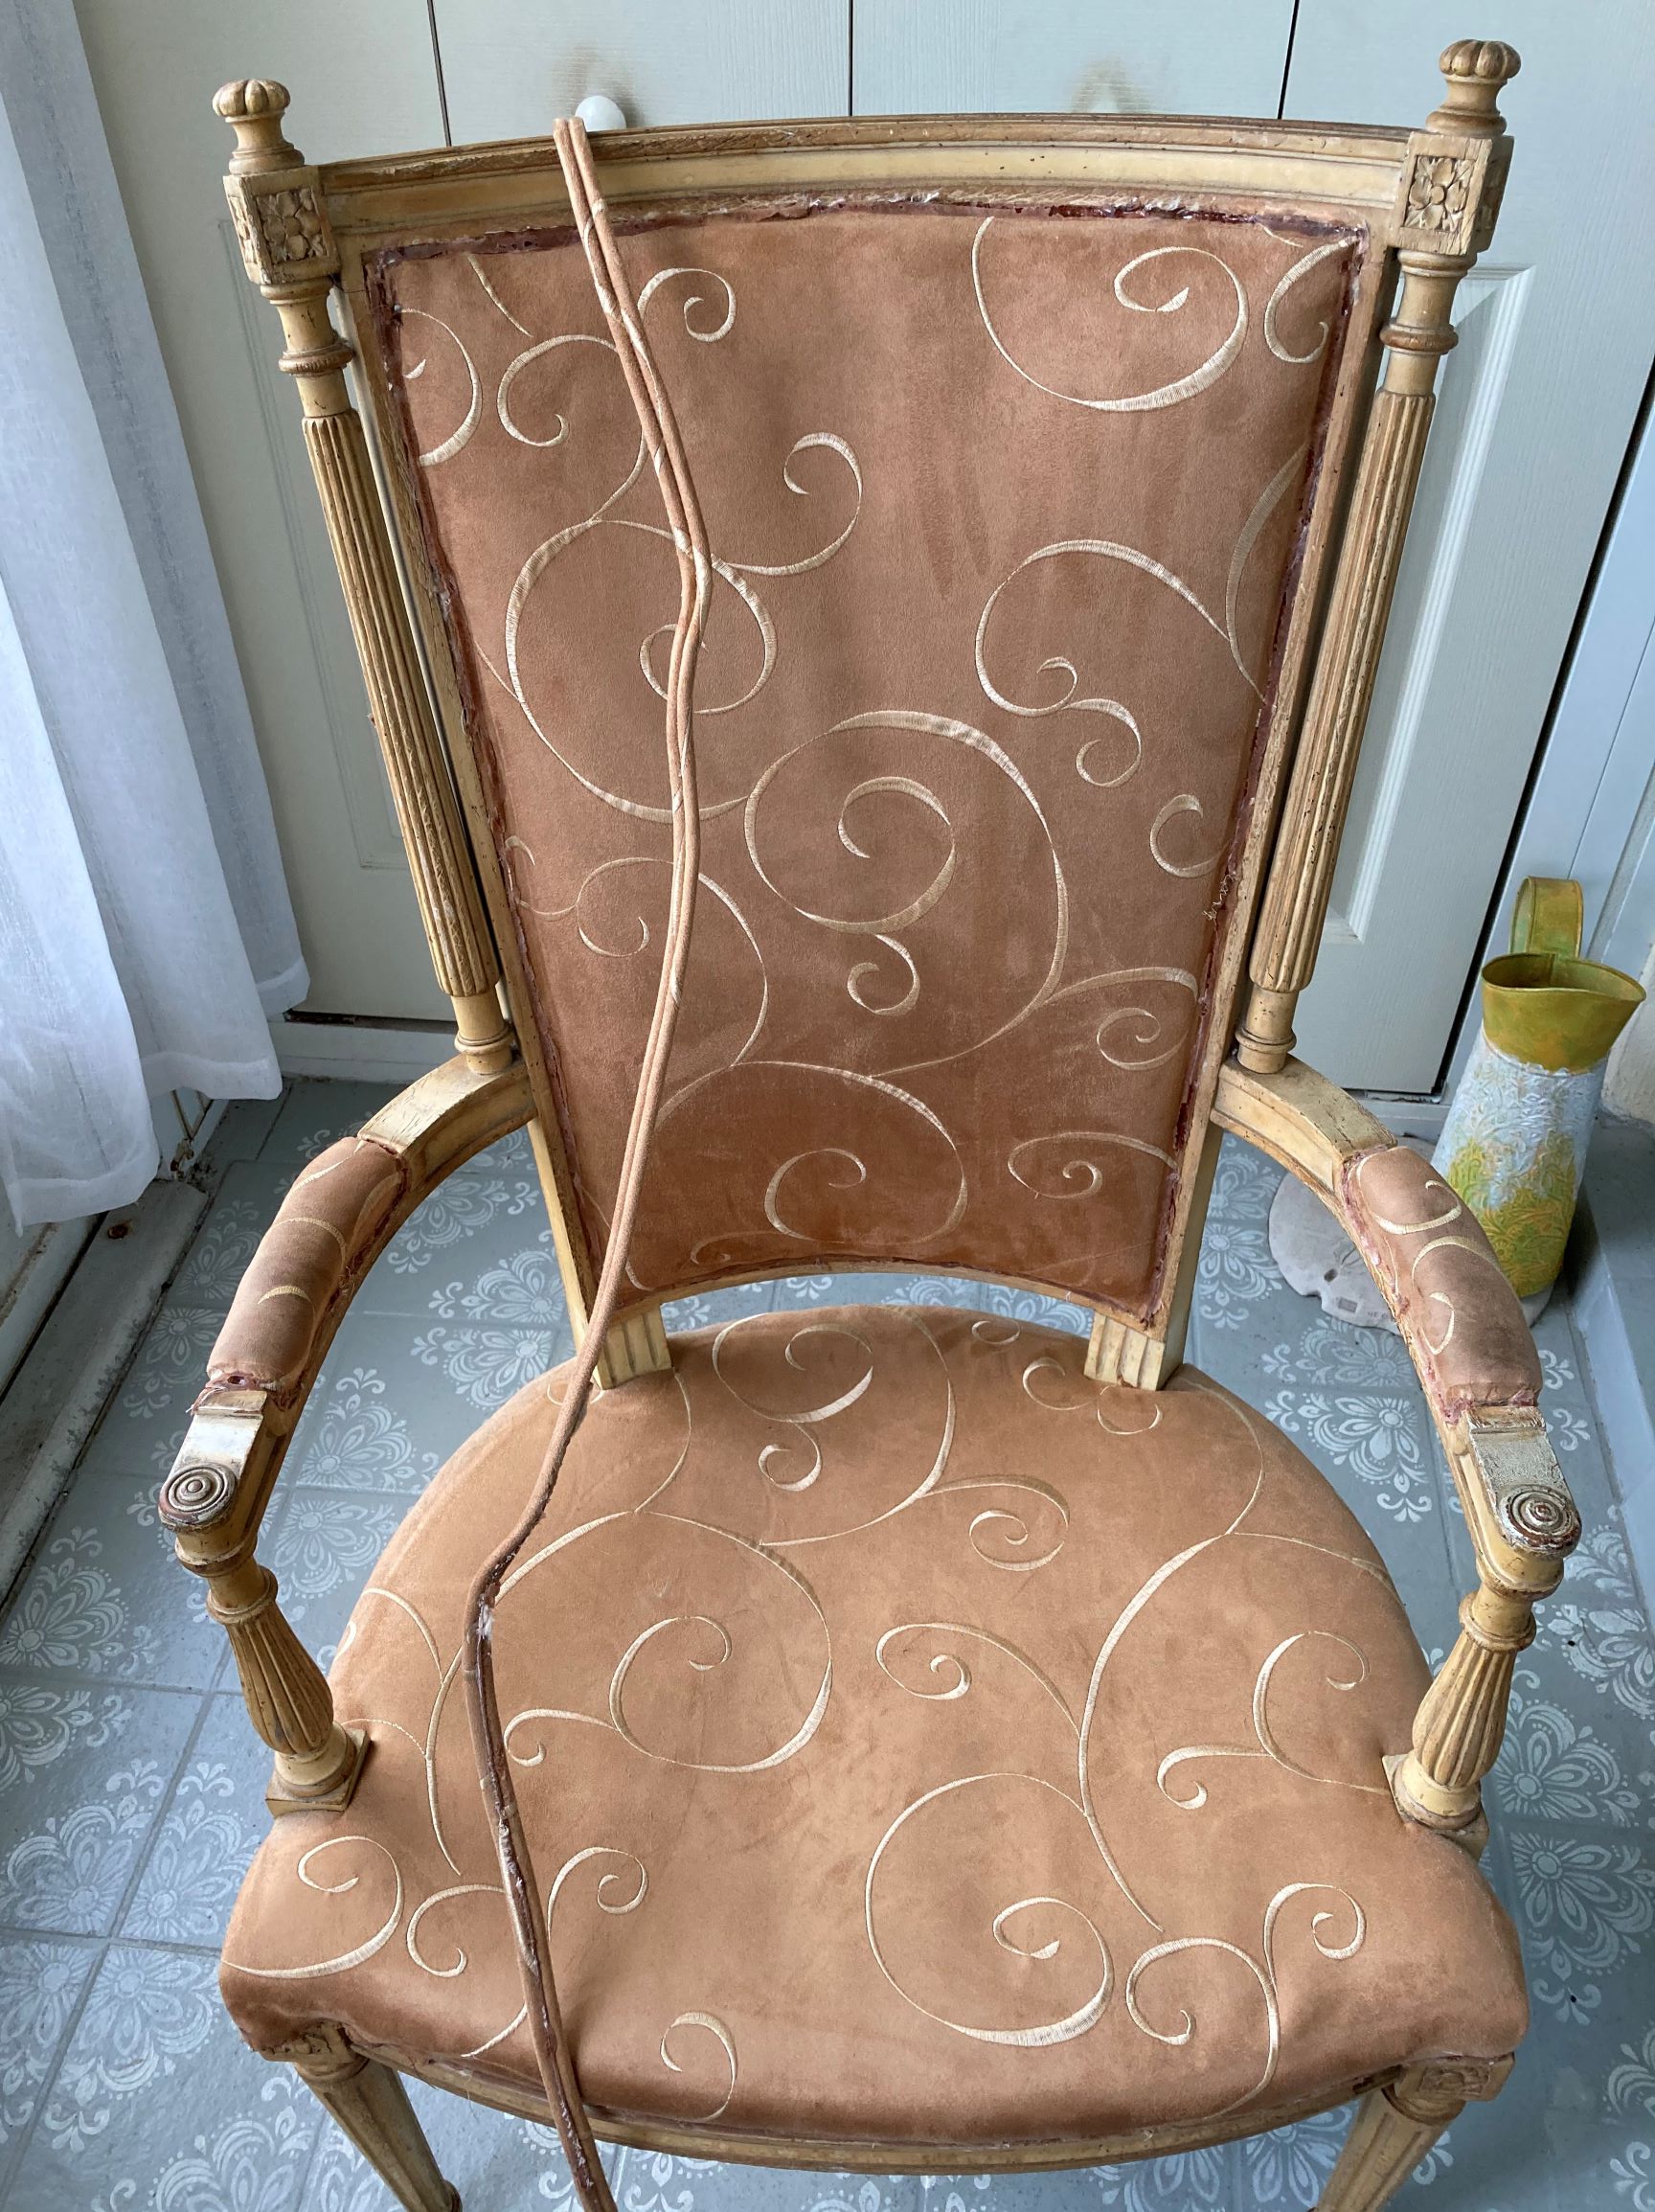
The first thing I did was remove the cording. I was originally thinking of reusing it but turns out I didn’t need to. I’ll show you later.
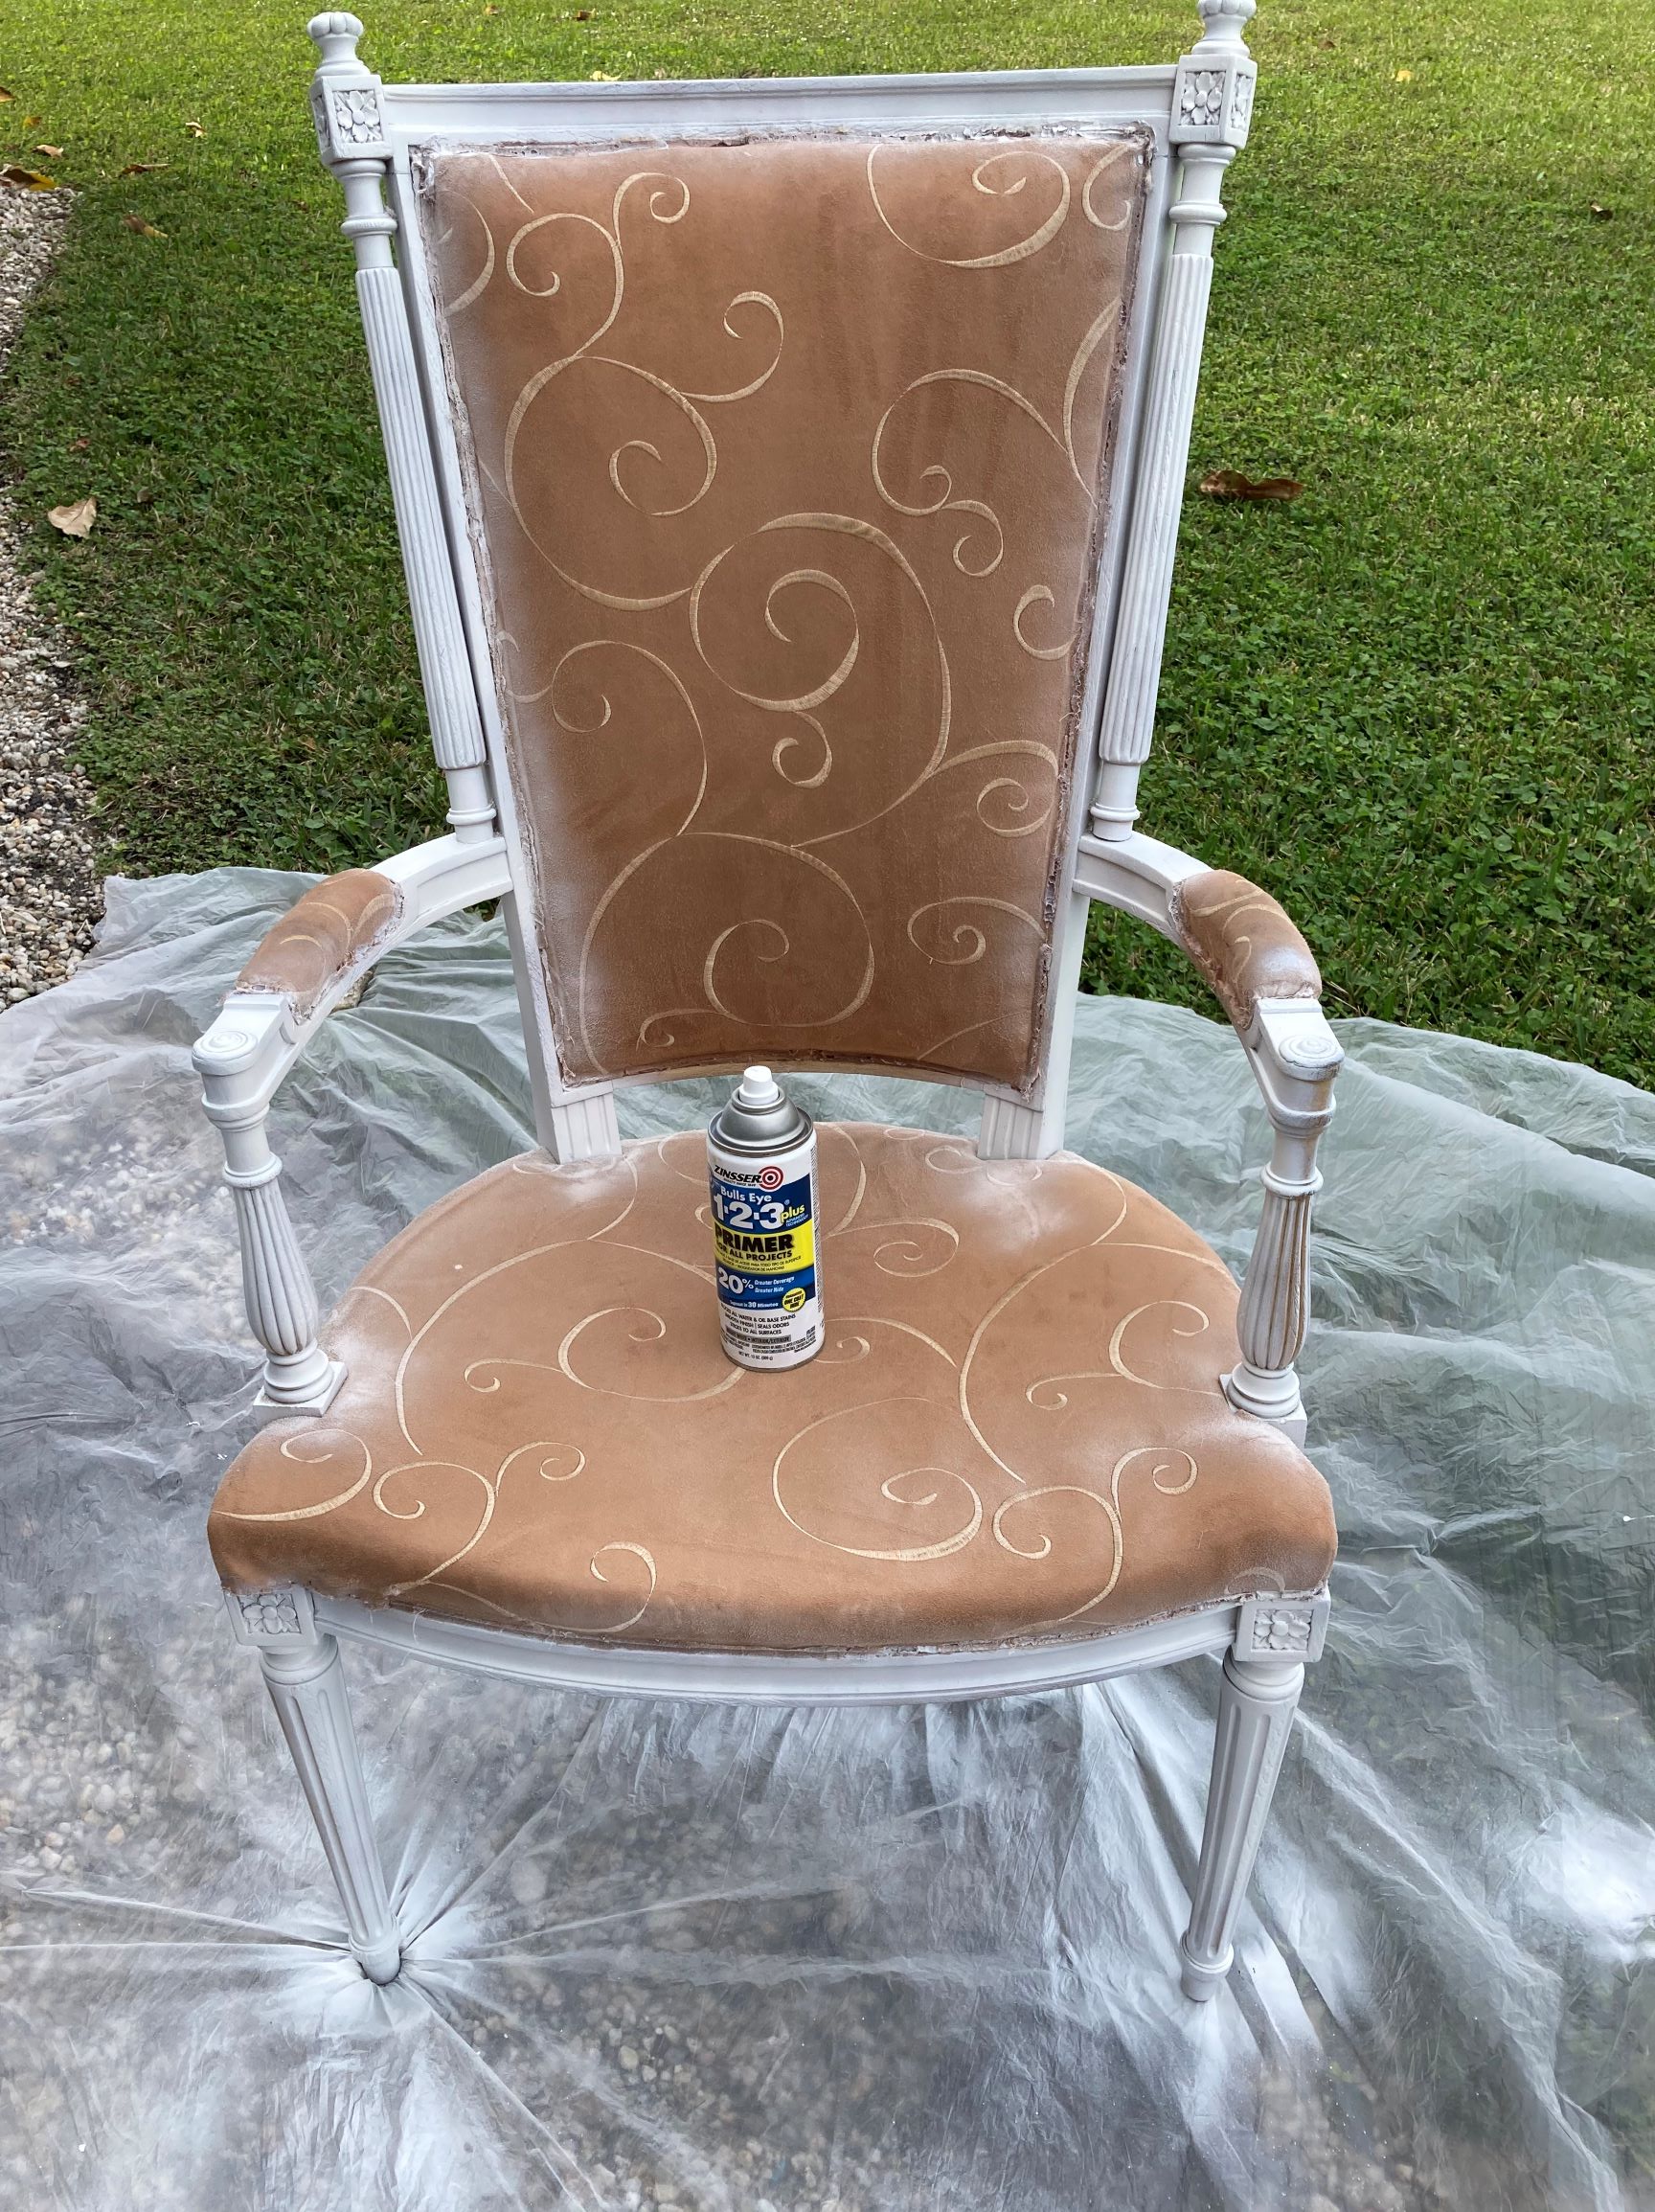
Then I spray painted it with primer. It’s always a good idea to do this step first to help the paint to stick better.
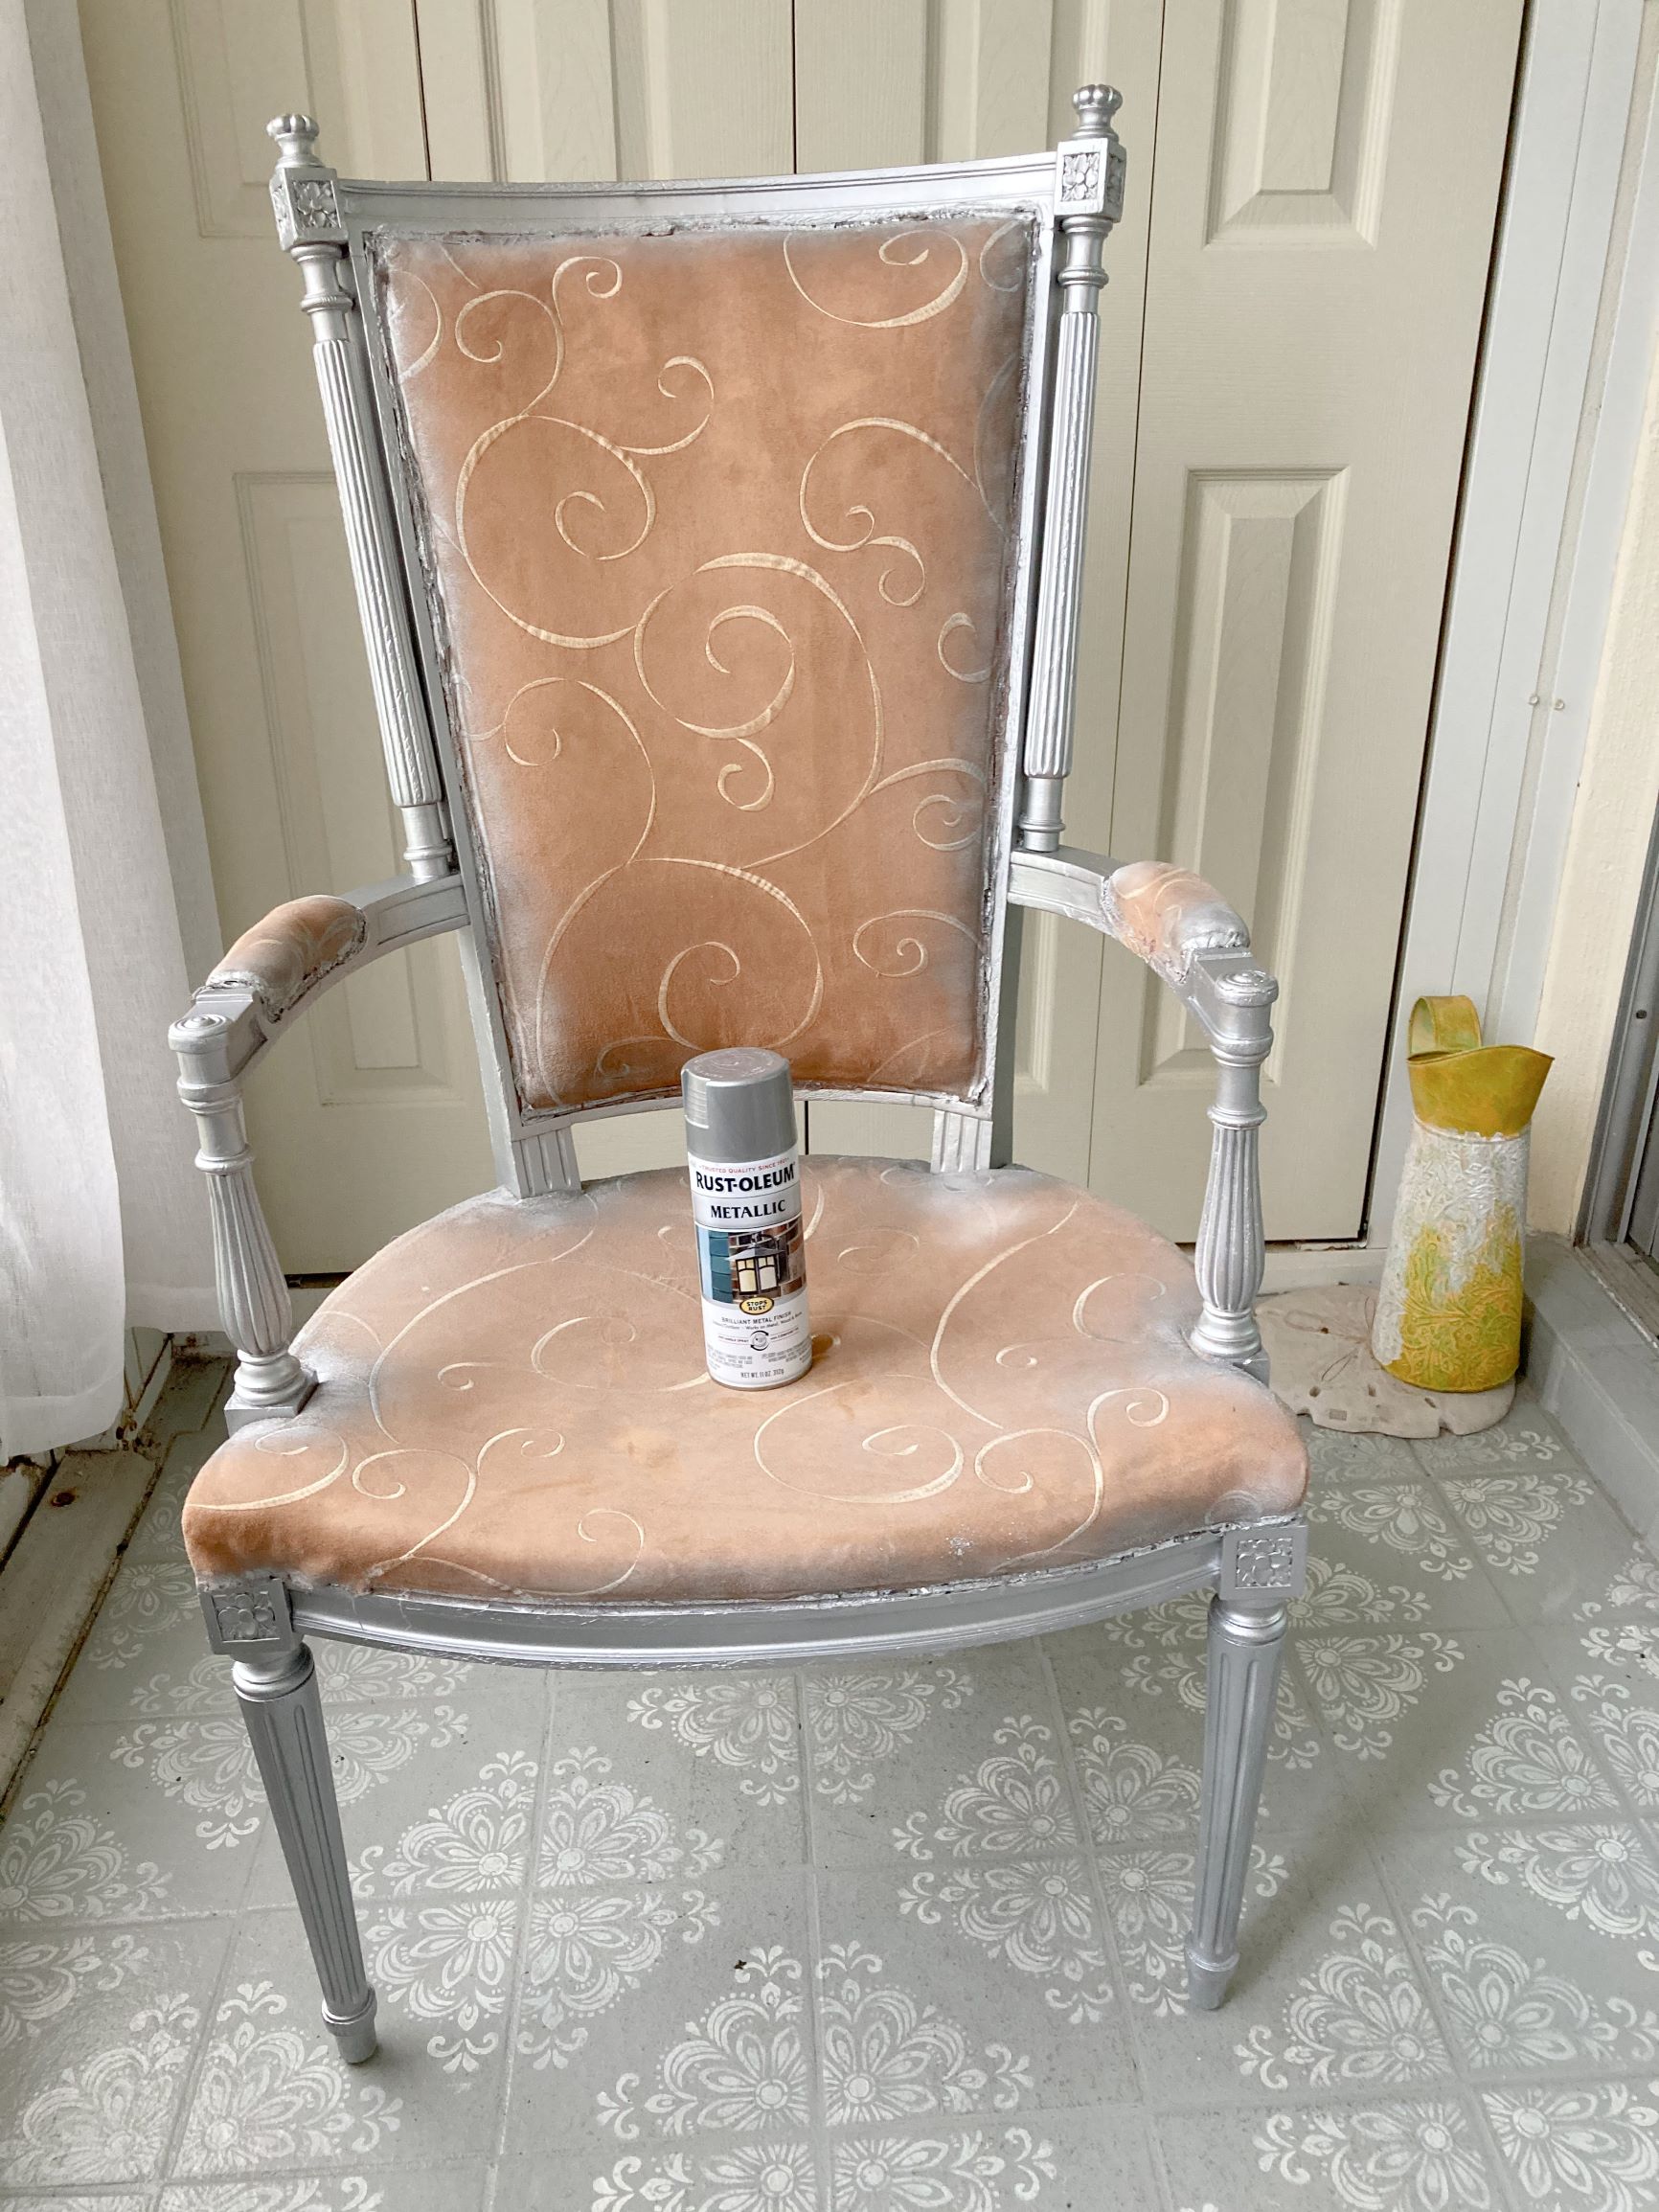
Once the primer dries (15 minutes or so) you can apply the spray paint. I used a silver metallic. But any color will do.
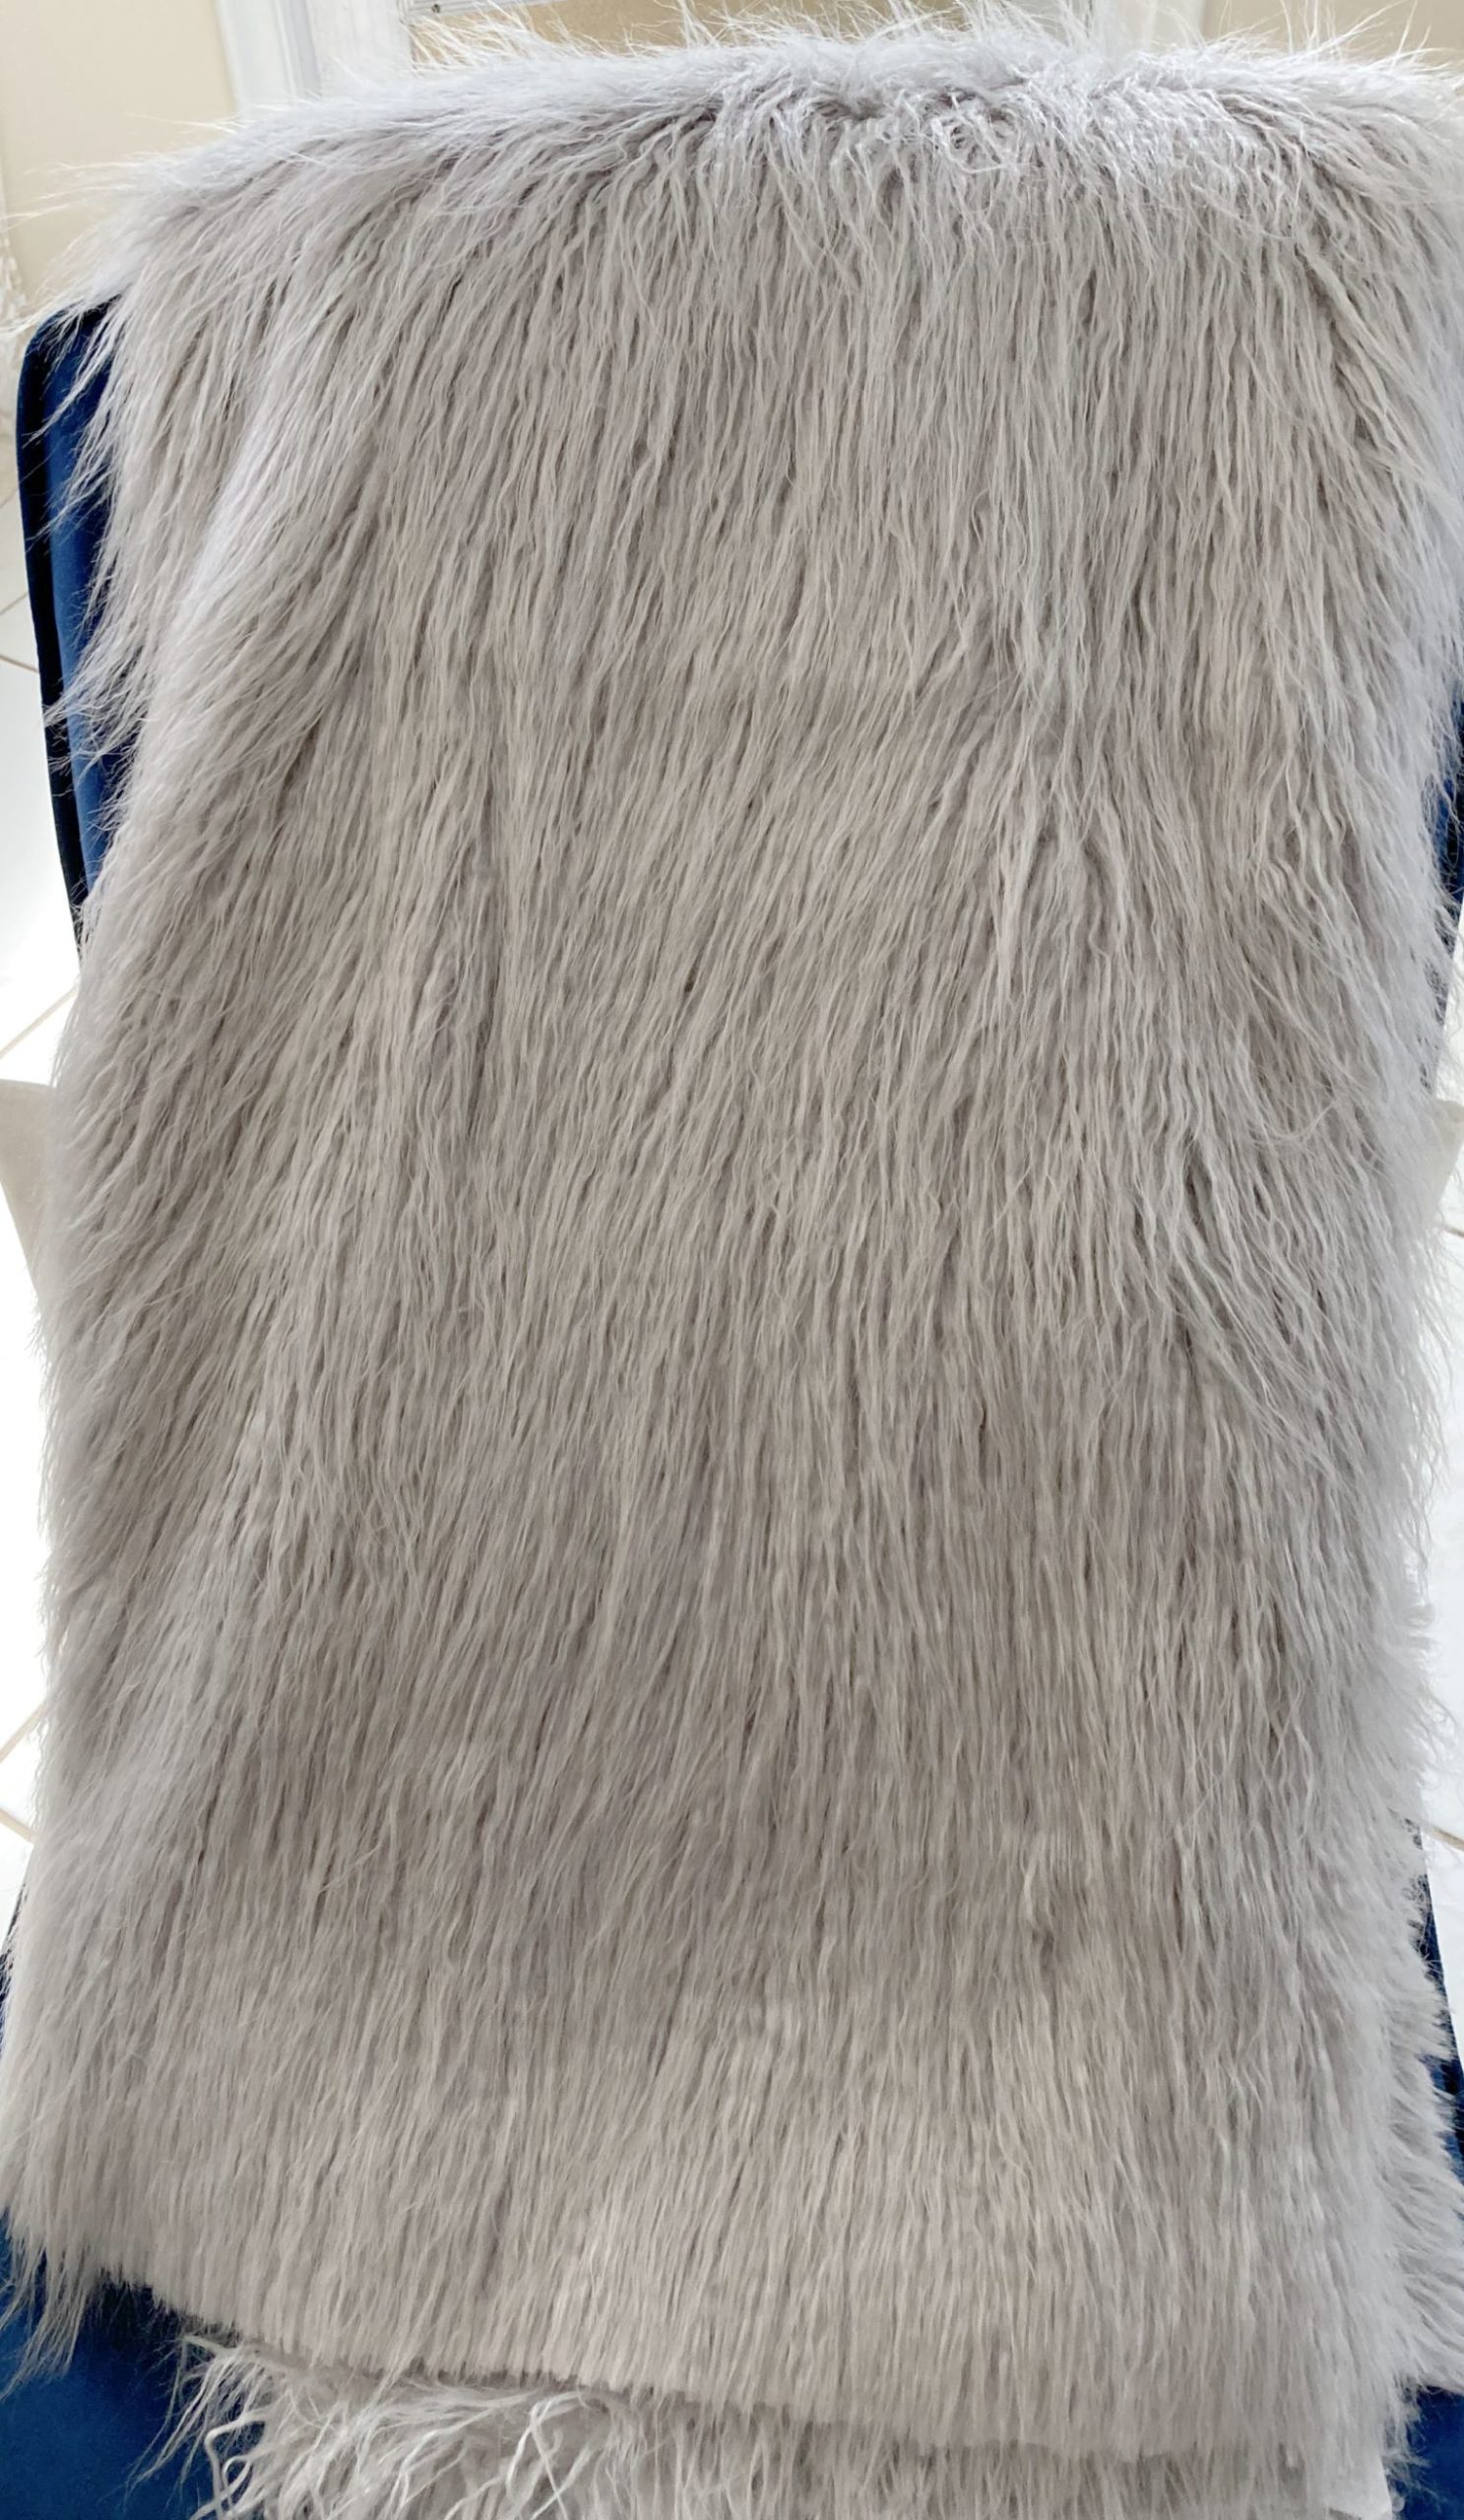
I bought this fur at Joann’s Fabrics you can also find it on Amazon. Now I will admit it was a little pricey. I think this was $50 a yard but I got it on sale and ended up paying $73 for 2 ½ yards.
I didn’t need 2 ½ yards to do this chair but I wanted extra to make a couple of pillows.
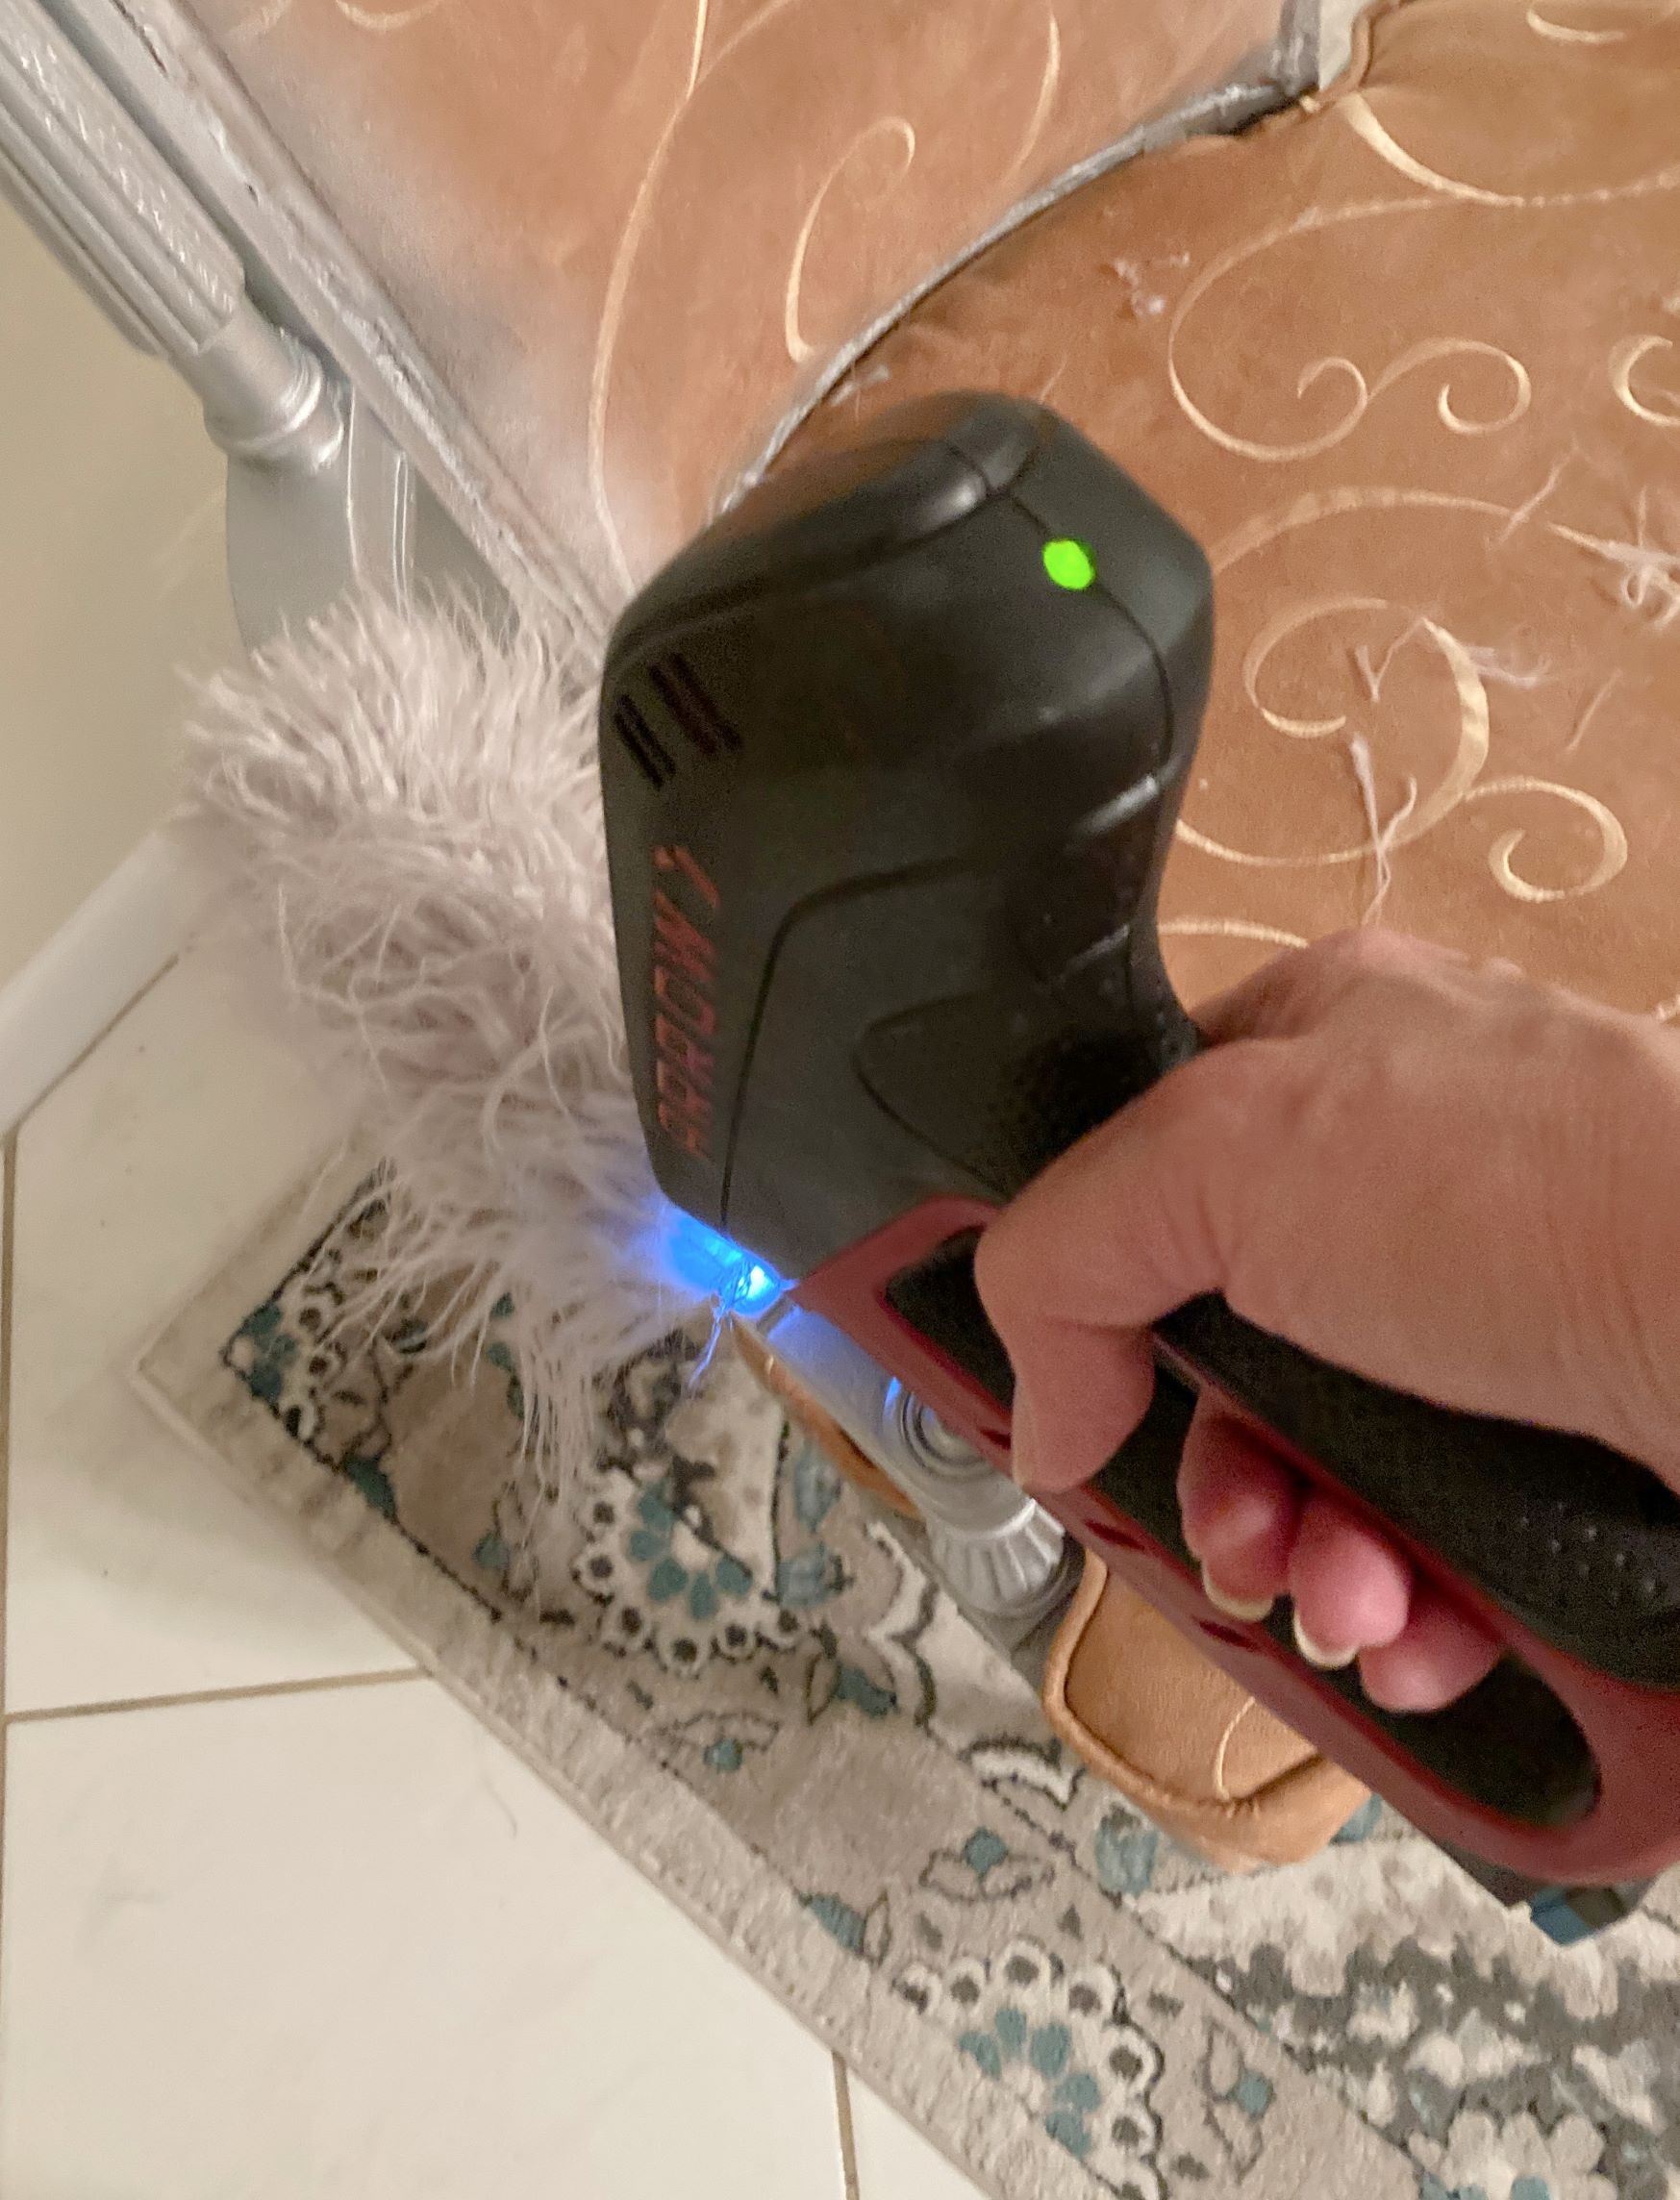
I used an electric staple gun to apply the fur. Believe me it will be so much easier than the conventional stapler. I decided to leave all the original fabric on the chair and just cut pieces of fur a couple of inches larger than the area I was working on.
Then I moved the fur back and stapled it on the chair. The best part about this was you couldn’t see them once I fluffed up the fur.
I was originally going to spray paint the cording and reapply it but that wasn’t necessary. YAY! One less thing I had to do.
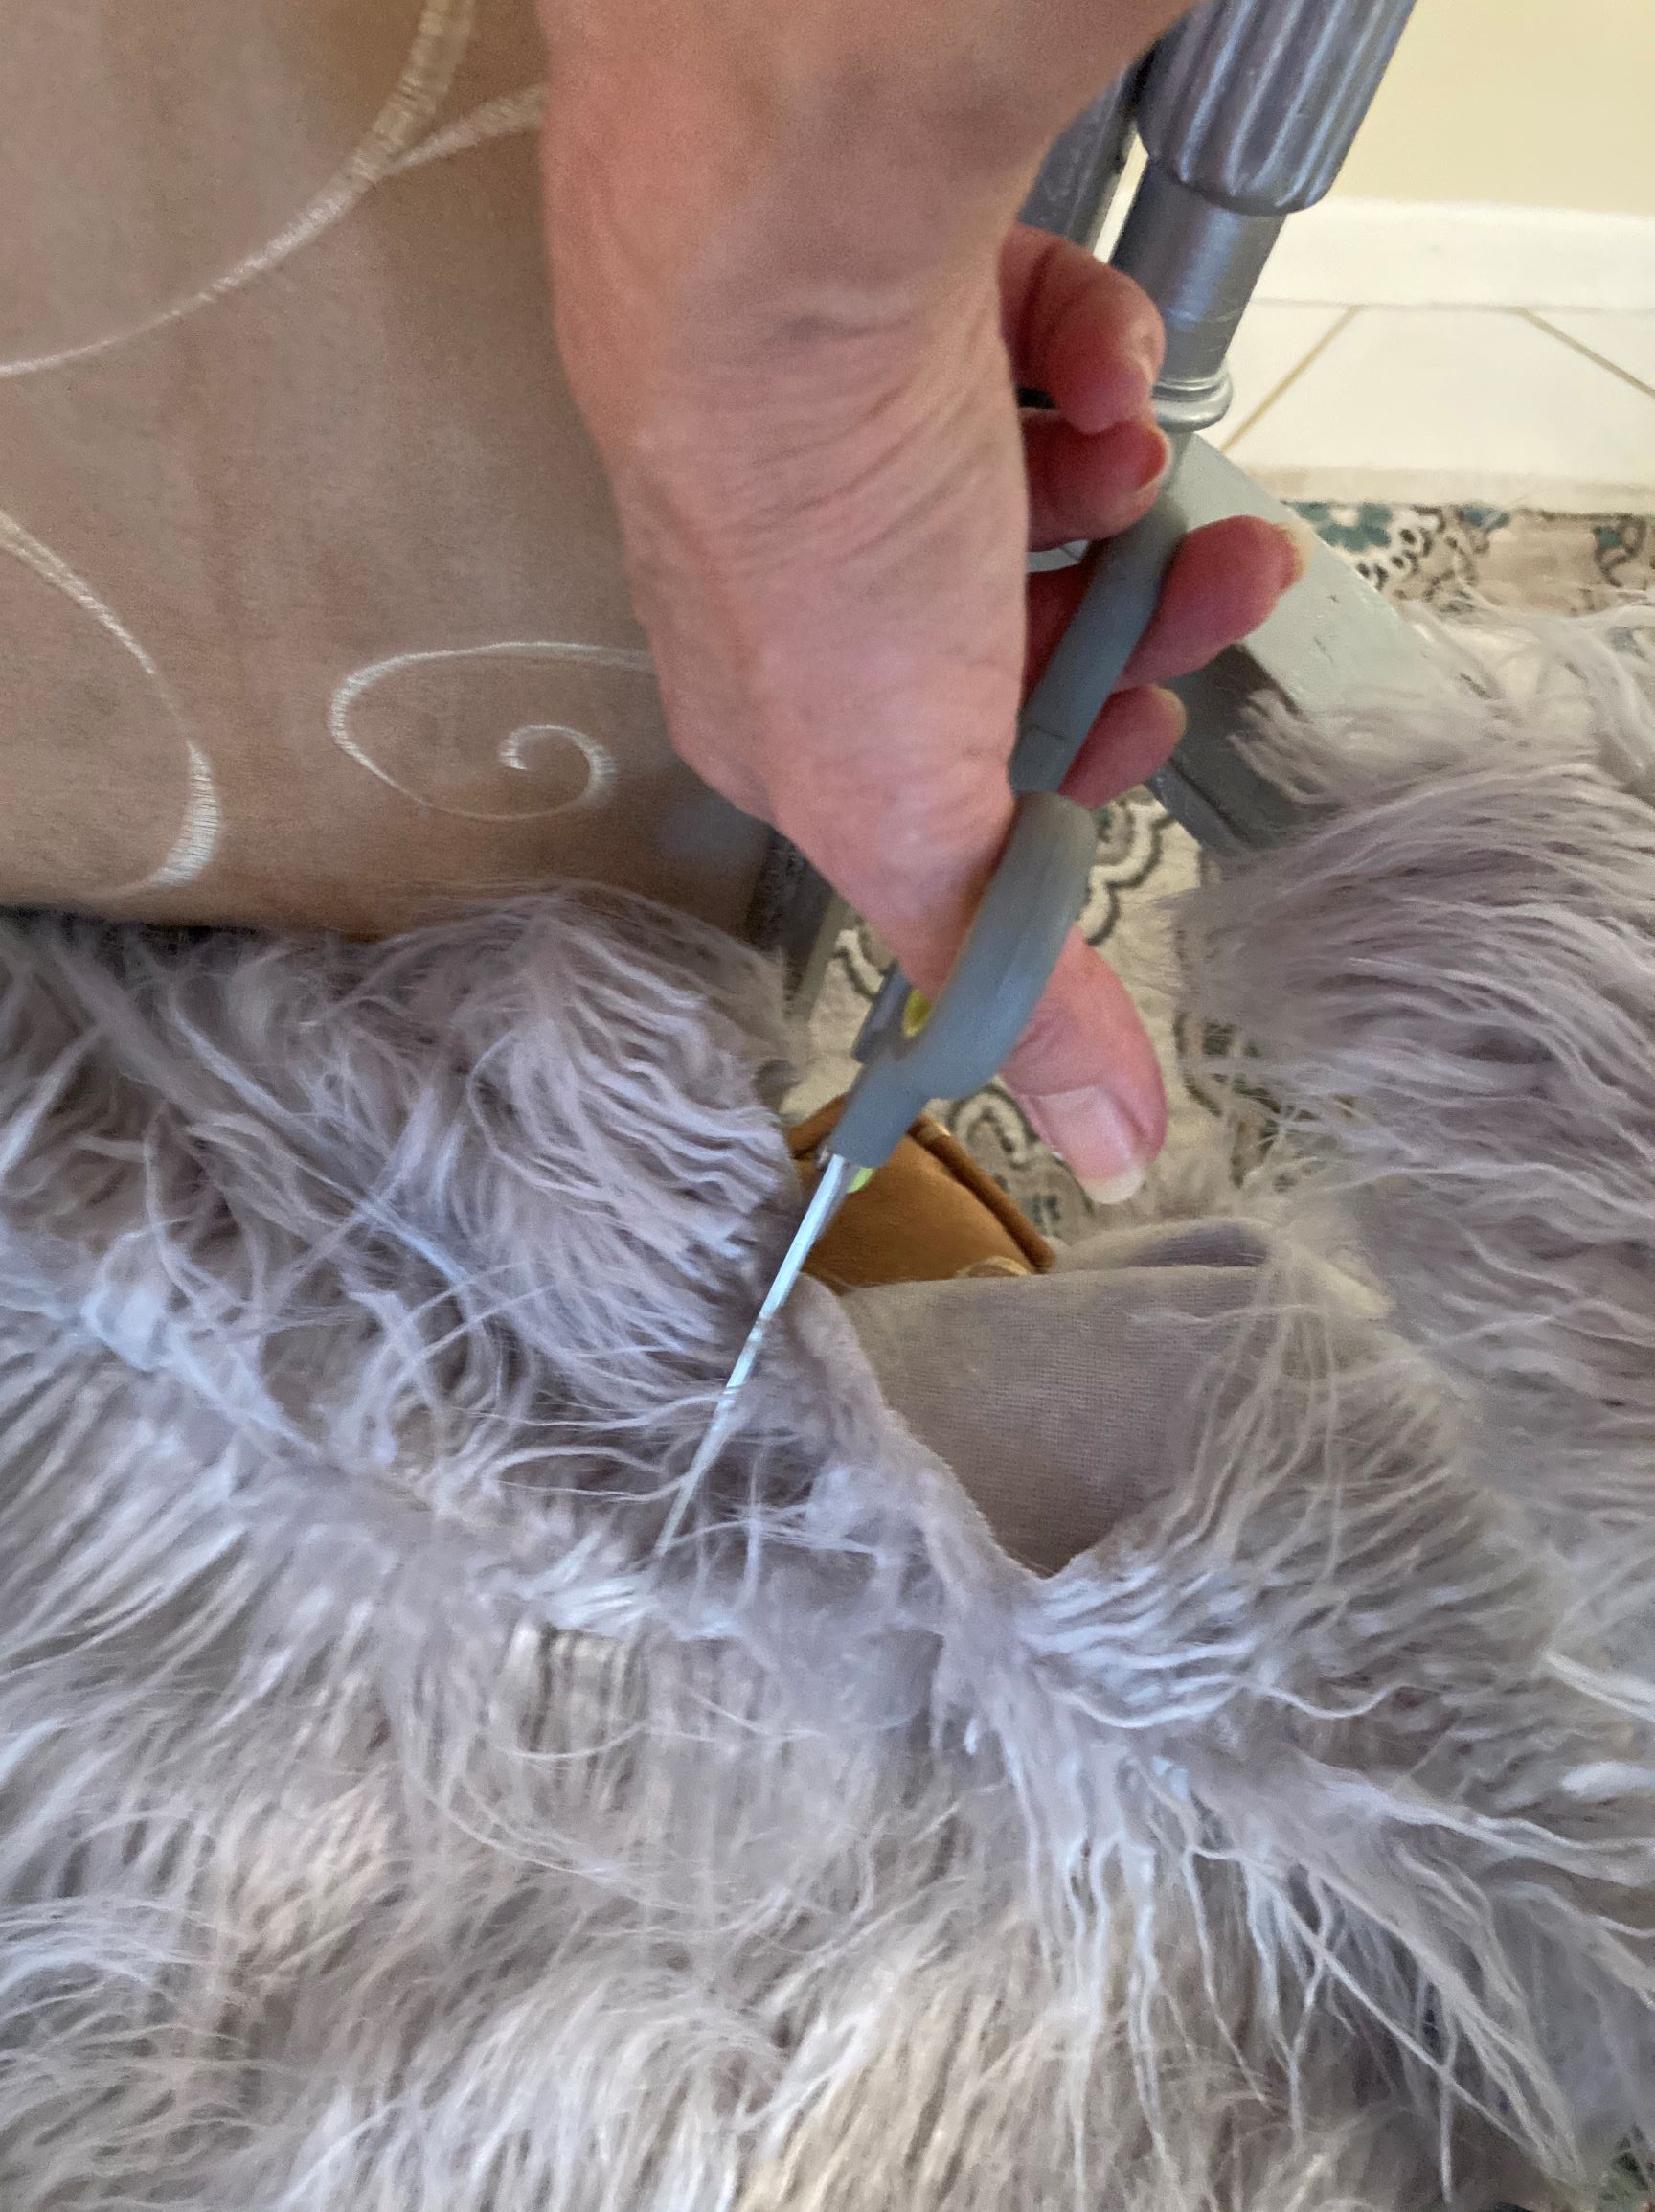
Here’s a little tip. When you are doing the seat at the back you will want to cut the fur in the back around the legs. This is where it will bunch up. If you snip it back you will be able to pull the fur through and get a better fit.
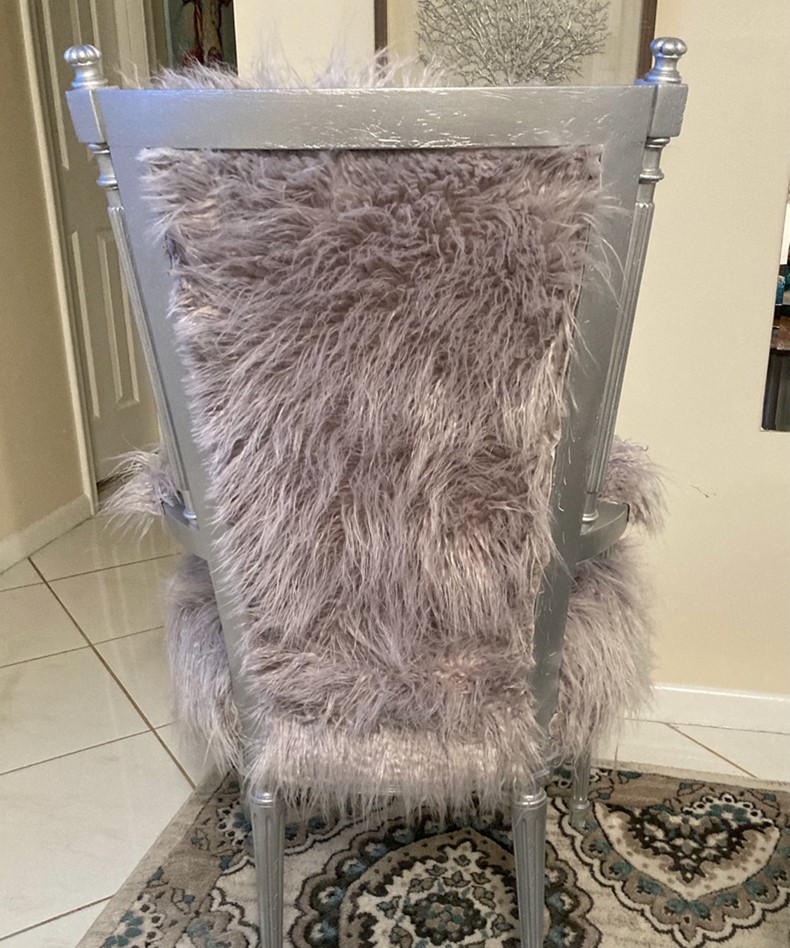
You might have noticed that I put the fur on in the opposite direction.
I did this on purpose for two reasons. One I wanted to make sure you couldn’t see the staples and two I wanted it to be fluffy. If I did it with the fur lying flat the staples would have shown in some of the areas.
I actually like the messy fluffy look.
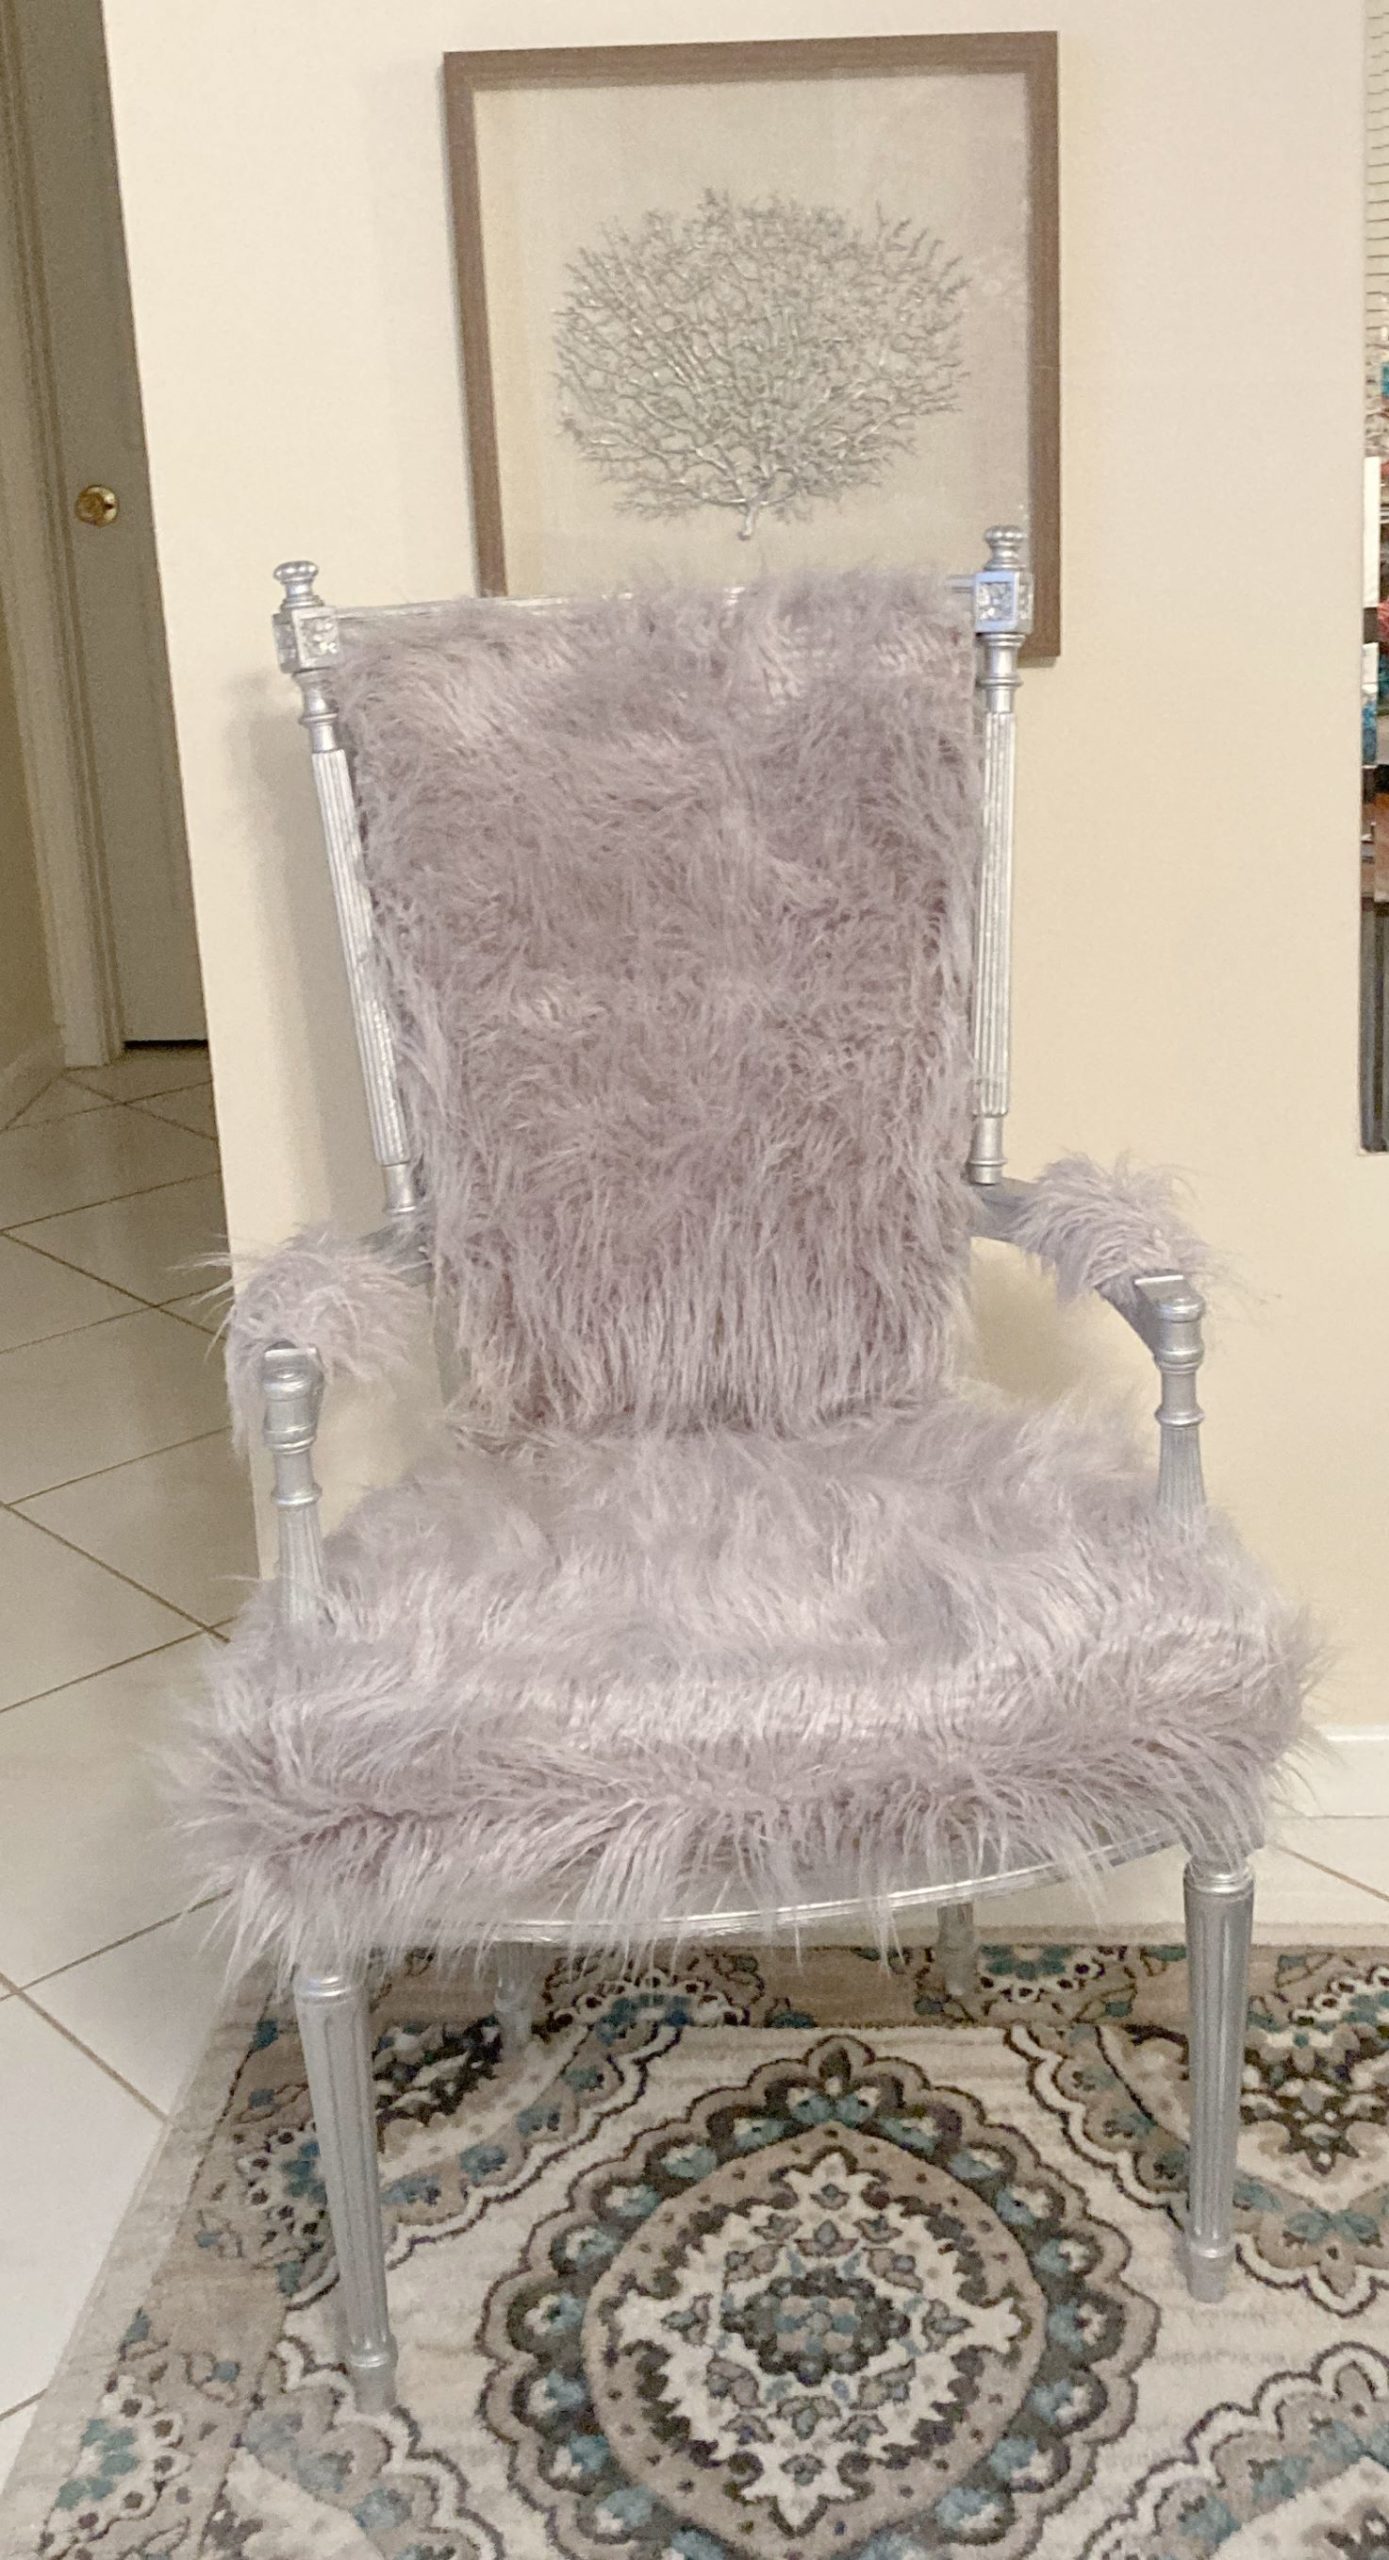
This is the finished project. I just LOVE it!
I use it as an ornamental chair in my living room. It’s so much fun and everyone that comes over comments on how pretty it is.
I spent about $80 making this chair but, if I bought it in a store it would probably cost about $250-$300.
I hope you enjoyed this and found some inspiration. If you want to learn how to start making money with your hobby get the details HERE.
If you want to learn more Tricks and Tips get my weekly blog HERE.
See Ya on the inside!
Blessings
Cheryl
Artzy Fartzy Creations. Oh Yes you can DIY!
Decoupage Jewelry Box
You know the old saying. “One man’s trash is another [...]
How to Refinish and Stain Furniture in 3 Simple Steps
When you have a beautiful table that is made of [...]
Turning Trash To Treasure
Have you ever driven by your neighbor’s trash and seen [...]
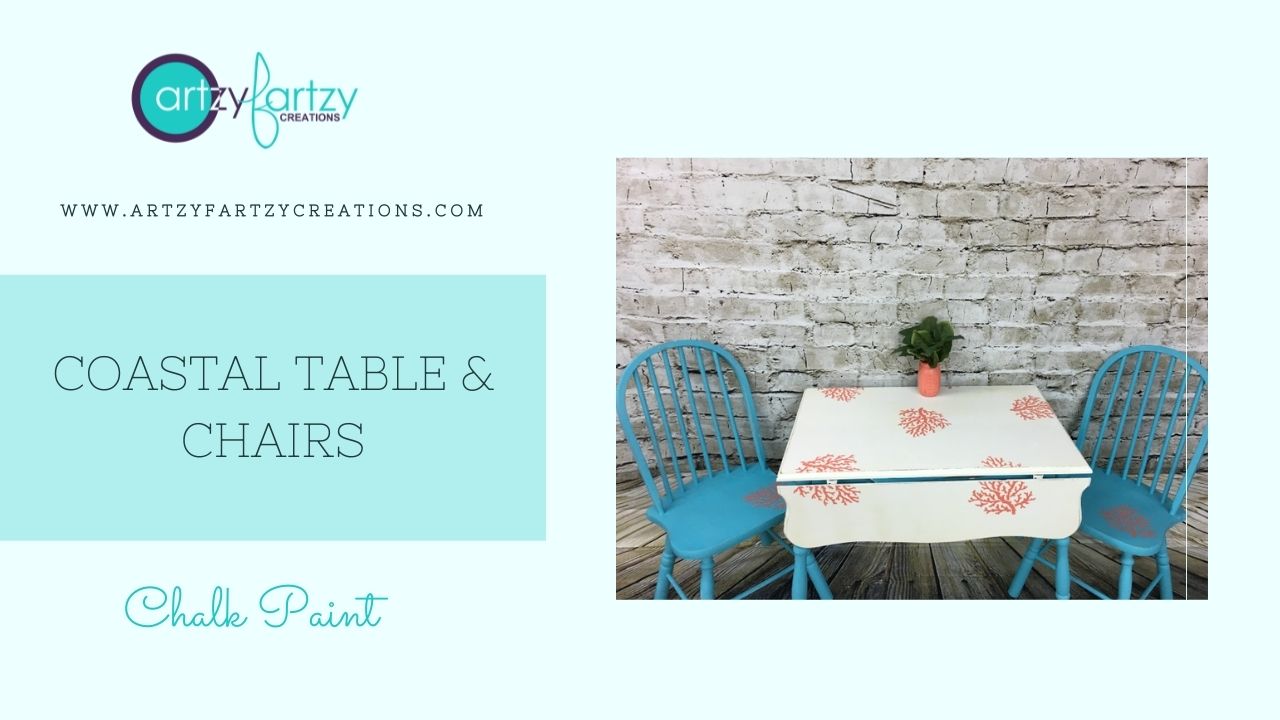
Coastal Table & Chair Makeover
One of my favorite things to do is [...]
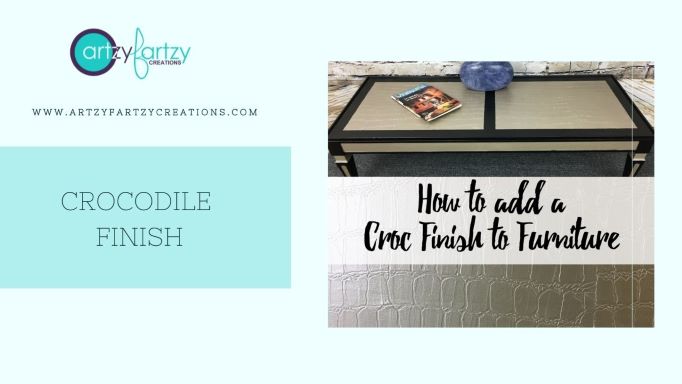
How to Create a Faux Crocodile Table
Have you ever wondered how they create that crocodile faux [...]
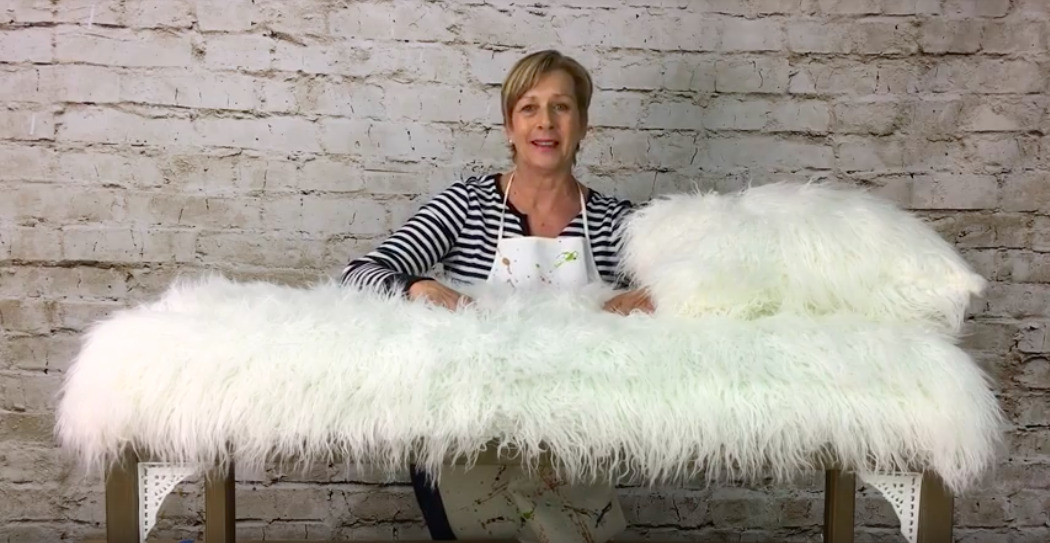
How to Transforming a Thrift Store Table Into a Fur Bench
I've always wanted a fur bench in my bedroom but [...]
Contents
Recent Reads
Transform your space with 3D Wall Panels for an elegant look
Picture this: You step into a room and [...]
The Best Paints for Upcycling Furniture
Have you ever stumbled upon a piece of [...]
How to Score Amazing Home Decor Finds at Thrift Stores
Are you ready to give your home a [...]

