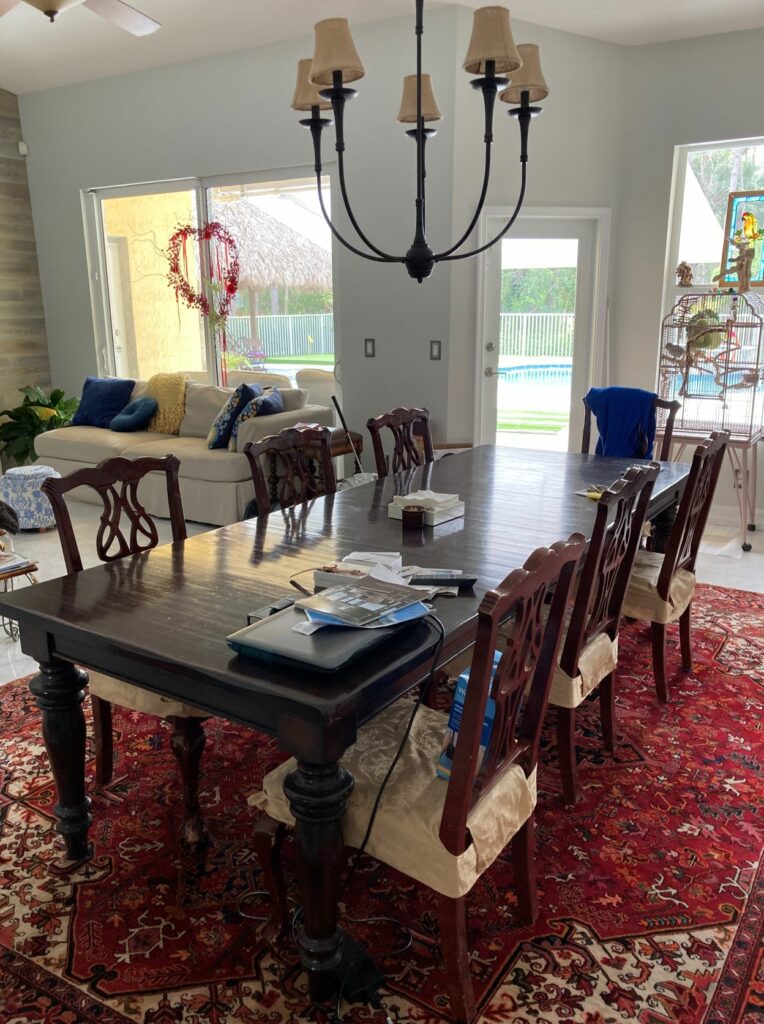
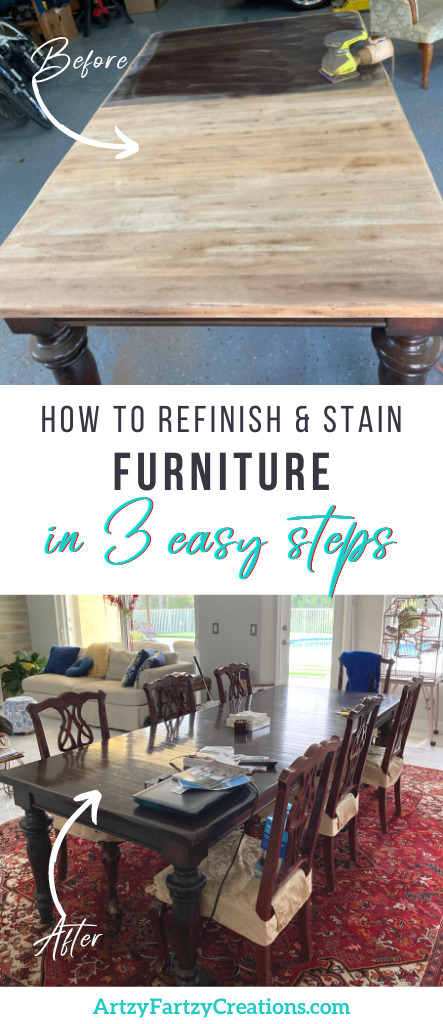
When you have a beautiful table that is made of solid wood the last thing you want to do is replace it with a new table just because you don’t like the finish.
They don’t make tables like they use to. If you have a solid wood table like this one, you might want to keep it.
If you don’t like the color or the finish, there is a quick fix to bring it back to life. I’m going to show you how to refinish and stain your wood furniture in 3 easy steps. The results are stunning!
STEP 1 Sand & Clean
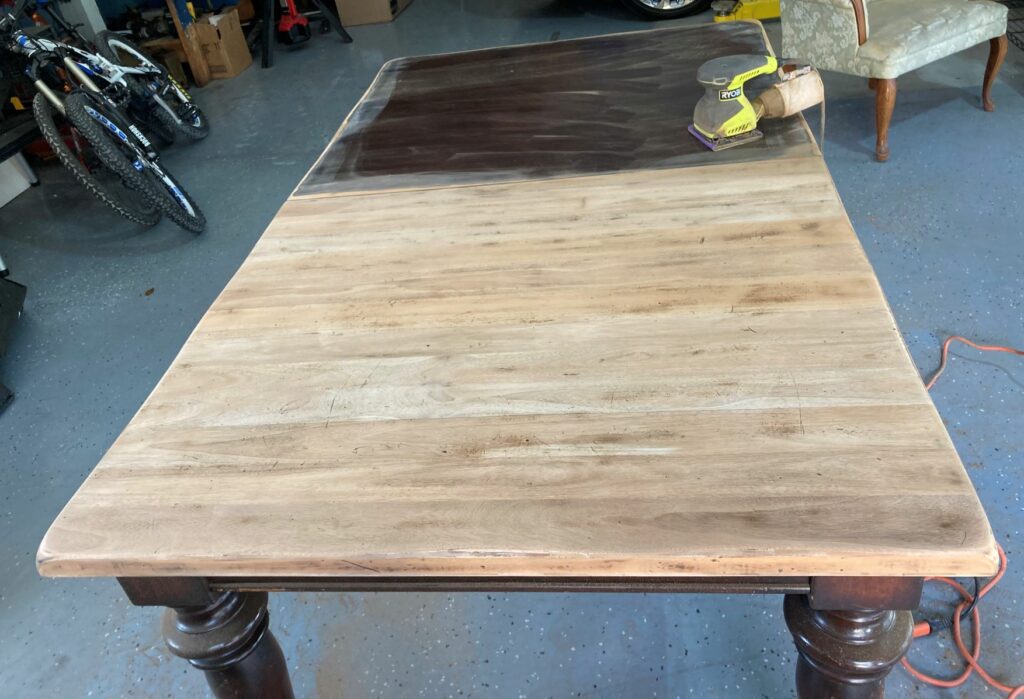
The first thing you want to do is sand it down to its natural wood. I used an electric sander with 150-grit sandpaper. Yes, you can use a stripper but believe me this is a lot easier and no mess.
Make sure you sand it going with the grain.
Once you remove all the paint, go back over it by hand with 120-grit sandpaper (fine). Run your hand over it to make sure it’s smooth, like a baby’s butt. LOL
If you don’t take this extra step, it will feel rough.
Then clean it with a dry cloth to remove all the dust.
STEP 2 Stain
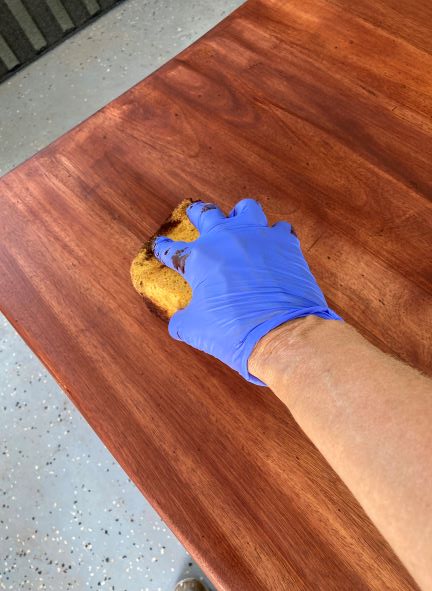
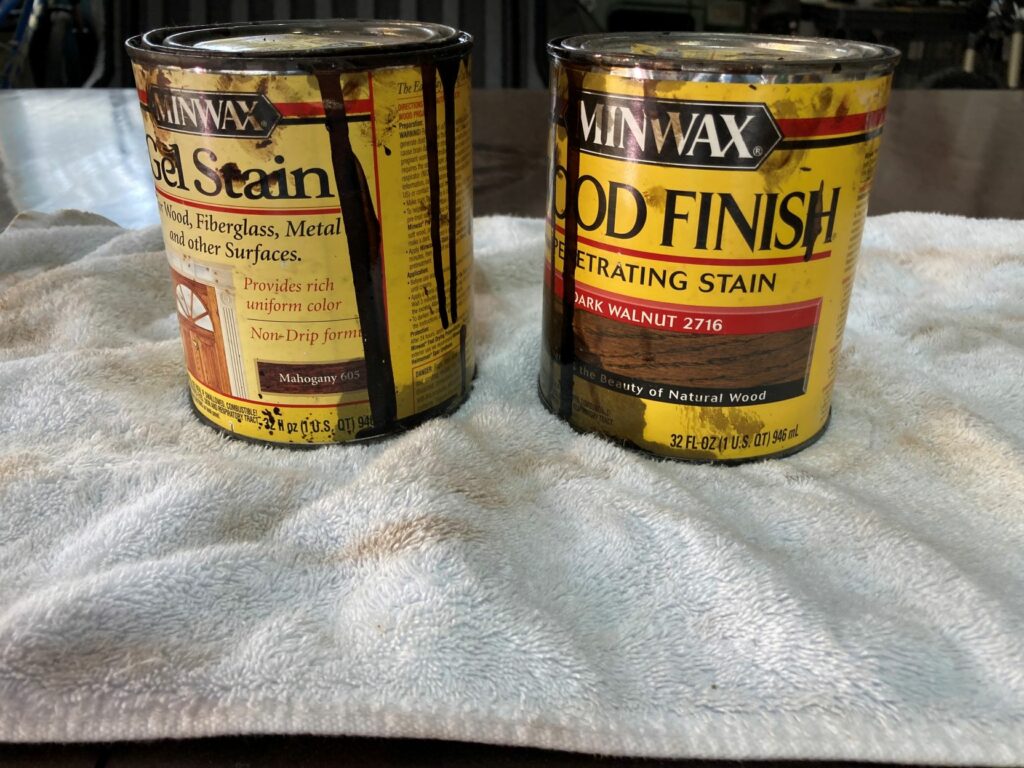
I used two different stains. I first applied a Mahogany stain with a car sponge moving in the direction of the grain. Make sure you wear gloves so you don’t get the stain on your hands.
Once it was dry, I applied a walnut stain over the top because I like the redness of the mahogany but wanted it a little darker. This is optional.
STEP 3 Clear Coat
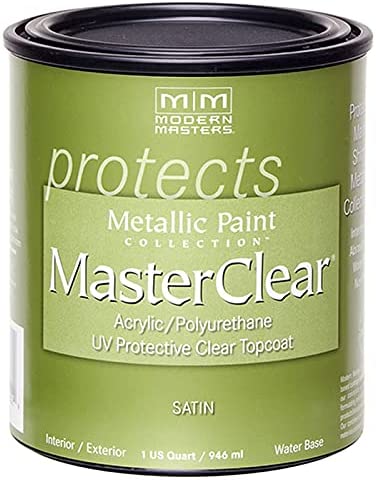
Once the stain dries apply 2 coats of clear coat.
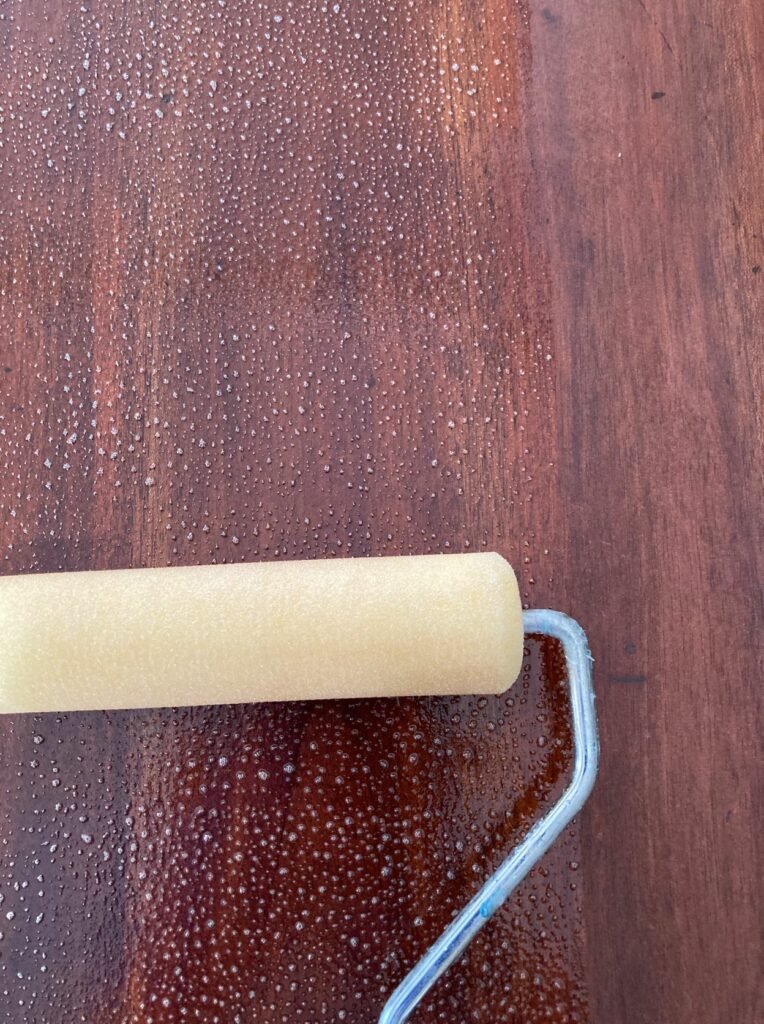
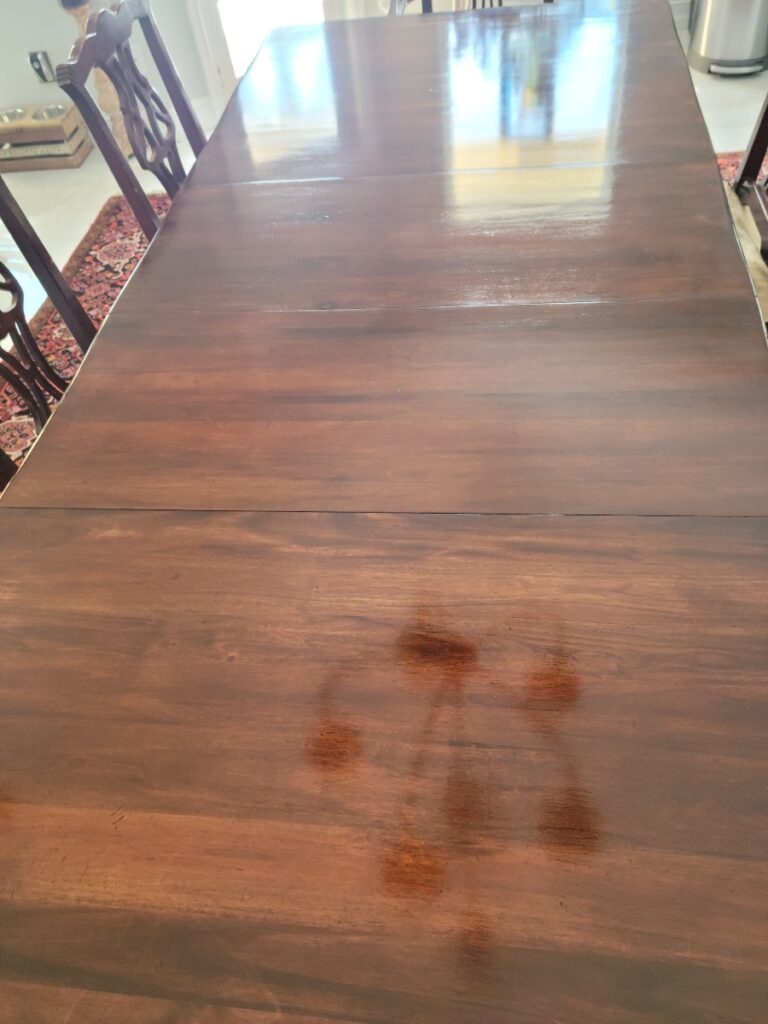
TIP: you can use a sponge roller, but it will create bubbles like this. If this happens, just use a soft paintbrush to drag them out.
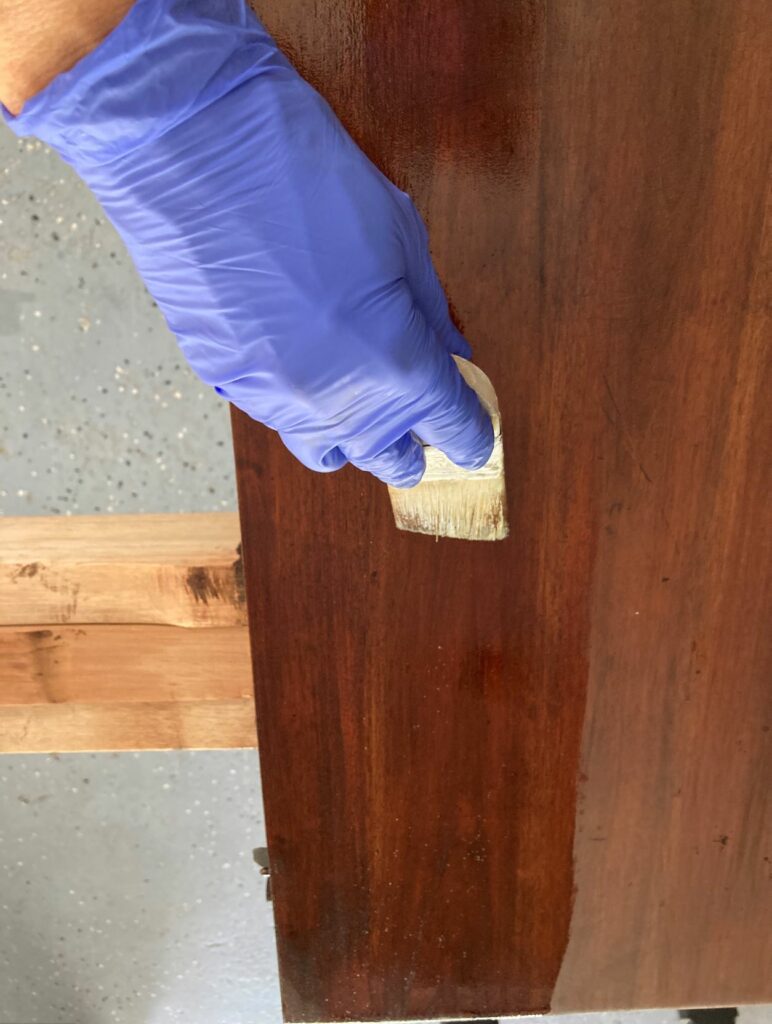
I like using a soft brush like this, so it doesn’t create streaks. Always apply products going with the grain for the best results.
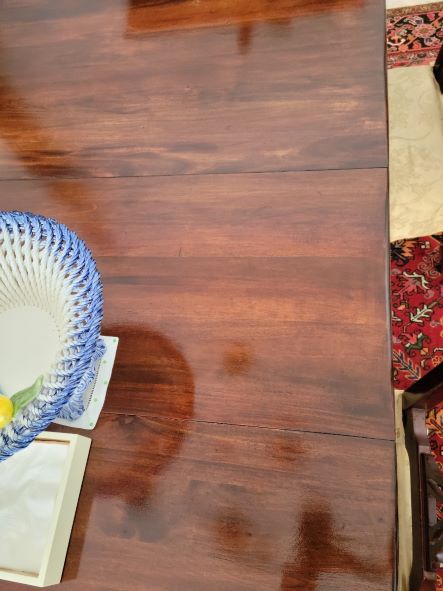
Here’s a closeup of the finished results. I can’t believe someone painted over this beautiful wood. I’m loving all the detail and the richness of the combined colors.
Who wouldn’t want to have their holiday meals on this table?
P.S. Have you ever thought about turning your hobby into a business? Get the details HERE
P.S.S. Get my free blog jam-packed with home decorating and DIY tips:
XOXO
Cheryl
Artzy Fartzy Creations. Oh Yes you can DIY!
Create Faux Driftwood Cabinets In 3 Easy Steps
Dreaming of beautiful faux driftwood cabinets to give [...]
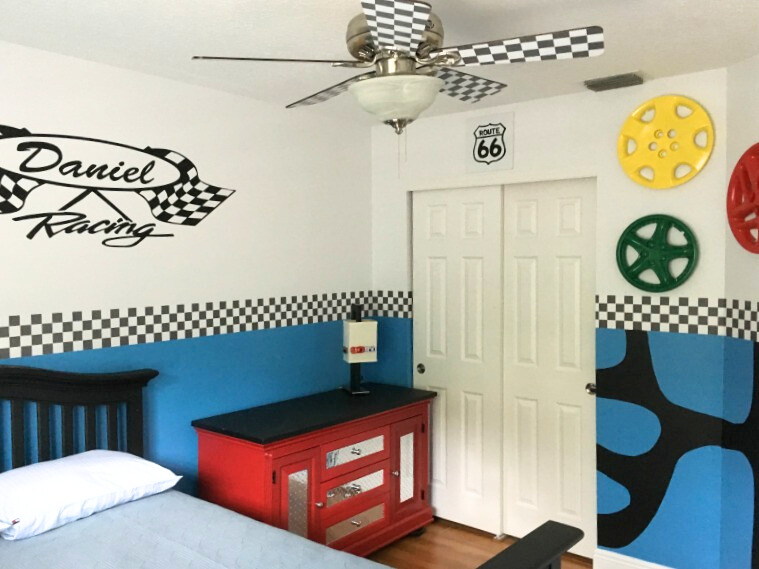
5 Amazing Race Car Themed Bedroom Ideas
Are you looking to create a race car-themed bedroom that [...]
Easily Repurpose Old Hubcaps Into Wall Decor
Have you ever thought you could repurpose old [...]
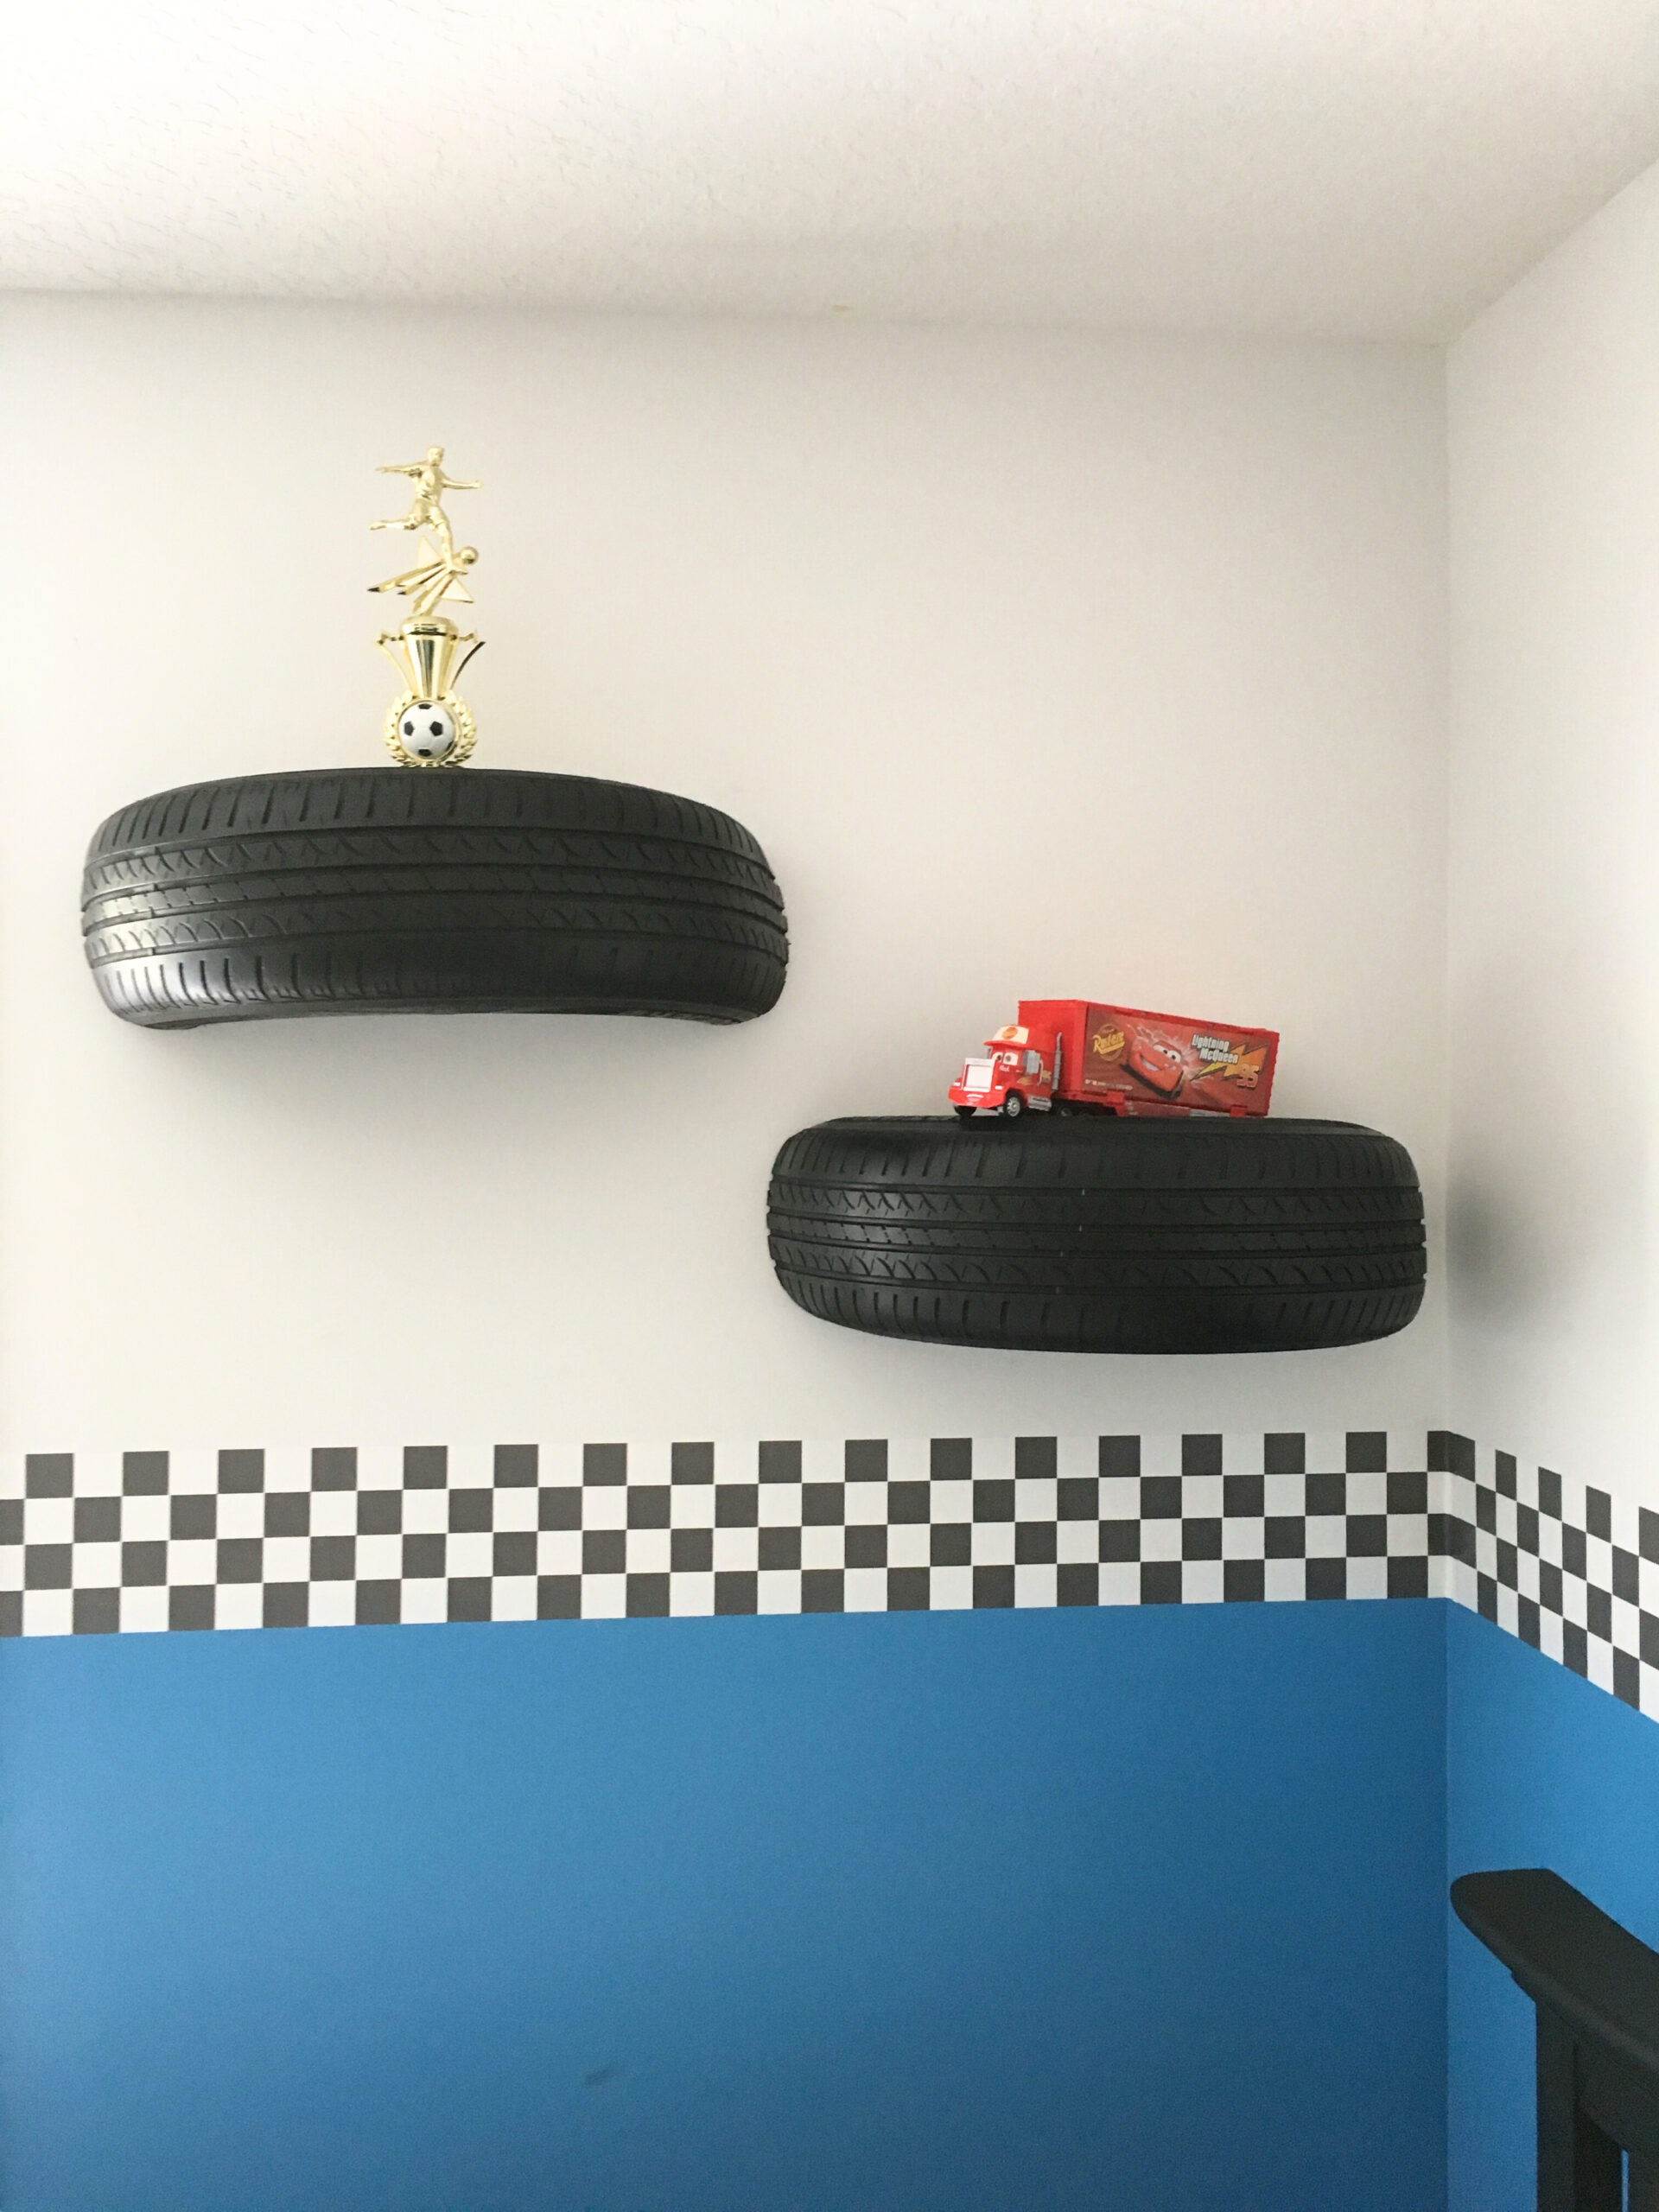
Creative Way To Turn a Golf Cart Tire Into a Shelf
Transforming a child’s room into a space that sparks imagination [...]
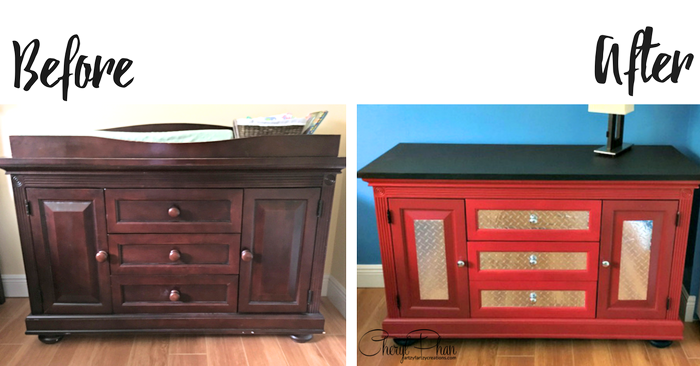
Transform a Dresser Into a Kids Race Car Tool Chest in 3 Easy Steps
Are you looking for a creative way to upcycle old [...]
Easy Peel and Stick Border For Kids Room
How to use an easy peel-and-stick border for kids' room [...]
Contents
Recent Reads
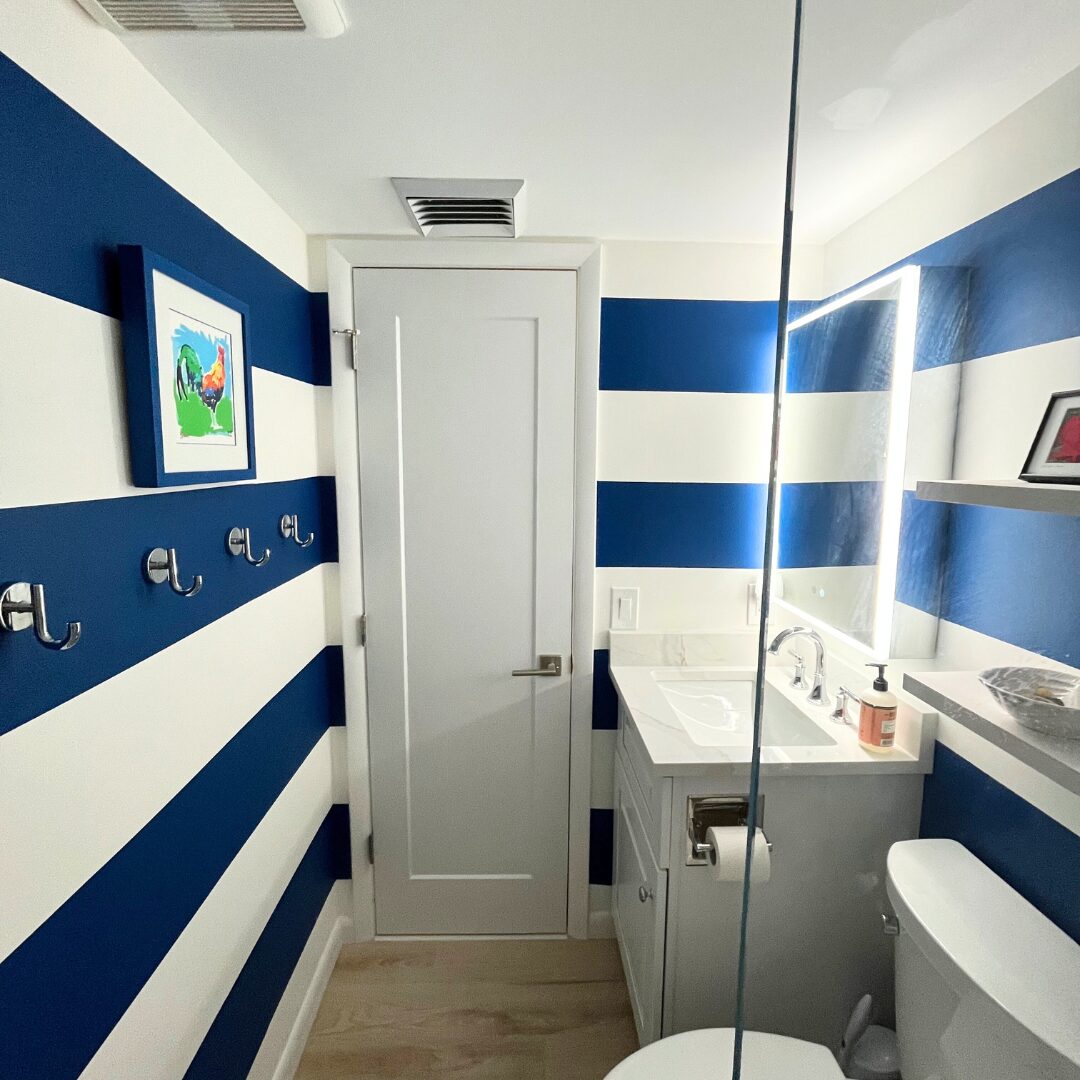
Master- How To Paint Perfect Horizontal Stripes Like a Pro
Want to know my secret pro tip to paint horizontal [...]
How to Paint Columns to Look Like Marble
Creating a marble faux finish on columns is easier than [...]

