Do you need to prep before painting a room?
The answer is YES!
I would suggest you do the prep before you start your project. It will save you a lot of time and a messy cleanup.
Prep is the most important part of your painting project. Believe me, I have learned the hard way. I used to think this was an unnecessary step. I was always in a rush to get it done, and realized it took me even more time to clean up my mess.
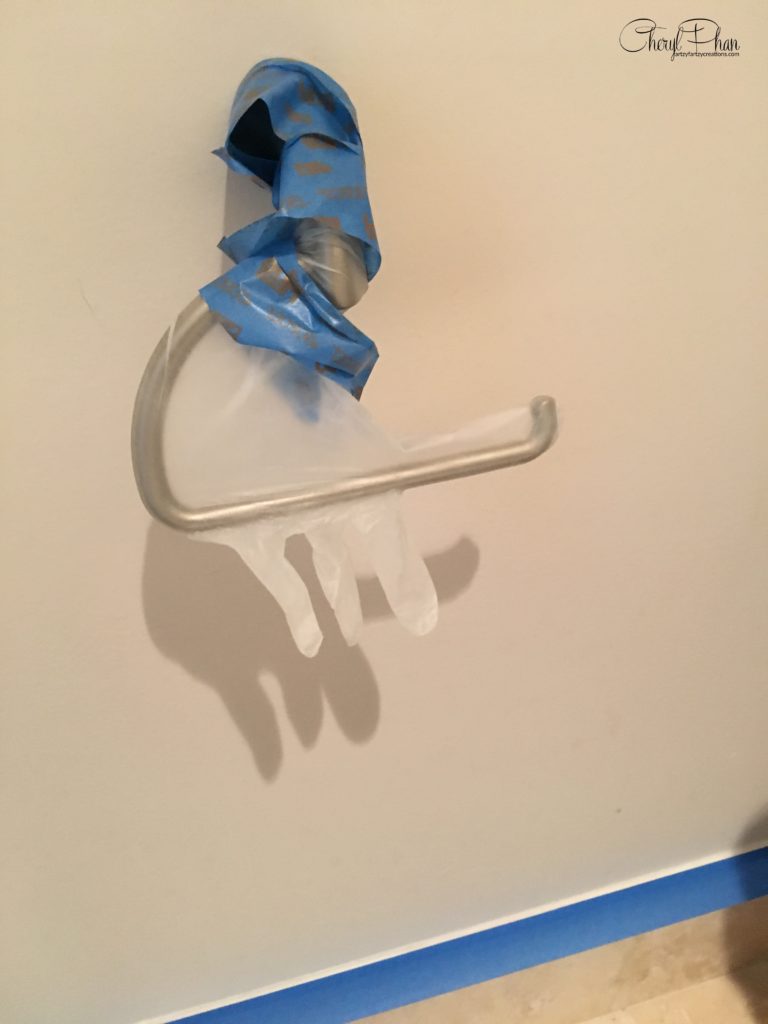
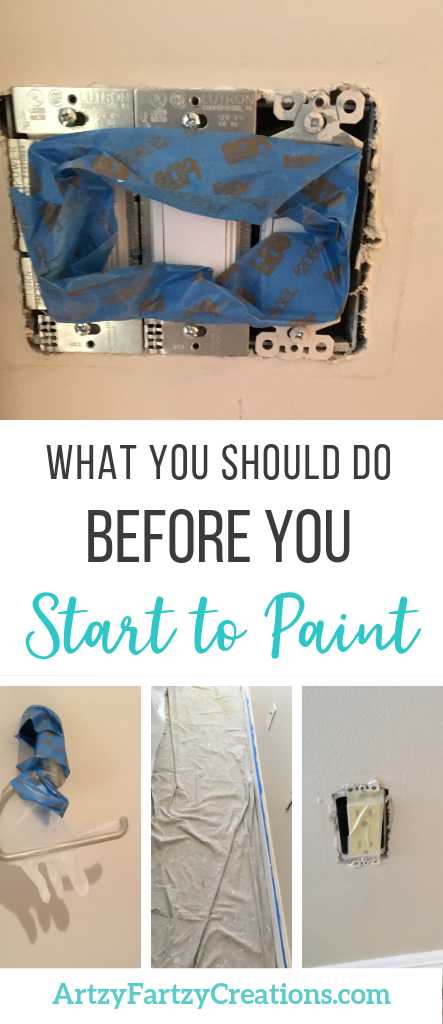
There is no need to take the toilet paper holder off the wall; all you need to do is cover it. One day I was on a job and didn’t have any plastic with me, so I came up with the next best thing, YUP! A plastic glove.
Hey, don’t laugh, it works. In fact, I do this all the time now. Also, use tape to cover the metal that holds it onto the wall. It’s much harder to remove paint than it is to remove the tape when you’re done.
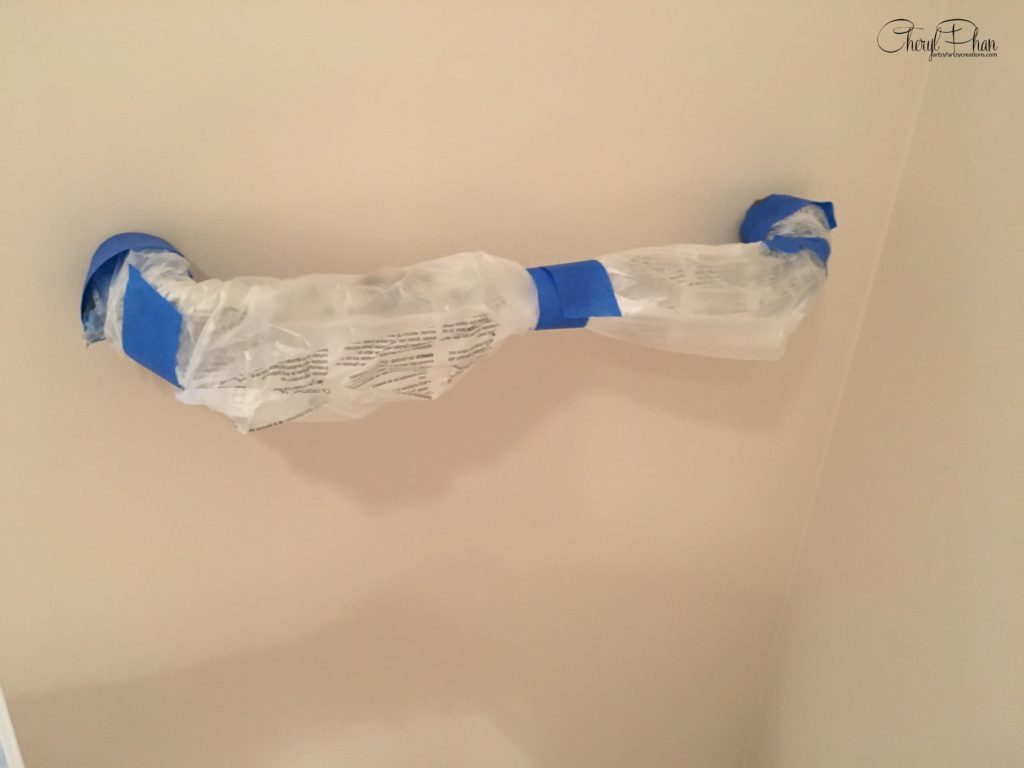
Cover the towel rack with plastic and tape. This will allow you to roll the paint in between the wall and the rack without getting paint on it.
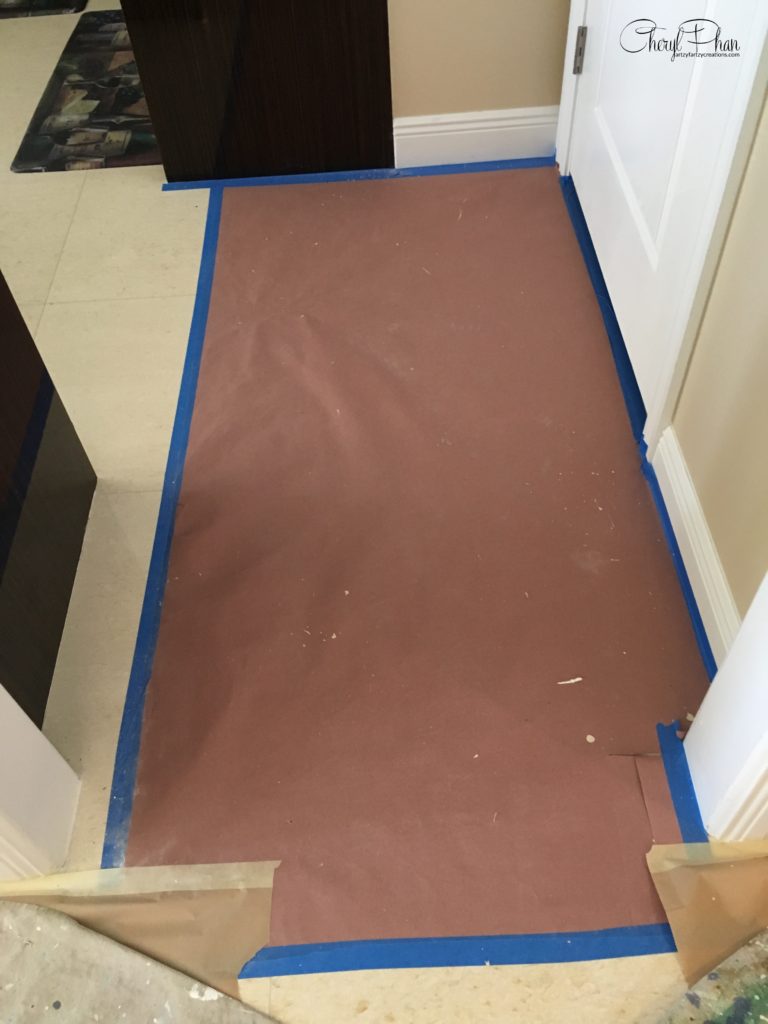
Covering the floor is important. Inevitably, you will have paint that drips off the paintbrush or the roller. Keep the floors protected with paper. At the end of the project, all you must do is roll it up and throw it away. It pays to do the extra work at the beginning of the job.
If the paint does drip on the tile and you don’t wipe it up right away, here’s an easy hack: let it dry and use a razor blade to lift it. This will avoid smudging the paint.
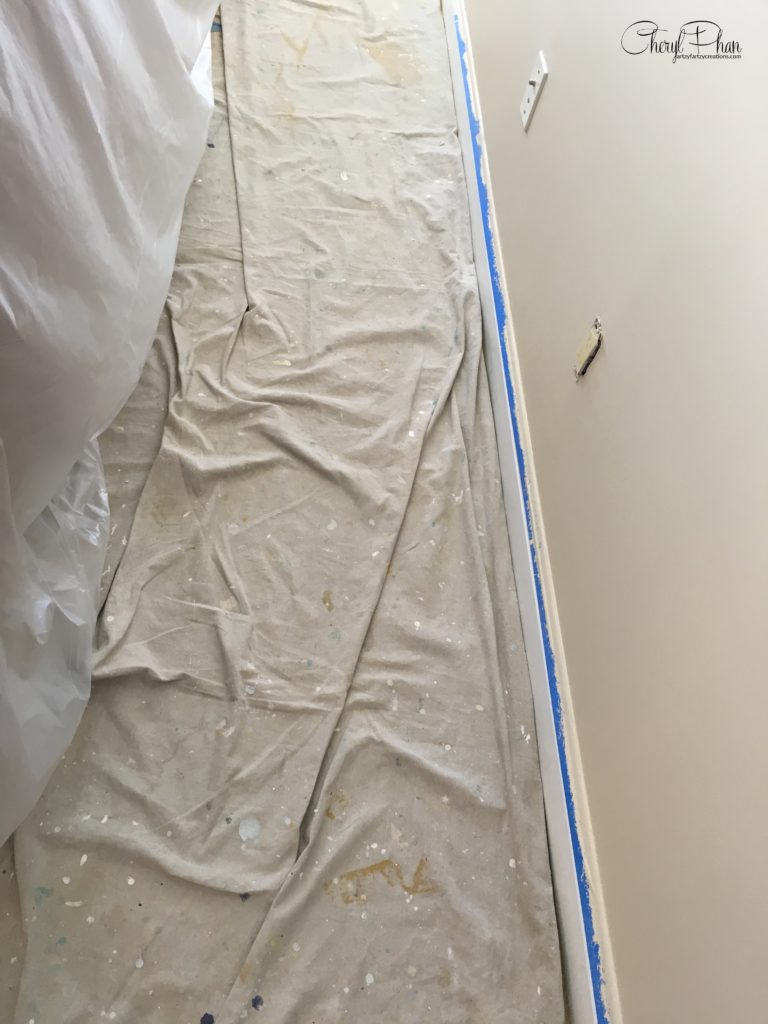
To protect your floorboards, use tape. It’s a lot easier to paint with the tape on than it is to cut in a nice tight line. I like using the low tack blue tape because it removes easy and it doesn’t pull up the paint on the floorboards.
And to protect the floor use a drop cloth. Don’t use old sheets. I remember way back in the day when I first got started in my decorative painting business, I used sheets on a staircase that was carpeted. The paint went right through, and I had a big mess to clean up. UGH! Big mistake and a huge learning curve. Drop cloths are designed so the paint does not seep through. It is worth the investment.
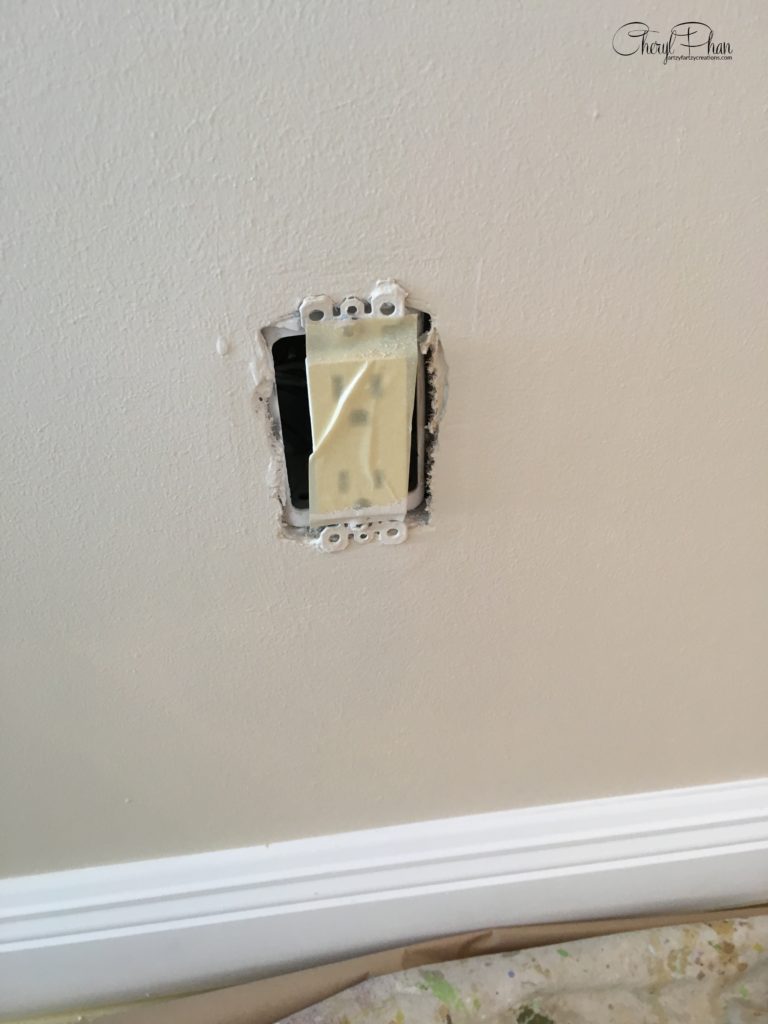
Remove the switch plates and cover the outlet with a piece of tape. The last thing you need to do is clean paint off an electrical outlet.
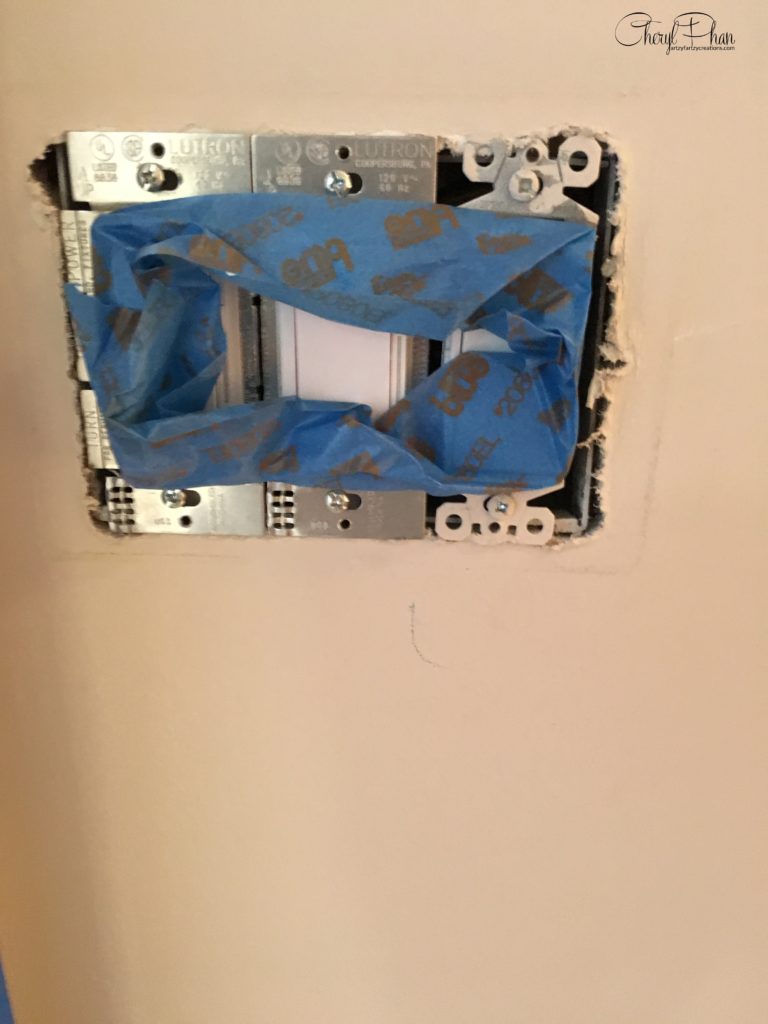
Don’t forget to tape off the light switches with tape. If you get paint on them, they will stick and cause them not to work.
If you want to learn how to start making money with your hobby get the details HERE
If you want to learn DIY Tricks and Tips get my weekly blog HERE
Blessings
Cheryl
Artzy Fartzy Creations. Oh Yes you can DIY!
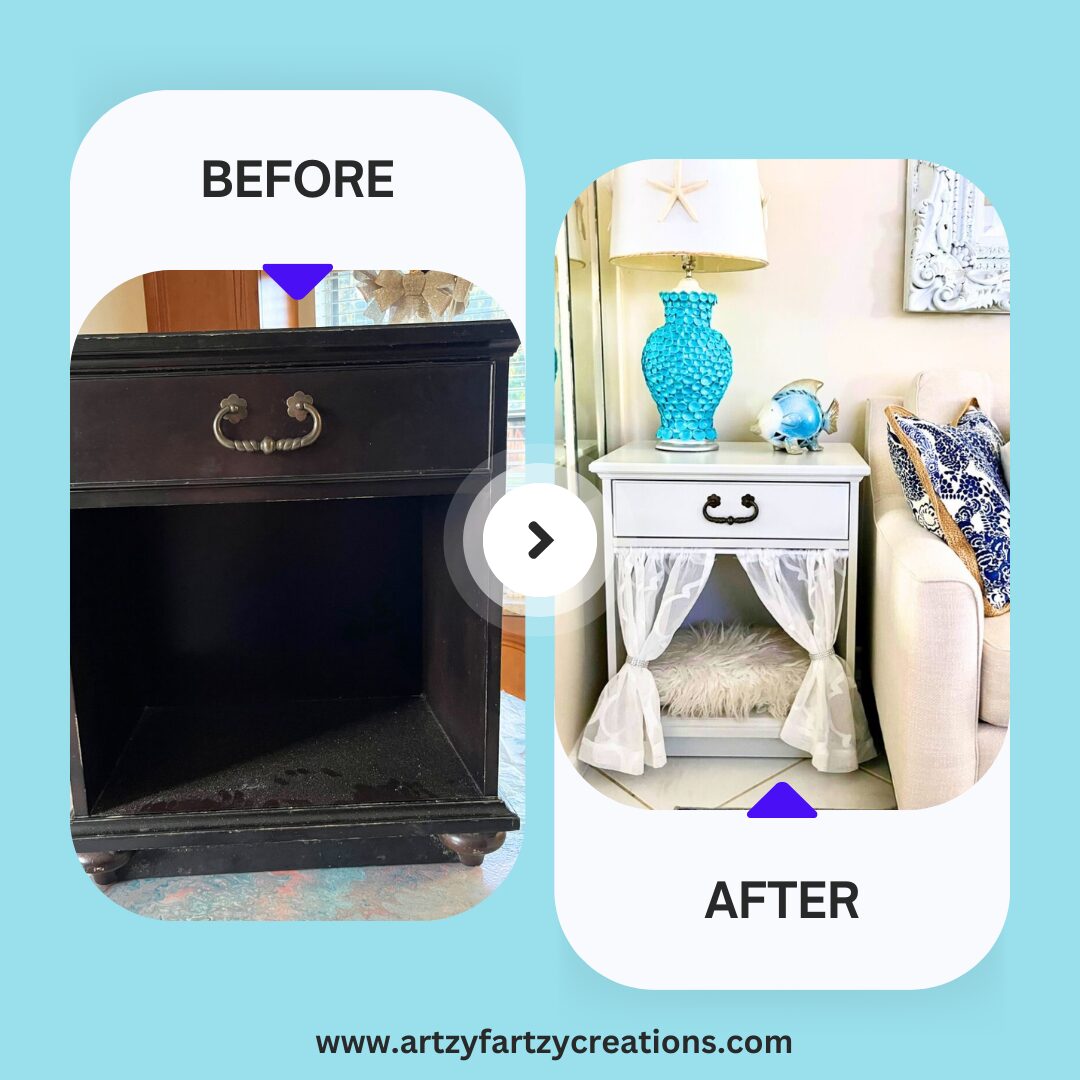
How to Repurpose Old Furniture Into a Cozy Dog Bed
DIY Small Dog Bed Tutorial -How to Make [...]
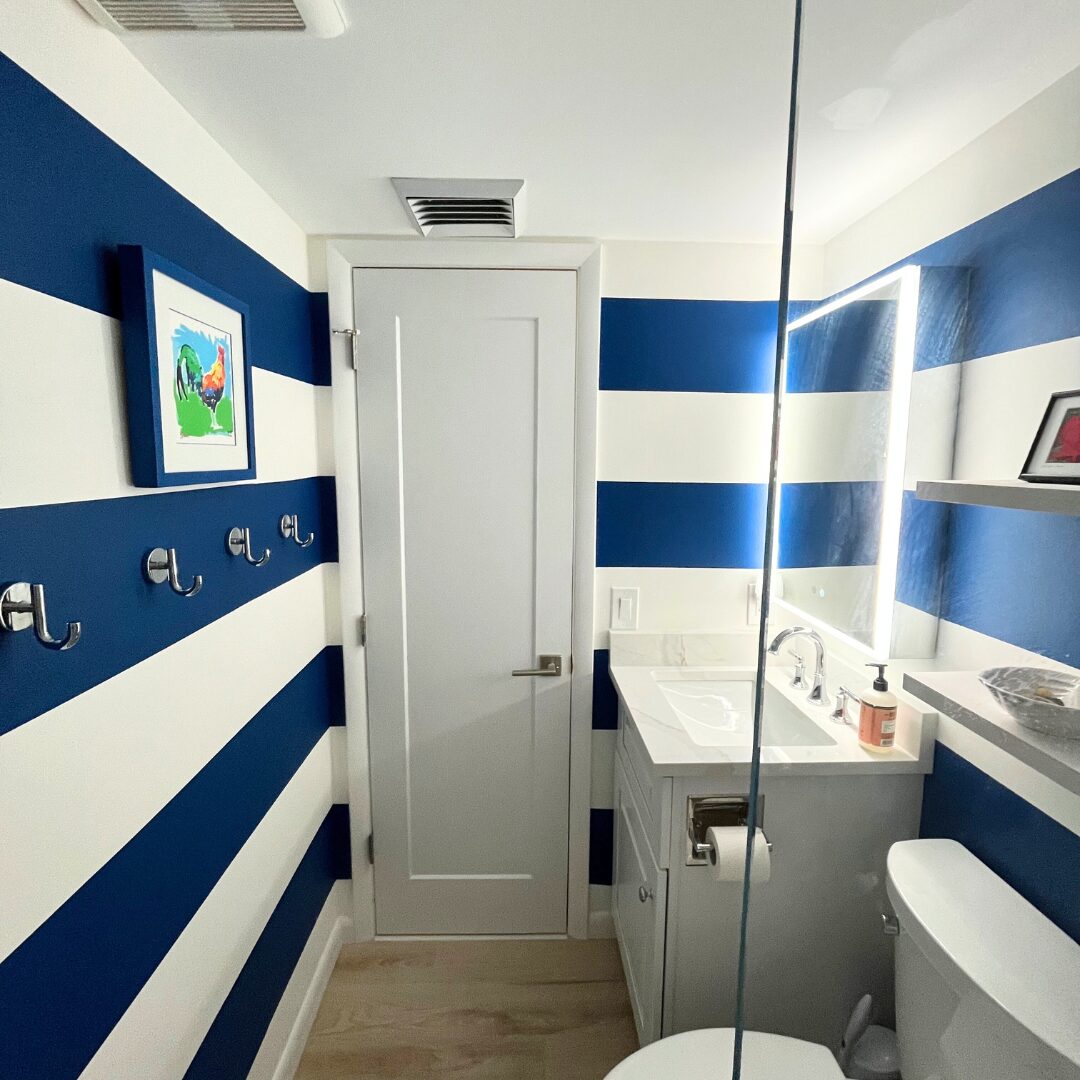
Master- How To Paint Perfect Horizontal Stripes Like a Pro
Want to know my secret pro tip to paint horizontal [...]
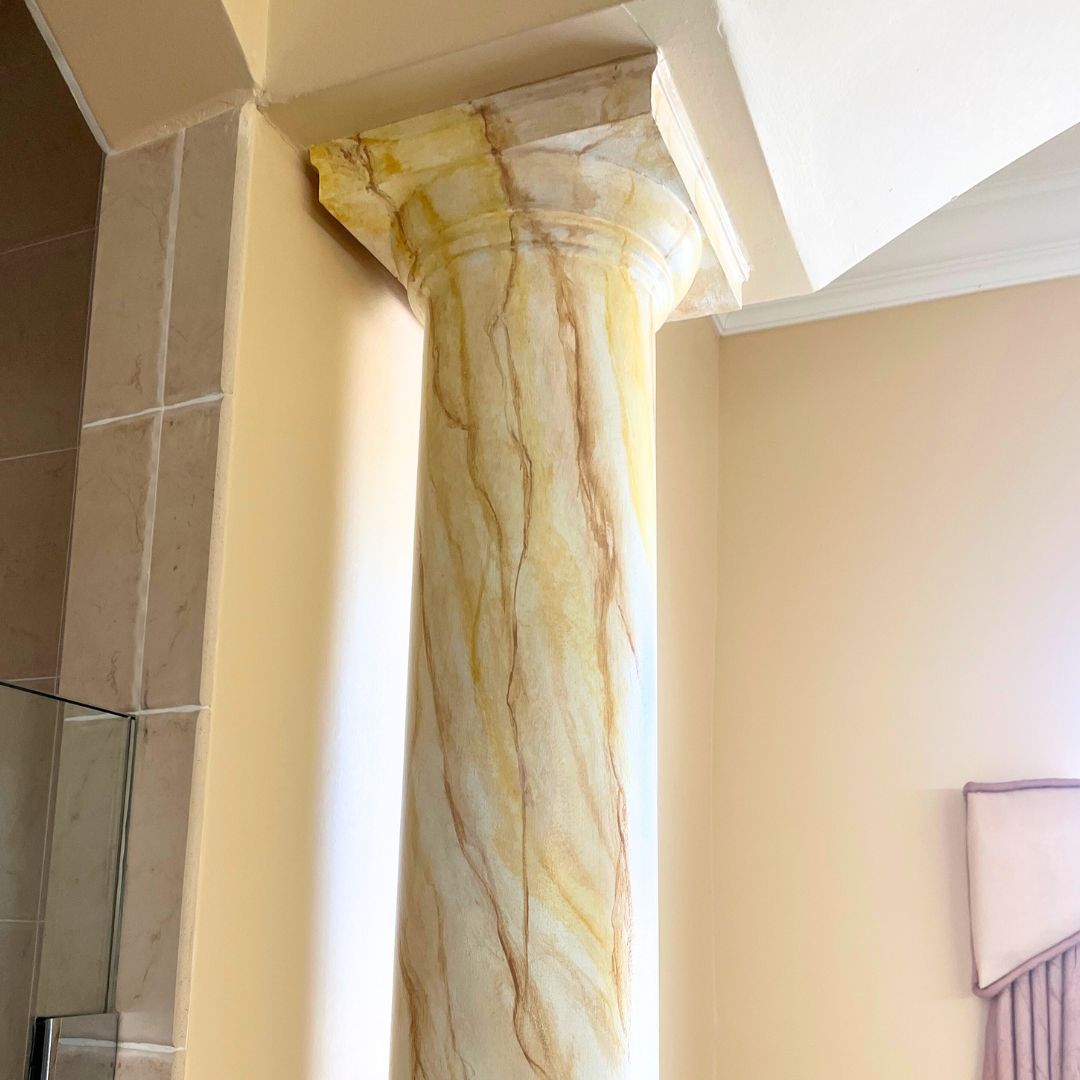
How to Paint Columns to Look Like Marble
Creating a marble faux finish on columns is easier than [...]
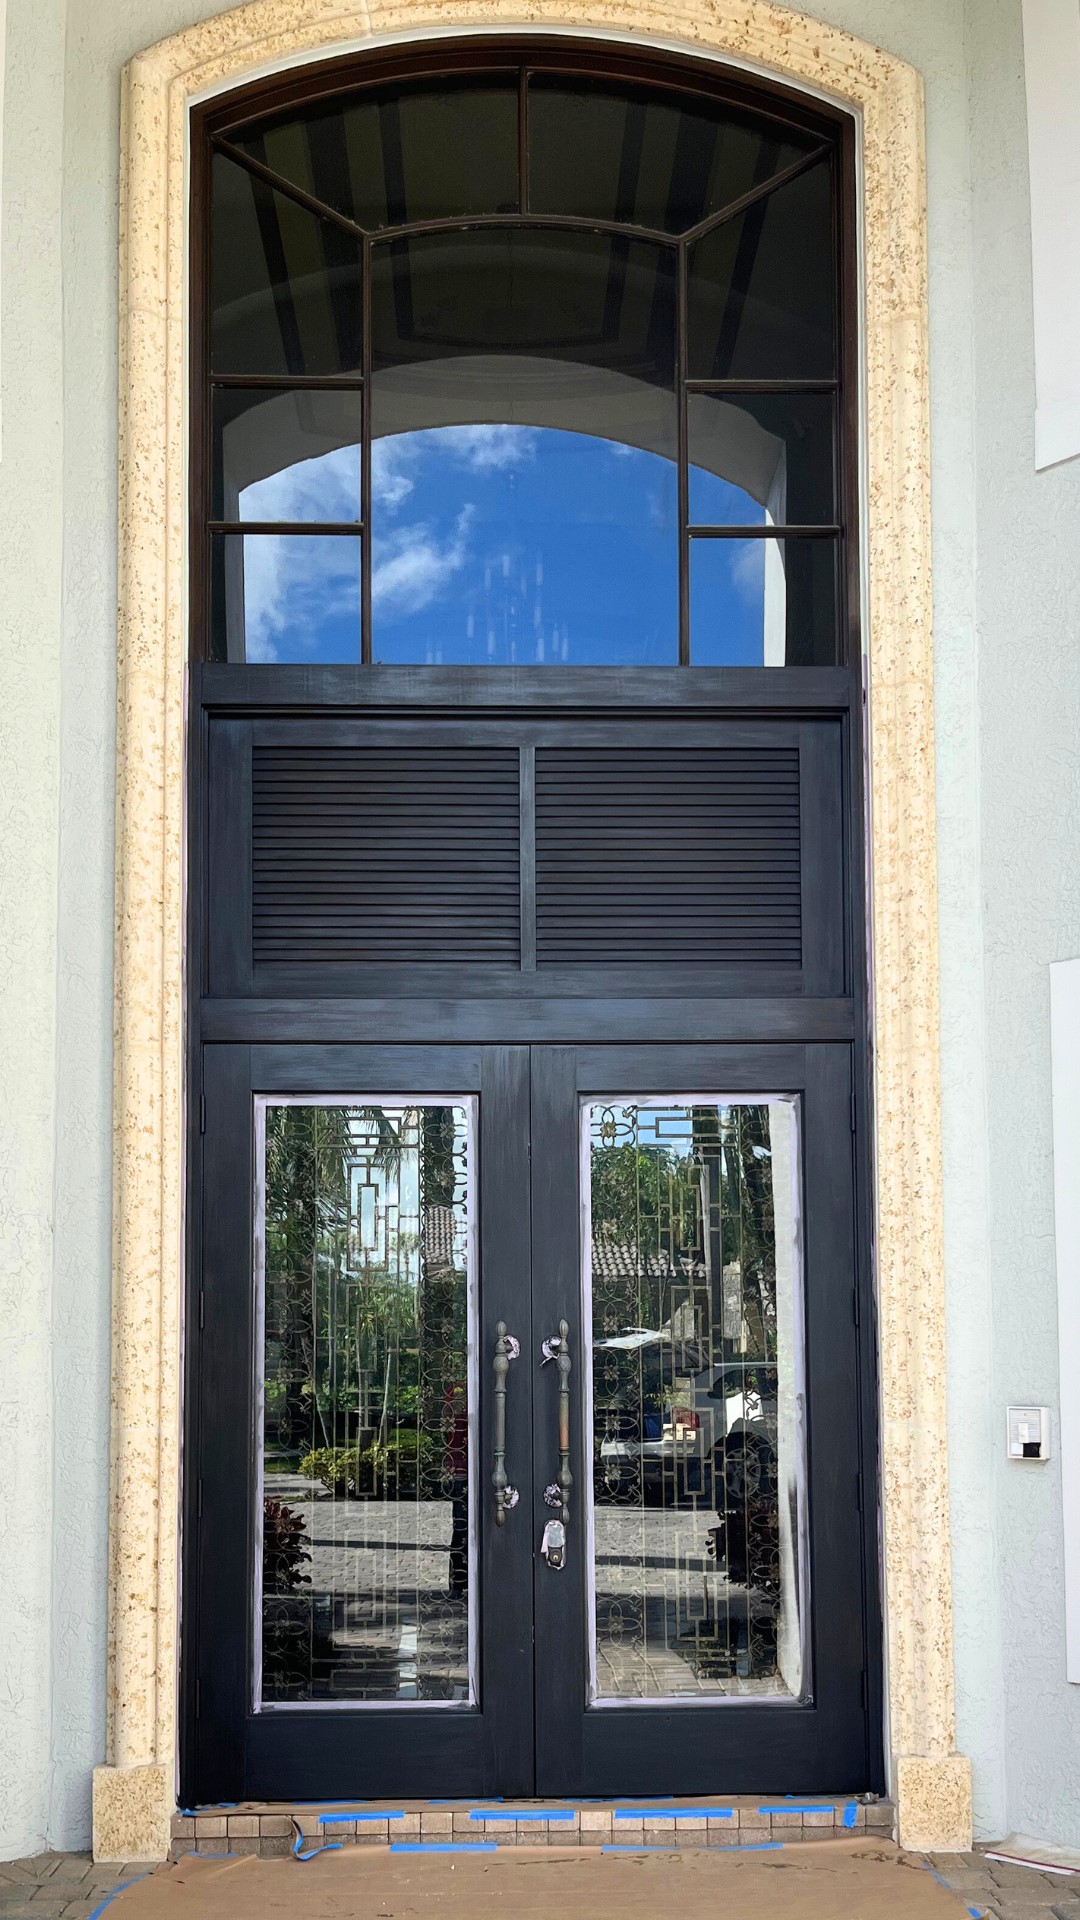
Easy Three-Step Process to Stain Your Exterior Door with Gel Stain
Are you tired of your front door looking dull and [...]
How to Paint a Metal Table in 1- Easy Step
Ready to transform your old metal table into a stunning [...]
Contents
Recent Reads
How To Paint A Brick Fireplace In One Easy Step
Is your outdated brick fireplace dragging down your room? If [...]
DIY Magic: Create a Raised Cherry Blossom Stencil Design with Glitter That Pops!
Raised cherry blossom stencil with glitter on a painted [...]
How to Repurpose Old Furniture Into a Cozy Dog Bed
DIY Small Dog Bed Tutorial -How to Make [...]


