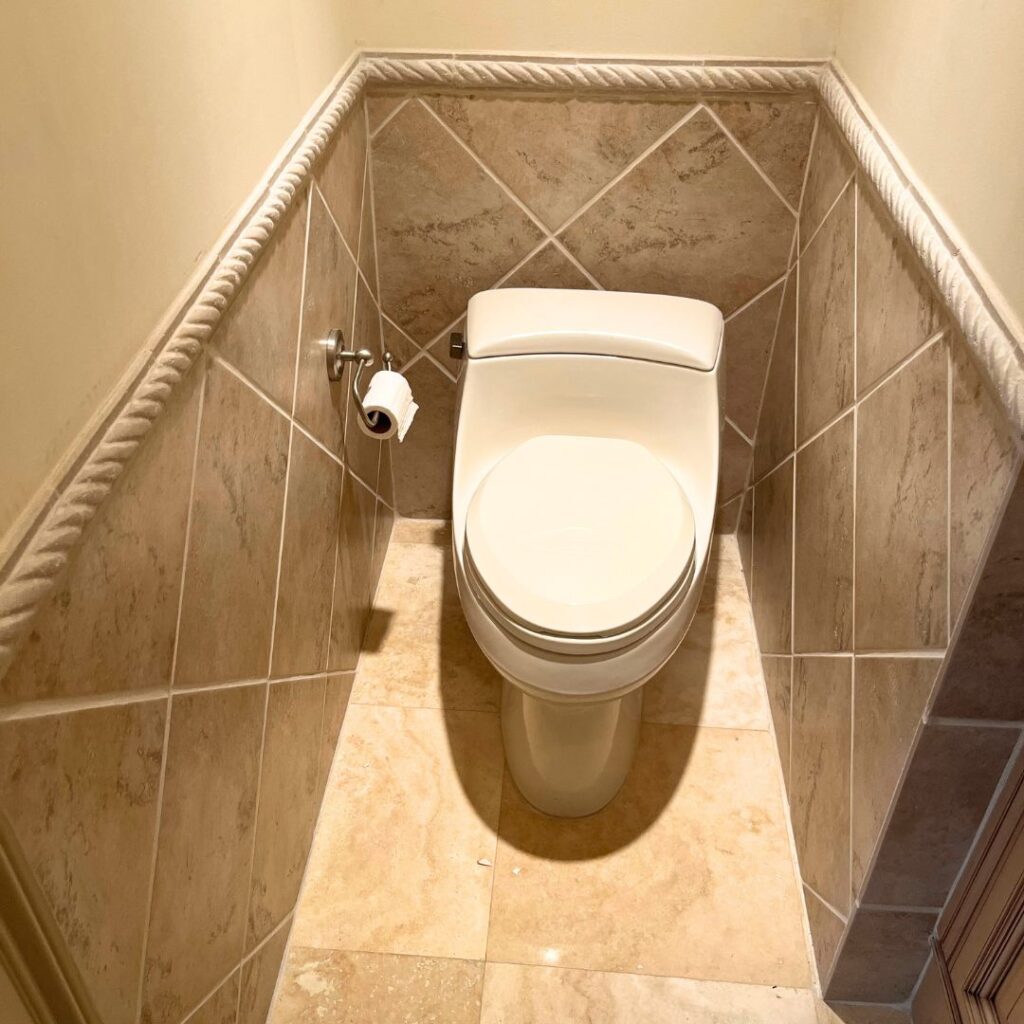
Did you know you can paint your bathroom tiles?
Bathrooms are the unsung heroes of our homes, but sometimes their dated tiles can leave a lot to be desired. Enter the magic of bathroom tile painting—a budget-friendly, no-demotion way to give your space a brand-new vibe!
And the good news is, I’m going to show you how to get it done in just three easy steps.
Benefits Galore of Bathroom Tile Painting
1. No Demolition Drama
Say goodbye to sledgehammers and dust clouds! Unlike traditional renovations that involve ripping out tiles, painting them keeps your bathroom intact. No mess, no fuss, just a fresh canvas to work with.
2. Easy-Peasy Painting
With the right materials and a dash of creativity, painting bathroom tiles is surprisingly simple. You’ll be amazed at how a few coats of paint can breathe new life into your space. Plus, it’s an excellent opportunity to unleash your inner artist!
3. Pocket-Friendly Perk
Renovations can be hefty on the wallet, but not this time! Painting bathroom wall tiles is a budget-savvy solution that allows you to transform your space without breaking the bank. Save those dollars for other home improvement dreams.
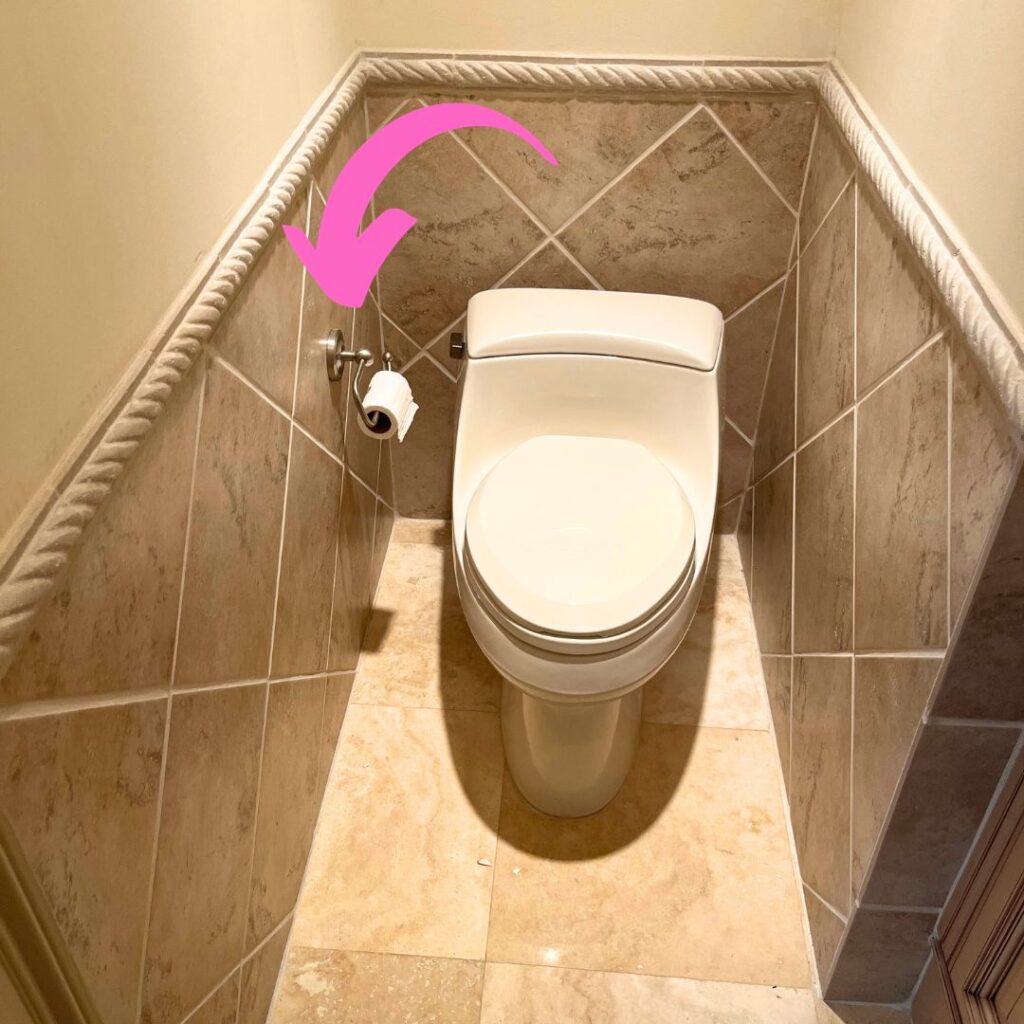
Before we get started, I wanted to point out that we decided to remove the toilet paper holder from the wall. In doing so we need to patch the hole.
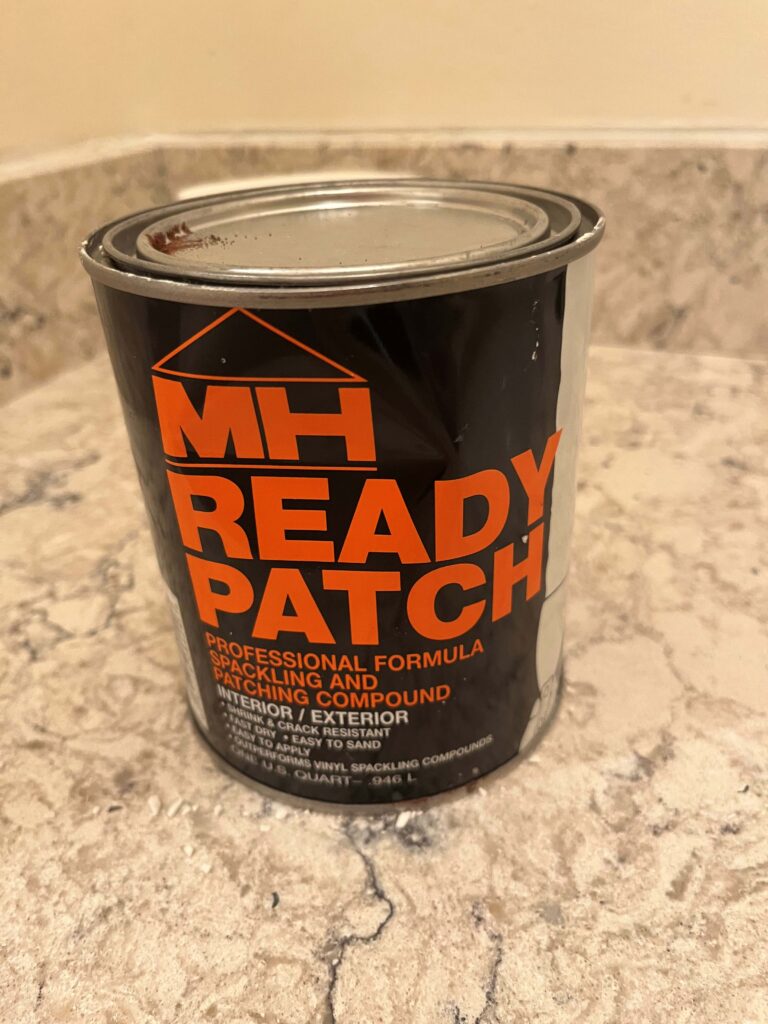
I used this MH Ready Patch because it was durable enough for tile and was ready and easy to use. I just sanded the area well and applied primer around the area. Once it dried I used a spatula and applied the patching material. Let it dry overnight and sand it smooth with 150 grit sandpaper. You may not want to do this but just in case you know how to patch the hole.
The 3-Step Transformation of Bathroom Tile Painting
Step 1: Prepare & Clean & Sand
- Start by prepping the area. Cover your floor with brown paper and blue tape. Also, cover the toilet with plastic so you don’t get any paint on it. There is nothing worse than having to scrape paint off a toilet bowl. Next Sand the tile, Yup, you heard that right- This is very important. Take your time and sand every square inch of the tile with heavy grit sandpaper. This gives the tile (tooth) and will help the primer stick to the tiles, Lastly, cleanse the tile thoroughly with a TSP cleaner to remove any grime or residue. This step is crucial to ensure the paint adheres properly.
- TIP: Do the scratch Test. Once the primer dries use your fingernail and scratch the tile. If the paint comes off you didn’t sand it enough. If this happens, add a second coat of primer and let it dry overnight.
Step 2: Prime
- Apply a high-quality bonding primer designed for tiles. I like to use Oil Based Primer.
Step 3: Paint & Admire
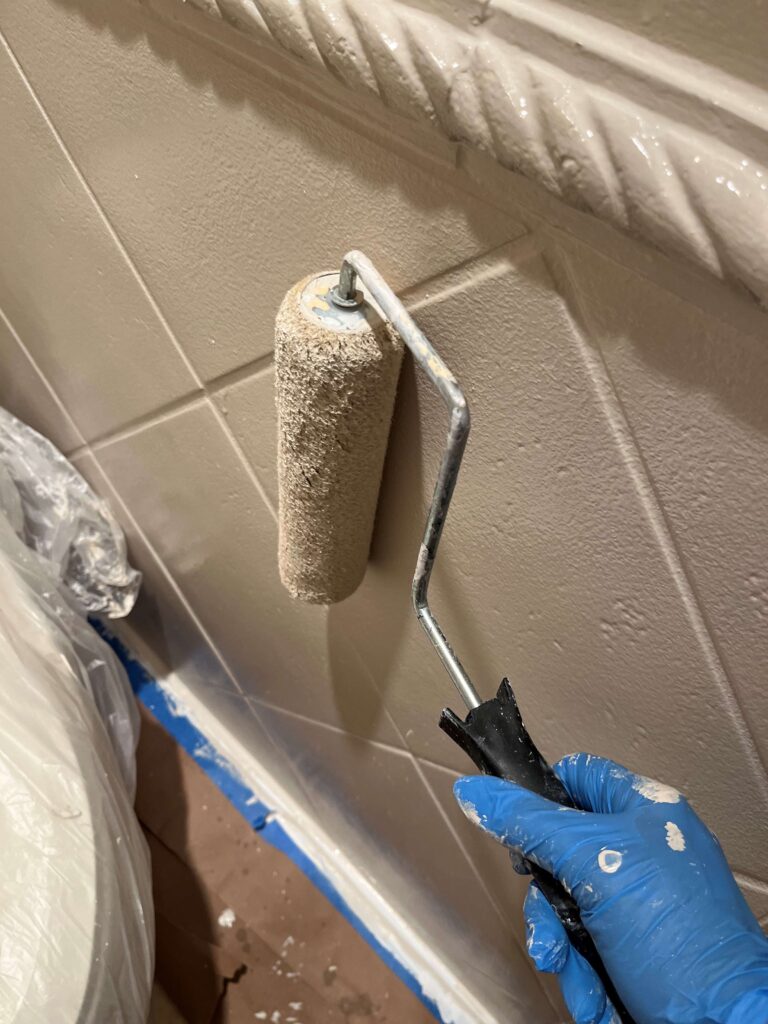
- Once it’s Primer dries, let the painting fun begin! Choose a paint specially formulated for tile surfaces. I used Advanced Paint on this project and it came out beautiful. I used a cut-in brush to get in the corners and floor and then roll on the rest. Multiple thin coats are better than one thick layer for a flawless finish.
- Step back, admire your work, and revel in the brand-new look of your bathroom!
I don’t have a beautiful after-picture, unfortunately. However, just by painting this small area, you can see how much brighter it became!
Tips & Tricks
- Color Choice: Opt for light and neutral tones to open up the space. Don’t be afraid to experiment with patterns or stencil designs for a unique touch.
- Proper Ventilation: Ensure adequate ventilation while painting and drying to disperse fumes and aid in the drying process.
- Maintenance: Treat your newly painted tiles with care. Regular cleaning with non-abrasive materials will keep them looking pristine for the long haul.
Transforming your bathroom wall tiles through painting is a fantastic way to breathe new life into your space. It’s a budget-friendly, hassle-free approach that empowers you to unleash your creativity while revamping your home.
So, gather your materials, put on your DIY hat, and get ready to witness the incredible transformation of your bathroom—all without the demolition and with plenty of savings in tow!
I have a complete supply list for you below.
Happy painting! 🎨✨
-Cheryl
Here’s your Supply List:
- Heavy grit sandpaper: https://amzn.to/3xiQNIN
- Razor blade: https://amzn.to/3aM3qUY
- TSP: https://amzn.to/3O5idZv
- Oil Primer: https://amzn.to/3znqPGO
- Roller and paint trays and brushes: https://amzn.to/3tISYHR
- Gloves: https://amzn.to/3NTXhXF
- Plastic: https://amzn.to/3voRWRV
- Blue Tape: https://amzn.to/48EF6gF
- Brown Paper to cover floor: https://amzn.to/48EF6gF
- Primer: https://amzn.to/4aM6YBt
- MH Ready patch: https://amzn.to/48nDQ1Q
Feeling ambitious and want to add a stencil design?
P.S. Do you have a hobby you would like to turn into a business but need some help getting started? Join Empowering Women.
P.S.S. Don’t forget to sign up for my blog jam-packed with home decorating and DIY tips.
Artzy Fartzy Creations. Oh Yes you can DIY!
10 Creative Ways to Generate Income From Your Art (Without Selling a Single Painting)
Creative ways to make money from your art [...]
Best Places to Sell Your Painted Furniture and Art (Without Relying on Social Media)
Let’s Be Real—You Can Sell Art Without Social [...]
DIY Kitchen Cabinet Makeover: Budget-Friendly Transformation You Can Do Yourself
DIY Kitchen Cabinet Makeover: Budget-Friendly Transformation You Can [...]
DIY Metallic Molding Technique: Add Old-World Charm to Your Home
Looking to add a little extra drama and [...]
How to Repair Holes in Wooden Furniture – Fast, Easy, and Budget-Friendly!
hand applying wood filler to a hole in [...]
How To Paint A Brick Fireplace In One Easy Step
Is your outdated brick fireplace dragging down your room? If [...]
Contents
Recent Reads
Best Places to Sell Your Painted Furniture and Art (Without Relying on Social Media)
Let’s Be Real—You Can Sell Art Without Social [...]
DIY Kitchen Cabinet Makeover: Budget-Friendly Transformation You Can Do Yourself
DIY Kitchen Cabinet Makeover: Budget-Friendly Transformation You Can [...]
DIY Metallic Molding Technique: Add Old-World Charm to Your Home
Looking to add a little extra drama and [...]


