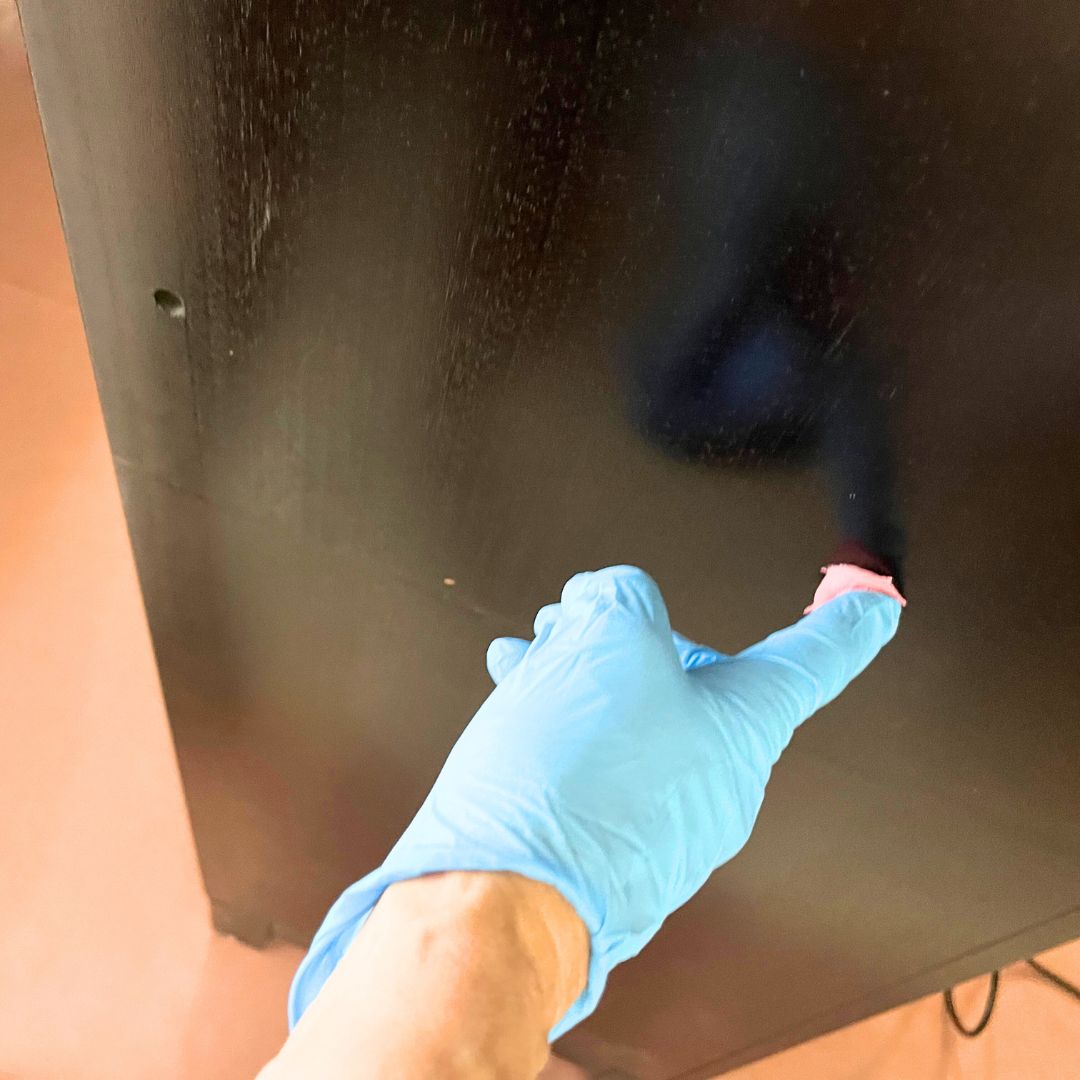
hand applying wood filler to a hole in a wooden table with a putty knife during a DIY furniture repair project.
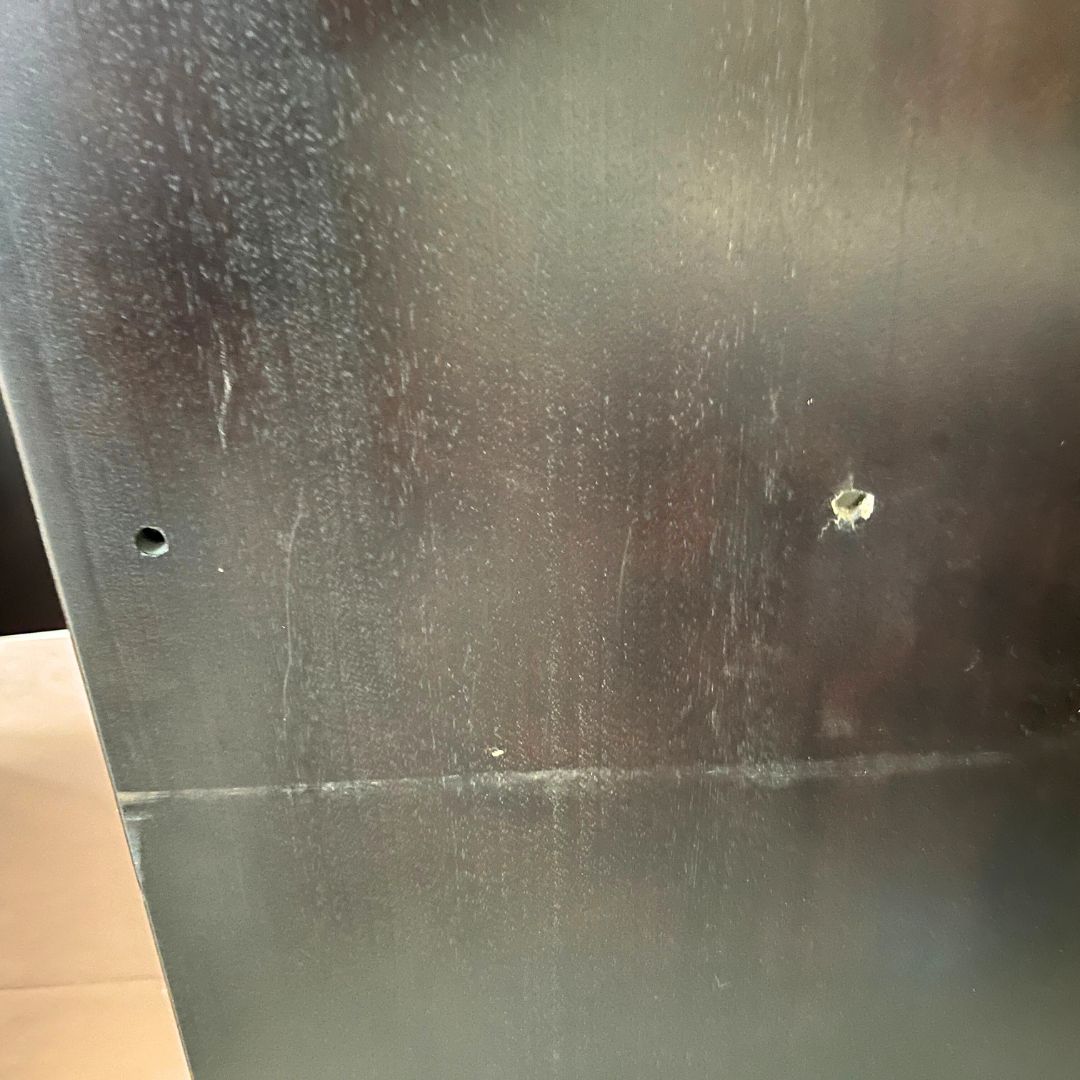
Have you ever found yourself sitting on your couch, staring at a pesky hole in your favorite wood furniture, wondering how to repair it?
You’re in good company! From random dings that appear out of thin air to mystery screw holes (seriously, who put that there?), or the battle scars from years of love and use, knowing how to repair holes in wood furniture is practically a rite of passage for every DIY daredevil, furniture-flipping queen, or creative genius with a paintbrush.
Today, I’m going to walk you through simple, step-by-step methods to get your furniture looking brand new—and no, you don’t have to be a professional carpenter to pull this off!
Let’s dive in and turn those eyesores into success stories!
______________________________________________________________
Learn How to Fix Holes in Wooden Furniture
As creatives and DIY enthusiasts, we love breathing new life into old pieces. But when holes pop up—whether in a vintage dresser you scored at a flea market or a family heirloom—you need to know how to handle them properly.
According to a study by Statista, the DIY home improvement market is projected to hit over $600 billion by 2025, proving that more people are embracing the DIY spirit. Repairing holes in wood furniture is not only a budget-friendly solution, but it also helps reduce waste and gives your projects a professional touch.
Plus, imagine how satisfying it will feel when someone compliments your beautifully restored piece, and you get to say, “Yep, I fixed that hole myself.”
The Tools You’ll Need for DIY Furniture Hole Repair
Before we jump into the step-by-step process, let’s gather the tools of the trade.
Basic Tools for Repairing Holes in Wood Furniture
Here’s a quick list of tools you’ll likely need for most projects:
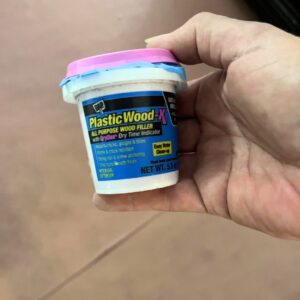
- Wood filler or wood putty
- Putty knife or scraper
- Sandpaper (medium grit)
- Sandpaper (fine grit)
- Stix Primer
- Enamel Paint
Pro Tip: If you’re working on antique or high-end wood furniture, you might also want a stainable wood filler to help the patch blend seamlessly.
Optional Tools to Make Your Repair Easier
Step-by-Step Guide: How to Repair Holes in Wood Furniture
Alright, now for the fun part! Let’s walk through the process together.
Step 1: Clean and Prep the Area
First, give the damaged area a good cleaning. Use a damp cloth to wipe away any dust or debris around the hole. For older furniture, you may need to gently sand the surface before you start to ensure the filler adheres well.
Friendly reminder: Make sure the area is completely dry before moving to the next step.
Step 2: Apply Wood Filler or Wood Putty
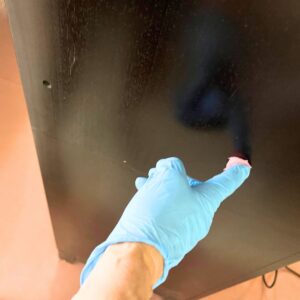
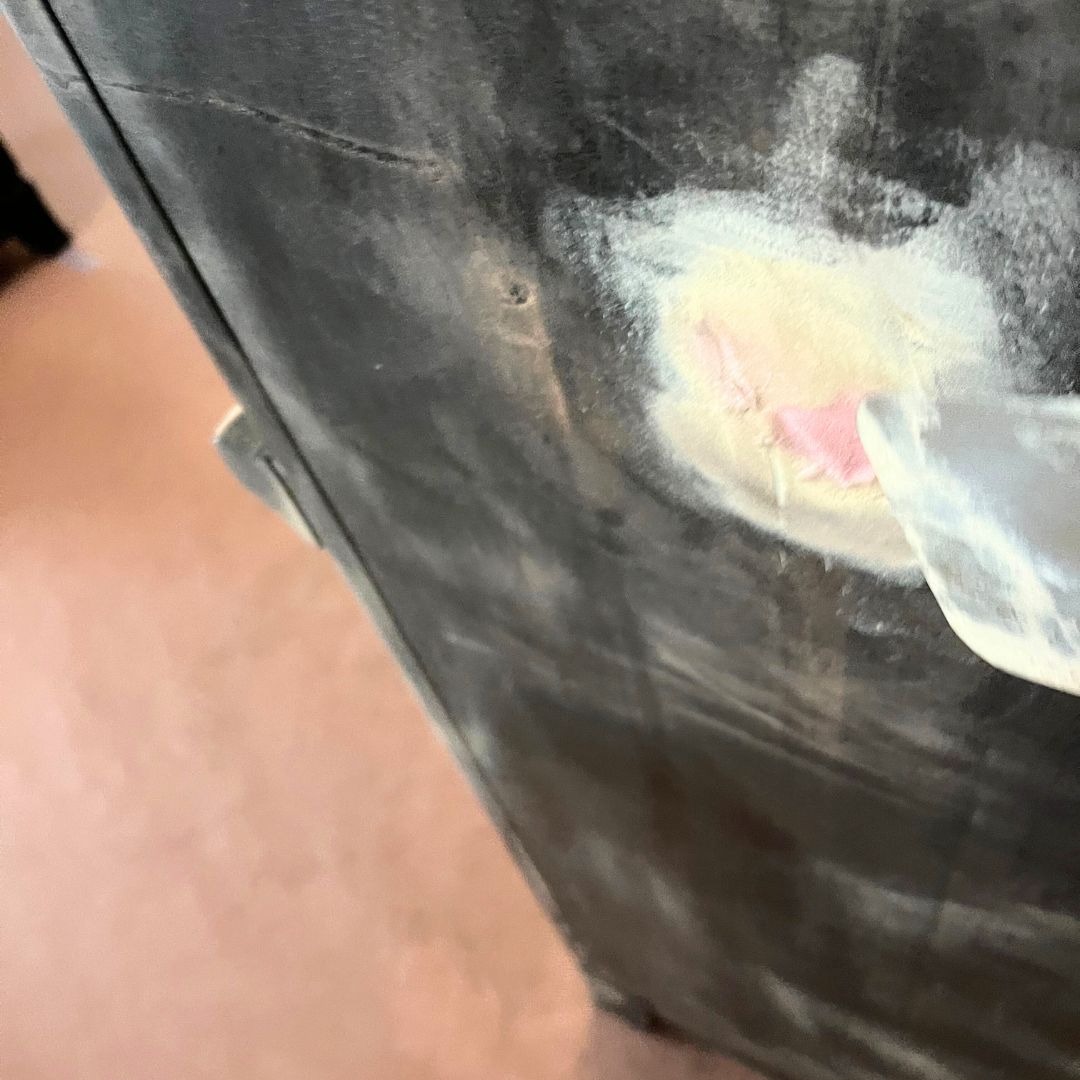
Using your Putty knife , apply Wood filler or wood putty directly into the hole. Overfill it slightly, as most fillers shrink a bit as they dry. Smooth it out with the knife so it’s level with the surrounding surface.
If you’re dealing with a deep hole, you may need to apply the filler in layers, allowing each layer to dry before adding the next.
Most wood fillers require a drying time of a few hours, but it’s always best to follow the manufacturer’s instructions. Patience is key here—don’t rush it! You want the filler to harden fully before sanding.
Step 3: Sand It Smooth
Once dry, sand the patched area with medium-grit sandpaper to remove excess filler, then follow up with
fine-grit sandpaper for a silky-smooth finish. The goal is to make the repair flush with the rest of the furniture surface.
Step 4: Finish and Blend
Now comes the creative part! If your furniture is painted, apply primer, My favorite primer to use is Stix Primer. In my opinion, it’s the best primer on the market. Once it’s dry, paint it with a durable water-based enamel paint. For this project, I used Sherwin Williams Enamel paint But I have also used INSL-X as well they are excellent choices . To apply the paint, use a cut-in brush and a sponge roller.
Final Thoughts on How to Repair Holes in Wood Furniture
See? It’s easier than you thought, right? Learning how to repair holes in wood furniture is one of those essential DIY skills that will save you time, money, and stress. Whether you’re fixing a tiny nail hole or patching up a big dent, you now have the know-how to make your furniture look fresh and flawless again.
And if you’re like me, once you start mastering these small repairs, you’ll feel empowered to tackle even bigger creative projects!
You’d be surprised how invisible a well-blended repair can be!
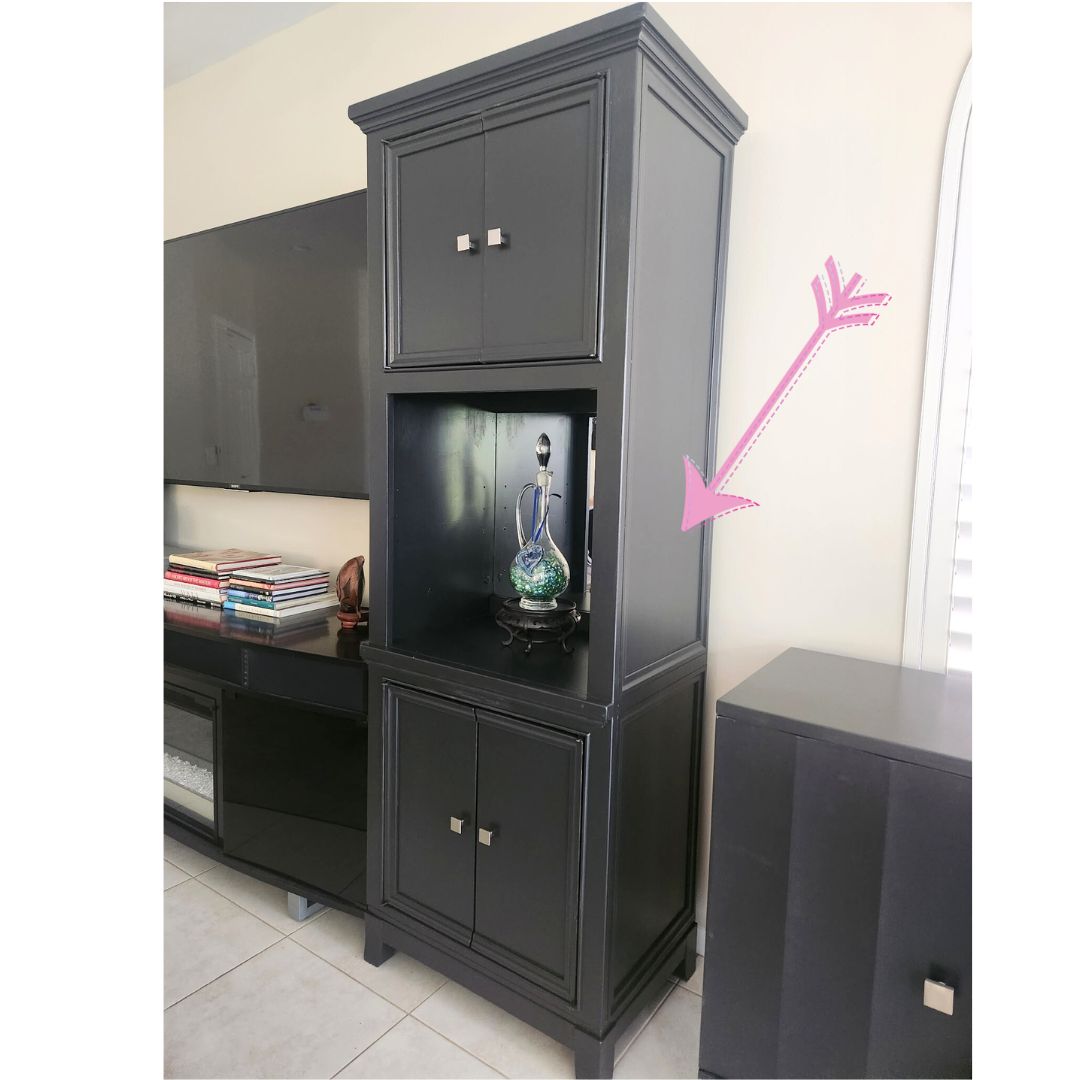
LOOK, you can’t even tell where the holes were!
Here are some other furniture repairs you might be interested….
#1 2 Easy Steps to Repair Door Stain After Changing Hardware
#2How to Restore Damaged Cabinets
P.S. Make sure you don’t miss out on signing up for my blog, it’s filled to the brim with home decorating and DIY tips!
P.S.S. Do you need help building and monetizing your online business? Join Empowering Women. Get started today!
Have Fun!
Cheryl
Artzy Fartzy Creations. Oh Yes you can DIY!
10 Creative Ways to Generate Income From Your Art (Without Selling a Single Painting)
Creative ways to make money from your art [...]
Best Places to Sell Your Painted Furniture and Art (Without Relying on Social Media)
Let’s Be Real—You Can Sell Art Without Social [...]
DIY Kitchen Cabinet Makeover: Budget-Friendly Transformation You Can Do Yourself
DIY Kitchen Cabinet Makeover: Budget-Friendly Transformation You Can [...]
DIY Metallic Molding Technique: Add Old-World Charm to Your Home
Looking to add a little extra drama and [...]
How to Repair Holes in Wooden Furniture – Fast, Easy, and Budget-Friendly!
hand applying wood filler to a hole in [...]
How To Paint A Brick Fireplace In One Easy Step
Is your outdated brick fireplace dragging down your room? If [...]
Contents
Recent Reads
Best Places to Sell Your Painted Furniture and Art (Without Relying on Social Media)
Let’s Be Real—You Can Sell Art Without Social [...]
DIY Kitchen Cabinet Makeover: Budget-Friendly Transformation You Can Do Yourself
DIY Kitchen Cabinet Makeover: Budget-Friendly Transformation You Can [...]
DIY Metallic Molding Technique: Add Old-World Charm to Your Home
Looking to add a little extra drama and [...]

