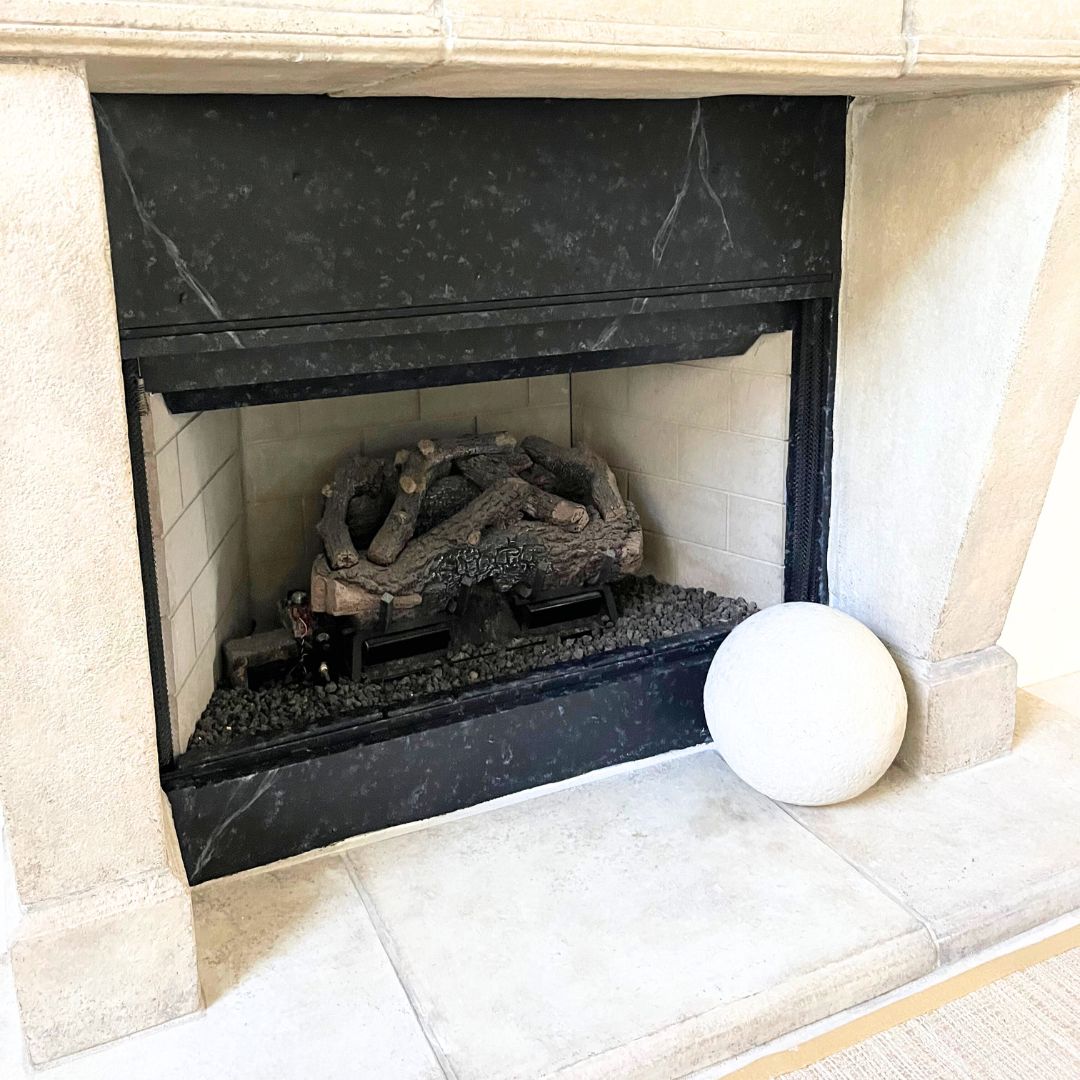
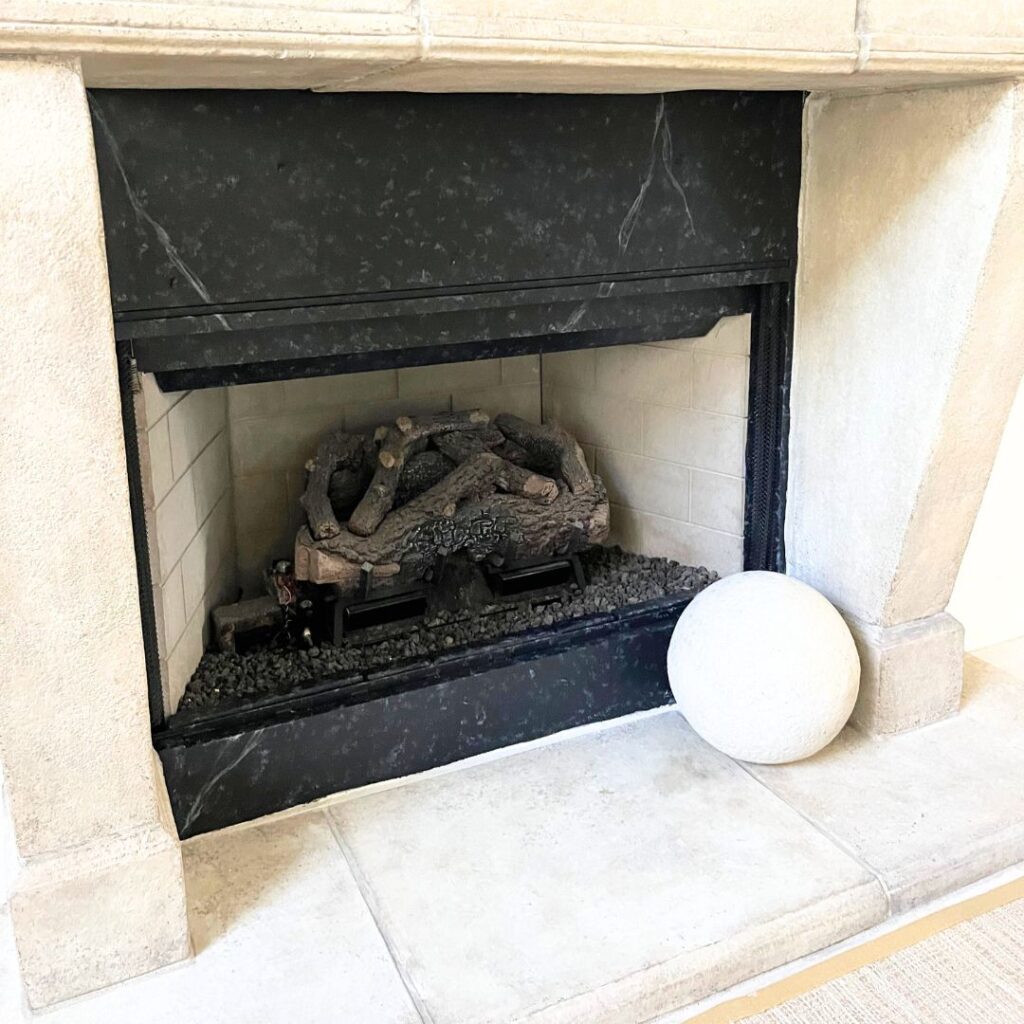
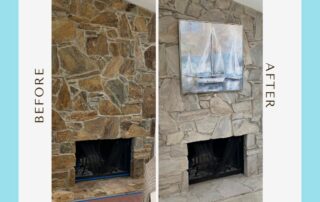
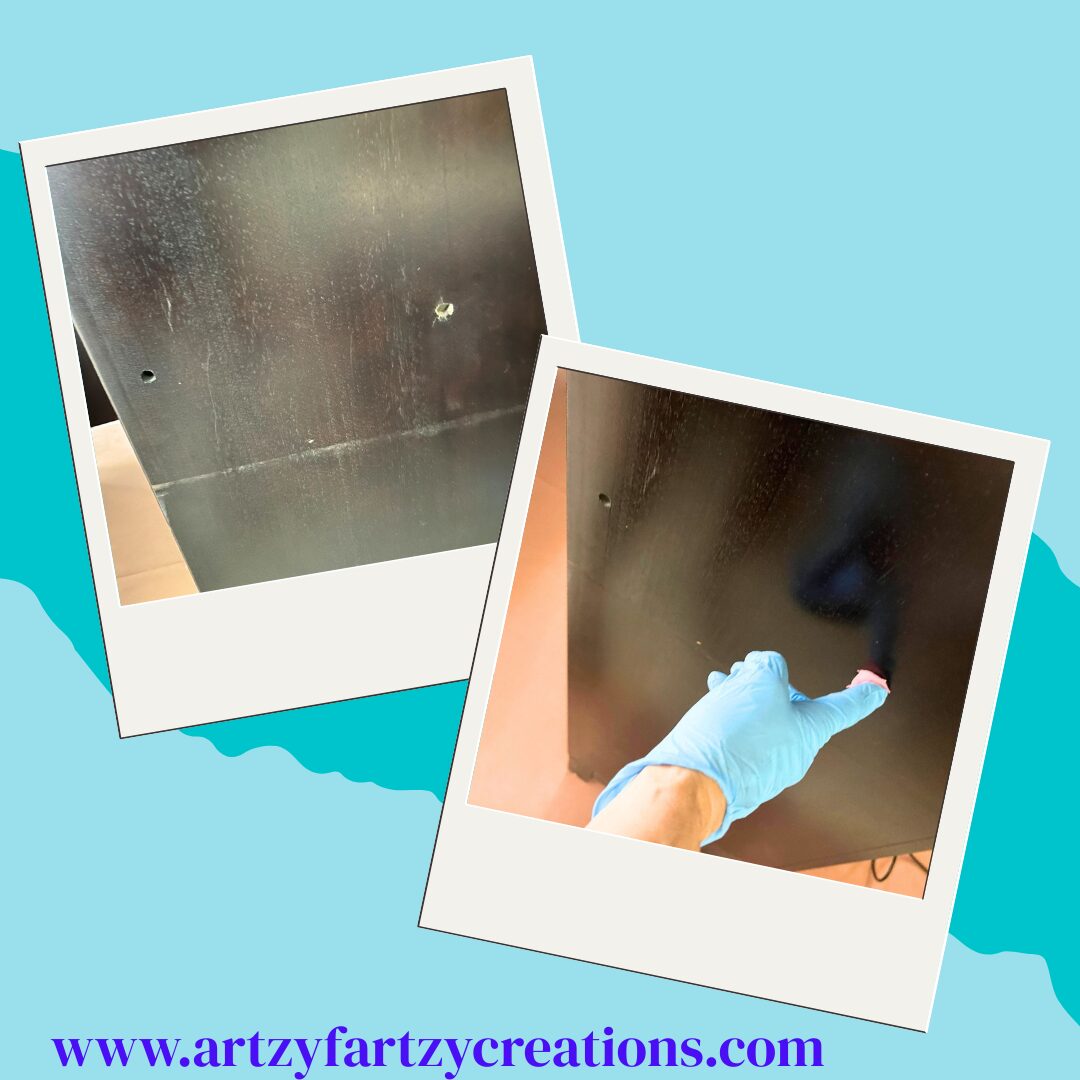
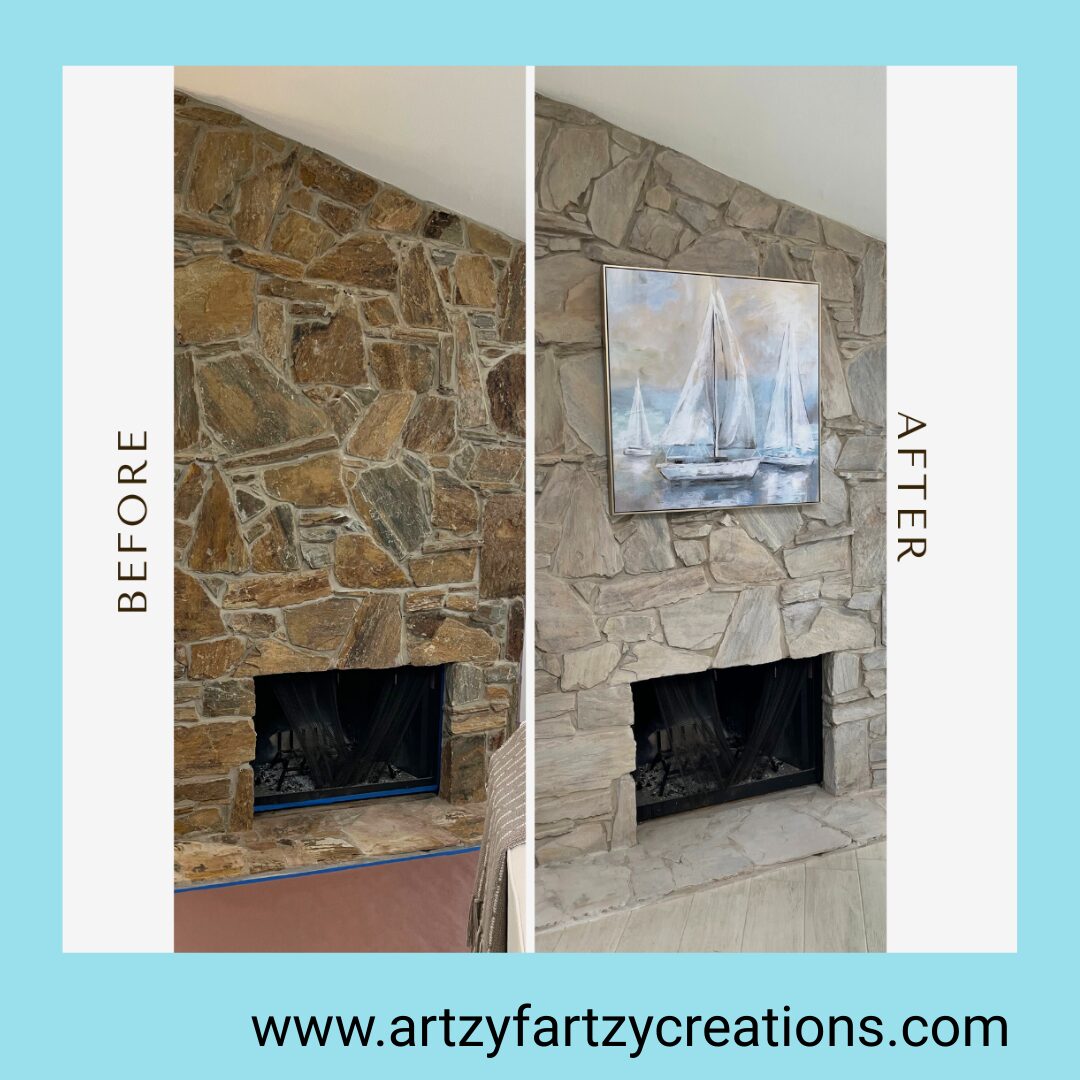
Do you have an electric fireplace that needs some TLC? This fireplace was a mess. There are holes, dings, dents, and scratches all over it. But no worries, I have a quick and easy solution to disguise all the imperfections and turn it into a beautiful Faux Granite Fireplace.
Step 1: Prepare for the Transformation of your Faux Granite Fireplace
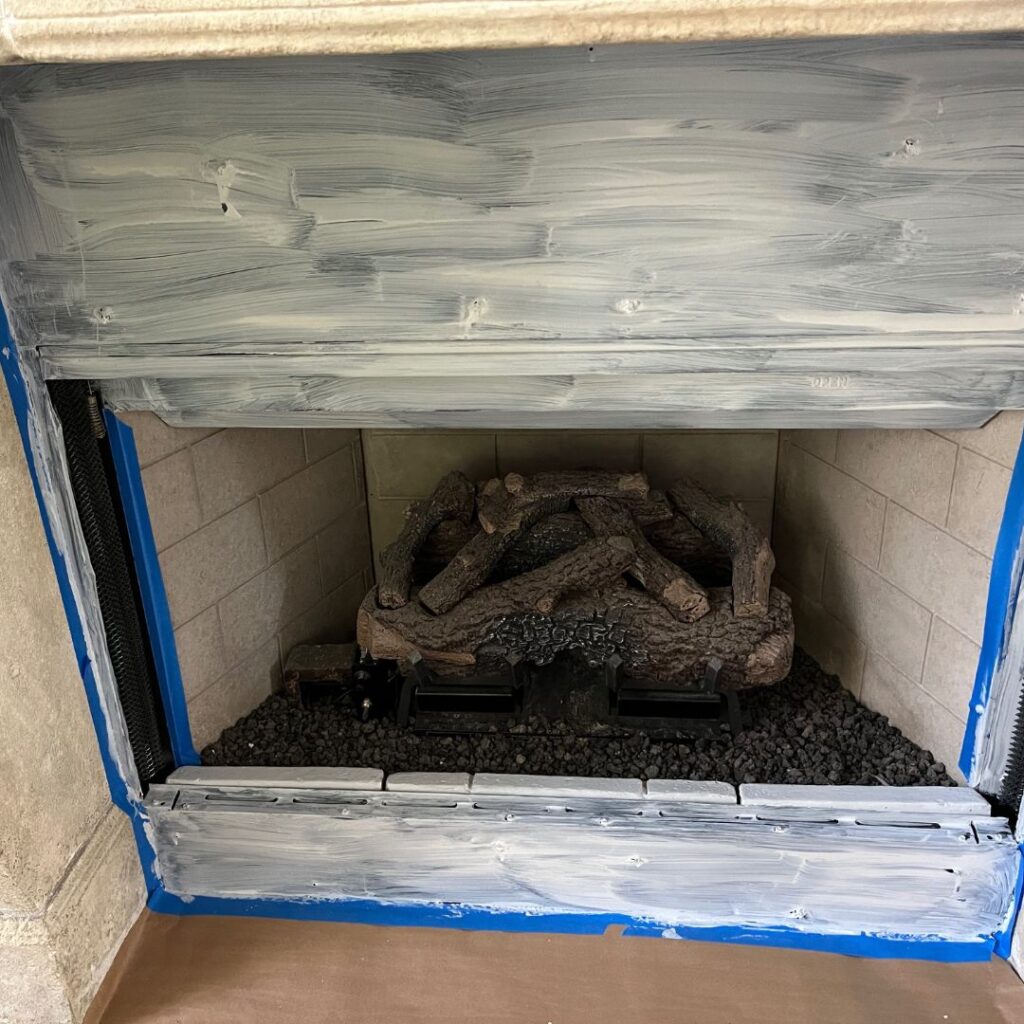
The very first thing I do is tape off the area and add paper or plastic to the floor.
Prep is the most important step in the entire process.
Step 2: Addressing the Imperfections of your Faux Granite Fireplace
The first thing I noticed was holes scattered all over the fireplace. I’m not sure why they are there but they needed to be filled in. The metal did stick out a little bit, so I tried using a ham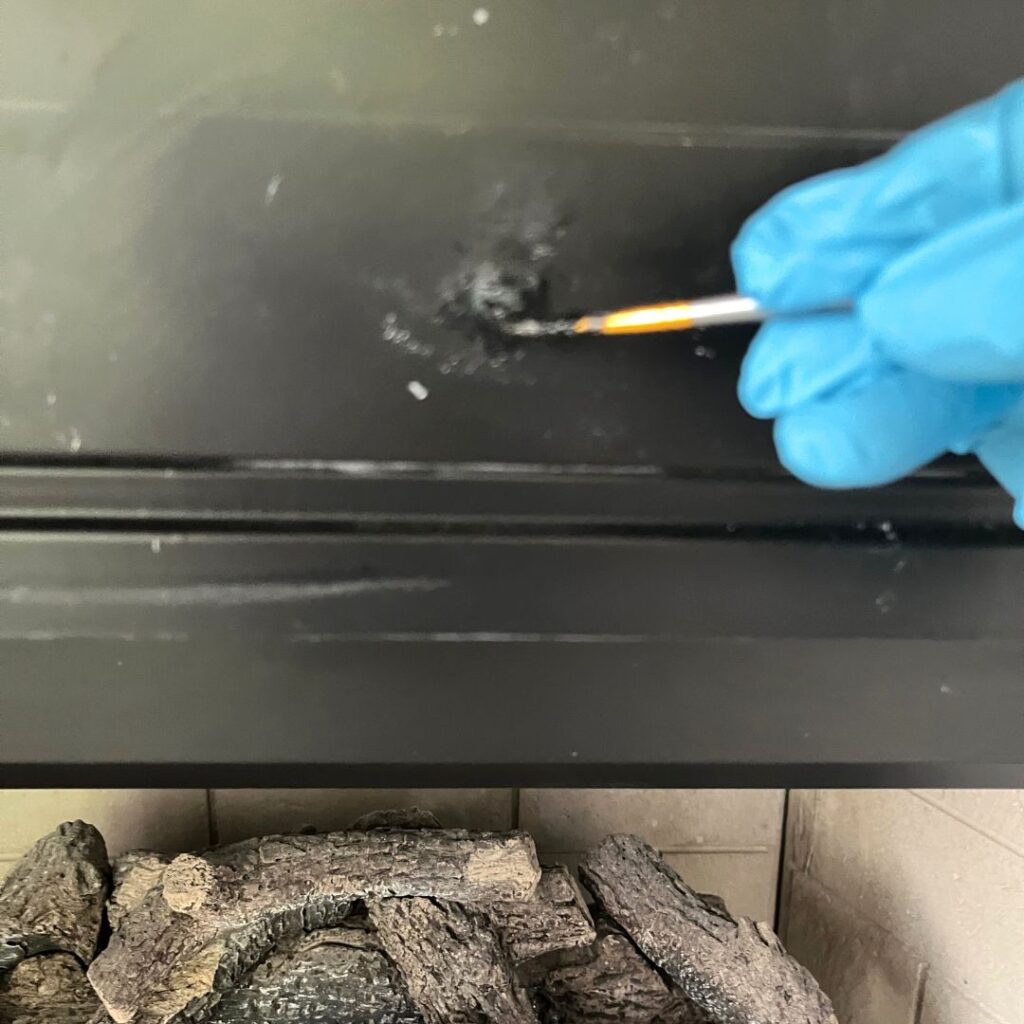 mer to flatten them down but unfortunately, it didn’t work as well as I had wished. So, I used a 2-part Bonding Epoxy and a small artist brush to fill in the holes and just moved on knowing that when I painted it most of it would be hidden.
It’s either to paint it or replace the entire fireplace. My client decided to paint it.
Step 3: Choose the Right Paint
Because this is an electric fireplace, I can use regular paint and Primer. If you are working on a wood-burning fireplace you will need to use fire-resistant paint.
Step 4: Prime for Success
After filling in the holes I applied a primer to the metal. This will help the paint to stick better. I like using Stix primer it works really well on metal surfaces. A before and after image of a damaged electric fireplace transformed into a beautiful granite masterpiece.
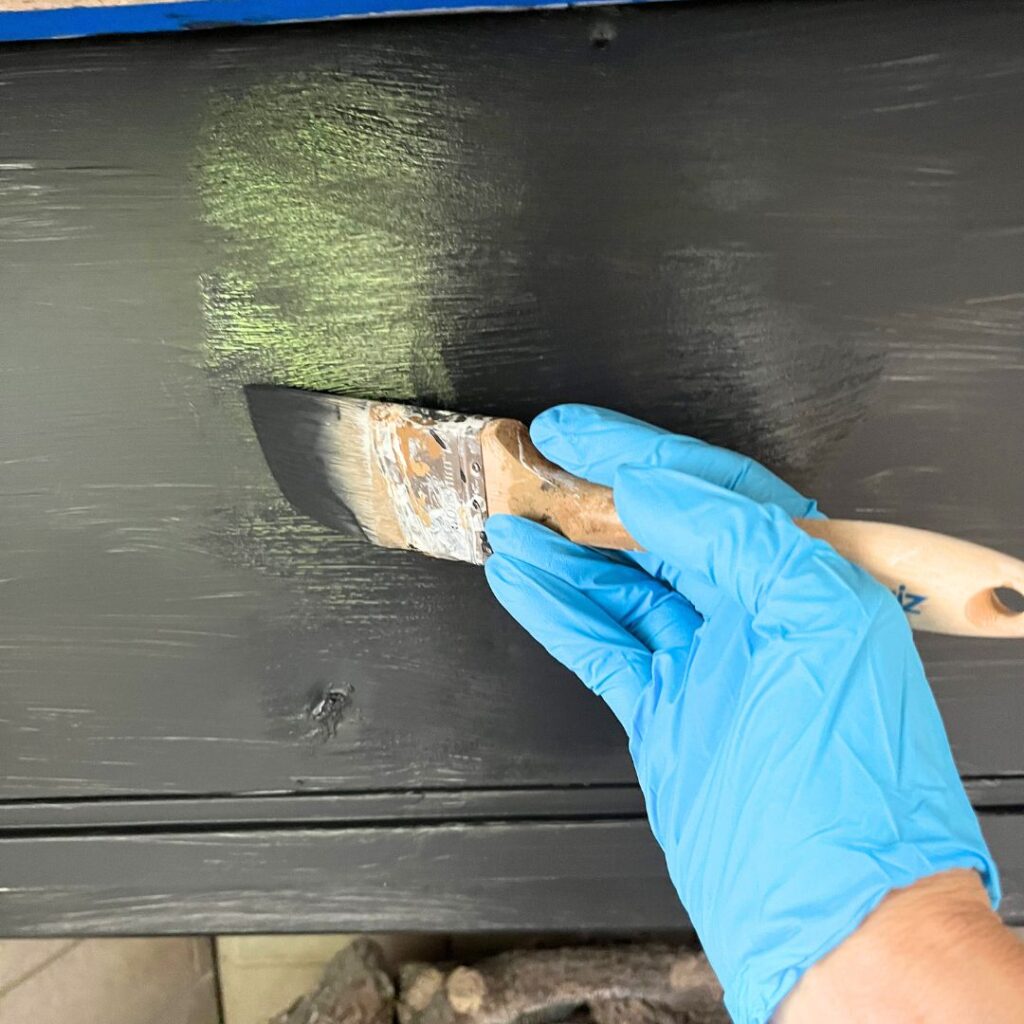
Step 5: Painting for Perfection
Next, I applied two coats of black satin latex paint so that it had complete coverage.
Step 6: Adding the Granite Effect
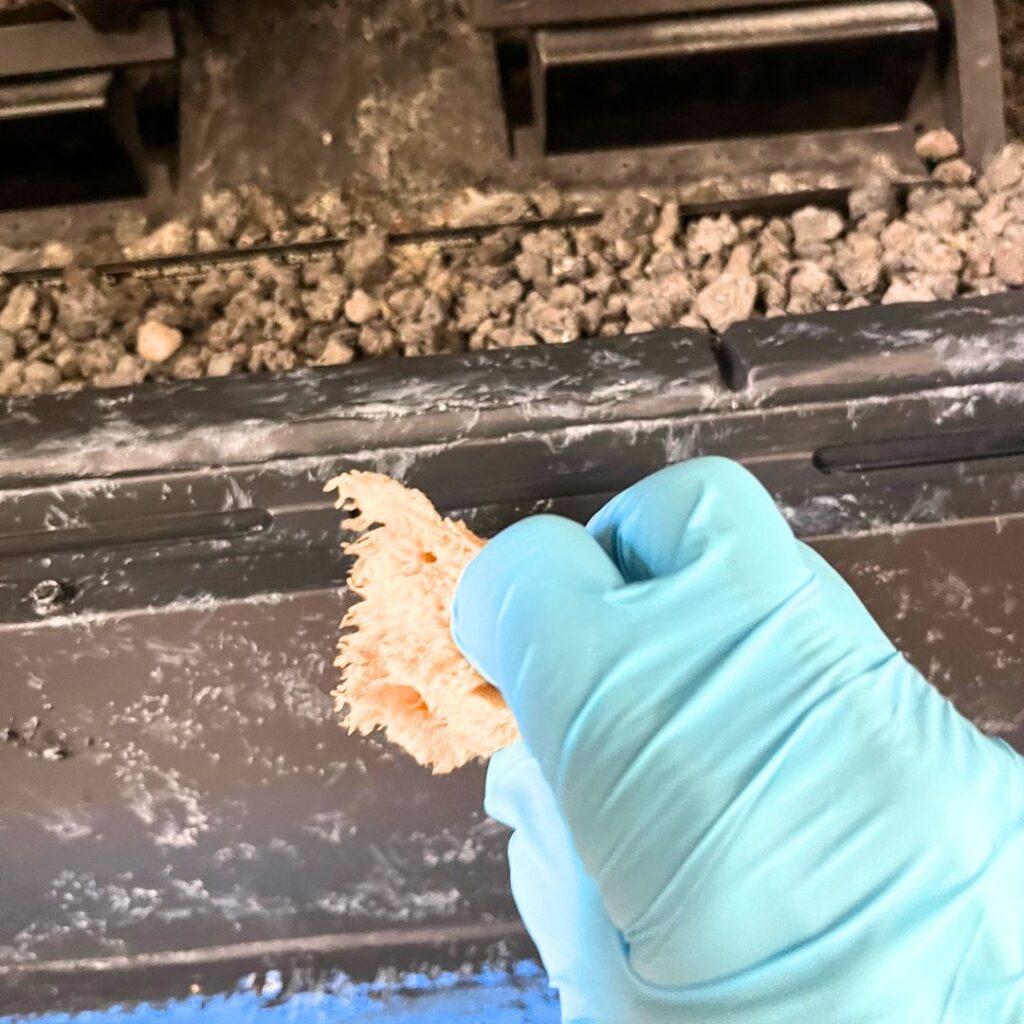
Once the paint dried, I used a sea sponge to lightly drab on white paint to give it a granite look. You can add as much or as little as you desire.
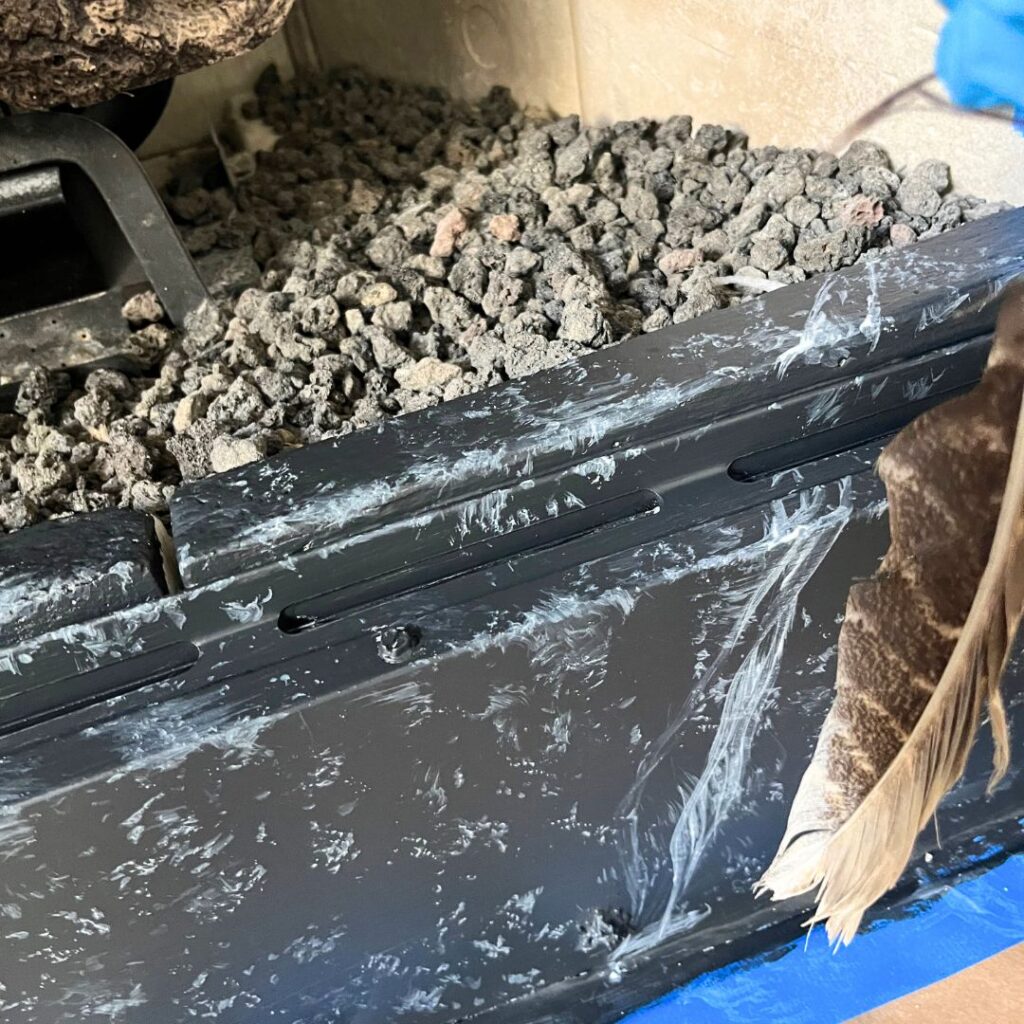
This is my trick for making veins look like marble.
Next time you’re out walking and see a feather on the ground, save them, they make a handy marbelizing tool.
Just add a little bit of white paint on a paper plate and lightly run the edge of the feather over the paint. Then drag the feather over your surface to look like a vein and let it dry.
Step 7: Seal the Deal
The last step is to add a clear sealer to protect the finish. You can use a sponge roller or brush.
Enjoy Your Beautiful Granite Fireplace
And now you have a beautiful granite fireplace, and you can’t even notice the previous damage.
Hope this was helpful and informative. See you on the next project.
P.S. Have you ever thought about turning your hobby into a business? Join Empowering Women.
P.S.S. Get my blog jam-packed with home decorating and DIY tips:
Here’s your supply list:
- Brown paper: https://amzn.to/3L6SDEf
- Plastic: https://amzn.to/3sGvbau
- Blue tape: https://amzn.to/3qUsjGC
- 2-part bonding epoxy: https://amzn.to/45zTQw0
- Stix primer: https://amzn.to/3Pho29z
- Fire-resistant paint: https://amzn.to/3R3JP64
- Back satin paint: https://amzn.to/3Po4iBn
- White paint: https://amzn.to/3R2gBnU
- Sea sponge: https://amzn.to/3RbnjYK
- Paintbrush: https://amzn.to/3Pl20CT
- Sponge roller & tray: https://amzn.to/45Bs0Qi
- Art brush: https://amzn.to/3EnRSms
- Clear coat sealer: https://amzn.to/3qOHUaT
XOXO
Cheryl
Artzy Fartzy Creations. Oh Yes you can DIY!
DIY Metallic Molding Technique: Add Old-World Charm to Your Home
Looking to add a little extra drama and [...]
How to Repair Holes in Wooden Furniture – Fast, Easy, and Budget-Friendly!
hand applying wood filler to a hole in a [...]
How To Paint A Brick Fireplace In One Easy Step
Is your outdated brick fireplace dragging down your room? If [...]
DIY Magic: Create a Raised Cherry Blossom Stencil Design with Glitter That Pops!
Raised cherry blossom stencil with glitter on a painted [...]
How to Repurpose Old Furniture Into a Cozy Dog Bed
DIY Small Dog Bed Tutorial -How to Make [...]
Master- How To Paint Perfect Horizontal Stripes Like a Pro
Want to know my secret pro tip to paint horizontal [...]
Contents
Recent Reads
How to Repair Holes in Wooden Furniture – Fast, Easy, and Budget-Friendly!
hand applying wood filler to a hole in a [...]
How To Paint A Brick Fireplace In One Easy Step
Is your outdated brick fireplace dragging down your room? If [...]
DIY Magic: Create a Raised Cherry Blossom Stencil Design with Glitter That Pops!
Raised cherry blossom stencil with glitter on a painted [...]

