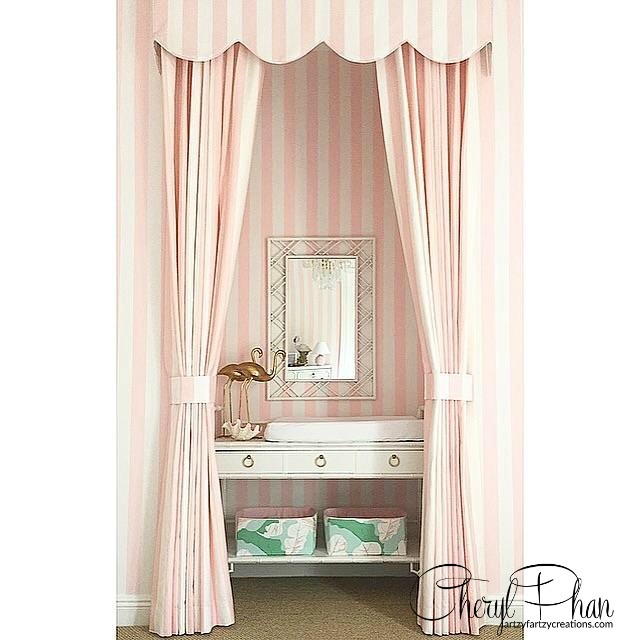
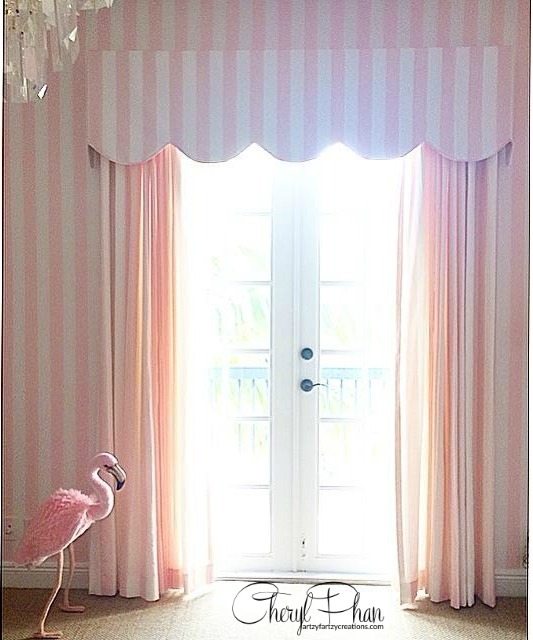
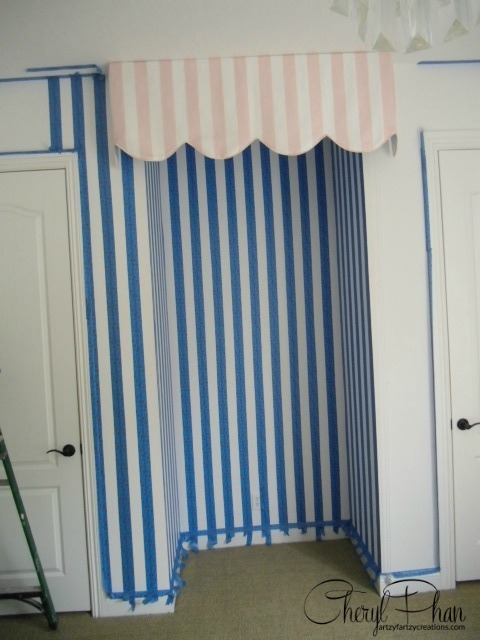
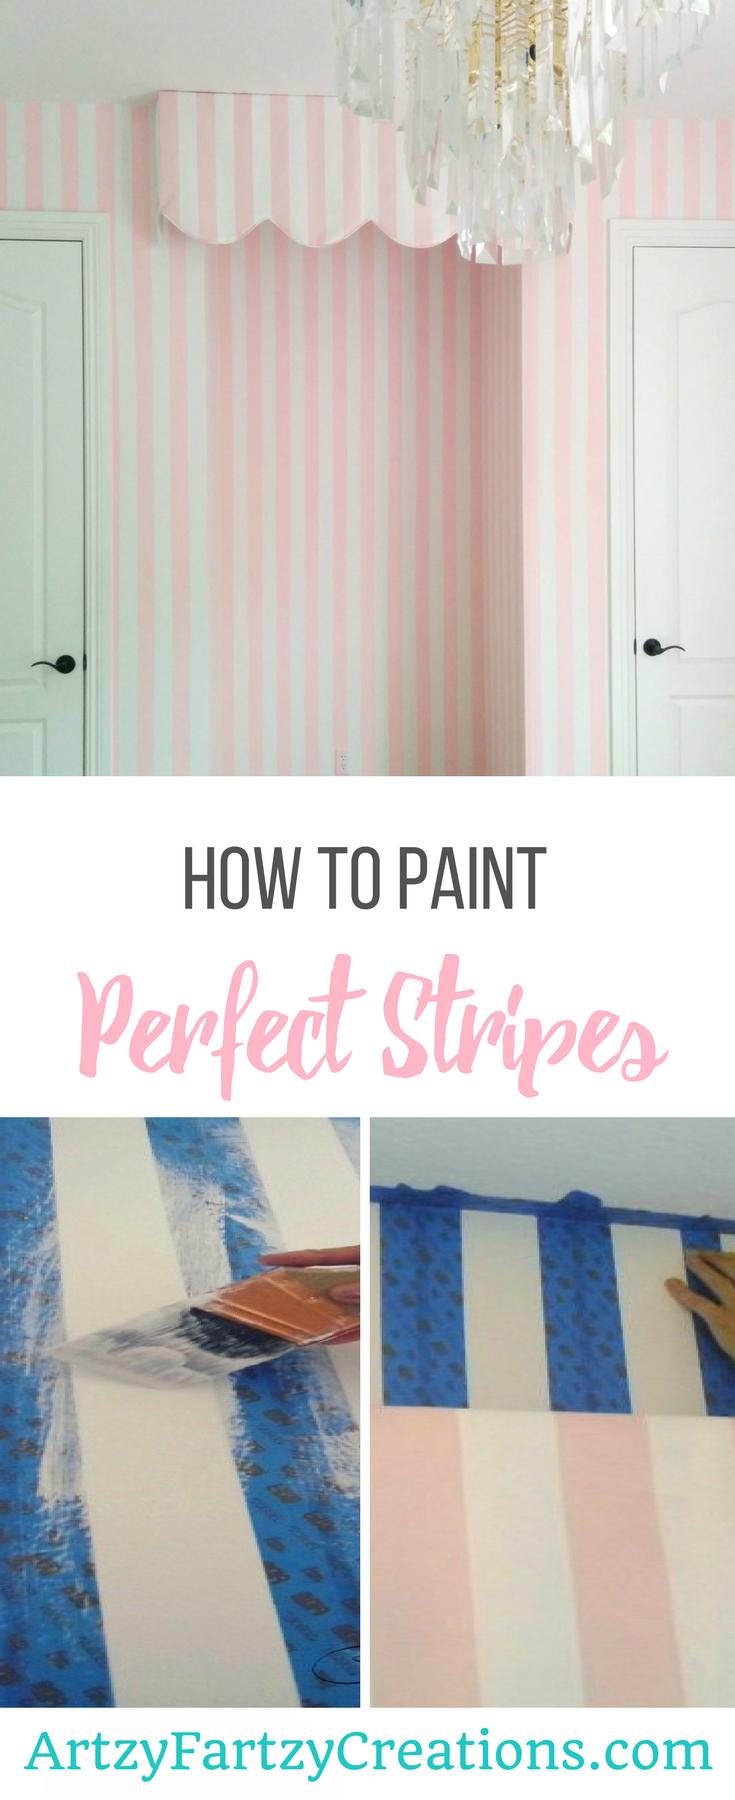
I’m going to share my 6 tips on how to paint PERFECT stripes every time.
I’m also going to share with you how to measure the room so your stripes will end up perfectly symmetrical horizontal and vertical stripes.
OK, so before you get started you need to decide how wide you want your stripes to be. Smaller stripes tend to make the room look smaller and wider stripes tend to make the room appear larger. Funny how that works!
Measure the room horizontally in inches. Example: a 10’ wall would be 10’x12”=120” if the room is 10’x10’ the overall inches would be 480”. Let’s say you want your stripes to be 6”; you would end up with 80 stripes around the entire room 480/6=80. That’s pretty simple, right? Well let’s take this scenario, say the room is 10’x9’ the overall inches would be 108+108+120+120=456”. Let’s say you want the stripes to be 5”; you would end up with 91 stripes with 2” left over. HUM? What do you do with that extra 2”. Keep reading to find out.
Now that you have your room measured out, you’re ready to start taping your stripes to the wall.
First TIP:
Start in the least conspicuous area (behind the door) you can add ½” to the last 4 stripes behind the door and no one will ever notice.
Second TIP:
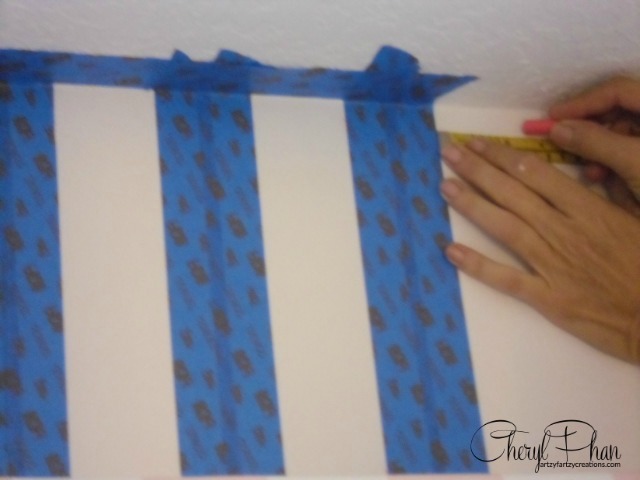
Very important; use 2” blue tape (30-day release, it’s orange on the inside rim of the tape) This will not pull the base coat off. Start by taping off the ceiling and baseboards.
Third TIP:
Use colored chalk to make small dots down the wall when measuring, DO NOT USE PENCIL or A CHALK LINE. The pencil will show through the paint or you may even miss painting it and have a real mess on your hands also the Chalk line make a huge mess.
Fourth Tip:
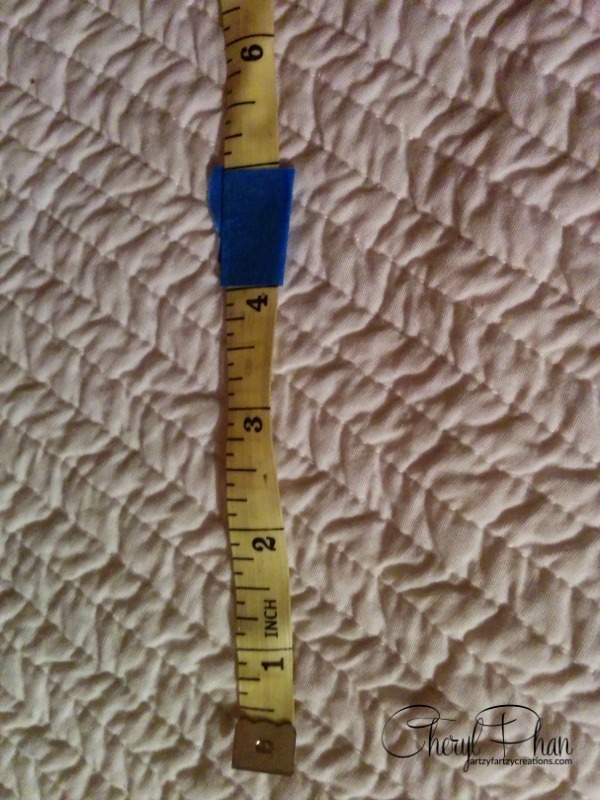
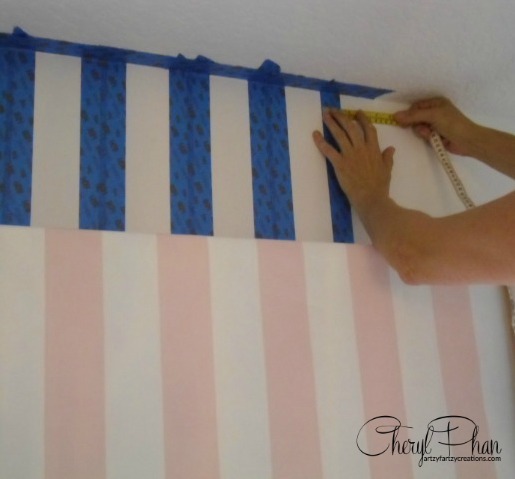
Take your tape measure and wrap a piece of tape around inches you want it to be (this will keep you measurements accurate).
Fifth Tip:
Starting in the upper corner behind the door. Line up your tape measure against the adjacent wall bring your tape measure out to the width you want it to be and make a small dot with the chalk. Work your way down the wall vertically making dots about every 2 feet or until you get to the bottom of the wall. Now go back up the ladder take your blue tape and line it up to the right of the dot. (NOTE: if you don’t cover all the chalk dots don’t worry, they come off very easily later). Run the tape to the bottom and leave about a 1” piece over the baseboard (You will use this tab to remove it when you’re done) lightly run your fingers over the tape to secure it to the wall.
When measuring your next stripe, start your measurement from the far left side of the tape (note: 2” of this tape is covering your next stripe) and measure it to your marking point. Continue doing this around the entire room until you’re done. Also note, if your stripes are larger than 4” you will have a gap that won’t be painted so I’d recommend tearing off small pieces of tape and sporadically placing them in that area down the wall so you don’t mistakenly paint it.
Sixth Tip:
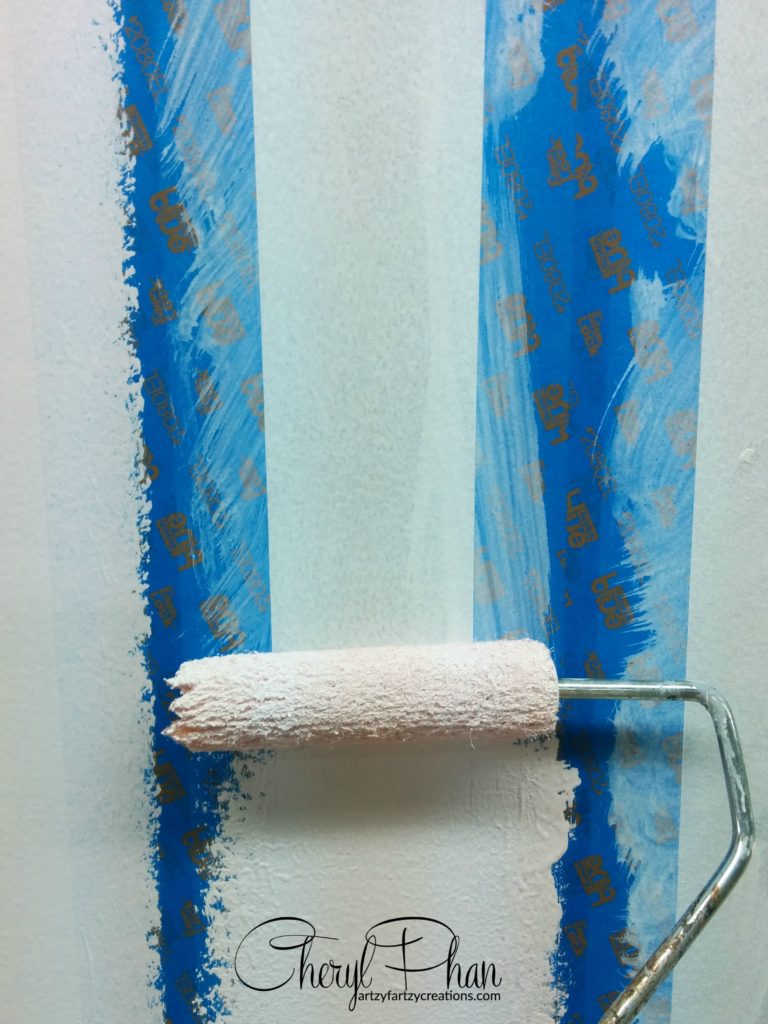
After you’re done taping off lightly brush on the base coat color over the edge of the tape where you’re going to paint the stripes. This will seal it and keep the paint from bleeding through. This is the most important part of the process.
Using a 4” hot dog roller, Roll the paint color in the areas you want your stripes. Make sure you cover it completely. Also, pay close attention not to paint over the areas you don’t want painted.
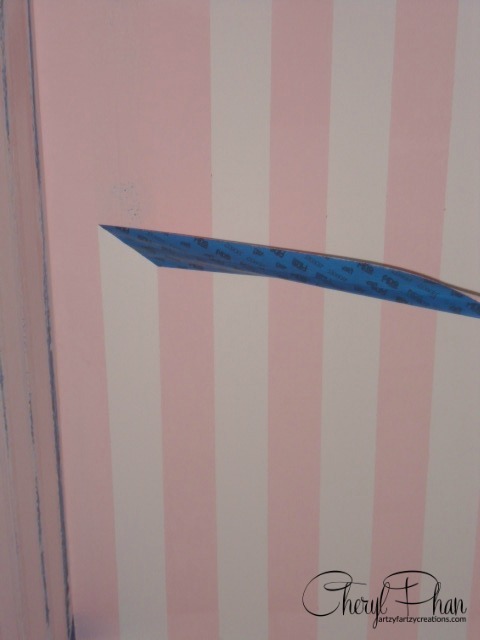
Remove the tape slowly from bottom to top. After removing all the tape if you see any chalk dots on the wall; take a cloth and wipe them off, if it smudges take your base coat and an artist brush and cover it up. Voila! Perfect Stripes!!!!
If you want to learn how to start making money with your hobby get the details HERE
If you want to learn DIY Tricks and Tips get my weekly blog HERE
HAPPY PAINTING
Please share my pin and visit me on Pinterest for more DIY projects & painting tips!

Artzy Fartzy Creations. Oh Yes you can DIY!
Best Places to Sell Your Painted Furniture and Art (Without Relying on Social Media)
Let’s Be Real—You Can Sell Art Without Social [...]
DIY Kitchen Cabinet Makeover: Budget-Friendly Transformation You Can Do Yourself
DIY Kitchen Cabinet Makeover: Budget-Friendly Transformation You Can [...]
DIY Metallic Molding Technique: Add Old-World Charm to Your Home
Looking to add a little extra drama and [...]
How to Repair Holes in Wooden Furniture – Fast, Easy, and Budget-Friendly!
hand applying wood filler to a hole in a [...]
How To Paint A Brick Fireplace In One Easy Step
Is your outdated brick fireplace dragging down your room? If [...]
DIY Magic: Create a Raised Cherry Blossom Stencil Design with Glitter That Pops!
Raised cherry blossom stencil with glitter on a painted [...]
Contents
Recent Reads
DIY Kitchen Cabinet Makeover: Budget-Friendly Transformation You Can Do Yourself
DIY Kitchen Cabinet Makeover: Budget-Friendly Transformation You Can [...]
DIY Metallic Molding Technique: Add Old-World Charm to Your Home
Looking to add a little extra drama and [...]
How to Repair Holes in Wooden Furniture – Fast, Easy, and Budget-Friendly!
hand applying wood filler to a hole in a [...]

