HOW TO PLANK A WALL THE EASY WAY! Hope this inspires you to create great accent walls in your home!!!!
If you have never used a power tool or picked up a paintbrush – I promise you – you can do this!
As much as I like the shiplap, I really didn’t want to cut plywood into strips and balance a coin between boards, it just seemed like too much work. I also didn’t want to spend the money on shiplap so I came up with a much quicker and less expensive alternative. I used Cedar shingles. The “real” shiplap boards cost $8.22/each, and that wasn’t in the budget. This entire bathroom cost $40.
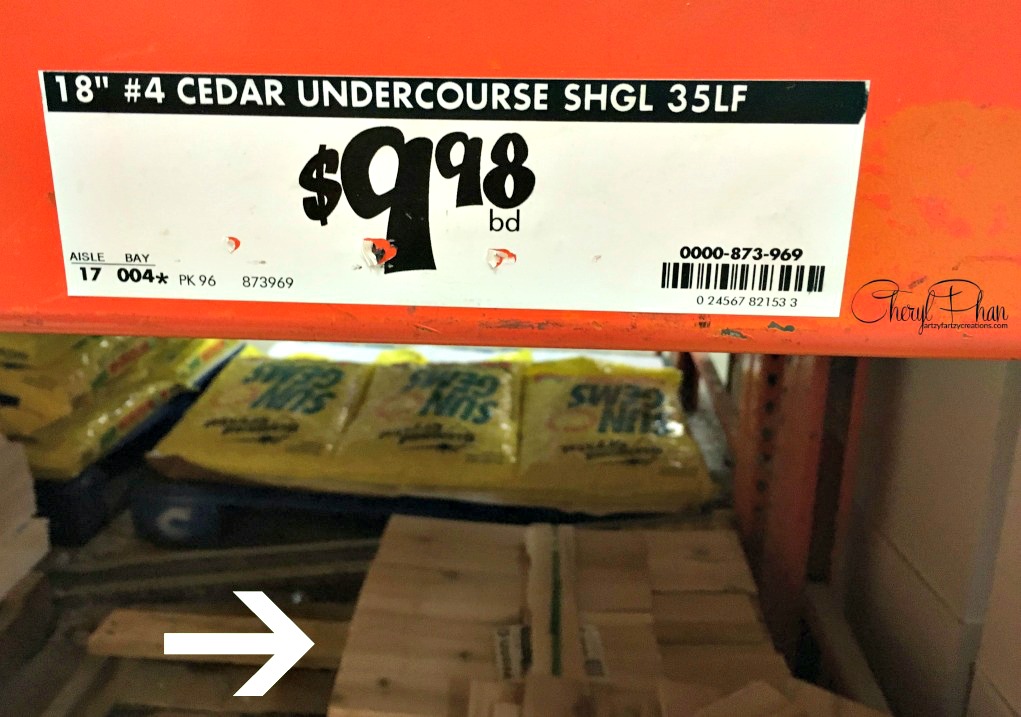
A bundle of cedar shingle only costs $9.98 and four bundles did the entire bathroom. Not to mention they smell good.
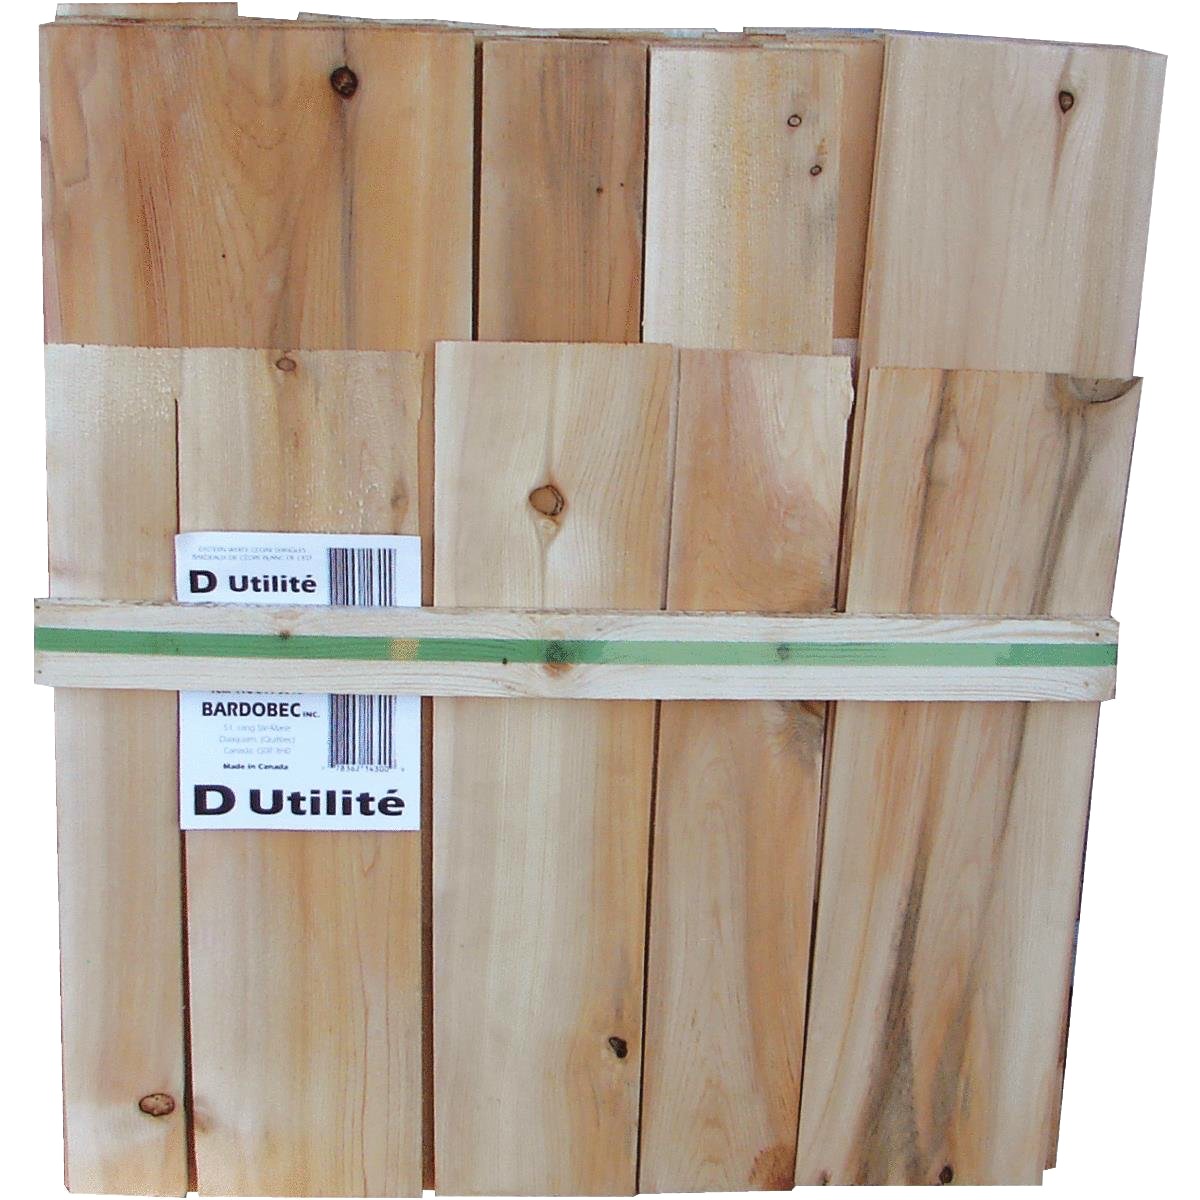
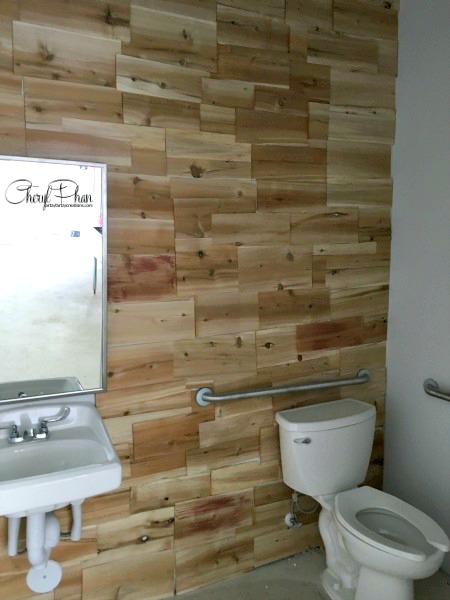
Here’s what they look like.
Here is the cedar wall raw and unpainted. You could always leave the cedar wall like this or you can paint them and give it a Key West look like I did.
As you can see, I decided to overlap them because it was so much easier than trying to align them. Now, I’m going to be honest and let you know I did not apply them to the wall. I hired a handyman because I didn’t have a nail gun and to be really honest, I didn’t want to do the work! It only took him a couple of hours to complete the job.YES, he nailed them right into the drywall.
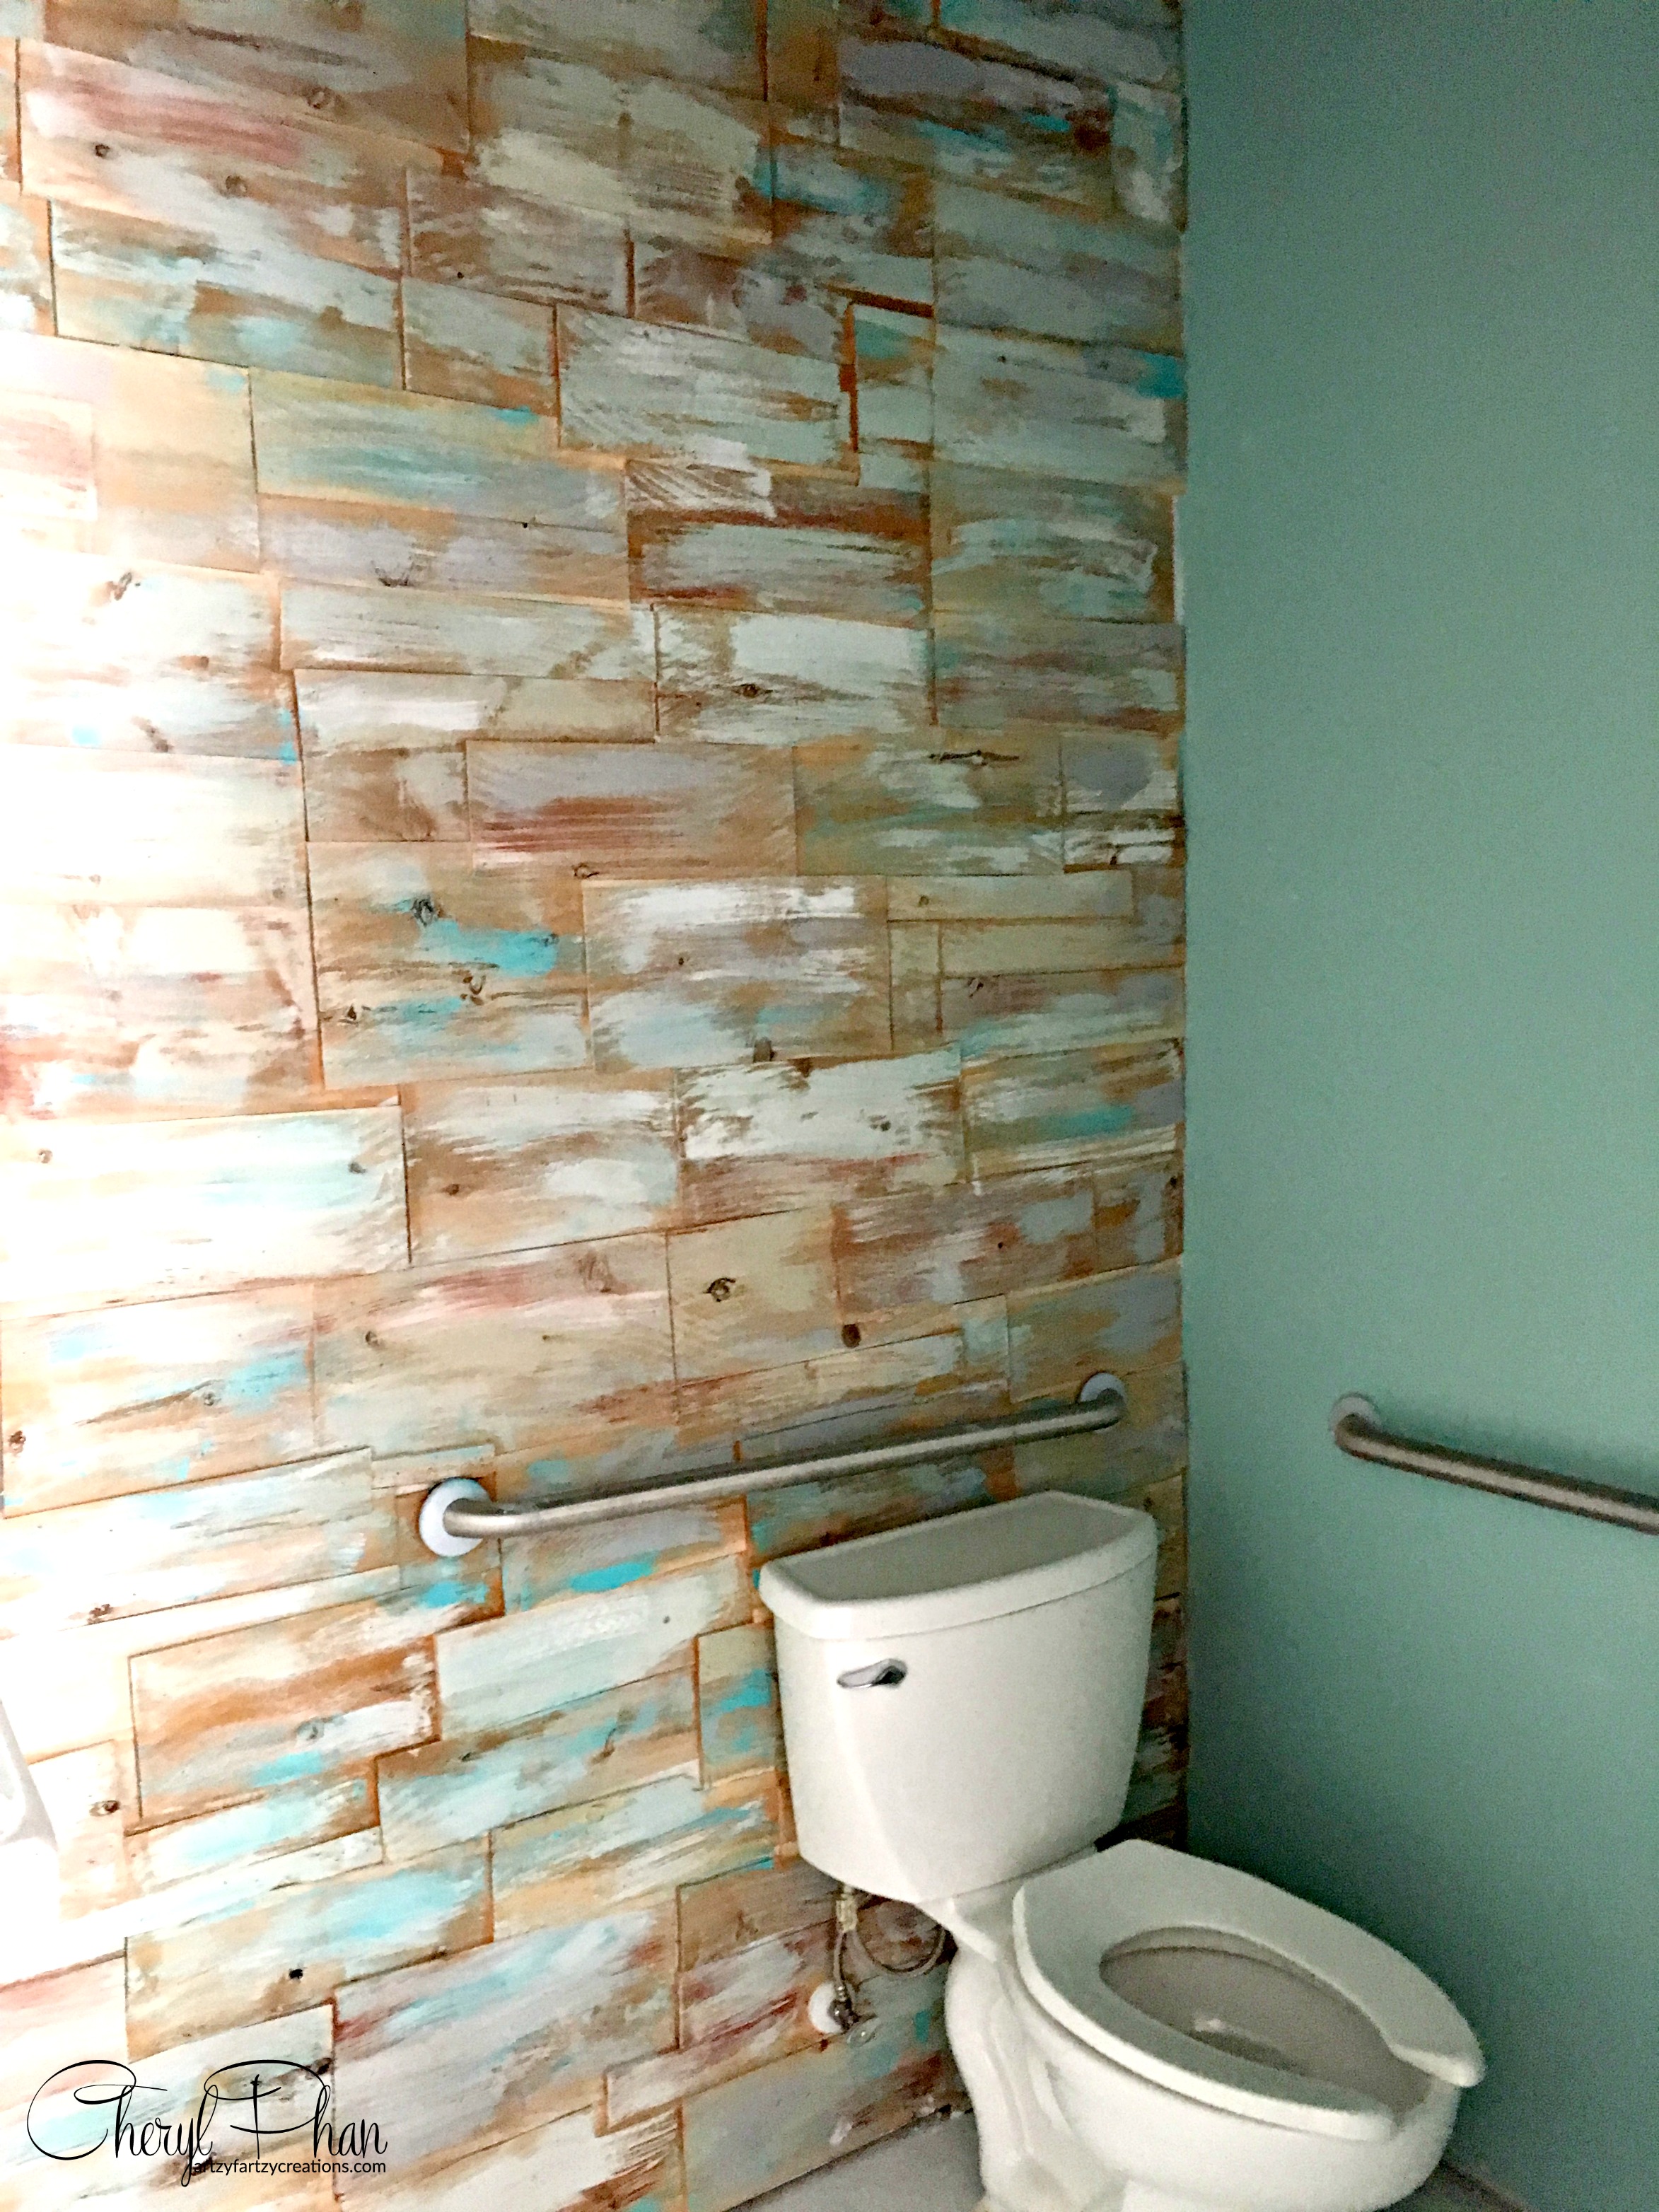
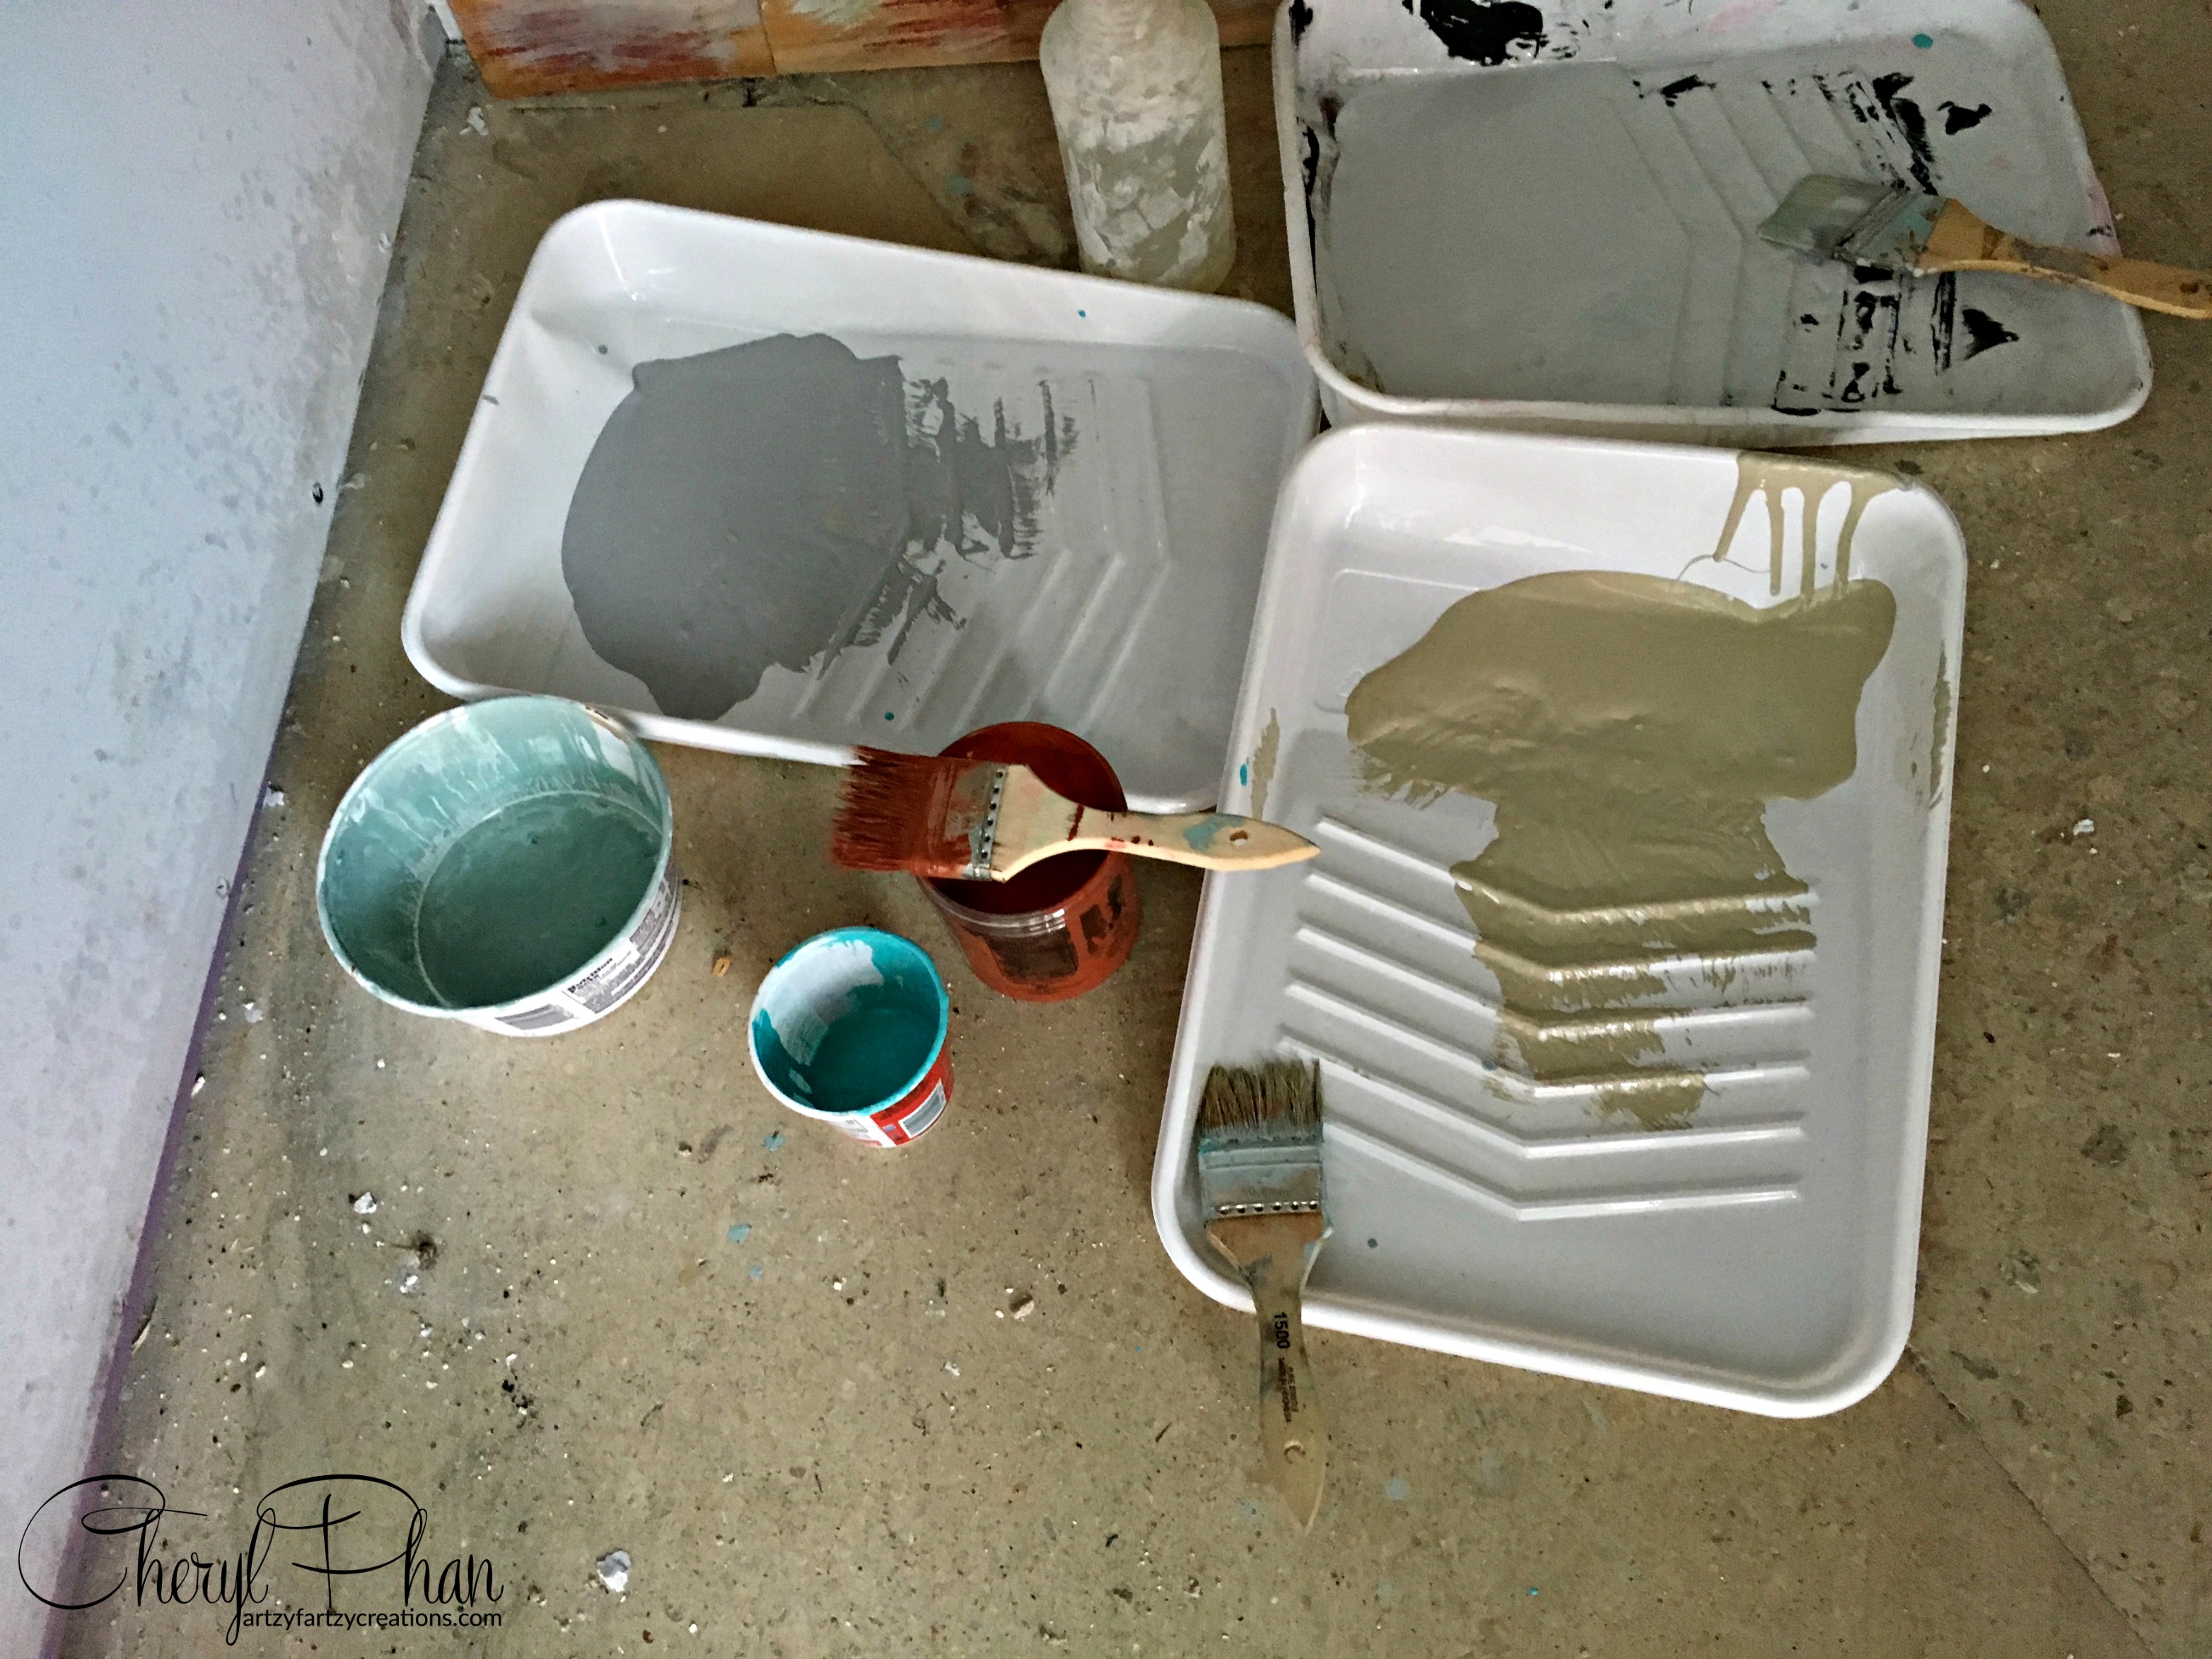
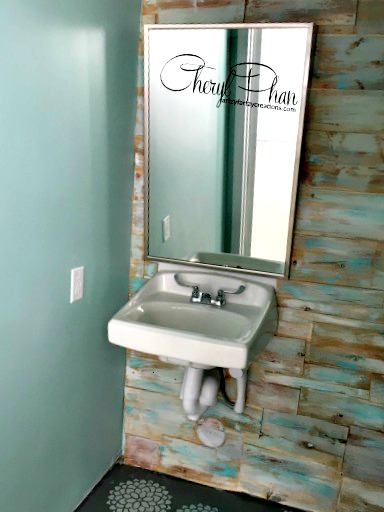
I used a hodgepodge of paint. Some of it was latex and some was chalk paint. I just used what I had and dry-brushed it on in a random fashion.
I had a few people ask me why I have a towel rack over the toilet. These are not towel racks, they are handicap bars. I did this in a retail store and it’s mandatory that you have them on the wall.
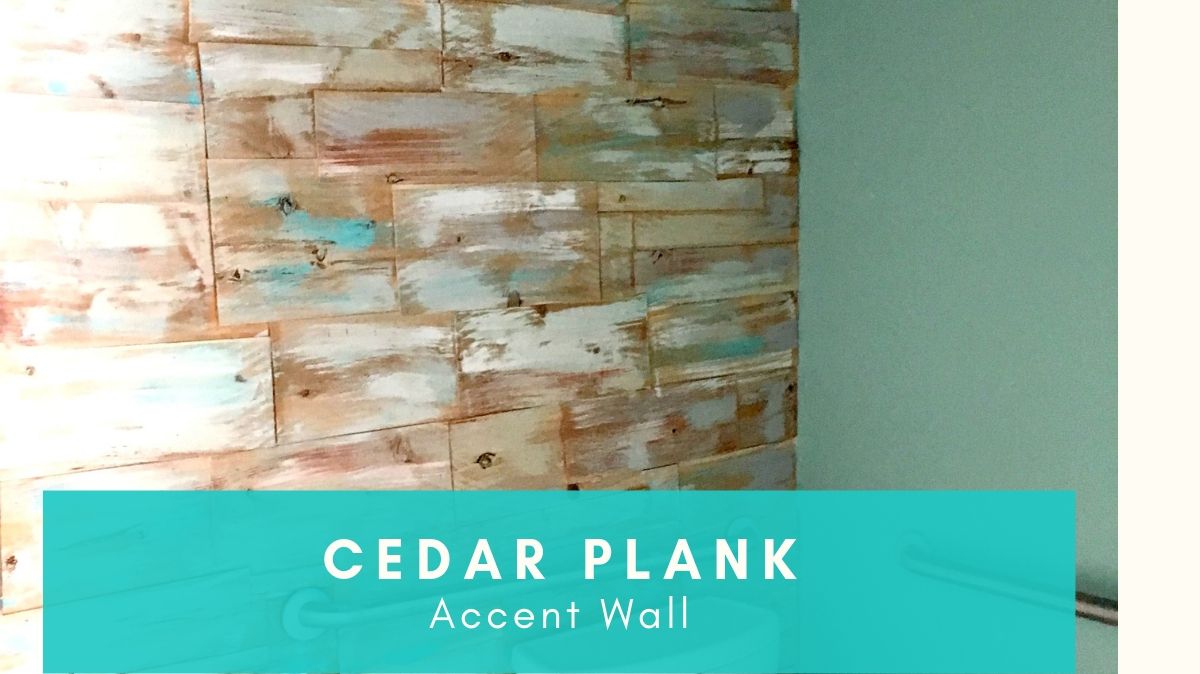
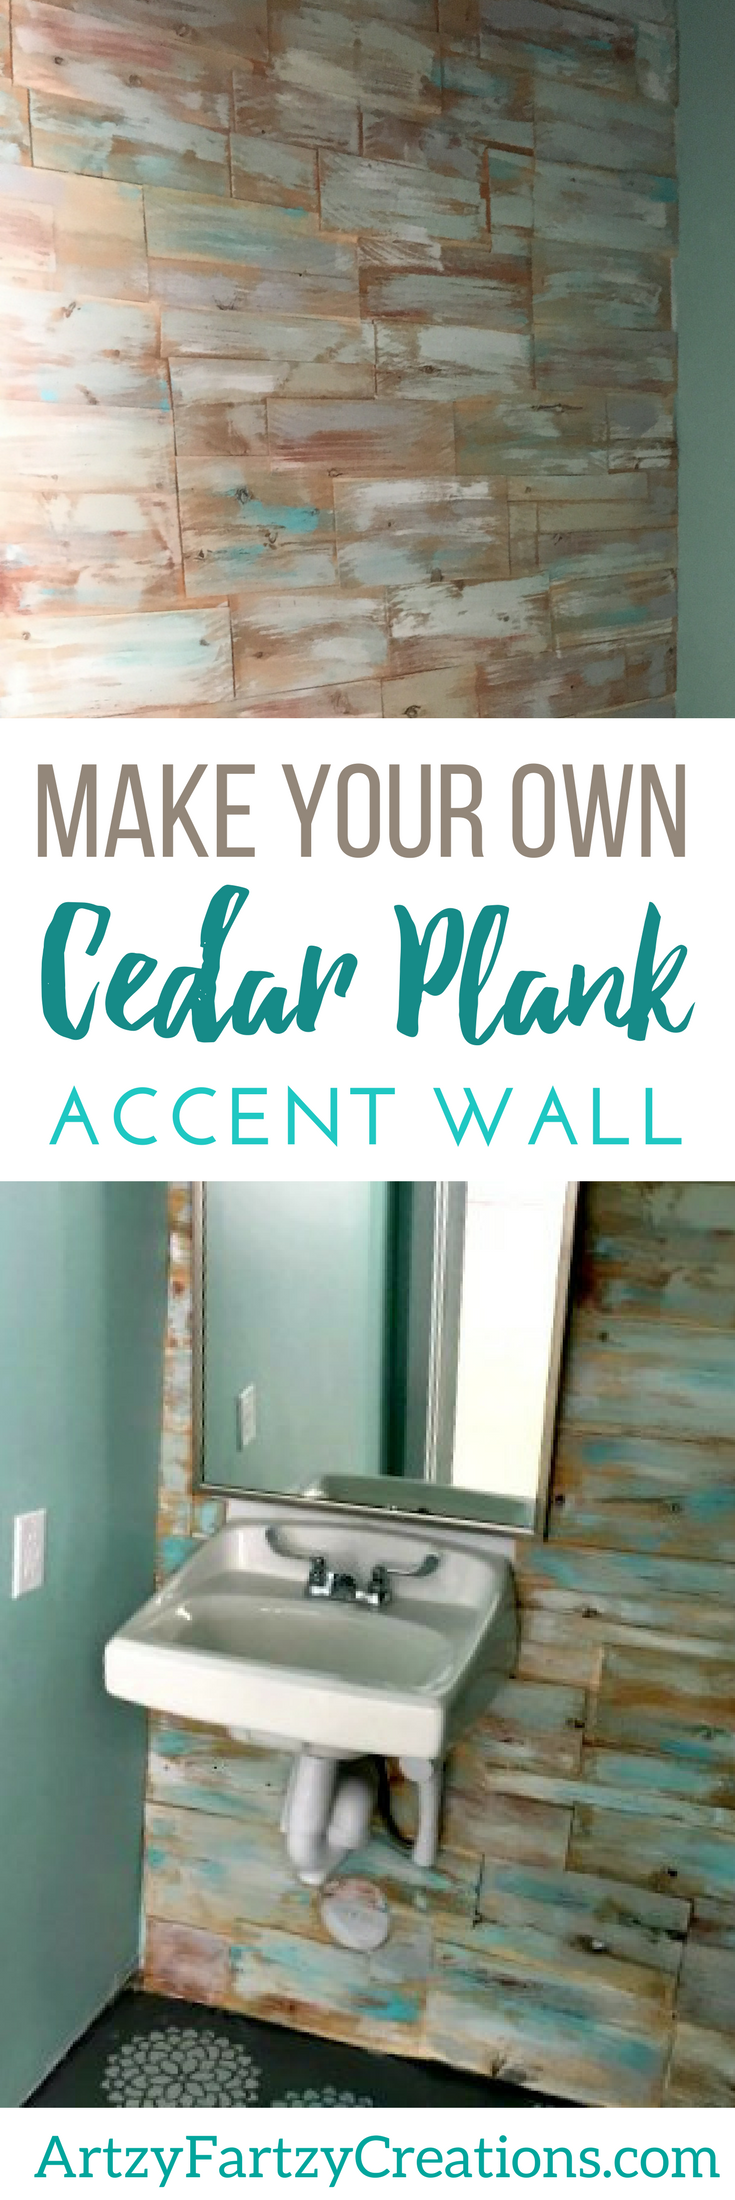
This cedar plank wall adds much color and texture to a dull space. It’s rustic and beachy!
For more cedar plank projects, check out my custom wall signs! They make great home decor and personalized gifts. And a great way to use up the leftover cedar shingles.
If you want to learn how to start making money with your hobby get the details HERE
If you want to learn DIY Tricks and Tips get my weekly blog HERE
Thank you!
Cheryl Phan

Artzy Fartzy Creations. Oh Yes you can DIY!
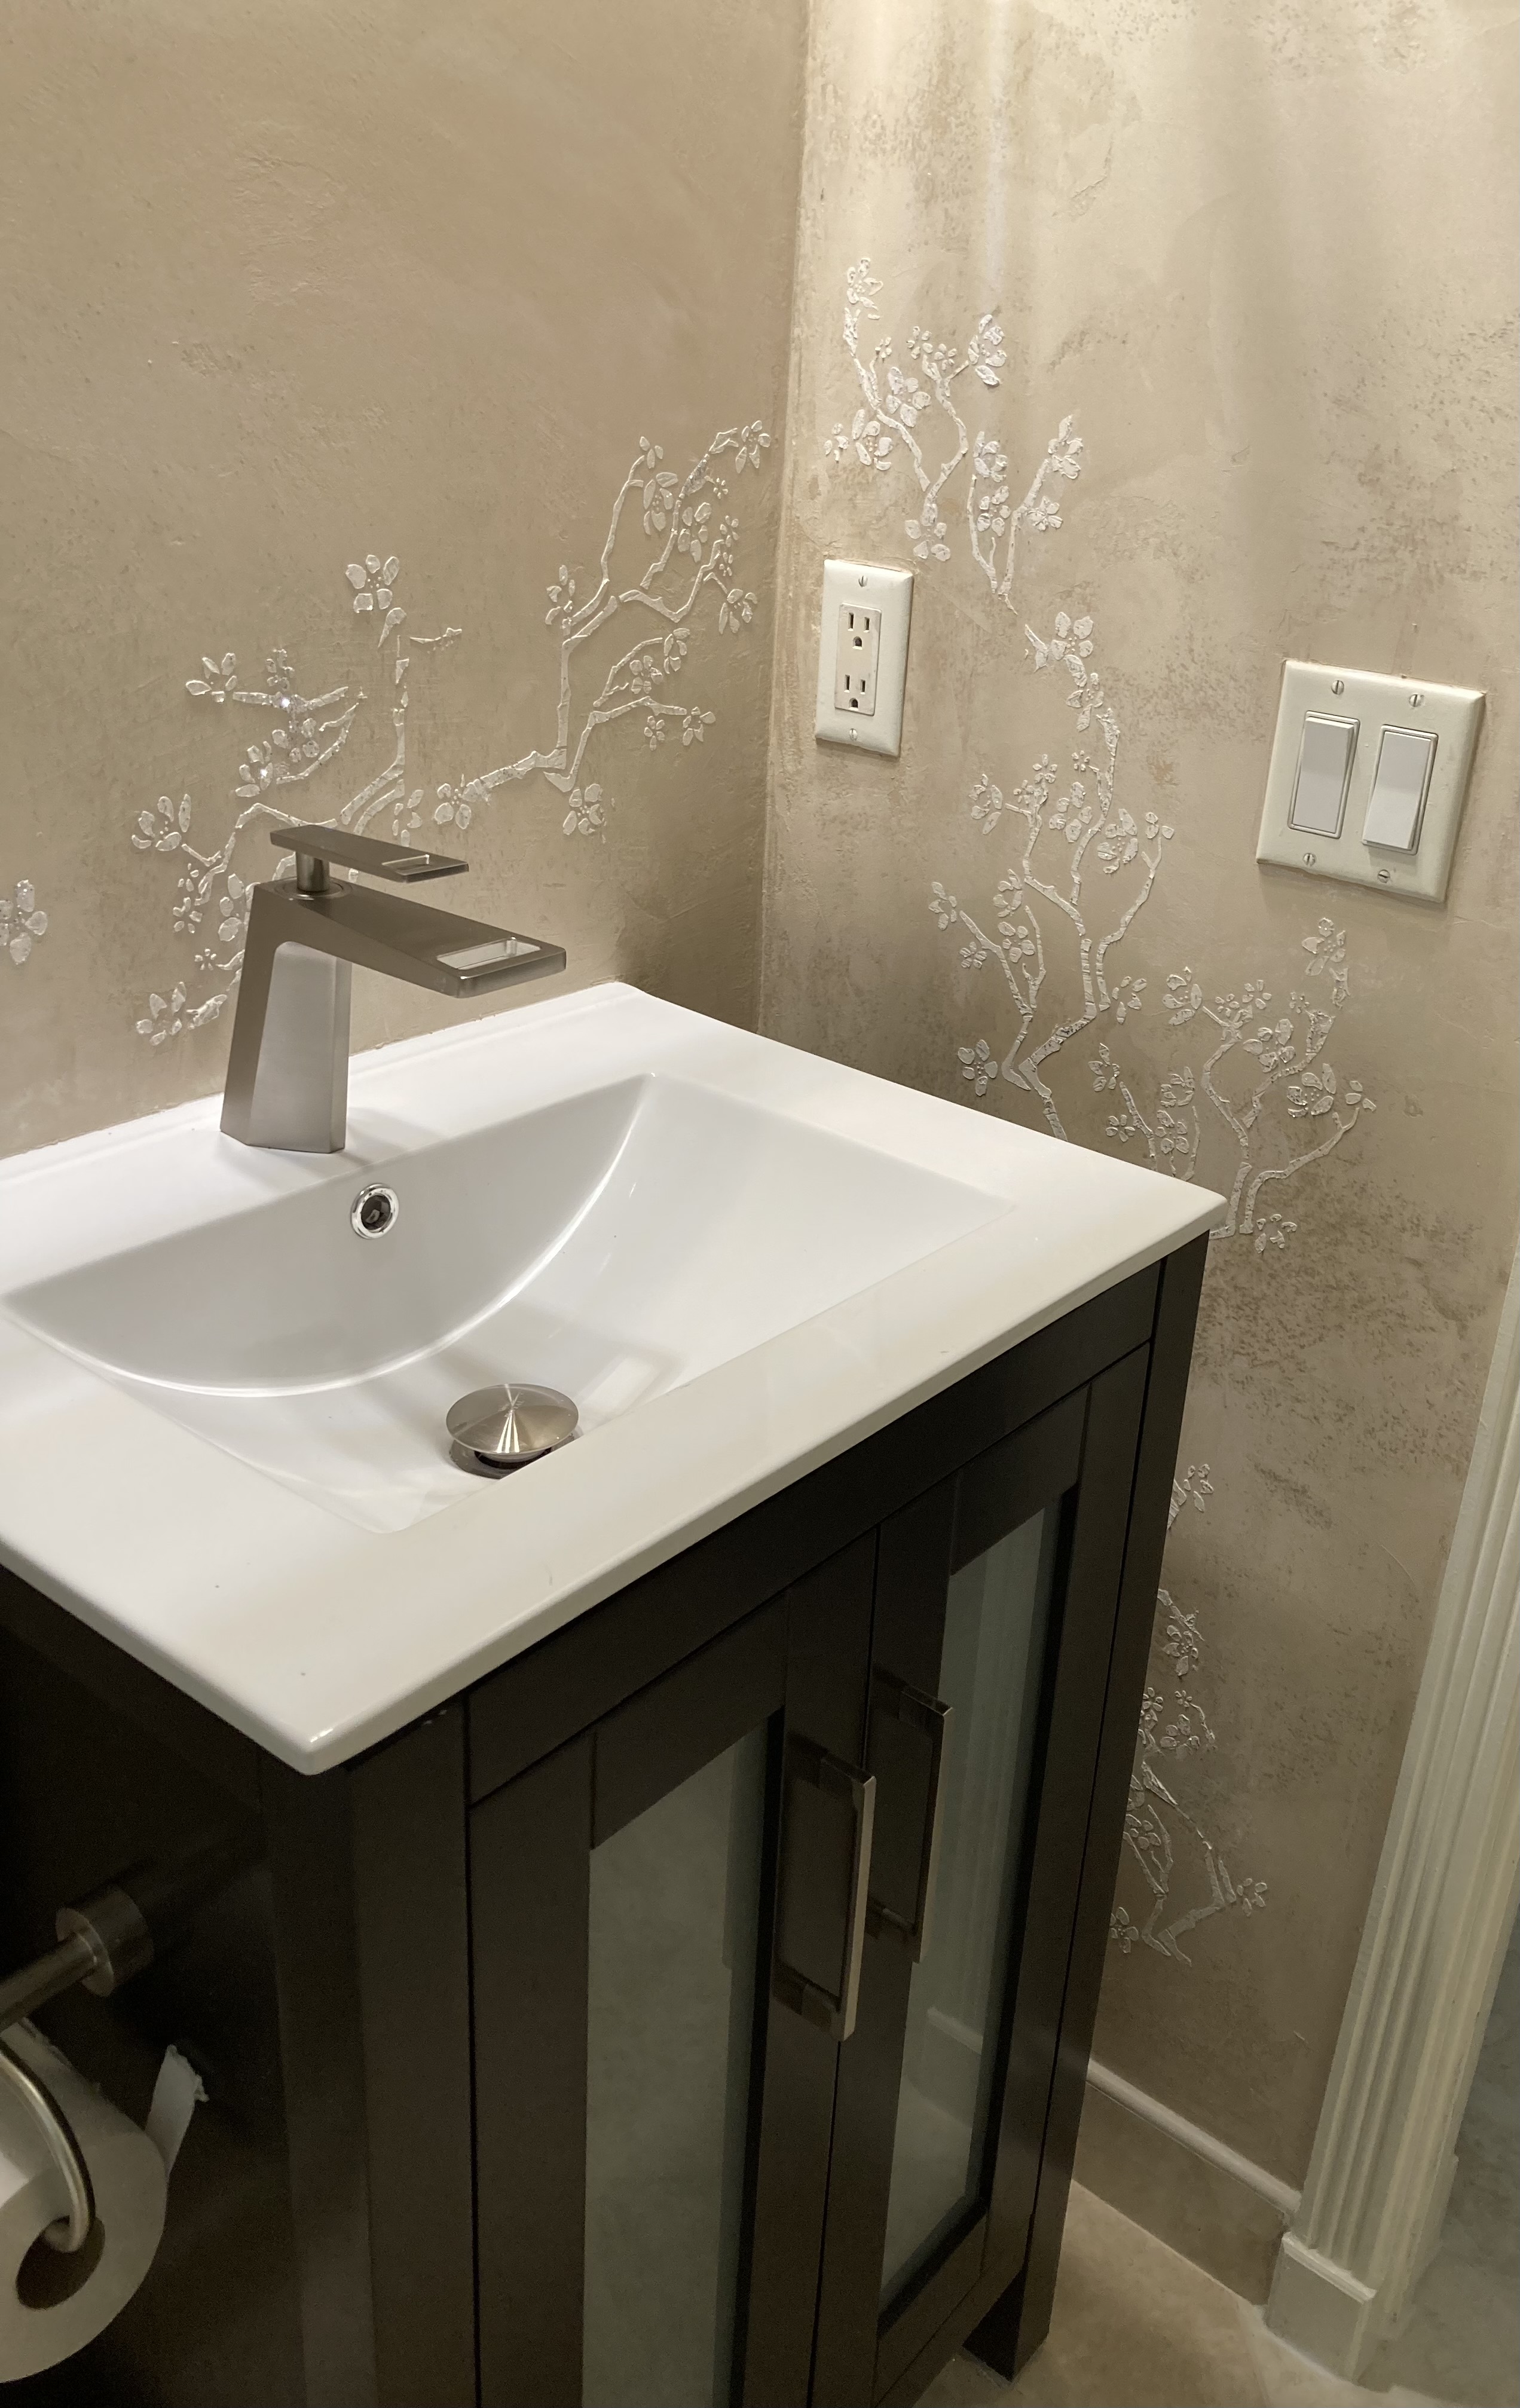
DIY Magic: Create a Raised Cherry Blossom Stencil Design with Glitter That Pops!
Raised cherry blossom stencil with glitter on a painted [...]
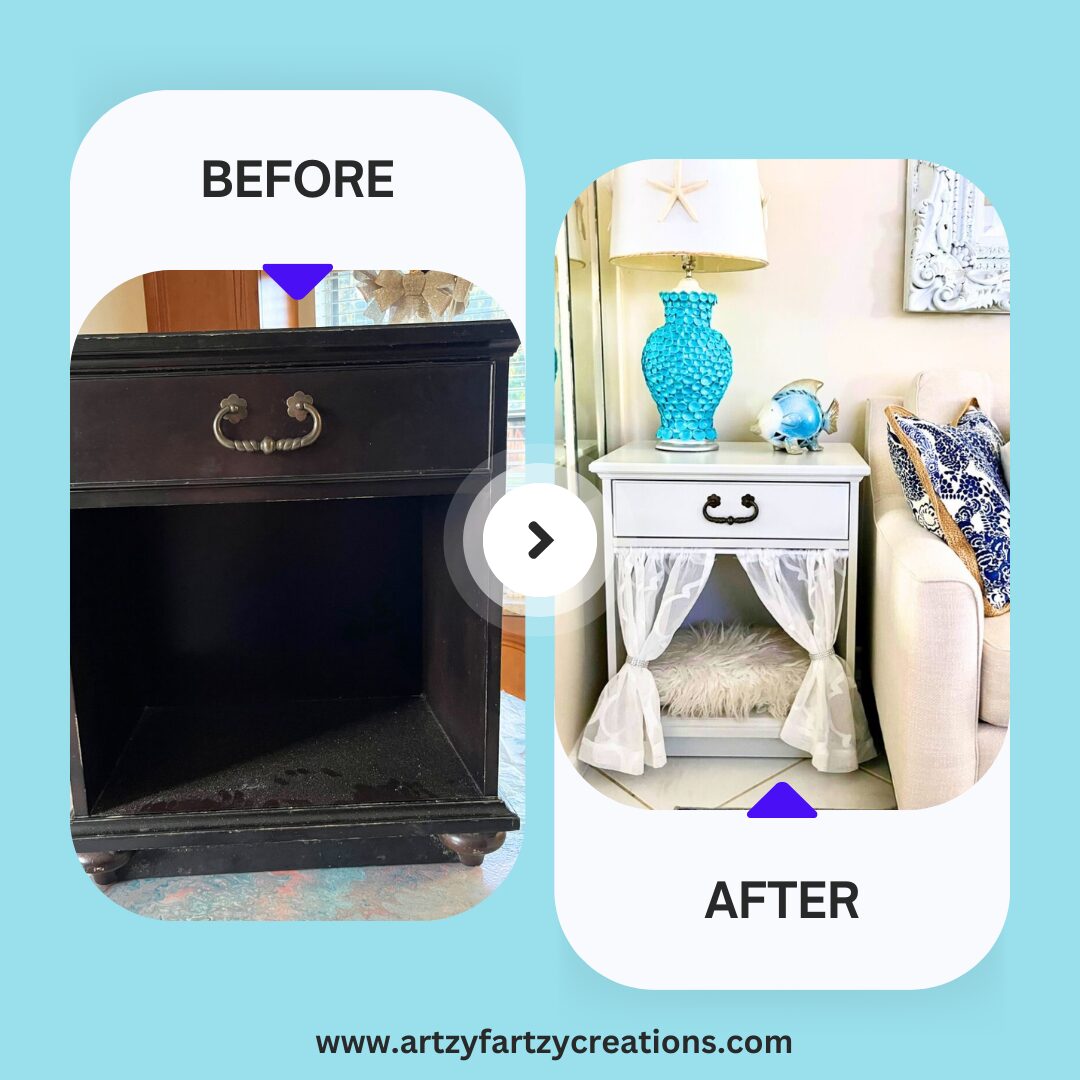
How to Repurpose Old Furniture Into a Cozy Dog Bed
DIY Small Dog Bed Tutorial -How to Make [...]
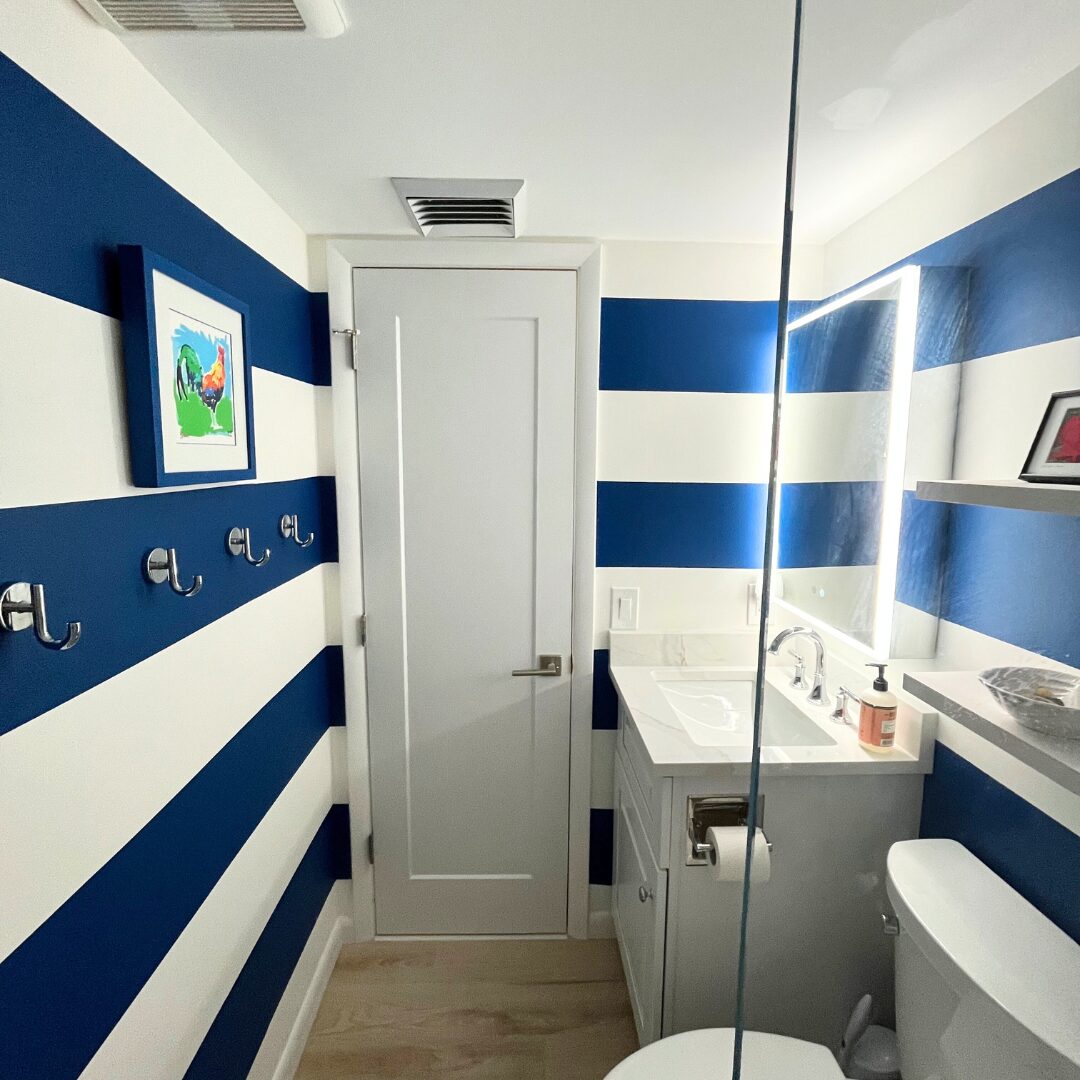
Master- How To Paint Perfect Horizontal Stripes Like a Pro
Want to know my secret pro tip to paint horizontal [...]
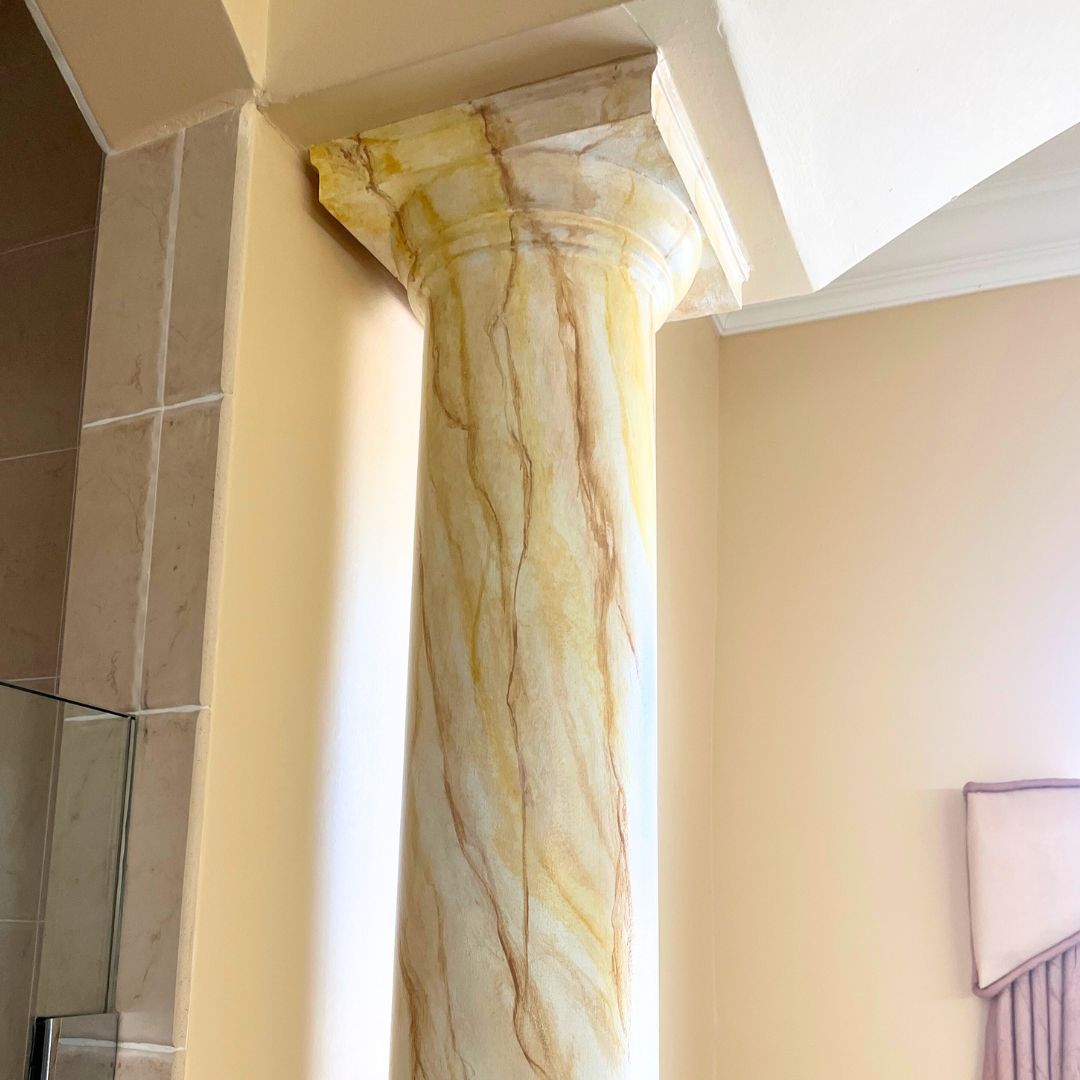
How to Paint Columns to Look Like Marble
Creating a marble faux finish on columns is easier than [...]
Easy Three-Step Process to Stain Your Exterior Door with Gel Stain
Are you tired of your front door looking dull and [...]
Contents
Recent Reads
How to Repurpose Old Furniture Into a Cozy Dog Bed
DIY Small Dog Bed Tutorial -How to Make [...]
Master- How To Paint Perfect Horizontal Stripes Like a Pro
Want to know my secret pro tip to paint horizontal [...]
How to Paint Columns to Look Like Marble
Creating a marble faux finish on columns is easier than [...]
